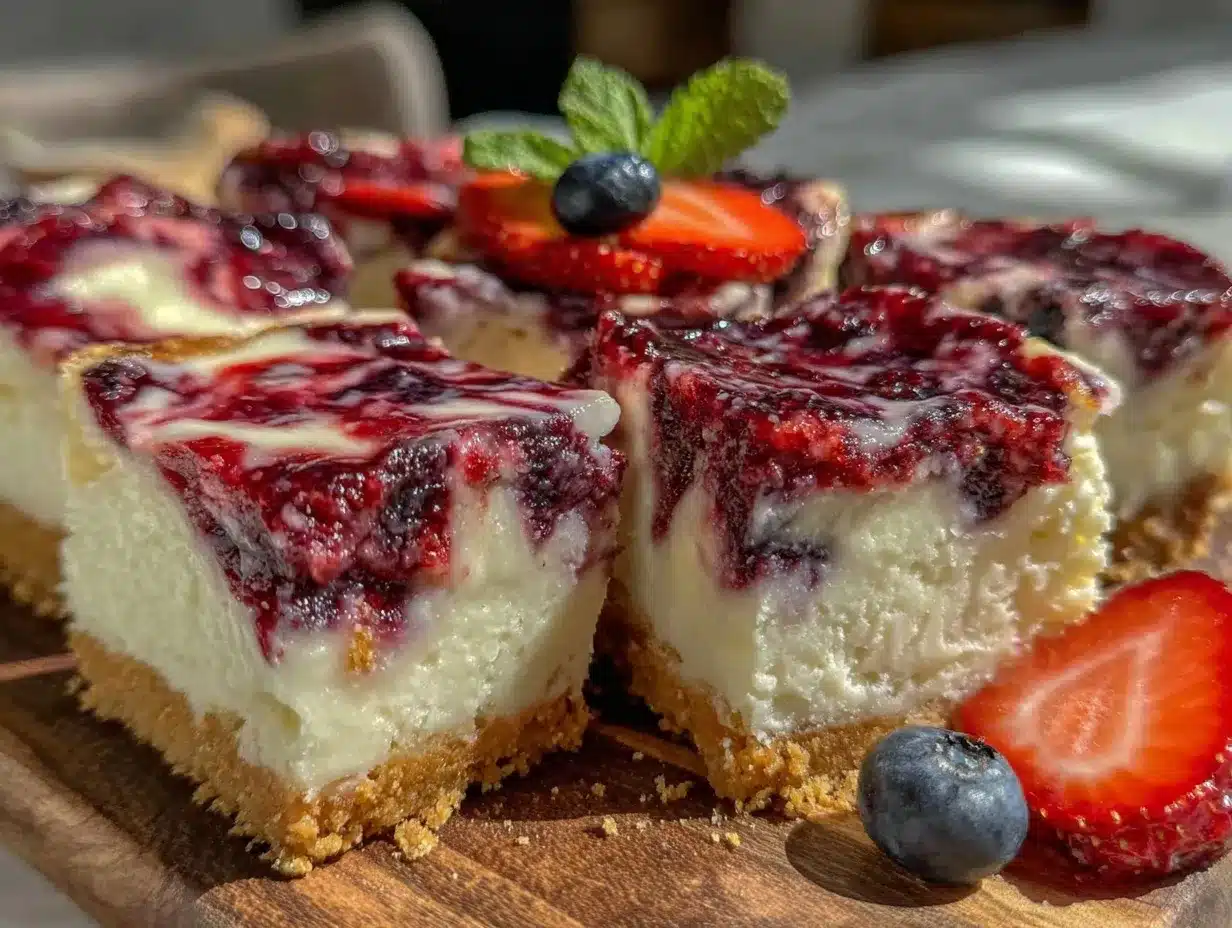
“Are you sure these are cheesecake bars?” my friend asked skeptically as I handed her the first bite of what I call my Delicious Red White and Blue Cheesecake Bars for Festive Celebrations. I had whipped these up on a whim the night before a big summer gathering—honestly, more out of a “let’s see what happens” mood than anything planned. The vibrant layers of red strawberry, creamy white cheesecake, and deep blue blueberry looked almost too good to eat, but the taste? That was the real surprise.
I wasn’t expecting this recipe to become my go-to for every Fourth of July, Memorial Day, or even casual backyard cookout. But here we are, years later, and I find myself making these bars multiple times a week during the season. The sweet tang of the berries with the rich, smooth cheesecake center is just the kind of comforting yet fresh dessert you want after a long, sun-drenched day. Plus, you know that feeling when something turns out better than you hoped and suddenly it’s a part of your tradition? That’s exactly what happened here.
It’s funny how a simple recipe can hold so many little moments—the laughter of friends, the clinking of glasses, and even the quiet satisfaction of a late-night kitchen solo session. These cheesecake bars aren’t just festive treats; they’re a slice of summertime happiness, wrapped in red, white, and blue.
Why You’ll Love This Recipe
After testing this recipe over numerous celebrations and sharing it with friends who eagerly ask for the secret, I can say this is one dessert that delivers every time. The Red White and Blue Cheesecake Bars combine simplicity with a wow factor that’s hard to beat.
- Quick & Easy: Ready in about 45 minutes, plus chilling time, these bars are perfect for last-minute festivities or whenever you want a quick, impressive dessert.
- Simple Ingredients: No exotic or hard-to-find items here—just staples and fresh berries that most kitchens already have during berry season.
- Perfect for Festive Occasions: Whether it’s a backyard barbecue, a picnic, or a holiday brunch, these bars fit right in with their patriotic colors and inviting flavors.
- Crowd-Pleaser: Kids love the sweet creaminess; adults appreciate the balance of fruit tartness and rich cheesecake texture.
- Unbelievably Delicious: The secret is the smooth cheesecake base paired with homemade berry swirls that burst with fresh flavor.
This isn’t your run-of-the-mill cheesecake bar. The layering technique and the way the berries are folded in allow for a beautiful marbled effect that feels special yet effortless. Honestly, it’s the kind of dessert that makes people close their eyes after the first bite and smile. Plus, it’s a nice change from the usual heavy pies or frosted cakes—lighter, fresher, but still indulgent.
If you’ve been hunting for an easy festive dessert idea that’s both stunning and satisfying, this is it. And hey, if you want to mix it up, these bars pair surprisingly well with a cold glass of sparkling lemonade or even a crunchy breakfast sandwich like the crispy bacon cheddar waffle breakfast sandwich for a fun brunch twist.
What Ingredients You Will Need
This recipe uses simple, wholesome ingredients to deliver bold flavor and satisfying texture without the fuss. Most of these are pantry staples, with fresh berries giving it that perfect pop of color and taste. Here’s what you’ll need:
- For the crust:
- 1 ½ cups graham cracker crumbs (about 12 full sheets) — I like using Nabisco for consistent texture
- ⅓ cup unsalted butter, melted (adds richness and binds the crust)
- ¼ cup granulated sugar (balances the buttery crumbs)
- For the cheesecake filling:
- 16 ounces cream cheese, softened (full-fat for best creaminess)
- ½ cup granulated sugar
- 2 large eggs, room temperature (helps with smooth texture)
- 1 teaspoon pure vanilla extract
- ½ cup sour cream (for a slight tang and silky finish)
- For the berry layers:
- 1 cup fresh strawberries, hulled and sliced (you can use frozen, thawed and drained, if needed)
- 1 cup fresh blueberries
- 2 tablespoons granulated sugar (divided)
- 1 tablespoon fresh lemon juice (brightens berry flavor)
Tip: Using ripe, in-season berries makes a noticeable difference in flavor. If strawberries are out of season, frozen ones work well once thawed, though they release more juice (drain excess to avoid soggy bars). For a dairy-free spin, swap cream cheese and sour cream with plant-based alternatives—just expect a slightly different texture.
Equipment Needed
- 8×8-inch (20×20 cm) baking pan — standard size, but you can use a 9×9 inch if needed (adjust baking time slightly).
- Mixing bowls — one large for the cheesecake batter, smaller ones for berry preparations.
- Electric mixer or stand mixer — cream cheese needs to be whipped until smooth.
- Measuring cups and spoons — accuracy matters for balance.
- Spatula — for folding and spreading layers evenly.
- Fine mesh strainer — helpful if you want to remove seeds from berry puree (optional).
If you don’t have a stand mixer, a handheld electric mixer works just fine — just make sure the cream cheese is very soft to avoid lumps. For the baking pan, lining it with parchment paper makes lifting the bars out easier but isn’t mandatory if you grease it well.
Preparation Method
- Preheat your oven to 325°F (163°C). Grease or line an 8×8-inch baking pan with parchment paper, leaving some overhang for easy removal.
- Make the crust: In a medium bowl, combine 1 ½ cups graham cracker crumbs, ⅓ cup melted butter, and ¼ cup sugar. Mix until the crumbs are evenly coated and resemble wet sand.
- Press the crust mixture firmly into the bottom of the prepared pan. Use the back of a spoon or a measuring cup to ensure it’s even and tightly packed. Bake for 10 minutes, then remove and let cool slightly while you prepare the filling.
- Prepare the berry purees: Divide the strawberries and blueberries into separate bowls. Add 1 tablespoon sugar and ½ tablespoon lemon juice to each. Mash gently with a fork or potato masher until you have a chunky puree. Set aside.
- Make the cheesecake filling: In a large mixing bowl, beat 16 ounces softened cream cheese with ½ cup sugar until smooth and creamy (about 2-3 minutes). Add 2 eggs one at a time, mixing well after each addition.
- Mix in 1 teaspoon vanilla extract and ½ cup sour cream. Beat until fully combined but avoid over-mixing to prevent cracks during baking.
- Assemble the layers: Pour half of the cheesecake batter over the cooled crust and spread evenly.
- Dollop spoonfuls of the strawberry puree over the batter, then carefully swirl with a knife or skewer. Repeat with the remaining cheesecake batter and blueberry puree on top, swirling again for a marbled effect.
- Bake the bars for 40-45 minutes. The edges should be set but the center will still have a slight jiggle when gently shaken.
- Cool at room temperature for 1 hour, then refrigerate for at least 3 hours or overnight. This chilling step is crucial for the bars to firm up and develop flavor.
- Slice into squares using a sharp knife warmed under hot water. Wipe the knife clean between cuts for neat edges.
Pro tip: Don’t rush the chilling. I’ve tried cutting these bars too soon and ended up with a messy cheesecake puddle rather than neat bars. Patience pays off!
Cooking Tips & Techniques
Getting the texture just right in cheesecake bars can be tricky, but a few tricks can make a world of difference.
- Room temperature ingredients: Cream cheese and eggs should be at room temp to blend smoothly without lumps. I always leave cream cheese out for about an hour before mixing.
- Don’t overmix: While you want a smooth batter, overmixing can incorporate too much air, causing cracks or a dense texture.
- Swirling technique: Use a toothpick or skewer to gently swirl the berry purees—too vigorous swirling can muddy the colors.
- Baking time matters: The center should still jiggle slightly when done; it will firm up during chilling. Overbaking dries out the bars.
- Cutting clean slices: Warm your knife under hot water before slicing and wipe between cuts to prevent tearing.
I’ve learned the hard way that chilling overnight is non-negotiable. Trying to slice these bars too soon always leads to heartbreak (and a messy kitchen). Also, the fresh berry purees are a game-changer compared to store-bought jams, giving the bars a vibrant flavor and beautiful texture.
Variations & Adaptations
This recipe is pretty flexible and easy to tweak for different occasions or dietary needs.
- Dairy-free option: Use vegan cream cheese and coconut yogurt instead of sour cream. The texture will be a bit different but still tasty.
- Seasonal fruit swaps: In fall, try swapping berries for diced peaches or cherries to keep the festive color palette interesting.
- Gluten-free crust: Use almond flour or gluten-free cookie crumbs in place of graham crackers for a safe alternative.
- Extra crunch: Add chopped pecans or toasted coconut flakes on top before baking for texture contrast.
One variation I love is adding a hint of lemon zest into the cheesecake batter for an extra zing that pairs beautifully with the berries. It’s subtle but makes the flavors pop. For a quicker version, you could even skip the crust and bake the filling in silicone muffin cups for mini cheesecake bites.
Serving & Storage Suggestions
These cheesecake bars are best served chilled straight from the fridge. They hold their shape nicely and the flavors taste fresh and balanced when cold. For an extra festive touch, garnish with a few whole berries or a dusting of powdered sugar before serving.
They pair wonderfully with a cup of freshly brewed coffee or a sparkling raspberry lemonade for a refreshing summer combo. For a casual backyard BBQ, they’re an easy dessert that complements smoky grilled mains like coffee-rubbed ribeye steak perfectly.
Store leftover bars in an airtight container in the refrigerator for up to 4 days. They freeze well too — wrap each bar individually and freeze for up to 2 months. Thaw overnight in the fridge before serving. Flavors deepen over time, so leftovers might even taste better the next day!
Nutritional Information & Benefits
Each bar (approximately 2×2 inches) contains an estimated 250-300 calories, with a balance of protein and fats from the cream cheese and butter, plus natural sugars and antioxidants from the fresh berries.
Strawberries and blueberries are packed with vitamin C, fiber, and antioxidants that support immune health. The cream cheese provides calcium and protein, making these bars a more satisfying dessert than typical sugary treats.
This recipe can easily fit into a balanced diet and is adaptable for gluten-free or dairy-free needs. Just keep in mind the sugar content if you’re watching intake.
Conclusion
If you’re looking for a festive dessert that’s as delicious as it is eye-catching, these Delicious Red White and Blue Cheesecake Bars for Festive Celebrations are a winner. They bring together fresh berries and creamy cheesecake in a way that feels special but doesn’t require hours in the kitchen.
The best part? You can tweak and twist the recipe to suit your preferences or dietary needs—making it truly your own. I love how these bars always bring a little extra joy to any celebration and spark requests for “just one more slice.”
Give them a try and see how they might become a regular feature at your summer gatherings, alongside other favorites like the easy cinnamon roll casserole. I’d love to hear how you customize these bars or what occasion you serve them on—drop a comment and share your experience!
FAQs
Can I make these cheesecake bars ahead of time?
Yes! They actually taste better after chilling overnight. You can prepare them a day in advance for convenient entertaining.
What can I use instead of graham cracker crumbs?
Crushed digestive biscuits, vanilla wafers, or gluten-free cookie crumbs work well as substitutes for the crust.
Can I use frozen berries for the puree?
Absolutely. Just thaw and drain excess liquid before using to avoid a soggy crust or filling.
How do I prevent cracks in the cheesecake layer?
Use room temperature ingredients, don’t overmix the batter, and avoid overbaking. A slight jiggle in the center when done is perfect.
Can these bars be made vegan?
Yes, by substituting dairy with vegan cream cheese and yogurt alternatives, plus a plant-based crust option, you can create a vegan-friendly version.
Pin This Recipe!
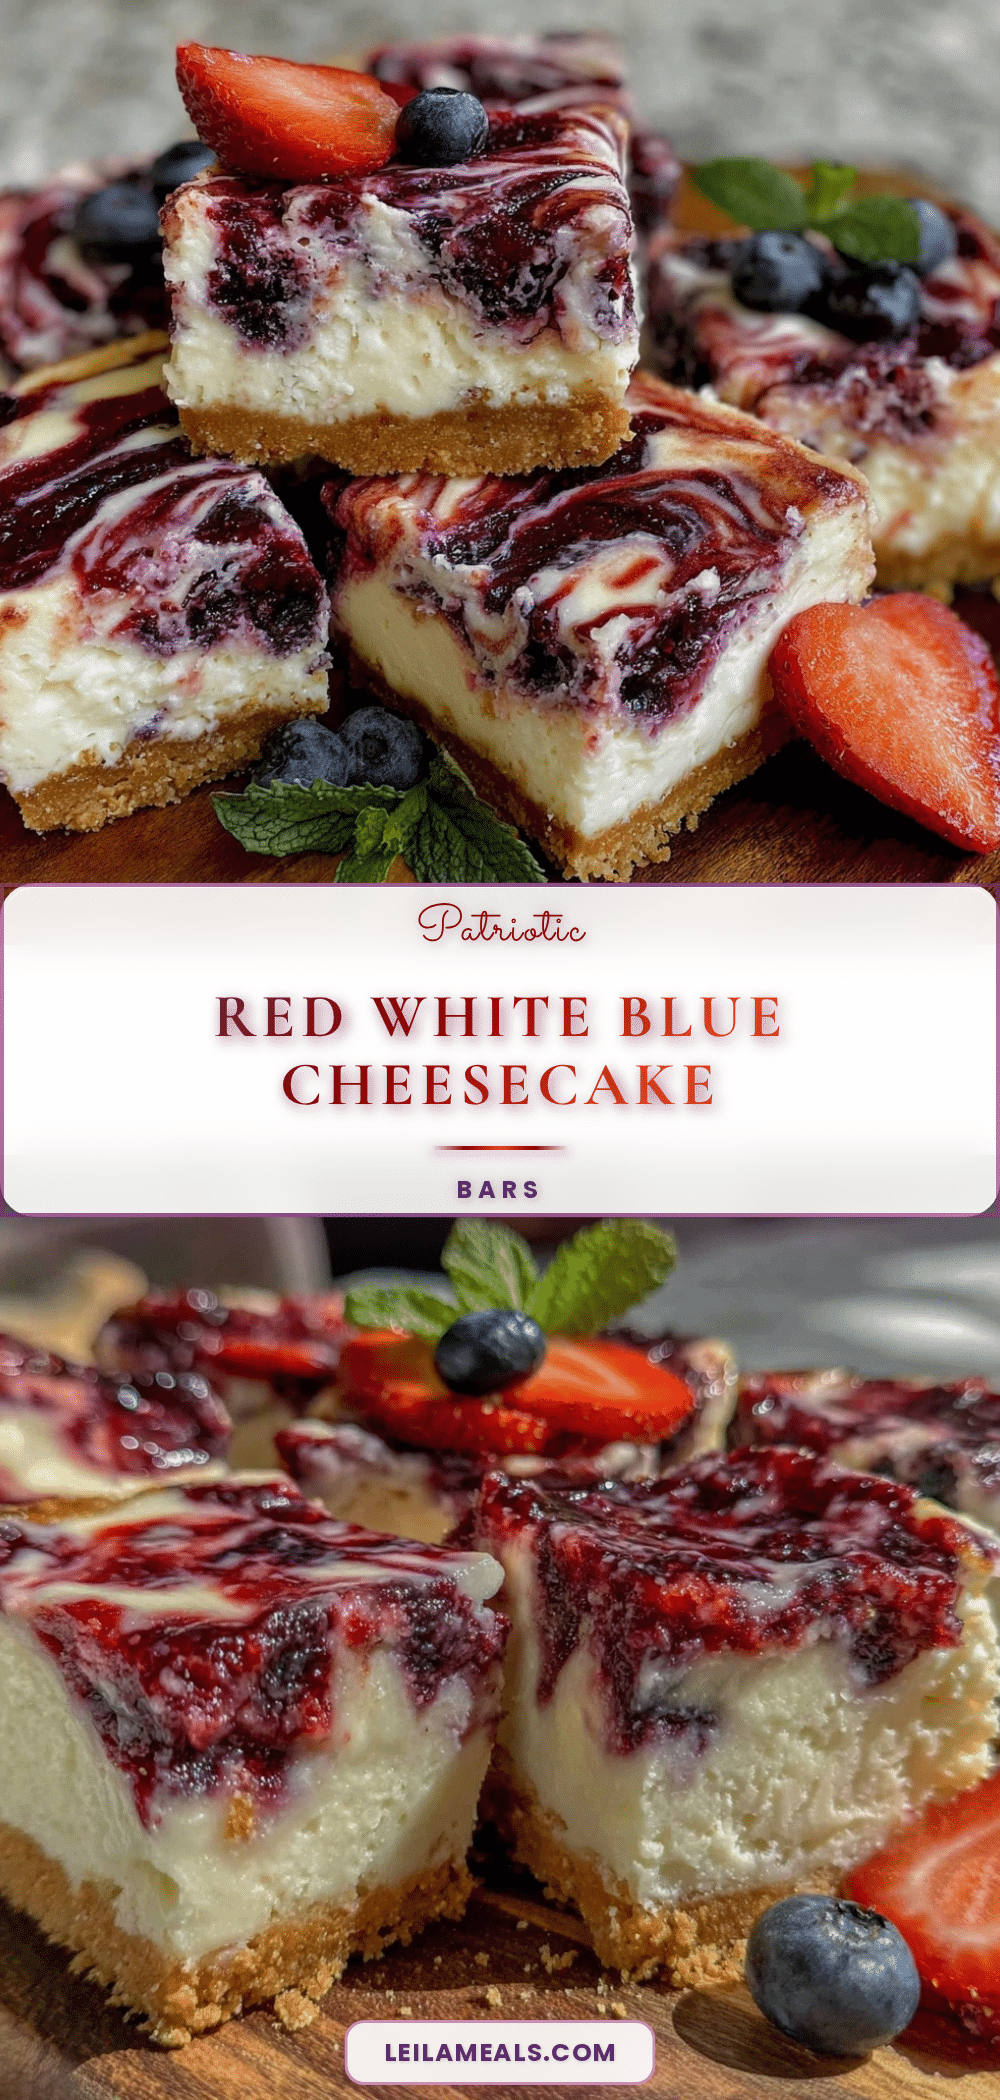
Red White and Blue Cheesecake Bars
Festive and easy-to-make cheesecake bars featuring layers of strawberry, creamy cheesecake, and blueberry, perfect for summer celebrations.
- Prep Time: 15 minutes
- Cook Time: 50 minutes
- Total Time: 4 hours 5 minutes
- Yield: 16 servings 1x
- Category: Dessert
- Cuisine: American
Ingredients
- 1 ½ cups graham cracker crumbs (about 12 full sheets)
- ⅓ cup unsalted butter, melted
- ¼ cup granulated sugar
- 16 ounces cream cheese, softened
- ½ cup granulated sugar
- 2 large eggs, room temperature
- 1 teaspoon pure vanilla extract
- ½ cup sour cream
- 1 cup fresh strawberries, hulled and sliced
- 1 cup fresh blueberries
- 2 tablespoons granulated sugar (divided)
- 1 tablespoon fresh lemon juice
Instructions
- Preheat your oven to 325°F (163°C). Grease or line an 8×8-inch baking pan with parchment paper, leaving some overhang for easy removal.
- In a medium bowl, combine 1 ½ cups graham cracker crumbs, ⅓ cup melted butter, and ¼ cup sugar. Mix until the crumbs are evenly coated and resemble wet sand.
- Press the crust mixture firmly into the bottom of the prepared pan. Use the back of a spoon or a measuring cup to ensure it’s even and tightly packed. Bake for 10 minutes, then remove and let cool slightly.
- Divide the strawberries and blueberries into separate bowls. Add 1 tablespoon sugar and ½ tablespoon lemon juice to each. Mash gently with a fork or potato masher until chunky puree forms. Set aside.
- In a large mixing bowl, beat 16 ounces softened cream cheese with ½ cup sugar until smooth and creamy (about 2-3 minutes). Add 2 eggs one at a time, mixing well after each addition.
- Mix in 1 teaspoon vanilla extract and ½ cup sour cream. Beat until fully combined but avoid over-mixing.
- Pour half of the cheesecake batter over the cooled crust and spread evenly.
- Dollop spoonfuls of the strawberry puree over the batter, then carefully swirl with a knife or skewer.
- Repeat with the remaining cheesecake batter and blueberry puree on top, swirling again for a marbled effect.
- Bake the bars for 40-45 minutes. The edges should be set but the center will still have a slight jiggle when gently shaken.
- Cool at room temperature for 1 hour, then refrigerate for at least 3 hours or overnight.
- Slice into squares using a sharp knife warmed under hot water. Wipe the knife clean between cuts for neat edges.
Notes
Use ripe, in-season berries for best flavor. Frozen berries can be used if thawed and drained to avoid soggy bars. For dairy-free, substitute cream cheese and sour cream with plant-based alternatives. Chill bars overnight for best slicing results. Warm knife before slicing to get clean edges.
Nutrition
- Serving Size: 1 bar (approximately
- Calories: 275
- Sugar: 16
- Sodium: 210
- Fat: 18
- Saturated Fat: 10
- Carbohydrates: 22
- Fiber: 2
- Protein: 5
Keywords: cheesecake bars, red white and blue dessert, patriotic dessert, berry cheesecake, easy cheesecake bars, summer dessert, festive dessert


