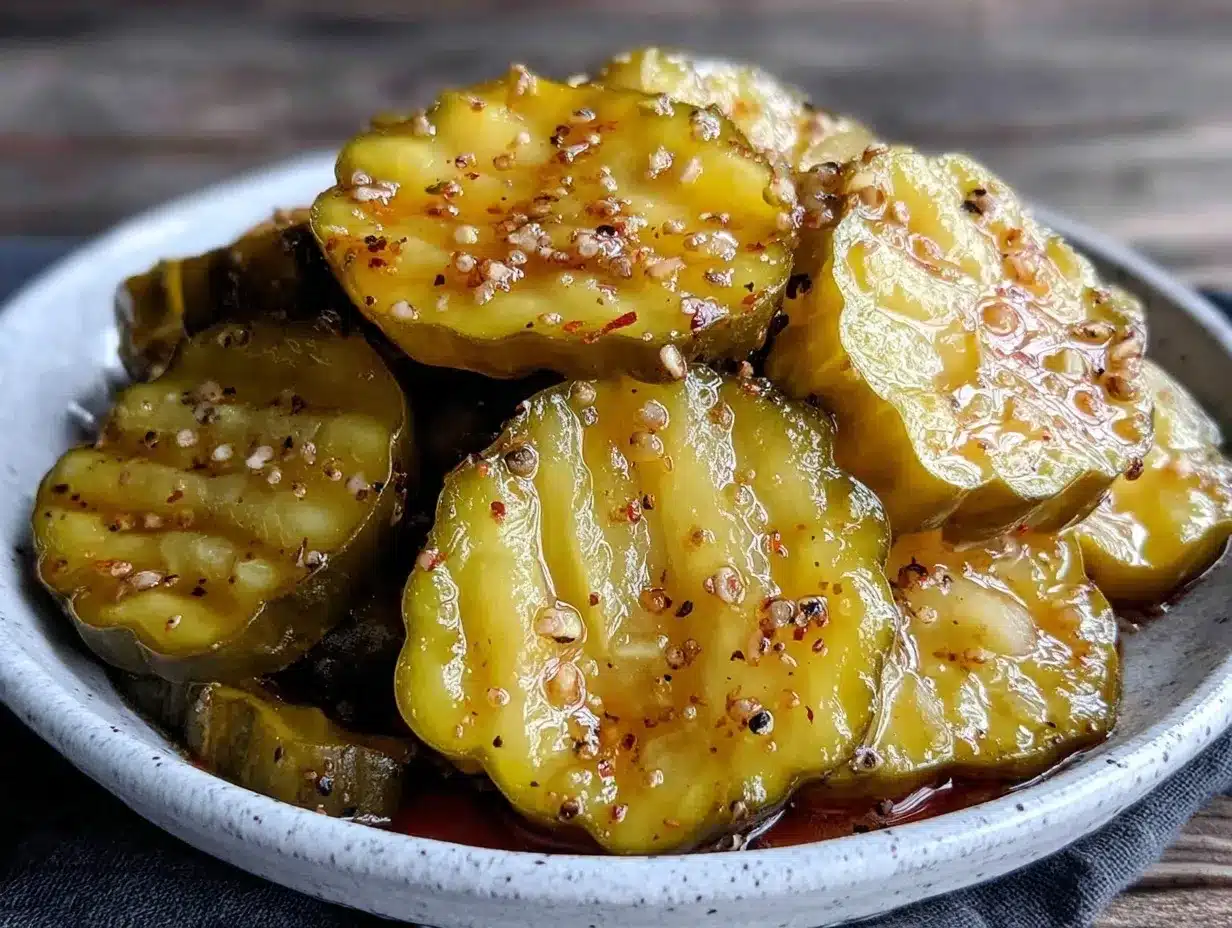
I burned the sugar syrup not once, but three separate times before finally getting this Flavorful Sweet and Tangy Bread and Butter Pickles Recipe right. Honestly, for years, I thought pickling was some sort of witchcraft reserved for the pros, and I was perfectly fine just buying a jar at the store. But every time I reached for that jar, something about it felt off—either too sour or missing that perfect sweet-tangy balance that sticks to your tongue just right. It wasn’t until a late summer afternoon, surrounded by a mountain of cucumbers from a neighbor’s garden, that I decided to give homemade pickles one last shot. The kitchen smelled like hot cinnamon and vinegar, and the bubbling syrup on the stove had me nervously hovering, but I’m glad I stuck with it.
What surprised me the most was how forgiving the recipe turned out to be once I stopped obsessing over every little detail. The sweet and tangy flavors melded perfectly, and the texture of the cucumbers stayed crisp, not mushy—which was my biggest fear. I remember that quiet moment when I bit into the first slice and realized these weren’t just pickles; they were a little jar of nostalgia, summer afternoons, and honest homemade goodness. Over time, this recipe stuck with me, not just because of its flavor but because it taught me patience in the kitchen and the joy of making something simple from scratch.
So, here’s my straightforward, no-fuss Flavorful Sweet and Tangy Bread and Butter Pickles Recipe that you can trust to get right the first time. No burnt syrup, no guesswork—just the kind of pickles you want to keep coming back to.
Why You’ll Love This Recipe
Let me tell you why this recipe stands apart from every other pickle recipe you might find floating around. Having tested it multiple times in my kitchen, I can say it’s truly a keeper. Here’s what makes it special:
- Quick & Easy: You can have these pickles ready to enjoy in just a few hours after prepping, perfect for busy days or last-minute additions to your meal.
- Simple Ingredients: Most of these are pantry staples—vinegar, sugar, spices, and fresh cucumbers—no hunting for obscure items.
- Perfect for Summer: When cucumbers are at their peak, this recipe turns them into sweet, tangy gems perfect for barbecues, picnics, or even that creamy loaded potato salad at your next cookout.
- Crowd-Pleaser: Kids and adults alike love the balance of sweetness and tang—great for sandwich toppings, snack time, or even stirred into a salad.
- Unbelievably Delicious: The secret is in the spice blend and the timing of the syrup boil that I’ll share—giving you that perfect snap and flavor combo that’s just right.
Unlike other pickle recipes that can be too sour or too bland, this one hits a sweet and tangy note that’s both refreshing and addicting. The thinly sliced cucumbers soak up the brine beautifully, which makes every bite a burst of flavor without overwhelming your palate. Whether you’re a pickle novice or a seasoned pro, this recipe gives you that homemade feel without the guesswork. Plus, I’ve thrown in some tips to help you customize the spice level and sweetness to your liking, because let’s face it—not all pickles are created equal.
What Ingredients You Will Need
This recipe uses simple, wholesome ingredients to deliver bold flavor and satisfying texture without the fuss. Most are easy to find in your pantry or local market, and you can swap a few out depending on your dietary needs or what’s fresh.
- Fresh cucumbers: About 6 cups (900g) of thinly sliced Kirby or pickling cucumbers (they hold their crunch best).
- Onion: 1 medium yellow onion, thinly sliced (adds sharpness and depth).
- Granulated sugar: 1 1/2 cups (300g) for that signature sweetness.
- White vinegar: 1 1/2 cups (360ml) – I recommend using 5% acidity for balance.
- Water: 1 1/4 cups (300ml) to dilute the vinegar slightly.
- Pickling salt or kosher salt: 2 tablespoons (30g), no iodine (keeps the flavor clean).
- Mustard seeds: 1 tablespoon (for that classic tang).
- Celery seeds: 1 tablespoon (adds subtle earthiness).
- Ground turmeric: 1 teaspoon (gives that golden color and mild warmth).
- Ground cloves: 1/2 teaspoon (use sparingly – it’s potent).
- Ground black pepper: 1/2 teaspoon for a hint of spice.
- Ground ginger: 1/4 teaspoon for a subtle zing.
These spices combine to create the signature bread and butter pickle flavor that balances sweet and tangy perfectly. If you want to switch it up, try adding a few slices of fresh jalapeño for heat or swap white vinegar with apple cider vinegar for a fruitier note. For a gluten-free version, all ingredients here are naturally safe, just check your spices for additives if buying pre-ground.
Equipment Needed
- Sharp knife and cutting board: For slicing cucumbers and onions thinly and evenly.
- Large mixing bowl: To toss your cucumbers and onions before brining.
- Medium saucepan: For heating the sugar, vinegar, water, and spices into a syrup.
- Measuring cups and spoons: Precision matters, especially with sugar and spices.
- Glass jars with lids: Quart-sized canning jars or any clean glass containers with tight lids work well for storing your pickles.
- Optional: A mandoline slicer can speed up slicing and keep thickness consistent, but a sharp knife works just fine—just be patient!
I’ve tried cheaper glass jars in the past, but investing in sturdy canning jars makes a difference in sealing and longevity. Also, a saucepan with a thick bottom helps prevent burning your syrup (learned that the hard way). If you don’t have pickling salt, kosher salt is a fine substitute, but avoid table salt since it can cloud the brine.
Preparation Method
- Prepare the cucumbers and onions: Wash the cucumbers well, then slice them thinly (about 1/8 inch or 3 mm thick). Thinly slice the onion as well. Toss both in a large bowl with the pickling salt. Let this sit for 1 hour, stirring occasionally. This step draws out excess moisture, keeping your pickles crisp.
- Rinse and drain: After an hour, drain the cucumbers and onions in a colander and rinse them under cold water to remove excess salt. Pat them dry gently with a clean towel or paper towels.
- Make the pickling syrup: In a medium saucepan, combine the granulated sugar, white vinegar, water, mustard seeds, celery seeds, ground turmeric, ground cloves, black pepper, and ground ginger. Bring the mixture to a boil over medium-high heat, stirring occasionally to dissolve the sugar.
- Simmer the syrup: Once boiling, reduce heat and simmer for 3-5 minutes to let the spices infuse. You’ll notice a fragrant aroma filling your kitchen—that’s when you know it’s right.
- Pack the jars: Carefully pack the cucumber and onion slices into your clean glass jars, layering them evenly but without smashing.
- Pour the hot syrup: Using a ladle, pour the hot syrup over the cucumbers and onions, covering them completely. Leave about 1/2 inch (1.27 cm) headspace at the top of each jar.
- Seal and cool: Screw on the lids tightly and let the jars cool at room temperature for about 30 minutes.
- Refrigerate: Transfer the jars to the refrigerator. The pickles will be ready to eat after about 4 hours but taste best after 24 hours when flavors have melded. They keep well refrigerated for up to 2 weeks.
Quick tip: If you want to speed things up, you can let the jars sit in an ice bath after sealing to cool them faster. Also, slicing cucumbers evenly ensures your pickles soak up the brine uniformly. I learned the hard way that chunky slices don’t pickle as well!
Cooking Tips & Techniques
Getting bread and butter pickles just right isn’t rocket science, but I’ve learned a few things to keep in mind. First, don’t skip the salting step—it’s crucial for crunch. Salting the cucumbers draws out water, preventing sogginess later.
When boiling your syrup, keep a close eye on it. Sugar can burn quickly, which ruins the flavor. Stir frequently and reduce heat if you see any browning starting. Using a heavy-bottomed pan helps spread the heat evenly.
Another common mistake is overcrowding the jars. Give your slices enough room so the syrup can circulate around them. Stuffing too many cucumbers in leaves some dry and flavorless.
Timing matters, too. Let the pickles sit at least 24 hours before diving in; this lets the flavors marry and the spices infuse fully. I find the flavor deepens with time, so if you can wait a few days, do it.
Finally, if you find your pickles too sweet or too tangy, tweak the sugar and vinegar ratios slightly next time. It’s your recipe to make your own! For a tangier bite, add a tablespoon more vinegar; for sweetness, bump up sugar a bit.
Variations & Adaptations
This recipe is a great base for several tasty twists. Here are a few variations you might enjoy:
- Spicy Bread and Butter Pickles: Add 1-2 sliced fresh jalapeños or a pinch of red pepper flakes to the syrup for a kick.
- Low-Sugar Option: Cut the sugar in half and replace the rest with a natural sweetener like honey or agave syrup. Just remember the flavor will be a bit different but still tasty.
- Apple Cider Vinegar Swap: Use apple cider vinegar instead of white vinegar for a milder, fruitier tang that pairs well with fall harvest flavors.
- Quick Refrigerator Pickles: Skip the salting step and slice cucumbers thicker for crunchier, faster pickles. They’ll be ready in a few hours but won’t keep as long.
- Personal Favorite Variation: I once added a few slices of fresh ginger and a cinnamon stick to the syrup—impressive flavor that reminded me of a warm summer day.
Don’t hesitate to experiment. That’s the fun of homemade pickles—you can make them truly yours. If you enjoy fresh, crunchy sides, you might also appreciate the creamy coleslaw with poppyseed dressing for a perfect picnic combo.
Serving & Storage Suggestions
These pickles are best served chilled straight from the fridge, where their crisp texture shines. They make a fantastic companion to sandwiches, burgers, or even on a cheese board for a sweet and tangy contrast. I often pair them with a savory brown butter corn salad for a summer meal that’s a hit every time.
Store the pickles in the refrigerator in airtight jars. They keep well for up to two weeks, but honestly, they rarely last that long in my house. As they sit, the flavors deepen, so if you prefer a stronger tang, give them a couple of days.
Reheating is not typical for these pickles, but letting them come to room temperature for 10-15 minutes before serving can help release aromas if you find them too cold.
Nutritional Information & Benefits
One serving (about 1/4 cup or 60g) of these bread and butter pickles contains approximately:
| Calories | 45 |
|---|---|
| Carbohydrates | 12g |
| Sugar | 10g |
| Fat | 0g |
| Sodium | 280mg |
| Fiber | 1g |
| Protein | 0g |
These pickles bring a dose of probiotics when naturally fermented, but since this is a quick refrigerator pickle, it’s more about flavor and crunch than gut health. Cucumbers themselves are low-calorie and hydrating, while the vinegar can help with blood sugar regulation. Just watch the sugar if you’re monitoring intake.
Gluten-free and vegan, this recipe fits easily into many diets. If you want to reduce sodium, you can cut back on the salt slightly, but remember it’s part of what keeps the cucumbers crisp.
Conclusion
This Flavorful Sweet and Tangy Bread and Butter Pickles Recipe is one I keep coming back to because it’s approachable, reliable, and downright tasty. It’s not overly complicated, but it offers a deliciously balanced bite that feels homemade and satisfying every time. I love how it turns a simple cucumber into something special—whether it’s on a sandwich, as a snack, or part of a summer spread.
Feel free to tweak the spice blend or sweetness to your liking—this recipe welcomes your personal touch. I’m excited for you to try it and maybe even share your own twist in the comments. Homemade pickles are a little joy in a jar, and once you make these, you’ll see why they’ve become a staple in my kitchen.
Happy pickling!
Frequently Asked Questions
How long do bread and butter pickles last in the fridge?
They typically keep well for up to two weeks when stored in airtight jars in the refrigerator. The flavor may deepen over time.
Can I use regular cucumbers instead of pickling cucumbers?
You can, but pickling cucumbers (Kirby cucumbers) hold their crunch better. Regular cucumbers tend to get mushy faster.
Do I need to sterilize the jars before packing the pickles?
Since these are refrigerator pickles, sterilizing isn’t necessary, just make sure jars and lids are clean to avoid spoilage.
Can I make this recipe vegan and gluten-free?
Yes! This recipe is naturally vegan and gluten-free as long as you use spices without additives.
Is it possible to make these pickles less sweet?
Absolutely. You can reduce the sugar by up to half or substitute part of it with natural sweeteners like honey or agave to suit your taste.
Pin This Recipe!
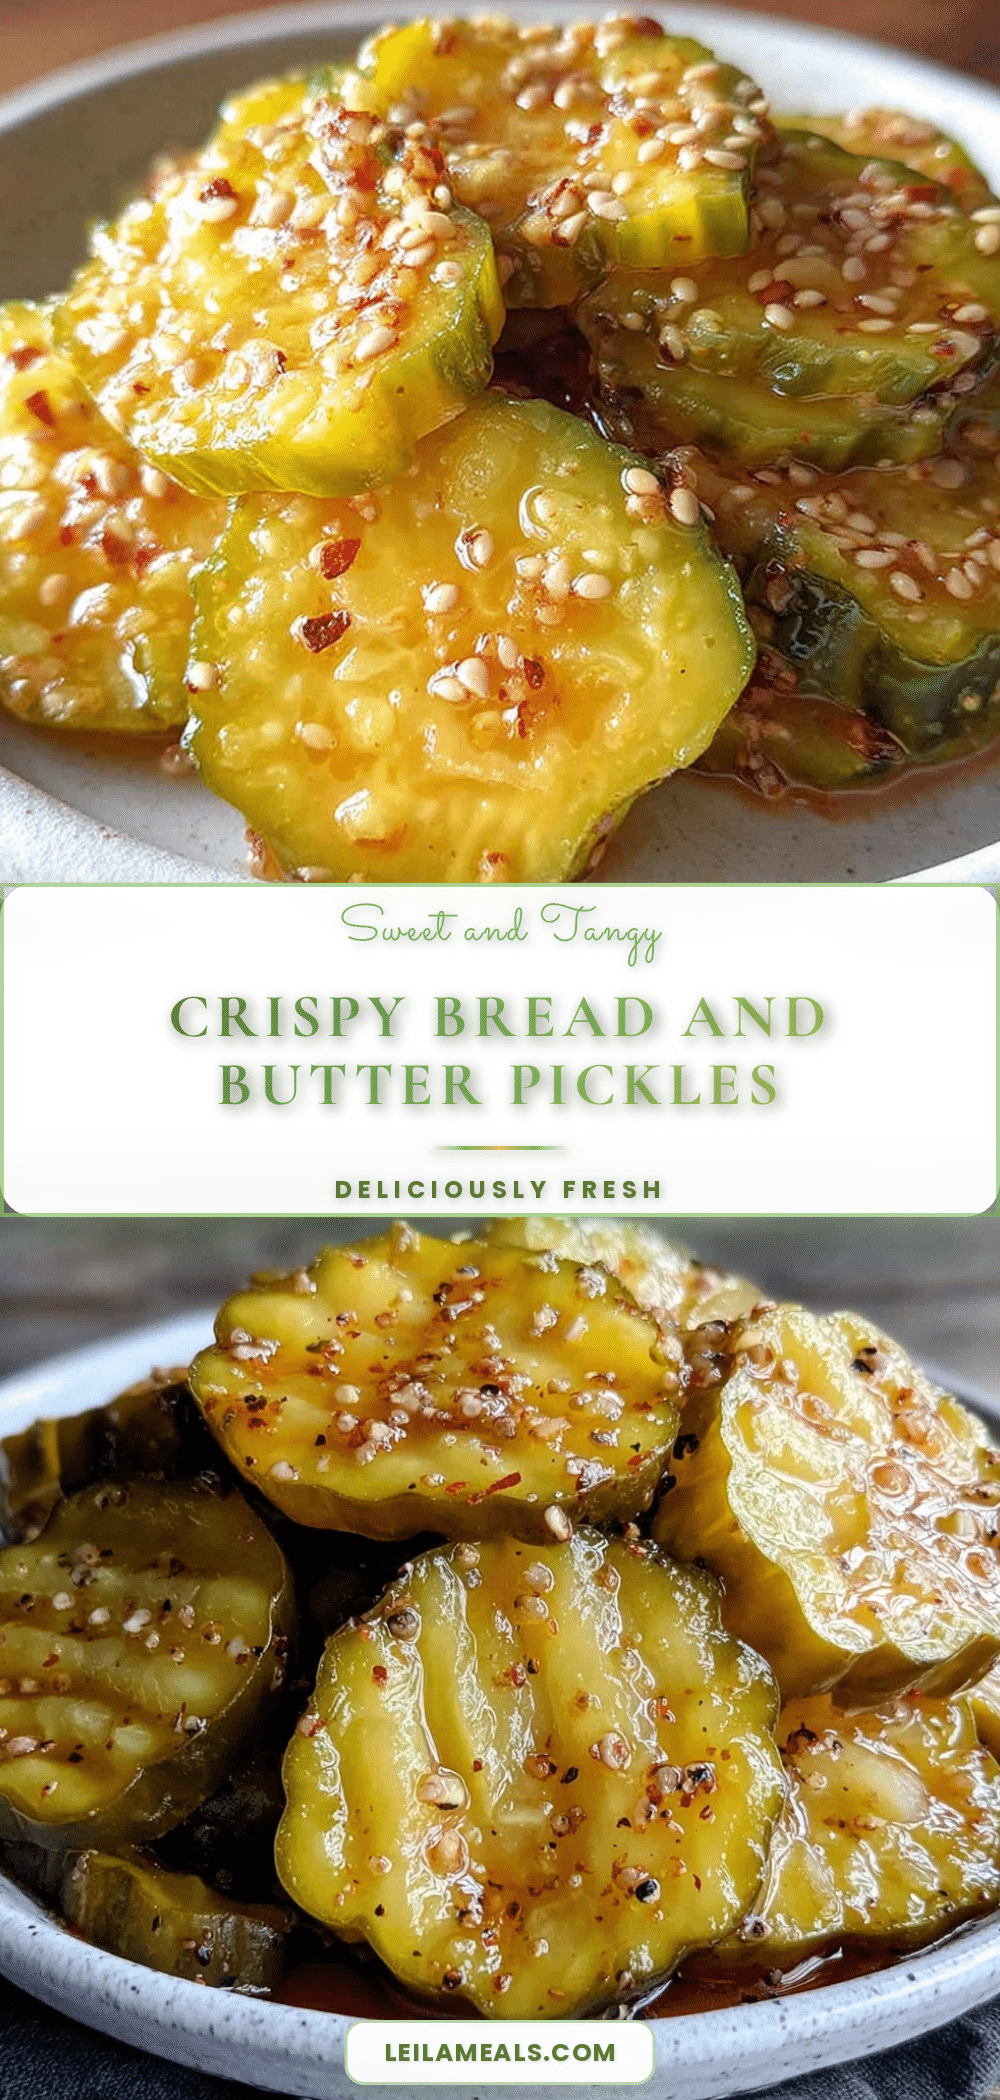
Flavorful Bread and Butter Pickles Recipe

A straightforward, no-fuss recipe for sweet and tangy bread and butter pickles that are crisp, flavorful, and perfect for summer meals or snacks.
- Prep Time: 1 hour 15 minutes
- Cook Time: 10 minutes
- Total Time: 1 hour 25 minutes
- Yield: About 4 quart-sized jars (approximately 8 servings) 1x
- Category: Condiment
- Cuisine: American
Ingredients
- 6 cups (900g) thinly sliced Kirby or pickling cucumbers
- 1 medium yellow onion, thinly sliced
- 1 1/2 cups (300g) granulated sugar
- 1 1/2 cups (360ml) white vinegar (5% acidity recommended)
- 1 1/4 cups (300ml) water
- 2 tablespoons (30g) pickling salt or kosher salt, no iodine
- 1 tablespoon mustard seeds
- 1 tablespoon celery seeds
- 1 teaspoon ground turmeric
- 1/2 teaspoon ground cloves
- 1/2 teaspoon ground black pepper
- 1/4 teaspoon ground ginger
Instructions
- Wash the cucumbers well, then slice them thinly (about 1/8 inch or 3 mm thick). Thinly slice the onion as well. Toss both in a large bowl with the pickling salt. Let this sit for 1 hour, stirring occasionally.
- After an hour, drain the cucumbers and onions in a colander and rinse them under cold water to remove excess salt. Pat them dry gently with a clean towel or paper towels.
- In a medium saucepan, combine the granulated sugar, white vinegar, water, mustard seeds, celery seeds, ground turmeric, ground cloves, black pepper, and ground ginger. Bring the mixture to a boil over medium-high heat, stirring occasionally to dissolve the sugar.
- Once boiling, reduce heat and simmer for 3-5 minutes to let the spices infuse.
- Carefully pack the cucumber and onion slices into clean glass jars, layering them evenly but without smashing.
- Using a ladle, pour the hot syrup over the cucumbers and onions, covering them completely. Leave about 1/2 inch (1.27 cm) headspace at the top of each jar.
- Screw on the lids tightly and let the jars cool at room temperature for about 30 minutes.
- Transfer the jars to the refrigerator. The pickles will be ready to eat after about 4 hours but taste best after 24 hours when flavors have melded. They keep well refrigerated for up to 2 weeks.
Notes
Do not skip the salting step to keep pickles crisp. Stir syrup frequently to avoid burning sugar. Avoid overcrowding jars to ensure even pickling. Let pickles sit at least 24 hours for best flavor. Adjust sugar and vinegar to taste for sweetness or tanginess. Use a heavy-bottomed pan to prevent syrup burning.
Nutrition
- Serving Size: 1/4 cup (60g)
- Calories: 45
- Sugar: 10
- Sodium: 280
- Carbohydrates: 12
- Fiber: 1
Keywords: bread and butter pickles, pickles recipe, homemade pickles, sweet and tangy pickles, refrigerator pickles, easy pickles, summer pickles