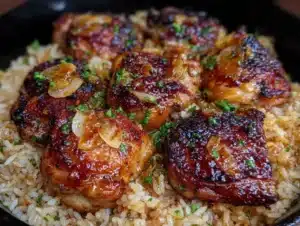
My partner took one bite, stopped mid-sentence, and just pointed at the plate with his fork. That was it. No words, just a fork pointing at the chicken like it had personally offended him by being so good. I had thrown this skillet together after a day where the fridge felt empty and my energy was emptier. I honestly expected a shrug, maybe a “it’s fine.” Instead, I got a silent fork-point and then a second helping before I had even sat down. That moment—the one where someone else’s reaction tells you everything—is exactly why this easy garlic butter chicken and rice recipe became a permanent fixture in our week.
This isn’t a complicated dish. It’s the kind of meal you make when you need dinner on the table fast, but you still want it to feel like a real meal, you know? The kind where the kitchen smells amazing and everyone actually looks forward to eating. The chicken stays juicy, the rice soaks up all that garlicky, buttery goodness, and the whole thing comes together in one pan. No fancy techniques, no long ingredient list. Just honest, satisfying food that works.
I’ve made versions of this for years, tweaking the garlic ratio, testing different rice types, figuring out the exact heat level so the chicken browns without burning the butter. This version? It’s the one that gets requested. It’s the one I make without even thinking now. And honestly, that fork-point moment told me everything I needed to know.
Why You’ll Love This Recipe
Let me tell you why this one-pan wonder deserves a spot in your regular rotation. I’ve tested this more times than I can count, adjusting the liquid ratio, playing with heat levels, and even burning a batch or two (we don’t talk about the smoke alarm incident). What I landed on is a recipe that delivers every single time.
- Ready in 15 Minutes: From the moment you start heating the pan to the moment you’re serving plates, it’s fifteen minutes. Perfect for those nights when you walk in the door hungry and need food now.
- Simple Pantry Ingredients: Chicken, rice, garlic, butter, broth. Chances are you already have most of this in your kitchen. No special trips to the store required.
- One Pan, Minimal Cleanup: Everything cooks in a single skillet. Less dishes means more time actually relaxing after dinner. That’s a win in my book.
- Family-Approved: I’ve served this to picky eaters, hungry teenagers, and adults who claim they don’t like garlic. It disappears every single time. The fork-point was not a fluke.
- Unbelievably Flavorful: The garlic butter sauce coats every grain of rice and every piece of chicken. It’s simple, yes, but the flavor is anything but boring. It’s the kind of comfort food that makes you close your eyes after the first bite.
What makes this recipe different from other quick chicken and rice dishes? It’s the technique. Most fast versions end up with dry chicken or mushy rice. By browning the chicken first and then letting it finish cooking with the rice, everything stays tender and perfectly cooked. The garlic gets bloomed in the butter just enough to release its magic without burning. It’s a small detail, but it makes all the difference.
What Ingredients You Will Need
This recipe uses simple, wholesome ingredients to deliver bold flavor and satisfying texture without the fuss. Most of these are pantry staples you probably already have on hand.
- Boneless, skinless chicken breasts (or thighs), cut into bite-sized pieces (about 1 pound). I prefer thighs for extra juiciness, but breasts work beautifully too. If using breasts, try to get even-sized pieces so they cook uniformly.
- Long-grain white rice, uncooked (1 cup). Basmati or jasmine rice works great here. Avoid short-grain or sticky rice, as they can get gummy. I’ve found that rinsing the rice briefly before adding it helps prevent clumping.
- Chicken broth, low-sodium (2 cups). The broth adds so much more depth than water. I recommend Swanson or Kitchen Basics for consistent flavor. If you only have water, add an extra pinch of salt and a dash of onion powder.
- Unsalted butter (3 tablespoons). Unsalted lets you control the salt level. If you only have salted, reduce the added salt in the recipe by about a quarter teaspoon.
- Fresh garlic, minced (4-5 cloves). Fresh is non-negotiable here. Pre-minced jarred garlic has a different flavor and can be bitter. Trust me on this one—fresh garlic makes the dish sing.
- Salt and black pepper (to taste). Start with half a teaspoon of salt and a quarter teaspoon of pepper, then adjust at the end.
- Garlic powder (½ teaspoon). This adds an extra layer of garlic flavor without the sharpness of fresh. It’s a little trick I picked up from a chef friend.
- Onion powder (½ teaspoon). Adds a subtle savory note that rounds out the dish.
- Dried parsley or fresh parsley, for garnish (optional but nice). A sprinkle of green makes it look finished.
- Optional: Red pepper flakes (¼ teaspoon for a little heat). I add this sometimes when I want a tiny kick.
For substitutions: Use ghee instead of butter for a dairy-free option. Brown rice will work, but you’ll need to increase the cooking time and liquid—about 30-35 minutes total with an extra half cup of broth. For a gluten-free version, this recipe is naturally gluten-free as long as your broth is certified gluten-free.
Equipment Needed
You don’t need a lot of fancy tools for this one. Here’s what you’ll need:
- A large skillet or frying pan with a lid (12-inch is ideal). A non-stick or well-seasoned cast iron pan works best. The lid is important for trapping steam to cook the rice. If you don’t have a lid, a sheet of aluminum foil tightly crimped around the edges will work.
- A sharp chef’s knife for cutting the chicken and mincing the garlic. A dull knife makes everything harder and less safe.
- A cutting board (preferably one for meat).
- Measuring cups and spoons. I use a standard set for the rice and broth, and measuring spoons for the seasonings.
- A wooden spoon or silicone spatula for stirring. Metal utensils can scratch non-stick pans.
- A small bowl for holding the minced garlic and seasonings before you add them to the pan.
If you don’t have a large skillet, a Dutch oven or deep sauté pan will work. Just make sure it’s wide enough for the rice to spread out in an even layer. I’ve made this in a cheap non-stick pan from the grocery store and it turned out great, so don’t stress if you don’t have expensive cookware.
Preparation Method
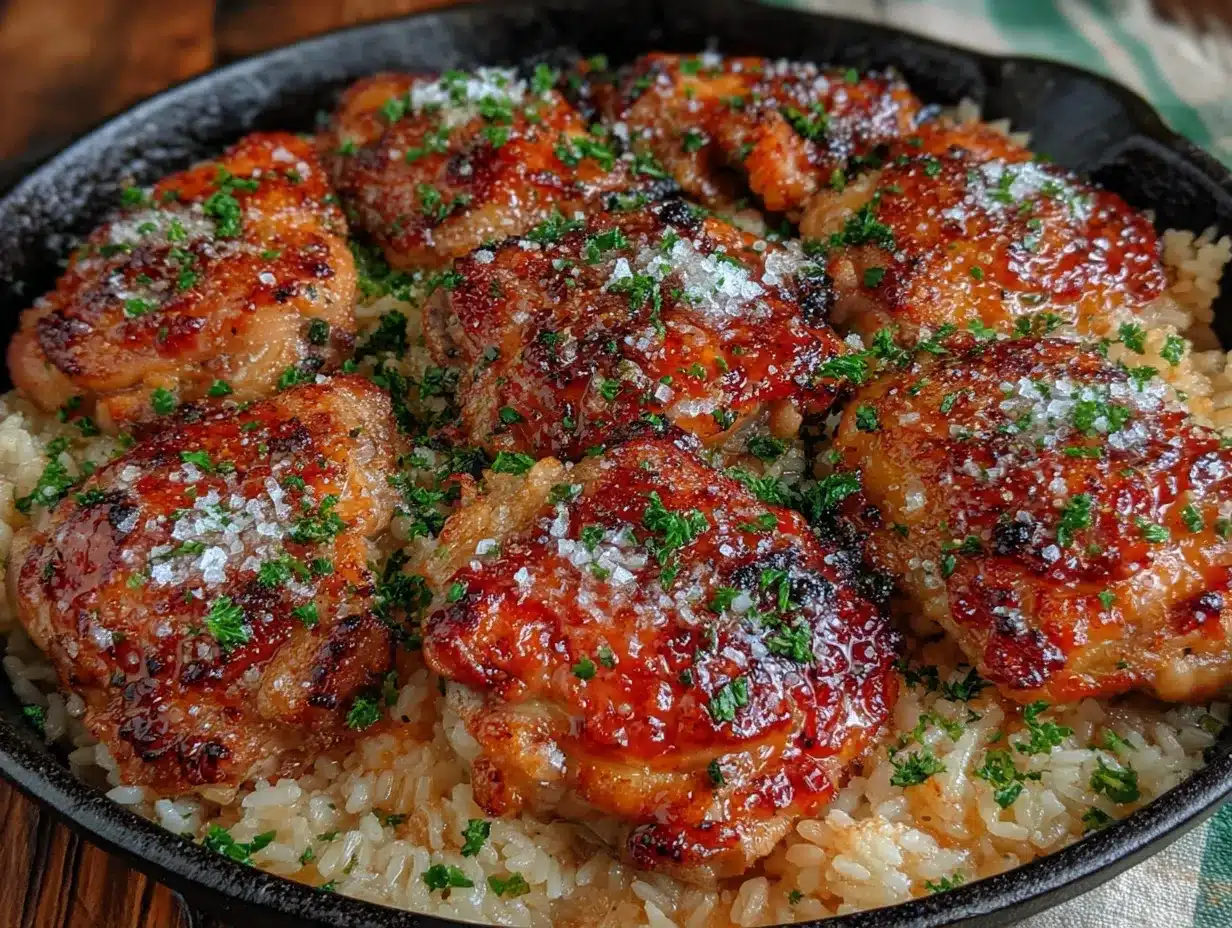
Let’s get cooking. This whole process takes about 15 minutes from start to finish, so have everything prepped and ready before you turn on the heat.
- Prep the chicken. Pat the chicken pieces dry with paper towels. This is important—dry chicken browns better. Season generously with salt, pepper, garlic powder, and onion powder. Toss to coat evenly. Let it sit for a minute while you heat the pan.
- Heat the skillet. Place your skillet over medium-high heat. Add 2 tablespoons of the butter. Let it melt and get foamy, but don’t let it brown. You want it hot enough that the chicken sizzles when it hits the pan.
- Sear the chicken. Add the seasoned chicken pieces in a single layer. Don’t overcrowd the pan—if you have to, cook in two batches. Let the chicken cook undisturbed for 3-4 minutes until the bottom is golden brown. Flip and cook another 2-3 minutes. The chicken doesn’t need to be fully cooked through yet; it will finish cooking with the rice. Remove the chicken to a plate and set aside.
- Bloom the garlic. Reduce the heat to medium. Add the remaining 1 tablespoon of butter to the pan. Once melted, add the minced fresh garlic. Stir constantly for about 30 seconds until fragrant. Don’t walk away—garlic burns fast and burnt garlic tastes bitter. You’ll know it’s ready when the kitchen smells amazing.
- Toast the rice. Add the uncooked rice to the pan. Stir it around in the garlic butter for about 1 minute. The rice should start looking slightly translucent at the edges. This step adds a nutty flavor and helps keep the grains separate.
- Add the broth. Pour in the chicken broth. Stir to combine, scraping up any browned bits from the bottom of the pan. Those bits are pure flavor. Bring the liquid to a simmer.
- Return the chicken. Nestle the seared chicken pieces back into the rice. Any juices that accumulated on the plate go in too. Don’t stir too much after this—just gently push the chicken into the rice.
- Cover and cook. Put the lid on the skillet. Reduce the heat to low. Let it cook undisturbed for 12 minutes. I know it’s tempting to peek, but try not to. Lifting the lid lets steam escape, which can make the rice take longer to cook.
- Rest and fluff. After 12 minutes, turn off the heat. Keep the lid on and let it rest for 2-3 minutes. This allows the rice to absorb any remaining liquid. Remove the lid, fluff the rice gently with a fork, and taste for seasoning. Add more salt or pepper if needed.
- Garnish and serve. Sprinkle with dried parsley or fresh parsley if using. Add a pinch of red pepper flakes if you like a little heat. Serve immediately.
One thing I learned the hard way: if your rice seems a little wet after 12 minutes, just let it sit covered for another 2-3 minutes off the heat. It usually absorbs the extra liquid during resting. If it’s still wet after that, your heat might have been too low or your lid wasn’t sealed properly.
Cooking Tips & Techniques
After making this dish more times than I can count, I’ve picked up a few tricks that make a real difference.
Don’t skip the browning step. I know it adds a few minutes, but that golden crust on the chicken is where the flavor lives. It also creates browned bits in the pan that flavor the rice. If you’re in a huge rush, you can skip it and just cook everything together, but the flavor won’t be as deep. Trust me, the extra 5 minutes are worth it.
Use room temperature chicken if possible. Cold chicken straight from the fridge lowers the pan temperature too quickly, which means it steams instead of sears. Let the chicken sit on the counter for 10-15 minutes while you prep everything else.
Watch your heat levels. Medium-high for searing, then low for simmering. If you cook the rice on too high heat, the liquid will evaporate before the rice is tender. I learned this the hard way when I ended up with crunchy rice and burnt butter. Not my finest moment.
Fluff, don’t stir. When the rice is done, use a fork to gently fluff it. Stirring with a spoon can break the grains and make the rice gummy. I’m guilty of this too—it’s so tempting to just mix everything together. But fluffing gives you those perfect separate grains.
Double the garlic if you’re a garlic lover. I usually use 5 cloves, but sometimes I go up to 7 or 8 when I’m cooking just for us. The garlic mellows as it cooks, so don’t be afraid to be generous.
One mistake I made early on: I used pre-minced garlic from a jar. It turned bitter and the flavor was flat. Fresh garlic really does make a difference here. It takes 30 seconds to peel and mince a few cloves, and the payoff is huge.
Variations & Adaptations
This recipe is incredibly flexible. Here are some ways I’ve adapted it depending on what I have on hand or who I’m cooking for.
Vegetable-Packed Version: Add a cup of frozen peas and carrots during the last 5 minutes of cooking. Or stir in a handful of fresh spinach right before covering—it wilts down beautifully. I’ve also added diced bell peppers and zucchini, sautéing them with the garlic before adding the rice. It turns a simple dinner into a more complete meal.
Creamy Garlic Butter Chicken and Rice: Stir in ¼ cup of heavy cream or full-fat coconut milk after the rice has cooked. It makes the dish richer and almost risotto-like. My partner requests this version when he’s had a long week. It’s comfort food at its finest.
Spicy Kick Version: Add ½ teaspoon of red pepper flakes with the garlic, and finish with a drizzle of sriracha or your favorite hot sauce. If you love heat like I do, this version is fantastic. It pairs well with a side of roasted vegetables to balance the spice.
Herb-Infused Version: Add a sprig of fresh thyme or rosemary to the broth while it simmers. Remove the sprig before serving. The herbs add a subtle earthy note that complements the garlic beautifully. I tried this on a whim one Sunday and it’s become a favorite for weekend dinners.
Dairy-Free Adaptation: Use ghee or a high-quality olive oil instead of butter. The flavor changes slightly, but it’s still delicious. I’ve used avocado oil in a pinch and it worked fine.
Slow Cooker Method: Brown the chicken and bloom the garlic in a skillet first, then transfer everything to a slow cooker. Cook on low for 2-3 hours. The rice will be softer and more porridge-like, but it’s still good. This is great for meal prep.
Serving & Storage Suggestions
This dish is best served hot, straight from the skillet. The rice is fluffy, the chicken is tender, and the garlic butter flavor is at its peak. I like to serve it in shallow bowls with a sprinkle of fresh parsley on top.
What to serve with it: A simple green salad with a lemon vinaigrette balances the richness perfectly. Steamed broccoli or green beans also work well. If you want something heartier, try it with a side of roasted asparagus or a simple cucumber salad. For a complete meal, I sometimes pair it with a bowl of creamy roasted tomato basil soup for dipping—the flavors complement each other beautifully.
Leftovers: Store in an airtight container in the refrigerator for up to 3 days. The rice will absorb more liquid as it sits, so it will be a bit softer when reheated. To reheat, add a splash of chicken broth or water and microwave in 30-second intervals, stirring between each, until hot. You can also reheat in a skillet over medium-low heat with a little butter.
Freezer instructions: This dish freezes surprisingly well. Let it cool completely, then transfer to a freezer-safe container. It will keep for up to 2 months. Thaw overnight in the refrigerator and reheat as directed. The texture won’t be quite as perfect as fresh, but it’s still a great option for busy nights.
Flavor development: Honestly, the flavors meld even more overnight. Some people say leftovers taste even better the next day. I’m one of those people. The garlic mellows and the rice absorbs all the savory goodness. It’s perfect for meal prep lunches.
Nutritional Information & Benefits
This recipe is a balanced meal on its own, with protein from the chicken, carbohydrates from the rice, and healthy fats from the butter. Here’s an approximate breakdown per serving (based on 4 servings):
- Calories: 420-480
- Protein: 32-35g
- Carbohydrates: 45-50g
- Fat: 12-15g
- Fiber: 1-2g
- Sodium: 650-750mg (varies based on broth and added salt)
Health benefits: Chicken is a lean source of protein, essential for muscle repair and satiety. Garlic is known for its immune-supporting properties—it contains allicin, a compound with antioxidant and anti-inflammatory effects. Butter provides fat-soluble vitamins like A and D, and when used in moderation, it adds richness without overloading the dish.
Dietary considerations: This recipe is naturally gluten-free (check your broth label to be sure). For a lower-carb option, swap the rice for cauliflower rice, though cooking times will vary significantly—about 5-7 minutes covered, then fluff and serve. For a lower-sodium version, use low-sodium broth and reduce the added salt. The dish is not suitable for vegan or dairy-free diets as written, but the adaptations above offer alternatives.
Potential allergens: This recipe contains dairy (butter). It is free from nuts, eggs, soy, and shellfish as written.
Conclusion
This easy garlic butter chicken and rice has become my go-to for so many reasons. It’s fast enough for a frantic Tuesday night, but satisfying enough that it feels like a real meal. The garlic butter sauce coats everything in savory goodness, the chicken stays juicy, and the rice comes out perfectly fluffy every time. It’s the kind of recipe that proves you don’t need complicated techniques or exotic ingredients to make something genuinely delicious.
I love that this dish is a blank canvas. You can keep it simple or dress it up with vegetables, herbs, or a splash of cream. It works for picky eaters and food lovers alike. And honestly, it’s saved me more times than I can count when I had nothing planned for dinner and a hungry family to feed.
If you make this recipe, I’d love to hear how it turned out. Did you add any twists? Did your family react with a silent fork-point like mine did? Drop a comment below and let me know. And if you’re looking for another quick one-pan dinner, try these crispy buffalo ranch chicken skewers for a different flavor profile that’s just as fast. Happy cooking!
Frequently Asked Questions
Can I use brown rice instead of white rice?
Yes, but you’ll need to adjust the cooking time and liquid. Brown rice takes about 30-35 minutes to cook and needs about 2 ½ cups of broth instead of 2. The method is the same, but the total time will be longer. I recommend parcooking the brown rice for 15 minutes before adding the chicken back to the pan.
How do I prevent the rice from burning on the bottom?
Make sure your heat is low enough after you add the broth and cover the pan. If your stovetop runs hot, use the lowest heat setting. Also, make sure your pan has a tight-fitting lid. If the lid is loose, steam escapes and the rice can dry out. If you notice a burning smell, turn off the heat immediately and let the pan rest covered for 5 minutes—the residual heat usually finishes cooking the rice.
Can I make this recipe with frozen chicken?
I don’t recommend it. Frozen chicken releases too much water as it thaws in the pan, which prevents browning and can make the rice mushy. If you only have frozen chicken, thaw it completely in the refrigerator overnight, then pat it very dry before searing. For a quicker option, try crispy honey mustard chicken tenders instead—they work great with thawed chicken.
How do I make this recipe dairy-free?
Swap the butter for ghee (which is lactose-free) or a good quality olive oil. I’ve used avocado oil too, and it works fine. The flavor will be slightly different, but still delicious. If you use olive oil, choose one with a mild flavor so it doesn’t overpower the garlic.
Can I double this recipe?
Absolutely, but you’ll need a larger pan or Dutch oven. A 12-inch skillet is perfect for a single batch. For a double batch, use a 14-inch skillet or a large Dutch oven. The cooking time may increase by 2-3 minutes. Make sure the rice is in an even layer so it cooks evenly. If your pan isn’t big enough, cook in two separate batches.
Pin This Recipe!
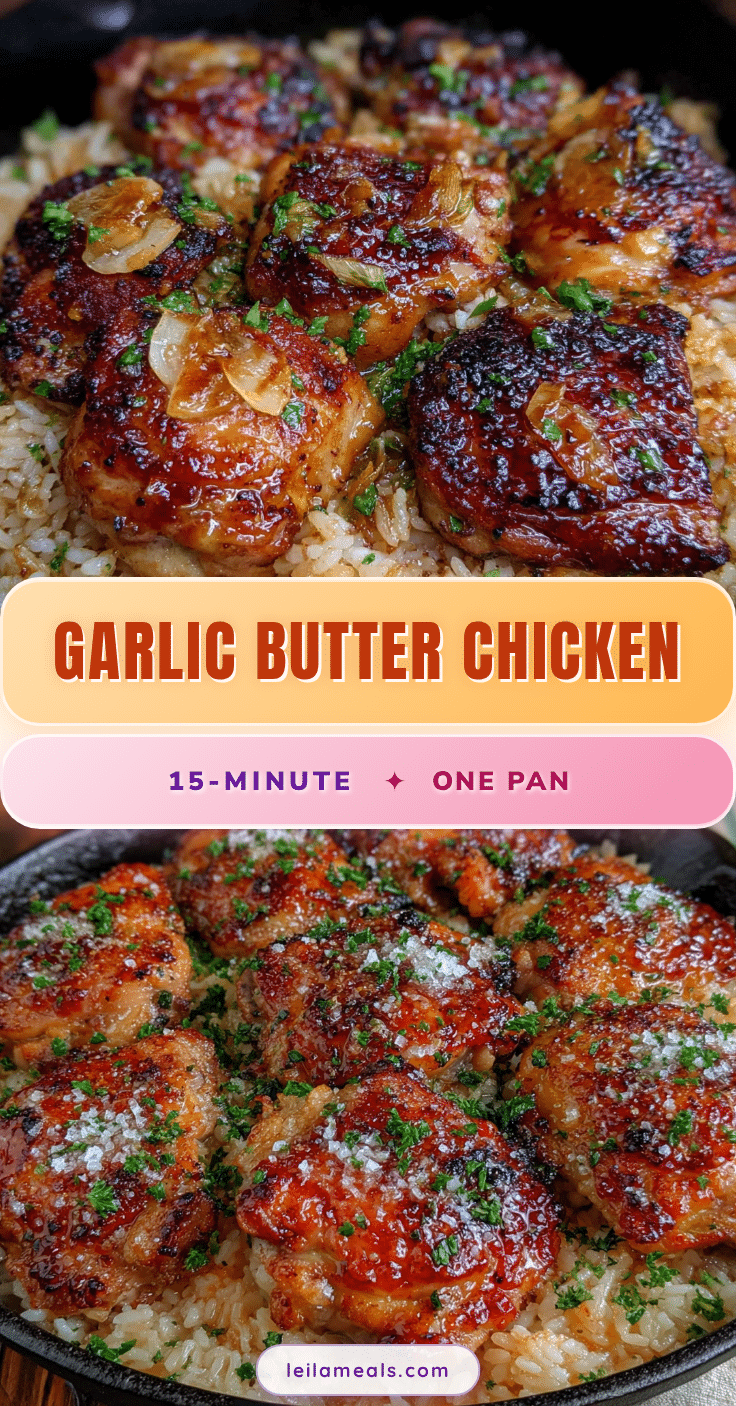
Easy Garlic Butter Chicken and Rice: The Best 15-Minute Dinner
A quick and satisfying one-pan meal featuring juicy chicken and fluffy rice coated in a rich garlic butter sauce. Ready in just 15 minutes, this family-friendly recipe uses simple pantry ingredients and minimal cleanup.
- Prep Time: 5 minutes
- Cook Time: 15 minutes
- Total Time: 20 minutes
- Yield: 4 servings 1x
- Category: Main Course
- Cuisine: American
Ingredients
- 1 pound boneless, skinless chicken breasts or thighs, cut into bite-sized pieces
- 1 cup long-grain white rice (such as basmati or jasmine), uncooked
- 2 cups low-sodium chicken broth
- 3 tablespoons unsalted butter
- 4–5 cloves fresh garlic, minced
- ½ teaspoon salt, plus more to taste
- ¼ teaspoon black pepper, plus more to taste
- ½ teaspoon garlic powder
- ½ teaspoon onion powder
- Dried parsley or fresh parsley, for garnish (optional)
- ¼ teaspoon red pepper flakes (optional, for heat)
Instructions
- Pat the chicken pieces dry with paper towels. Season generously with salt, pepper, garlic powder, and onion powder. Toss to coat evenly.
- Heat a large skillet (12-inch) over medium-high heat. Add 2 tablespoons of butter and let it melt until foamy but not browned.
- Add the seasoned chicken in a single layer. Cook undisturbed for 3-4 minutes until golden brown, then flip and cook another 2-3 minutes. The chicken does not need to be fully cooked through. Remove to a plate and set aside.
- Reduce heat to medium. Add the remaining 1 tablespoon of butter. Once melted, add the minced garlic and stir constantly for about 30 seconds until fragrant.
- Add the uncooked rice to the pan and stir for about 1 minute until the edges look slightly translucent.
- Pour in the chicken broth, stirring to combine and scraping up any browned bits from the bottom. Bring to a simmer.
- Nestle the seared chicken pieces back into the rice, including any accumulated juices. Do not stir too much.
- Cover the skillet with a lid, reduce heat to low, and cook undisturbed for 12 minutes.
- Turn off the heat and let the pan rest covered for 2-3 minutes. Remove the lid, fluff the rice gently with a fork, and adjust seasoning with salt and pepper if needed.
- Garnish with parsley and red pepper flakes if desired. Serve immediately.
Notes
For best results, use fresh garlic and pat chicken dry before seasoning. If rice seems wet after 12 minutes, let it sit covered off heat for 2-3 more minutes. For a dairy-free option, substitute butter with ghee or olive oil. Brown rice can be used but requires longer cooking time and more liquid.
Nutrition
- Serving Size: 1 serving (about 1.5
- Calories: 450
- Sugar: 1
- Sodium: 700
- Fat: 14
- Saturated Fat: 7
- Carbohydrates: 48
- Fiber: 1
- Protein: 33
Keywords: garlic butter chicken and rice, one-pan chicken and rice, 15-minute dinner, easy chicken recipe, quick weeknight dinner