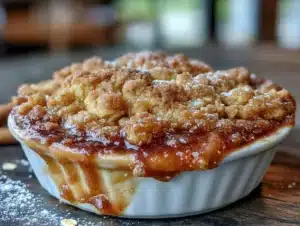
It was 11:47 PM on a random Wednesday, and I had this ridiculous craving for something warm, sweet, and buttery. I didn’t have the patience for a pie crust—honestly, who has that energy at almost midnight?—but I had a bag of Honeycrisp apples starting to soften on the counter and a stick of butter that was practically begging to be browned. That’s when the idea hit me: what if I skipped the fussy pastry and just went straight for a deep, nutty brown butter situation with a crunchy oat crumble on top? The kind of dessert that looks like you spent hours on it but really came together in a sleepy, impulsive haze.
I grabbed my favorite cast iron skillet—the one with the slightly wobbly handle I keep meaning to fix—and started browning butter like my life depended on it. The kitchen filled with this insane toasty smell, and I remember thinking, “If this doesn’t work, I’m eating cold cereal instead.” But it did work. Oh, it really worked. The apples softened into this jammy, cinnamon-spiced filling while the oat crumble got all golden and shatteringly crisp on top. I ate it straight from the pan with a spoon, standing at the counter in my pajamas, and I knew I’d stumbled onto something special.
Now, I make this brown butter apple crisp for every single gathering I host. It’s my secret weapon—the dessert that makes people close their eyes and go quiet for a second before they start asking for the recipe. And honestly? It came from a late-night craving and a refusal to make things complicated. Maybe you’ve been there too, standing in your kitchen at an unreasonable hour, just wanting something that feels like a hug. This is that recipe.
Why You’ll Love This Recipe
Let me tell you why this brown butter apple crisp has become my most-requested dessert for dinner parties, potlucks, and holiday gatherings. It’s not just another apple crisp—it’s the one that disappears first, every single time.
- Browned Butter Magic: That nutty, caramelized depth takes ordinary apples to a whole new level. I’ve tested this with regular melted butter, and trust me, the extra three minutes of browning makes all the difference.
- Crowd-Pleasing Portions: This recipe fills a 9×13 baking dish, which means it serves 8-10 people easily. Perfect for when you’re hosting and want everyone to get seconds (and they will ask for seconds).
- Make-Ahead Friendly: You can assemble the whole thing the night before your party and just pop it in the oven when guests arrive. The smell alone will make them think you’ve been baking all day.
- Simple Pantry Ingredients: No fancy grocery store trips needed. Apples, oats, butter, flour, sugar, and cinnamon—that’s basically it. I usually have everything on hand, which is dangerous knowledge.
- Unbelievably Easy Technique: If you can brown butter and toss apples with cinnamon, you can make this. No rolling pins, no pie weights, no fuss.
What makes this recipe different from every other apple crisp out there? It’s the brown butter, plain and simple. I tested this side by side with a regular version for a dinner party once (yes, I’m that person), and the brown butter batch got devoured while the other one sat there looking sad. The nutty richness pairs perfectly with the tart-sweet apples, and the oat crumble gets this incredible texture that’s both crunchy and tender.
This is the dessert that makes you look like a hero with almost no effort. It’s comfort food at its finest—warm, spiced, and completely irresistible. Perfect for impressing guests without breaking a sweat.
What Ingredients You Will Need
This recipe keeps things wonderfully simple with ingredients you probably already have in your kitchen. Each component plays a specific role in creating that perfect balance of sweet, nutty, and crisp textures.
For the Brown Butter Apple Filling
- 6-7 medium apples (about 3 pounds), peeled, cored, and sliced into 1/4-inch thick pieces (I prefer Honeycrisp or Granny Smith for the perfect sweet-tart balance)
- 1/2 cup unsalted butter (Kerrygold is my go-to for the richest flavor)
- 1/3 cup granulated sugar
- 1/4 cup light brown sugar, packed
- 2 tablespoons all-purpose flour (helps thicken the juices as it bakes)
- 1 tablespoon lemon juice (fresh squeezed, please—it brightens everything)
- 1 teaspoon ground cinnamon
- 1/4 teaspoon ground nutmeg (freshly grated if you’re feeling fancy)
- 1/4 teaspoon salt
- 1 teaspoon vanilla extract
For the Oat Crumble Topping
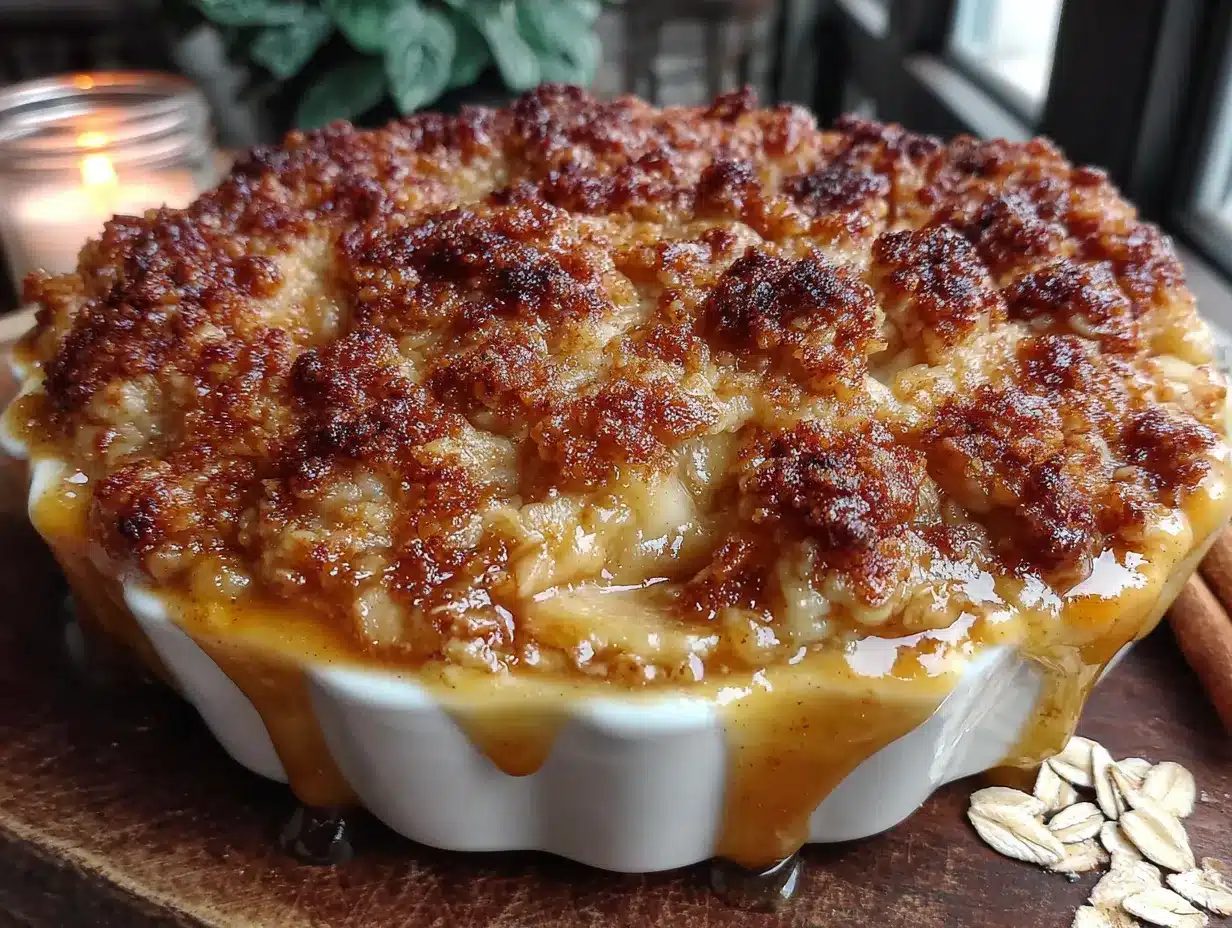
- 1 cup old-fashioned rolled oats (not quick oats—they get mushy)
- 3/4 cup all-purpose flour
- 1/2 cup light brown sugar, packed
- 1/4 cup granulated sugar
- 1/2 teaspoon ground cinnamon
- 1/4 teaspoon salt
- 1/2 cup unsalted butter, cold and cut into small cubes
- 1/2 cup chopped pecans or walnuts (optional, but highly recommended for extra crunch)
A few ingredient notes from my countless batches: For the apples, I love using a mix of Honeycrisp and Granny Smith. The Honeycrisp holds its shape beautifully while the Granny Smith breaks down slightly, creating that perfect jammy texture. If you can only find one variety, go with Honeycrisp—they’re sweet enough that you can reduce the sugar slightly if you prefer.
For the oats, please use old-fashioned rolled oats. Quick oats will turn into mush, and steel-cut oats won’t soften enough. I’ve tested all three so you don’t have to. The cold butter for the crumble is non-negotiable—it creates those beautiful, craggy pieces that get perfectly golden in the oven.
Equipment Needed
You don’t need a professional kitchen to make this brown butter apple crisp, but a few key tools will make your life easier.
- 9×13-inch baking dish (glass or ceramic works best for even heat distribution)
- Large skillet (for browning the butter—a light-colored pan helps you see when it’s done)
- Large mixing bowl (for the apple filling)
- Medium mixing bowl (for the crumble topping)
- Sharp chef’s knife and cutting board (for peeling and slicing apples)
- Measuring cups and spoons
- Wooden spoon or silicone spatula
- Pastry cutter or two forks (for cutting butter into the crumble—I’ve used my hands in a pinch and it works fine)
If you don’t have a pastry cutter, don’t stress. I’ve made the crumble topping with just my fingertips more times than I can count. The warmth from your hands can soften the butter a bit, so work quickly and pop the topping in the fridge for 10 minutes before using it. That little trick has saved me more times than I’d like to admit.
Preparation Method
Alright, let’s make this happen. I’ve broken this down so even if you’re hosting a crowd and feeling the pressure, you won’t miss a step.
- Preheat your oven to 350°F (175°C). Position the rack in the center of the oven. Butter your 9×13 baking dish lightly—this prevents sticking and makes cleanup easier.
- Brown the butter for the filling: Place 1/2 cup unsalted butter in your skillet over medium heat. Let it melt completely, then continue cooking, swirling the pan occasionally. You’ll see it foam up, then the foam will subside, and tiny brown specks will appear at the bottom. This takes about 5-7 minutes. The moment it smells nutty and turns a golden-amber color, remove it from the heat immediately. Pour it into a heatproof bowl to stop the cooking—trust me, it can go from perfect to burnt in seconds. I learned this the hard way.
- Prepare the apples: While the butter cools slightly, peel, core, and slice your apples into 1/4-inch thick pieces. Don’t stress about uniformity too much, but try to keep them similar in size so they cook evenly. Place them in your large mixing bowl.
- Make the filling: To the bowl with the apples, add the browned butter (it should still be liquid), granulated sugar, brown sugar, flour, lemon juice, cinnamon, nutmeg, salt, and vanilla extract. Toss everything together until the apples are evenly coated. Let this sit for 5 minutes while you make the crumble—this helps the apples release some of their juices.
- Make the oat crumble: In your medium mixing bowl, combine the rolled oats, flour, brown sugar, granulated sugar, cinnamon, and salt. Whisk together until evenly mixed. Add the cold butter cubes and the chopped nuts if using. Use a pastry cutter or your fingertips to work the butter into the dry ingredients until the mixture resembles coarse sand with some pea-sized butter pieces remaining. Don’t overwork it—those little butter chunks create the best crunchy bits.
- Assemble the crisp: Pour the apple mixture into your prepared baking dish and spread it into an even layer. Sprinkle the oat crumble evenly over the top, covering all the apples. Don’t press it down—you want it loose so it gets nice and crispy.
- Bake: Place the dish on a baking sheet to catch any bubbling juices (trust me on this one—I’ve cleaned my oven floor more times than I’d like to admit). Bake for 40-45 minutes, or until the filling is bubbly around the edges and the topping is deep golden brown. If the topping is browning too quickly around the 30-minute mark, tent loosely with foil for the remaining time.
- Cool slightly: Let the crisp rest on a wire rack for at least 15-20 minutes before serving. This allows the filling to set up a bit so it’s not too runny. I know it’s tempting to dig in immediately, but patience pays off here.
The filling will be bubbling and thick, and the topping should be crisp enough that you hear a slight crunch when you press it with a spoon. That’s how you know it’s perfect.
Cooking Tips & Techniques
After making this brown butter apple crisp for countless gatherings, I’ve collected a few tricks that separate a good crisp from a legendary one.
Don’t rush the browning butter. This is the most important step, and it’s where most people mess up. Use a light-colored pan so you can actually see the color change. Swirl the pan constantly once it starts foaming. The moment you see those brown specks form and smell that nutty aroma, pull it off the heat. I’ve burned four batches of butter learning this lesson, and each time I wanted to cry a little.
Use a mix of apple varieties. For the best texture, combine a firm apple like Honeycrisp or Fuji with a softer one like Granny Smith or Braeburn. The firm apples hold their shape while the softer ones break down into that luscious, jammy filling. I once used only Gala apples, and the filling turned to mush. Never again.
Let the apples macerate. After tossing the apples with the sugar and spices, let them sit for 5-10 minutes. This draws out some liquid, which combines with the flour to create a natural syrup. It also means your crisp won’t be watery or runny after baking.
Keep the crumble cold. If your kitchen is warm, pop the prepared crumble topping in the fridge for 10 minutes while the apples macerate. Cold butter creates steam pockets in the oven, which leads to those perfect, craggy crispy bits. Warm butter just melts into a flat, sad topping.
Bake on a sheet pan. I cannot stress this enough. That bubbling apple filling will inevitably spill over the edges, and scraping burnt sugar off your oven floor is nobody’s idea of a good time. A rimmed baking sheet saves you so much headache.
Make it ahead for gatherings. This is my favorite hosting hack: assemble the entire crisp the night before, cover it tightly with foil, and refrigerate. When guests arrive, just pop it in the oven and add 10 minutes to the baking time. Your house will smell incredible, and everyone will think you’ve been slaving away all day.
Variations & Adaptations
One of the best things about this brown butter apple crisp is how easily it adapts to different tastes and dietary needs. Here are some variations I’ve tested over the years.
Gluten-Free Version: Substitute the all-purpose flour in both the filling and the crumble with a 1:1 gluten-free baking flour blend. I’ve had great results with Bob’s Red Mill. The texture is slightly more delicate, but the flavor is still incredible. My gluten-free friends always appreciate having a dessert they can actually eat.
Dairy-Free Adaptation: Use vegan butter sticks (not the spreadable kind in a tub) for both the filling and the crumble. Miyoko’s or Country Crock Plant Butter work beautifully. The brown butter flavor won’t be as pronounced, but it’s still delicious. I made this for a friend with a dairy allergy, and she asked for the recipe before she even finished her first serving.
Seasonal Fruit Swaps: In the fall, try adding fresh cranberries or diced pears along with the apples. In summer, this recipe works beautifully with peaches or nectarines—just reduce the sugar slightly since stone fruits are sweeter. I made a peach version last July, and it was gone in 15 minutes at a barbecue.
Spice It Up: Add 1/4 teaspoon of cardamom or ginger along with the cinnamon for a more complex flavor profile. A pinch of cloves or allspice also works beautifully. My personal favorite is adding a splash of bourbon or dark rum to the apple filling—it adds this warm, grown-up depth that’s perfect for holiday gatherings.
Extra Crunchy Topping: Double the nuts in the crumble, or add 1/4 cup of toasted coconut flakes. I once added crushed graham crackers to the topping (don’t judge—I was out of oats), and it was surprisingly amazing.
Serving & Storage Suggestions
This brown butter apple crisp is at its absolute best served warm, about 15-20 minutes after it comes out of the oven. The filling is still slightly saucy, and the topping is perfectly crisp. Here’s how to make it shine for your guests.
Serve it with style: A generous scoop of vanilla bean ice cream is the classic pairing—the cold creaminess against the warm, spiced apples is pure magic. For a more decadent option, try salted caramel ice cream or a drizzle of warm caramel sauce. If you’re serving a crowd, set up a little topping bar with whipped cream, caramel sauce, and a sprinkle of flaky sea salt. People love customizing their own bowls.
What to serve alongside: This crisp is rich enough to stand alone, but it pairs beautifully with a simple green salad or roasted pork tenderloin if you’re serving it as part of a larger meal. For a fall-themed dinner party, I love serving it after a hearty butternut squash soup or roasted chicken. The warmth of the crisp complements those cozy flavors perfectly.
Storage instructions: Cover the baking dish tightly with foil or transfer leftovers to an airtight container. It will keep in the refrigerator for up to 4 days. The topping will lose some of its crunch over time, but the flavor actually gets better as the spices meld together.
Reheating tips: For best results, reheat individual portions in a 350°F oven for 10-12 minutes, or in the microwave for 45-60 seconds. The microwave is faster but will soften the topping completely. If you want to restore some crunch, pop it under the broiler for 1-2 minutes after microwaving—watch it carefully so it doesn’t burn.
Freezer-friendly: You can freeze the assembled, unbaked crisp for up to 3 months. Wrap the dish tightly in plastic wrap, then foil. When ready to bake, thaw overnight in the refrigerator, then bake as directed, adding 10-15 minutes to the baking time. I always keep one in the freezer for unexpected guests or those nights when I need a little comfort.
Nutritional Information & Benefits
While this brown butter apple crisp is definitely a treat, it does offer some surprising nutritional benefits. Here’s a rough breakdown per serving (based on 10 servings):
| Nutrient | Amount Per Serving |
|---|---|
| Calories | 385 |
| Total Fat | 18g |
| Saturated Fat | 10g |
| Cholesterol | 40mg |
| Sodium | 210mg |
| Total Carbohydrates | 55g |
| Dietary Fiber | 5g |
| Sugars | 35g |
| Protein | 4g |
The apples provide a good dose of fiber and vitamin C, while the oats offer soluble fiber that’s great for heart health. The nuts add healthy fats and a bit of protein. I love that this dessert feels indulgent but isn’t completely devoid of nutritional value—it’s comfort food you can feel a little less guilty about.
For those watching their sugar intake, you can reduce the sugar by 1/4 cup without sacrificing too much sweetness, especially if you’re using naturally sweet apples like Honeycrisp or Fuji. And if you’re serving this to someone with nut allergies, simply omit the pecans from the topping—it’s still absolutely delicious.
Conclusion
This brown butter apple crisp with oat crumble has become my go-to dessert for every gathering, and I honestly can’t imagine hosting without it. It started as a late-night experiment born from a craving and a refusal to make things complicated, and now it’s the recipe my friends request for birthday dinners, holiday parties, and casual Sunday suppers.
What I love most about this recipe is how forgiving it is. You can swap the apples, adjust the spices, double the crumble—it always works. It’s the kind of dessert that makes you look like a hero without any of the stress. And when you serve it warm with a scoop of melting ice cream and watch your guests close their eyes after that first bite? That’s the moment it all feels worth it.
I’d love to hear how yours turns out! Did you try any fun variations? Did you double the crumble like I always do? Drop a comment below and let me know—your feedback helps other home cooks too. And if you’re hosting a dinner party soon, this is the dessert that will steal the show. Happy baking, friends!
Frequently Asked Questions
Can I use pre-sliced apples from the store?
You can, but I don’t recommend it. Pre-sliced apples are often treated with preservatives to prevent browning, which can affect the texture and flavor. Plus, they’re usually cut thicker than ideal for this recipe. Taking 10 minutes to slice your own apples makes a noticeable difference in the final result.
Why did my crumble topping turn out soggy?
Soggy crumble usually happens for two reasons: either your butter was too warm when you mixed it into the dry ingredients, or you didn’t bake the crisp long enough. Make sure your butter is cold straight from the fridge, and bake until the topping is deep golden brown and the filling is bubbling around the edges. A hot oven is your friend here.
Can I make this in a different size pan?
Absolutely. For an 8×8 or 9×9 square pan, halve the recipe and bake for 30-35 minutes. For a smaller 6-inch skillet, quarter the recipe and bake for about 25 minutes. Just keep an eye on the topping—you want it golden and crisp, not burnt.
How do I know when the brown butter is done?
Watch for three signs: the butter will turn a warm amber color, you’ll see tiny brown specks forming at the bottom of the pan, and it will smell intensely nutty and toasty. Once you hit that point, remove it from the heat immediately. It takes about 5-7 minutes over medium heat. Don’t walk away from it—brown butter can go from perfect to burnt in seconds.
Can I use frozen apples?
I wouldn’t recommend it. Frozen apples release a lot of water as they thaw, which will make your filling watery and your topping soggy. If you’re in a pinch, you can use them, but thaw them completely first and drain off any excess liquid. Fresh apples really do give the best results here.
Pin This Recipe!
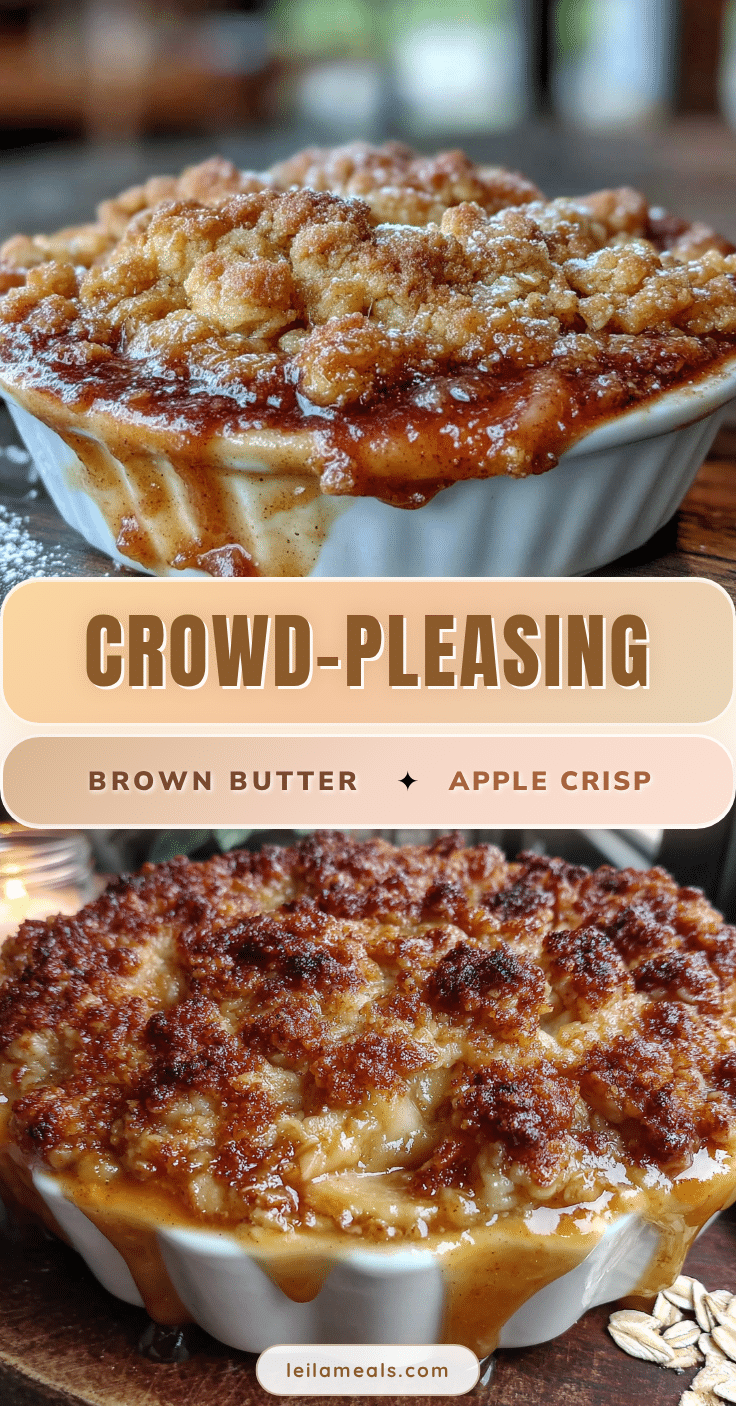
Best Brown Butter Apple Crisp with Oat Crumble
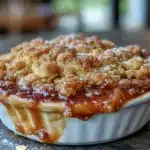
This brown butter apple crisp features a nutty, caramelized depth that takes ordinary apples to a whole new level, topped with a crunchy oat crumble. It’s the perfect dessert for gatherings, easy to make ahead, and always disappears first.
- Prep Time: 20 minutes
- Cook Time: 45 minutes
- Total Time: 1 hour 5 minutes
- Yield: 8-10 servings 1x
- Category: Dessert
- Cuisine: American
Ingredients
- 6–7 medium apples (about 3 pounds), peeled, cored, and sliced into 1/4-inch thick pieces (Honeycrisp or Granny Smith recommended)
- 1/2 cup unsalted butter (Kerrygold recommended)
- 1/3 cup granulated sugar
- 1/4 cup light brown sugar, packed
- 2 tablespoons all-purpose flour
- 1 tablespoon lemon juice (fresh squeezed)
- 1 teaspoon ground cinnamon
- 1/4 teaspoon ground nutmeg (freshly grated if possible)
- 1/4 teaspoon salt
- 1 teaspoon vanilla extract
- 1 cup old-fashioned rolled oats (not quick oats)
- 3/4 cup all-purpose flour
- 1/2 cup light brown sugar, packed
- 1/4 cup granulated sugar
- 1/2 teaspoon ground cinnamon
- 1/4 teaspoon salt
- 1/2 cup unsalted butter, cold and cut into small cubes
- 1/2 cup chopped pecans or walnuts (optional)
Instructions
- Preheat your oven to 350°F (175°C). Position the rack in the center of the oven. Butter your 9×13 baking dish lightly.
- Brown the butter for the filling: Place 1/2 cup unsalted butter in your skillet over medium heat. Let it melt completely, then continue cooking, swirling the pan occasionally. You’ll see it foam up, then the foam will subside, and tiny brown specks will appear at the bottom. This takes about 5-7 minutes. The moment it smells nutty and turns a golden-amber color, remove it from the heat immediately. Pour it into a heatproof bowl to stop the cooking.
- Prepare the apples: While the butter cools slightly, peel, core, and slice your apples into 1/4-inch thick pieces. Place them in your large mixing bowl.
- Make the filling: To the bowl with the apples, add the browned butter (it should still be liquid), granulated sugar, brown sugar, flour, lemon juice, cinnamon, nutmeg, salt, and vanilla extract. Toss everything together until the apples are evenly coated. Let this sit for 5 minutes while you make the crumble.
- Make the oat crumble: In your medium mixing bowl, combine the rolled oats, flour, brown sugar, granulated sugar, cinnamon, and salt. Whisk together until evenly mixed. Add the cold butter cubes and the chopped nuts if using. Use a pastry cutter or your fingertips to work the butter into the dry ingredients until the mixture resembles coarse sand with some pea-sized butter pieces remaining. Don’t overwork it.
- Assemble the crisp: Pour the apple mixture into your prepared baking dish and spread it into an even layer. Sprinkle the oat crumble evenly over the top, covering all the apples. Don’t press it down.
- Bake: Place the dish on a baking sheet to catch any bubbling juices. Bake for 40-45 minutes, or until the filling is bubbly around the edges and the topping is deep golden brown. If the topping is browning too quickly around the 30-minute mark, tent loosely with foil for the remaining time.
- Cool slightly: Let the crisp rest on a wire rack for at least 15-20 minutes before serving.
Notes
For the best texture, use a mix of apple varieties like Honeycrisp and Granny Smith. Let the apples macerate for 5-10 minutes after tossing with sugar and spices to draw out liquid. Keep the crumble cold for best results. Bake on a sheet pan to catch spills. Can be assembled the night before and refrigerated; add 10 minutes to baking time if baking from cold.
Nutrition
- Serving Size: 1 serving (based on
- Calories: 385
- Sugar: 35
- Sodium: 210
- Fat: 18
- Saturated Fat: 10
- Carbohydrates: 55
- Fiber: 5
- Protein: 4
Keywords: brown butter apple crisp, apple crisp, oat crumble, easy apple dessert, fall dessert, apple crisp recipe