I had been looking for a Halloween dessert that actually felt fun to make, not just another tray of sugar cookies that all blur together after the third bite. For a while, I just accepted that themed baking meant spending hours with royal icing and tiny piping tips, creating something pretty that nobody wanted to eat because it tasted more like cardboard than butter. That was before I figured out that a cookie cake could do all the heavy lifting — big surface area for decorating, soft center that stays chewy for days, and enough structural integrity to hold up to some serious spooky styling.
The first time I made this black cat cookie cake, I was testing it for a Halloween party where I knew there would be kids running around and adults pretending they weren’t sneaking extra slices. I wanted something that looked impressive but didn’t require me to stand over a hot oven for hours. The cookie cake solved that problem before I even realized how badly I needed it solved. You press the dough into one pan, bake it once, and suddenly you have this massive, shareable canvas that tastes like a bakery cookie but feels way more personal.
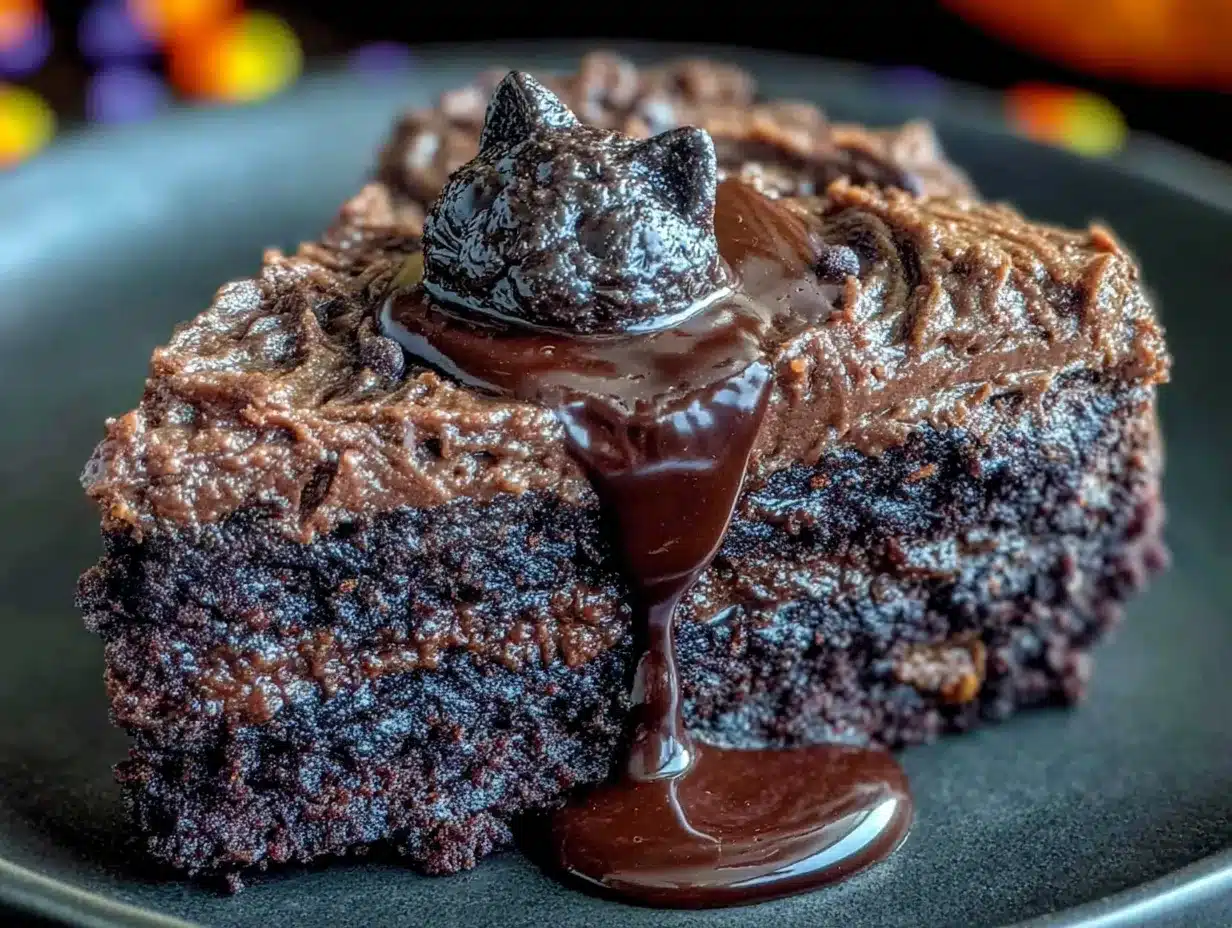
The black cat design came about because I was staring at a batch of dark cocoa dough — the kind that stains your fingers and smells intensely rich — and I thought, that looks exactly like a cat silhouette. One swirl of the knife later, and the face was there. Two candy eyes, a pink frosting nose, and suddenly the whole thing had personality. It wasn’t perfect. The ears were a little lopsided, and the whiskers looked like they’d been drawn by a toddler. But that’s exactly why it worked. Halloween isn’t about perfection. It’s about the joy of making something that makes people smile before they even taste it.
This recipe stuck because it bridges that gap between wanting to create something special and not having the patience for fussy decorating. It’s the kind of dessert that says, yes, I put effort into this, but I also had fun doing it. And honestly, the dark cocoa flavor is deep enough that even the adults who claim they don’t like sweets will go back for seconds. That first bite — soft, fudgy, with that slight crackle on top — convinced me I didn’t need another Halloween dessert in my rotation. This one was staying.
Why You’ll Love This Recipe
This isn’t just another Halloween cookie. It’s a statement piece that happens to be delicious. After testing this recipe about six times — yes, six — I can tell you exactly why it works and why you’ll keep coming back to it.
- One Pan, Zero Stress : No rolling, no cutting, no chilling. You mix the dough, press it into a pan, and bake. That’s it. The decorating takes maybe ten minutes, and most of that is just placing candy eyes where you want them.
- Deep Dark Cocoa Flavor : This isn’t a pale chocolate cookie pretending to be black. We’re using Dutch-process cocoa, which gives that rich, almost fudge-like taste and that dramatic dark color. No artificial coloring needed.
- Perfect for Halloween Parties : Bring this to any gathering and watch people’s faces light up. It’s big enough to feed a crowd, and the cat design is instantly recognizable. Kids love it. Adults love it. It disappears fast.
- Simple Ingredients : You probably have everything in your kitchen right now. Butter, sugar, eggs, flour, cocoa powder. The only special thing is the candy eyes, and those are easy to find at any grocery store or online.
- Stays Soft for Days : This cookie cake stays chewy and tender for three to four days if stored properly. That means you can make it ahead of time and not worry about it drying out before the party.
What makes this recipe different from other Halloween desserts is the texture. I spent a lot of time figuring out the right ratio of butter to sugar to egg yolk to get that perfect balance — crispy edges, soft center, not too cakey, not too flat. The dark cocoa adds a bitterness that balances the sweetness, so it doesn’t feel like you’re eating straight sugar. It’s the kind of cookie that makes you close your eyes after the first bite, not because it’s fancy, but because it’s exactly what a chocolate cookie should be.
What Ingredients You Will Need
This recipe uses simple, pantry-friendly ingredients to create something that looks way more complicated than it actually is. Each ingredient plays a specific role, and I’ll tell you exactly what to look for so you get the best results.
For the Cookie Cake Base:
- Unsalted butter, softened — 1 cup (2 sticks or 226 grams). I use Kerrygold for the richness, but any good-quality unsalted butter works. Make sure it’s truly softened, not melted. You want it at room temperature so it creams properly with the sugar. Cold butter won’t incorporate air, and melted butter will make the cookie too flat.
- Granulated sugar — 1 cup (200 grams). Regular white sugar gives the cookie that slight crackle on top. Don’t substitute with brown sugar here; the texture won’t be the same.
- Light brown sugar, packed — 1/2 cup (100 grams). Brown sugar adds moisture and that subtle molasses note that deepens the chocolate flavor. I like Domino brand, but any light brown sugar works fine.
- Large egg — 1, at room temperature. The egg binds everything together and adds structure. If your egg is cold, place it in a bowl of warm water for five minutes before using.
- Large egg yolk — 1 extra yolk. This is my secret for extra chewiness. The extra fat and lecithin make the cookie softer and richer. Save the white for another recipe or just discard it.
- Vanilla extract — 2 teaspoons. Use pure vanilla extract if you can. The artificial stuff works in a pinch, but the pure version adds a warmth that complements the dark cocoa beautifully.
- All-purpose flour — 2 cups (250 grams). Spoon and level your flour. Scooping directly from the bag packs in too much flour and makes the cookie dry. Fluff the flour, spoon it into your measuring cup, and level it off with a knife.
- Dutch-process cocoa powder — 1/2 cup (50 grams). This is crucial for the dark color. Natural cocoa powder will give you a lighter, reddish-brown cookie. I use Rodelle or Droste for the best color and flavor. (adds rich, dark color and smooth chocolate taste)
- Baking soda — 1 teaspoon. Helps the cookie spread just enough without puffing up too much.
- Salt — 1/2 teaspoon. Balances the sweetness and enhances the chocolate. I use fine sea salt. If you’re using kosher salt, increase to 3/4 teaspoon.
For the Black Cat Decoration:
- Powdered sugar — 1 cup (120 grams). For the simple glaze that acts as edible glue for the candy eyes and nose.
- Milk or heavy cream — 2 to 3 tablespoons. Use just enough to make a spreadable glaze. Heavy cream makes it richer, but milk works fine.
- Vanilla extract — 1/2 teaspoon. Adds flavor to the glaze so it doesn’t just taste like sweet paste.
- Pink food coloring — A tiny drop for the nose and inner ears. I use gel coloring for better control. (adds cute cat details)
- Candy eyes — 2 large round candy eyes for the cat’s face. You can find these in the baking aisle at most grocery stores or online. I like Wilton brand because they stick well and don’t bleed color.
- Black licorice strings or black frosting — For whiskers. If you’re using licorice, cut them into thin strips about 2 inches long. If using frosting, pipe thin lines directly onto the cookie.
Substitution Notes: For a dairy-free version, use vegan butter sticks (not tub margarine) and plant-based milk in the glaze. The texture will be slightly different but still delicious. If you can’t find Dutch-process cocoa, use natural cocoa and add 1/4 teaspoon of espresso powder to deepen the color and flavor.
Equipment Needed
You don’t need a professional bakery setup for this recipe. Here’s what you’ll actually use:
- 9-inch round cake pan or springform pan — This gives the cookie cake its shape. A springform pan makes it easier to remove, but a regular cake pan works fine if you line it with parchment paper.
- Stand mixer or hand mixer — Creaming the butter and sugar by hand is possible but tiring. A mixer makes it faster and gives you better texture. I use my KitchenAid for this.
- Large mixing bowl — For combining dry ingredients.
- Medium mixing bowl — For the glaze.
- Spatula — For scraping down the bowl and pressing the dough into the pan.
- Parchment paper — Lining the pan prevents sticking and makes cleanup easy.
- Cooling rack — Lets the cookie cake cool evenly so the bottom doesn’t get soggy.
- Small offset spatula or butter knife — For spreading the glaze and shaping the cat design.
- Measuring cups and spoons — For accuracy. I prefer metal measuring cups for dry ingredients and glass for liquids.
If you don’t have a springform pan, just use a regular 9-inch cake pan and lift the cookie out using the parchment paper overhang. I’ve done it both ways, and honestly, the regular pan works just as well. The springform just saves you the extra step of flipping it over.
Preparation Method
Let’s make this black cat cookie cake. I’ll walk you through every step so there’s no guessing involved.
Step 1: Preheat and Prep
Preheat your oven to 350°F (175°C). Grease your 9-inch round pan and line the bottom with a circle of parchment paper. This double protection means your cookie cake will slide right out. Set the pan aside while you make the dough.
Step 2: Cream Butter and Sugars
In the bowl of your stand mixer (or a large bowl if using a hand mixer), combine the softened butter, granulated sugar, and brown sugar. Beat on medium speed for 3-4 minutes, until the mixture looks light, fluffy, and pale in color. Scrape down the sides and bottom of the bowl halfway through. This step is important because the air you incorporate now creates that tender texture later. The mixture should smell sweet and buttery, and it should feel soft when you press it between your fingers.
Step 3: Add Eggs and Vanilla
Add the whole egg, the extra egg yolk, and the vanilla extract. Beat on medium speed for another minute until everything is fully combined and the mixture looks smooth. It might look slightly curdled if your eggs were cold — that’s okay, keep going. Scrape the bowl again to make sure the butter mixture is evenly mixed.
Step 4: Combine Dry Ingredients
In a separate medium bowl, whisk together the flour, Dutch-process cocoa powder, baking soda, and salt. Whisking aerates the flour and distributes the leavening agents evenly. You don’t want a pocket of baking soda in one bite of your cookie cake.
Step 5: Mix Dough
With the mixer on low speed, gradually add the dry ingredients to the wet ingredients. Mix just until the flour disappears — about 30 seconds. Overmixing at this stage develops gluten and makes the cookie tough. The dough will be thick, dark, and slightly sticky. It should hold together when you press it, but it shouldn’t feel greasy. If it feels too dry, add one tablespoon of milk. If it feels too wet, add one tablespoon of flour.
Step 6: Press Dough into Pan
Transfer the dough to your prepared pan. Using your hands or a spatula, press it evenly into the pan, making sure it reaches all the edges. The surface should be relatively flat, though a few gentle swirls are fine. Don’t press too hard — you want the dough to be even, not compacted. If the dough is sticking to your fingers, lightly wet your hands with cold water.
Step 7: Bake
Bake for 22-28 minutes, rotating the pan halfway through. The edges should look set and slightly cracked, and the center should look puffed but still soft. A toothpick inserted into the center should come out with a few moist crumbs, not wet batter. The cookie will continue to bake from residual heat after you take it out, so it’s better to underbake slightly than overbake. The kitchen will smell intensely chocolatey at this point.
Step 8: Cool Completely
Let the cookie cake cool in the pan on a wire rack for 15 minutes. Then run a knife around the edge to loosen it, and carefully invert it onto the rack to cool completely. This takes about 1 hour. Don’t try to decorate a warm cookie cake — the glaze will melt and run off, and the candy eyes will slide right off.
Step 9: Make the Glaze
While the cookie cools, make the simple glaze. In a small bowl, whisk together the powdered sugar, 2 tablespoons of milk or cream, and the vanilla extract. Start with 2 tablespoons and add more milk one teaspoon at a time until you get a thick but spreadable consistency. It should be thick enough to hold its shape but thin enough to spread with a knife. Reserve about 2 tablespoons of the white glaze in a separate small bowl for the cat’s nose and inner ears.
Step 10: Color the Glaze
Add a tiny drop of pink food coloring to the reserved 2 tablespoons of glaze. Stir until the color is even. You want a soft, pale pink, not a bright neon. Add more coloring drop by drop if needed, but remember that a little goes a long way.
Step 11: Create the Cat Design
Once the cookie cake is completely cool, place it on a serving plate or cake stand. Using a small offset spatula or butter knife, spread the white glaze over the entire surface of the cookie. Work quickly but gently — you want an even layer, not a thick one. While the glaze is still wet, use the tip of a knife to draw the outline of a cat face. Start with two pointed ears at the top, a rounded face shape, and a small triangular nose in the center. The glaze will naturally fill in the lines as you draw.
Step 12: Add the Cat Features
While the glaze is still tacky (not wet, not dry), press the two candy eyes into the face just above where the nose will be. They should stick easily. Using a toothpick or the tip of a knife, apply small dots of the pink glaze for the inner ears and a tiny triangle for the nose. For the whiskers, you have two options: pipe thin lines using black frosting, or gently press black licorice strings into the glaze on each side of the face. I prefer the frosting method because it looks cleaner, but the licorice gives a fun, crunchy texture.
Step 13: Let the Glaze Set
Allow the decorated cookie cake to sit at room temperature for about 20-30 minutes so the glaze can set. This prevents the design from smudging when you cut into it. If you’re in a hurry, you can pop it in the refrigerator for 10 minutes, but make sure it comes back to room temperature before serving for the best texture.
Cooking Tips & Techniques
I’ve made this cookie cake more times than I care to admit, and I’ve learned a few things the hard way. Here’s what I wish someone had told me before my first attempt.
Don’t Overbake — This is the number one mistake people make with cookie cakes. The edges should look set and slightly cracked, but the center should still look soft and puffed. If you wait until the center looks fully set, you’ve already overbaked it. Trust the toothpick test: a few moist crumbs are perfect. The residual heat will finish the job as it cools.
Room Temperature Ingredients Matter — Cold butter doesn’t cream properly, and cold eggs can seize the butter mixture. Take your butter and eggs out of the refrigerator about 30 minutes before you start baking. If you forget, you can soften butter in the microwave in 10-second bursts, and place eggs in a bowl of warm water for 5 minutes.
Dutch-Process Cocoa is Non-Negotiable — I tried this recipe with natural cocoa powder once, and the result was a light brown cookie that looked more like a sad beige cat than a spooky black one. The color difference is dramatic. Dutch-process cocoa has been treated to neutralize its acidity, which gives it that dark, almost black color and a smoother flavor. If you can’t find it, add 1/4 teaspoon of espresso powder to natural cocoa to deepen the color.
Let It Cool Completely — I know it’s tempting to decorate while it’s still warm, but patience pays off here. A warm cookie cake will melt the glaze into a puddle, and the candy eyes will slide right off. I learned this the hard way when my first attempt ended up looking like a cat that had been caught in the rain.
Work in a Cool Room — If your kitchen is warm, the glaze will stay tacky longer, and the candy eyes might shift. If possible, decorate in a cooler part of your house, or pop the cookie cake in the refrigerator for 10 minutes before decorating to firm up the surface.
Variations & Adaptations
This recipe is surprisingly flexible. Here are some ways to make it your own.
Gluten-Free Version — Substitute the all-purpose flour with a 1:1 gluten-free baking flour blend that contains xanthan gum. I’ve tested this with Bob’s Red Mill 1-to-1 Baking Flour, and the texture is almost identical to the original. The cookie might spread slightly more, so keep an eye on it during baking.
Vegan Version — Use vegan butter sticks (I like Miyoko’s or Country Crock Plant Butter) and replace the eggs with flax eggs (2 tablespoons ground flaxseed mixed with 5 tablespoons water, let sit for 5 minutes). The texture will be a bit more cake-like, but it’s still delicious. Use plant-based milk in the glaze.
Different Shapes — Don’t want a cat? Use the same dough to create a pumpkin shape, a ghost, or even a bat. Just adjust the design on the glaze accordingly. The cookie base works for any Halloween-themed decoration.
Add Mix-Ins — Fold in 1/2 cup of white chocolate chips, dark chocolate chunks, or crushed candy canes before pressing the dough into the pan. The white chocolate adds a nice contrast to the dark cocoa. Just be careful not to overmix.
Spiced Version — Add 1 teaspoon of cinnamon, 1/2 teaspoon of nutmeg, and 1/4 teaspoon of cloves to the dry ingredients for a Mexican hot chocolate twist. This pairs beautifully with the dark cocoa and gives the cookie a warm, cozy flavor perfect for fall.
Mini Cookie Cakes — Press the dough into mini cake pans or even a muffin tin for individual-sized cookie cakes. Reduce the baking time to 12-15 minutes. These are perfect for parties where everyone wants their own.
I once made a pumpkin-shaped version of this cookie cake for a fall gathering, using orange glaze and a small piece of pretzel for the stem. It was a hit, and nobody believed it started from the same recipe as the black cat. That’s the beauty of this base — it’s a blank canvas for whatever your Halloween imagination comes up with.
Serving & Storage Suggestions
Serving: This cookie cake is best served at room temperature. The texture is soft and chewy, and the glaze is set but not hard. Cut it into wedges like a pie, or slice it into smaller squares if you’re serving a crowd. I like to place it on a cake stand in the center of the table so everyone can see the cat design before it gets devoured.
For a complete Halloween dessert spread, serve this alongside a warm mug of cozy spiced pumpkin chai latte with oat milk or a glass of cold milk. The rich chocolate pairs beautifully with the warm spices in the chai. If you’re hosting a party, consider adding a simple fall harvest charcuterie board with pears and honey for a savory-sweet balance.
Storage: Store the cookie cake in an airtight container at room temperature for up to 4 days. Place a piece of parchment paper between layers if you’re stacking slices. Do not refrigerate — the cold will dry out the cookie and make the glaze hard and brittle. If you live in a humid climate, the glaze might become sticky; you can lightly dust the top with powdered sugar to absorb excess moisture.
Freezing: You can freeze the undecorated cookie cake for up to 3 months. Wrap it tightly in plastic wrap, then in aluminum foil. When you’re ready to serve, thaw it at room temperature for about 2 hours, then decorate as directed. The texture will be just as good as fresh. I’ve done this for last-minute Halloween parties, and nobody could tell it wasn’t made that day.
Reheating: If you want that just-baked warmth, microwave individual slices for 10-15 seconds. The cookie will soften, and the glaze will become slightly gooey. It’s a different experience from room temperature, but equally delicious. For a more decadent treat, warm the slice and top it with a scoop of vanilla ice cream.
The flavors actually deepen after the first day. The cocoa becomes more pronounced, and the texture settles into that perfect chewy-crisp balance. So if you can resist eating it all on day one, day two is even better.
Nutritional Information & Benefits
Per serving (based on 8 slices):
- Calories: 420
- Total Fat: 22g
- Saturated Fat: 13g
- Cholesterol: 85mg
- Sodium: 290mg
- Total Carbohydrates: 55g
- Dietary Fiber: 3g
- Sugars: 35g
- Protein: 5g
This cookie cake is a treat, not a health food, but it does have a few redeeming qualities. The Dutch-process cocoa is rich in antioxidants called flavonoids, which can support heart health and reduce inflammation. Dark chocolate in moderation has been linked to improved mood and cognitive function — perfect for those stressful Halloween party prep days.
The butter provides fat-soluble vitamins A, D, E, and K, while the eggs add high-quality protein and choline, which supports brain health. If you use pasture-raised eggs and grass-fed butter, the nutritional profile improves even more.
For those with dietary restrictions, this recipe can be adapted to be gluten-free or vegan as noted in the variations section. It contains dairy, eggs, and gluten in its standard form, so be mindful if you’re serving guests with allergies. The candy eyes may contain traces of soy or corn, so check the packaging if that’s a concern.
I’m not a nutritionist, and I don’t pretend to be. But I believe that food should be enjoyed, and a treat like this, made from real ingredients and shared with people you love, is part of a balanced life. One slice isn’t going to derail your health goals. It might even make you happier, and that counts for something.
Conclusion
This black cat Halloween cookie cake is the dessert you’ve been looking for. It’s impressive enough to be the centerpiece of your Halloween party, simple enough to make on a weekday, and delicious enough that people will ask for the recipe before they finish their first slice. The dark cocoa flavor is rich without being overwhelming, the texture is perfectly chewy, and the decorating is forgiving enough that even beginners can create something adorable.
What I love most about this recipe is how it brings people together. There’s something about a giant cookie shaped like a cat that makes everyone smile. Kids get excited about the candy eyes. Adults appreciate the grown-up chocolate flavor. And you get to take all the credit for making something that looks like it came from a bakery, when really it came from your kitchen with minimal effort.
I encourage you to make this your own. Change the design, add your favorite mix-ins, or turn it into a different Halloween character. The base recipe is solid, but the fun part is the creativity. If you come up with a variation you love, I’d love to hear about it. Drop a comment below and share your creation. And if you’re looking for more cozy fall treats, try my best brown butter pumpkin chocolate chip cookies or the cozy small batch pumpkin muffins with maple glaze.
Happy Halloween, and happy baking. You’ve got this.
Frequently Asked Questions
Can I make this cookie cake ahead of time?
Yes! You can bake the cookie cake up to 2 days in advance and store it in an airtight container at room temperature. Decorate it the day you plan to serve it for the best presentation. The glaze stays fresh for about 24 hours before it starts to absorb moisture from the air.
Why did my cookie cake turn out too flat?
This usually happens if the butter was too soft or melted, or if you over-creamed the butter and sugar. Make sure your butter is softened but still cool to the touch, and don’t beat the mixture for more than 4 minutes. Also, check that your baking soda is fresh — it loses potency after about 6 months.
Can I use natural cocoa powder instead of Dutch-process?
You can, but the color will be lighter and the flavor less rich. Natural cocoa is more acidic, which can affect the spread of the cookie. If you’re using natural cocoa, add 1/4 teaspoon of baking powder along with the baking soda to help with lift. The cookie will be more brown than black.
How do I make the cat design if I’m not artistic?
Don’t worry — the design is very forgiving. Use a toothpick to lightly sketch the cat face into the wet glaze before it sets. You can wipe it away and start over if you don’t like it. The key is to keep it simple: two triangles for ears, a round face, and a tiny nose. The candy eyes do most of the work.
Can I freeze the decorated cookie cake?
I don’t recommend freezing the decorated cookie cake because the glaze can become sticky and the candy eyes might shift during thawing. Freeze the undecorated cookie cake instead, then thaw and decorate when you’re ready to serve. The texture will be just as good as fresh.
Pin This Recipe!
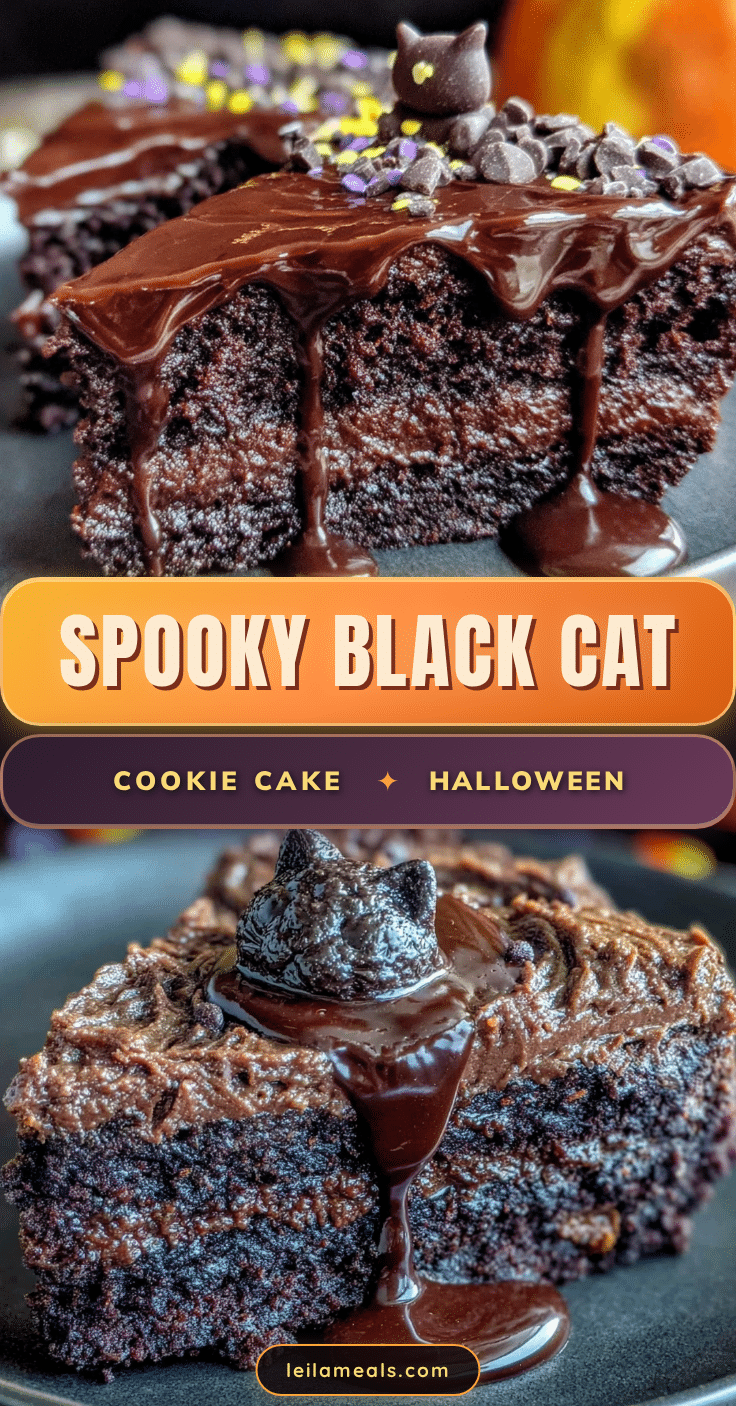
Best Easy Black Cat Halloween Cookie Cake
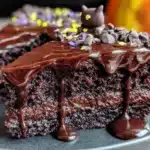
A fun and spooky Halloween dessert that combines a rich, dark chocolate cookie cake with an adorable black cat design. This one-pan recipe is easy to make and perfect for parties, with a soft, chewy texture and deep cocoa flavor that everyone will love.
- Prep Time: 15 minutes
- Cook Time: 25 minutes
- Total Time: 1 hour 40 minutes
- Yield: 8 servings 1x
- Category: Dessert
- Cuisine: American
Ingredients
- 1 cup (2 sticks or 226 grams) unsalted butter, softened
- 1 cup (200 grams) granulated sugar
- 1/2 cup (100 grams) light brown sugar, packed
- 1 large egg, at room temperature
- 1 large egg yolk
- 2 teaspoons vanilla extract
- 2 cups (250 grams) all-purpose flour
- 1/2 cup (50 grams) Dutch-process cocoa powder
- 1 teaspoon baking soda
- 1/2 teaspoon fine sea salt
- 1 cup (120 grams) powdered sugar
- 2 to 3 tablespoons milk or heavy cream
- 1/2 teaspoon vanilla extract
- Pink food coloring (a tiny drop)
- 2 large round candy eyes
- Black licorice strings or black frosting (for whiskers)
Instructions
- Preheat your oven to 350°F (175°C). Grease a 9-inch round pan and line the bottom with a circle of parchment paper.
- In the bowl of a stand mixer or using a hand mixer, combine the softened butter, granulated sugar, and brown sugar. Beat on medium speed for 3-4 minutes until light, fluffy, and pale in color. Scrape down the sides and bottom of the bowl halfway through.
- Add the whole egg, extra egg yolk, and vanilla extract. Beat on medium speed for another minute until fully combined and smooth. Scrape the bowl again.
- In a separate medium bowl, whisk together the flour, Dutch-process cocoa powder, baking soda, and salt.
- With the mixer on low speed, gradually add the dry ingredients to the wet ingredients. Mix just until the flour disappears, about 30 seconds. The dough will be thick, dark, and slightly sticky.
- Transfer the dough to the prepared pan. Using your hands or a spatula, press it evenly into the pan, making sure it reaches all the edges. The surface should be relatively flat.
- Bake for 22-28 minutes, rotating the pan halfway through. The edges should look set and slightly cracked, and the center should look puffed but still soft. A toothpick inserted into the center should come out with a few moist crumbs.
- Let the cookie cake cool in the pan on a wire rack for 15 minutes. Then run a knife around the edge to loosen it, and carefully invert it onto the rack to cool completely, about 1 hour.
- While the cookie cools, make the glaze. In a small bowl, whisk together the powdered sugar, 2 tablespoons of milk or cream, and the vanilla extract. Add more milk one teaspoon at a time until you get a thick but spreadable consistency. Reserve about 2 tablespoons of the white glaze in a separate small bowl.
- Add a tiny drop of pink food coloring to the reserved 2 tablespoons of glaze and stir until the color is even.
- Once the cookie cake is completely cool, place it on a serving plate. Using a small offset spatula or butter knife, spread the white glaze over the entire surface of the cookie. While the glaze is still wet, use the tip of a knife to draw the outline of a cat face: two pointed ears at the top, a rounded face shape, and a small triangular nose in the center.
- While the glaze is still tacky, press the two candy eyes into the face just above where the nose will be. Using a toothpick or the tip of a knife, apply small dots of the pink glaze for the inner ears and a tiny triangle for the nose. For the whiskers, pipe thin lines using black frosting or gently press black licorice strings into the glaze on each side of the face.
- Allow the decorated cookie cake to sit at room temperature for about 20-30 minutes so the glaze can set.
Notes
Don’t overbake the cookie cake; the center should still look soft and puffed when you take it out. Use room temperature ingredients for best results. Dutch-process cocoa is essential for the dark color; natural cocoa will result in a lighter brown cookie. Let the cookie cool completely before decorating to prevent the glaze from melting. The cookie cake stays fresh in an airtight container at room temperature for up to 4 days. Freeze the undecorated cookie cake for up to 3 months.
Nutrition
- Serving Size: 1 slice (1/8 of cake
- Calories: 420
- Sugar: 35
- Sodium: 290
- Fat: 22
- Saturated Fat: 13
- Carbohydrates: 55
- Fiber: 3
- Protein: 5
Keywords: Halloween cookie cake, black cat cookie cake, chocolate cookie cake, Halloween dessert, easy Halloween recipe, dark chocolate cookie cake, spooky dessert