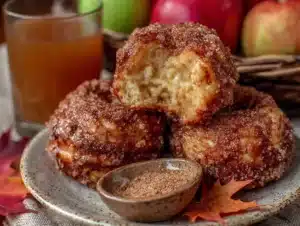
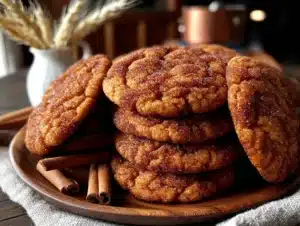
My husband took one bite of these brown butter pumpkin chocolate chip cookies, stopped mid-chew, and just stared at the cookie for a solid three seconds. Then he asked if I could make them every single week until Christmas. That’s not something he does—he’s not a sweets guy, honestly prefers salty snacks most of the time. But something about that first batch hit different.
I’d been testing pumpkin cookie recipes for weeks, trying to nail that perfect balance between soft, cakey centers and slightly crispy edges. The problem with most pumpkin cookies? They turn out more like little cake pucks—fluffy, sure, but missing that chewy texture you actually want from a cookie. The brown butter changed everything. It added this nutty, almost caramel depth that made the pumpkin taste warmer, richer, somehow more fall than fall itself.
These cookies have become my unofficial kickoff to sweater weather. The first time I made them, the kitchen smelled like a bakery in October—toasty butter, warm cinnamon, that faint pumpkin sweetness hanging in the air. My daughter kept wandering in asking if they were ready yet, which is rare for a kid who usually only cares about screen time.
So yeah, this recipe stuck. It’s the one I keep coming back to when I need something that feels special but isn’t fussy. No stand mixer required, no chilling for hours, no complicated steps that make you question your life choices. Just honest, delicious cookies that taste like they took way more effort than they actually did.
Why You’ll Love This Recipe
Let me tell you why these cookies are different from every other pumpkin chocolate chip cookie you’ve tried. I’ve made enough batches to know what works and what doesn’t, and this version checks every box.
- Brown Butter Magic: Toasting the butter until it turns golden brown adds a nutty, toffee-like flavor that makes pumpkin taste deeper and more complex. You won’t go back to regular butter after this.
- Perfect Texture: These cookies are soft and tender in the middle with slightly crisp edges. No cakey pucks here—just real cookie texture that holds up for days.
- Simple Ingredients: You probably have most of these in your pantry right now. No weird specialty items or expensive extracts.
- No Chilling Required: Mix, scoop, bake. That’s it. These come together in under 30 minutes start to finish, which is rare for a cookie this good.
- Crowd-Pleaser: I’ve brought these to potlucks, fall gatherings, and casual get-togethers. They disappear fast. Kids love them, adults sneak seconds, and everyone asks for the recipe.
- Freezer-Friendly: Make a double batch and freeze half for later. They thaw beautifully and taste just as fresh as day one.
The real difference here is the brown butter. It transforms the pumpkin from something that can taste a little flat into a rich, almost savory-sweet flavor that pairs perfectly with dark chocolate chips. These aren’t your average pumpkin cookies—they’re the ones that make people close their eyes after the first bite.
What Ingredients You Will Need
This recipe uses simple, everyday ingredients to create something that tastes anything but ordinary. The brown butter does most of the heavy lifting, but each component plays a role in getting that perfect texture and flavor.
For the Cookies
- 1 cup unsalted butter (2 sticks) — Use good-quality butter here since we’re browning it. I prefer Kerrygold or Plugrá for the higher fat content, which gives better browning and richer flavor.
- 1 cup granulated sugar — Adds sweetness and helps create those slightly crispy edges.
- ½ cup packed light brown sugar — Adds moisture and a hint of molasses flavor that complements the brown butter beautifully.
- 1 large egg, room temperature — Helps bind everything together. Cold eggs can seize the brown butter, so let yours sit out for 15-20 minutes first.
- 1 teaspoon vanilla extract — Pure vanilla, not imitation. It rounds out all the warm flavors.
- ¾ cup pumpkin purée — Not pumpkin pie filling! Make sure you’re getting 100% pure pumpkin. Libby’s is my go-to because it’s consistently thick and not watery.
- 2 cups all-purpose flour — Spoon and level it for accuracy. Scooping directly from the bag packs in too much flour and makes cookies dry.
- 1 teaspoon baking soda — Helps the cookies spread just enough without turning into pancakes.
- ½ teaspoon baking powder — Adds a little extra lift for that soft center.
- ½ teaspoon salt — Enhances all the flavors and balances sweetness.
- 2 teaspoons pumpkin pie spice — You can use store-bought or make your own with cinnamon, nutmeg, ginger, and cloves.
- 1 teaspoon ground cinnamon — Because you can never have too much cinnamon in a fall cookie.
- 1 cup semi-sweet chocolate chips — I use Ghirardelli for consistent melting and rich flavor. Dark chocolate chips work great too if you prefer less sweetness.
The pumpkin purée adds moisture but also makes the dough a little stickier than regular cookie dough. Don’t worry—that’s normal. The brown butter helps firm things up just enough to scoop easily.
If you’re out of pumpkin pie spice, mix 1 teaspoon cinnamon, ½ teaspoon nutmeg, ¼ teaspoon ginger, and ¼ teaspoon cloves. That’s my homemade blend and it works perfectly here.
Equipment Needed
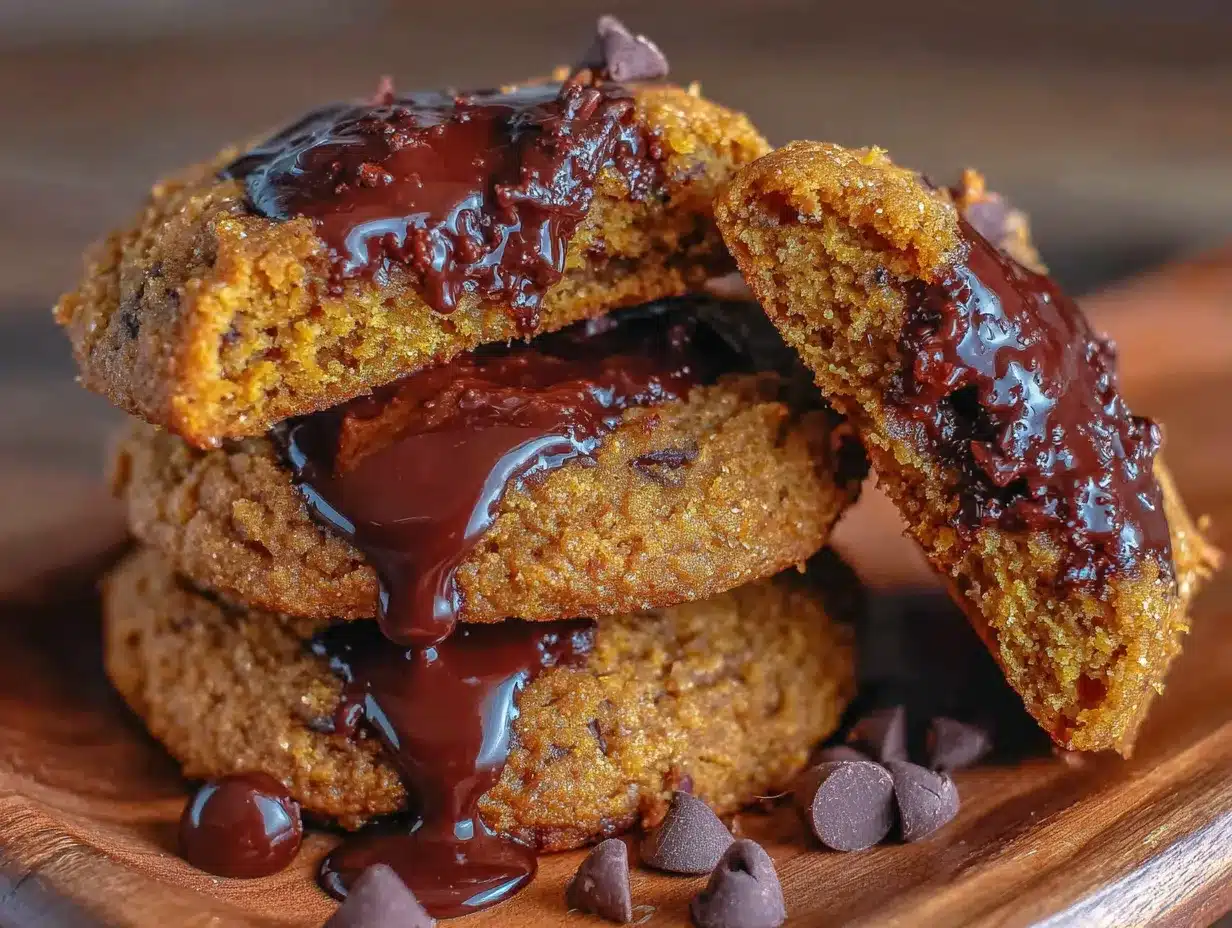
You don’t need fancy equipment for these cookies, which is part of why I love them. Here’s what you’ll need:
- Light-colored saucepan or skillet — A light bottom helps you see when the butter turns golden brown. Dark pans make it hard to judge color and you might burn it.
- Large mixing bowl — For combining wet and dry ingredients.
- Medium mixing bowl — For whisking dry ingredients together.
- Whisk — For mixing the brown butter and sugars smoothly.
- Rubber spatula — For folding in chocolate chips without overmixing.
- Cookie scoop — A 1.5-tablespoon scoop gives consistent-sized cookies that bake evenly. I’ve used a regular spoon in a pinch, but the scoop makes a difference.
- Baking sheets — Two standard half-sheet pans work great. Line them with parchment paper for easy cleanup.
- Cooling rack — Lets air circulate so cookies cool evenly without soggy bottoms.
If you don’t have a cookie scoop, just use two spoons to portion the dough. The cookies won’t be perfectly round, but they’ll taste just as good. I actually like the rustic look of hand-scooped cookies sometimes.
Preparation Method
Let’s get to the good part. Here’s how to make these brown butter pumpkin chocolate chip cookies step by step.
- Brown the butter. Place the butter in a light-colored saucepan over medium heat. Stir occasionally as it melts. It will foam up, then start to crackle and pop. After a few minutes, the foam will subside and you’ll see golden brown specks forming at the bottom. Keep stirring. Once it smells nutty and toasty and the specks are amber-colored, remove it from heat immediately. This takes about 5-7 minutes. Pour the browned butter into a heat-safe bowl and let it cool for 10 minutes. Don’t skip the cooling—hot butter will cook the egg and ruin the texture.
- Preheat and prep. Preheat your oven to 350°F (175°C). Line two baking sheets with parchment paper.
- Mix wet ingredients. In a large bowl, whisk together the cooled brown butter, granulated sugar, and brown sugar until smooth and well combined. It should look like wet sand. Add the egg, vanilla extract, and pumpkin purée. Whisk until everything is fully incorporated and the mixture is smooth and glossy. This takes about 30 seconds of vigorous whisking.
- Combine dry ingredients. In a medium bowl, whisk together the flour, baking soda, baking powder, salt, pumpkin pie spice, and cinnamon. Make sure there are no lumps—the spices can clump up if you’re not careful.
- Mix wet and dry. Add the dry ingredients to the wet mixture. Stir with a rubber spatula until just combined. A few streaks of flour are okay—overmixing will make the cookies tough. The dough will be soft and slightly sticky, which is normal for pumpkin cookies.
- Fold in chocolate chips. Add the chocolate chips and fold gently until evenly distributed. Reserve a handful of chips to press into the tops of the cookies before baking—this makes them look bakery-style.
- Scoop and shape. Use your cookie scoop to portion out rounded tablespoons of dough, about 1.5 tablespoons each. Place them 2 inches apart on the prepared baking sheets. Press a few extra chocolate chips into the tops of each dough ball.
- Bake. Bake one sheet at a time for 10-12 minutes. The edges should look set and lightly golden, but the centers will still look soft and slightly underdone. That’s perfect—they’ll continue baking on the hot pan. For softer, chewier cookies, bake closer to 10 minutes. For slightly crisper edges, go to 12 minutes.
- Cool. Let the cookies cool on the baking sheet for 5 minutes. This allows them to set up without falling apart. Then transfer to a wire rack to cool completely. If you try to move them too soon, they’ll crumble.
One thing I learned the hard way: don’t overcrowd the baking sheet. These cookies spread a little, and if they’re too close together, they’ll merge into one giant cookie blob. Still delicious, but harder to share.
Cooking Tips & Techniques
After making these cookies more times than I care to count, I’ve picked up a few tricks that make a real difference.
Watch the butter like a hawk. Brown butter goes from perfect to burnt in about 30 seconds. Once you see those golden specks and smell that nutty aroma, pull it off the heat. Swirl the pan for another few seconds to let residual heat finish the job, then pour it into a bowl to stop the cooking process. I’ve burned two batches learning this lesson.
Don’t skip cooling the brown butter. I know you’re impatient—I am too. But if you add the egg to hot butter, you’ll end up with scrambled egg bits in your cookie dough. Let it cool for a full 10 minutes. It should feel warm to the touch but not hot.
Use room temperature ingredients. Cold egg and cold pumpkin can make the brown butter seize up and turn grainy. Let everything sit out for 15-20 minutes before you start. Your cookies will thank you.
Measure flour correctly. Spoon the flour into your measuring cup, then level it off with a knife. Scooping directly from the bag packs in too much flour and makes dry, dense cookies. This is the most common mistake I see in cookie recipes.
Bake one sheet at a time. If you bake two sheets at once, the heat circulates unevenly and your cookies won’t bake uniformly. It takes a few extra minutes, but the results are worth it.
Let them cool on the pan. Pumpkin cookies are fragile when hot. The 5-minute rest on the baking sheet is non-negotiable. They’ll firm up enough to move without falling apart.
Variations & Adaptations
One of the best things about this recipe is how easy it is to tweak based on what you have or what you’re craving.
Gluten-Free Version: Swap the all-purpose flour for a 1:1 gluten-free baking flour blend. I’ve used Bob’s Red Mill with great results. The texture is slightly more tender but still delicious. Add an extra tablespoon of flour if the dough seems too sticky.
Dairy-Free Option: Use vegan butter for browning—I like Miyoko’s or Earth Balance. It browns similarly to regular butter and works beautifully. Use dairy-free chocolate chips too.
Spice It Up: Add ¼ teaspoon of cayenne pepper or chipotle powder along with the spices. The heat pairs surprisingly well with the brown butter and pumpkin, giving the cookies a subtle warmth that lingers. I tried this on a whim and now it’s my secret-weapon version.
White Chocolate Cranberry: Swap the semi-sweet chips for white chocolate chips and add ½ cup dried cranberries. The tartness cuts through the sweetness perfectly, and it looks gorgeous for holiday cookie trays.
Nutty Crunch: Fold in ½ cup toasted pecans or walnuts along with the chocolate chips. Toast them in a dry pan for 3-4 minutes until fragrant, then chop roughly. The crunch adds a lovely contrast to the soft cookie.
Pumpkin Spice Latte Twist: Add 1 tablespoon of instant espresso powder dissolved in 1 teaspoon of water to the wet ingredients. It deepens the chocolate flavor and gives the cookies a subtle coffee undertone that coffee lovers will adore.
Serving & Storage Suggestions
These cookies are wonderful warm from the oven, but they also hold up beautifully for days. Here’s how to serve and store them.
Serving Temperature: Serve them slightly warm or at room temperature. If you want that just-baked experience, pop a cookie in the microwave for 10 seconds. The chocolate chips get melty and the texture softens right up.
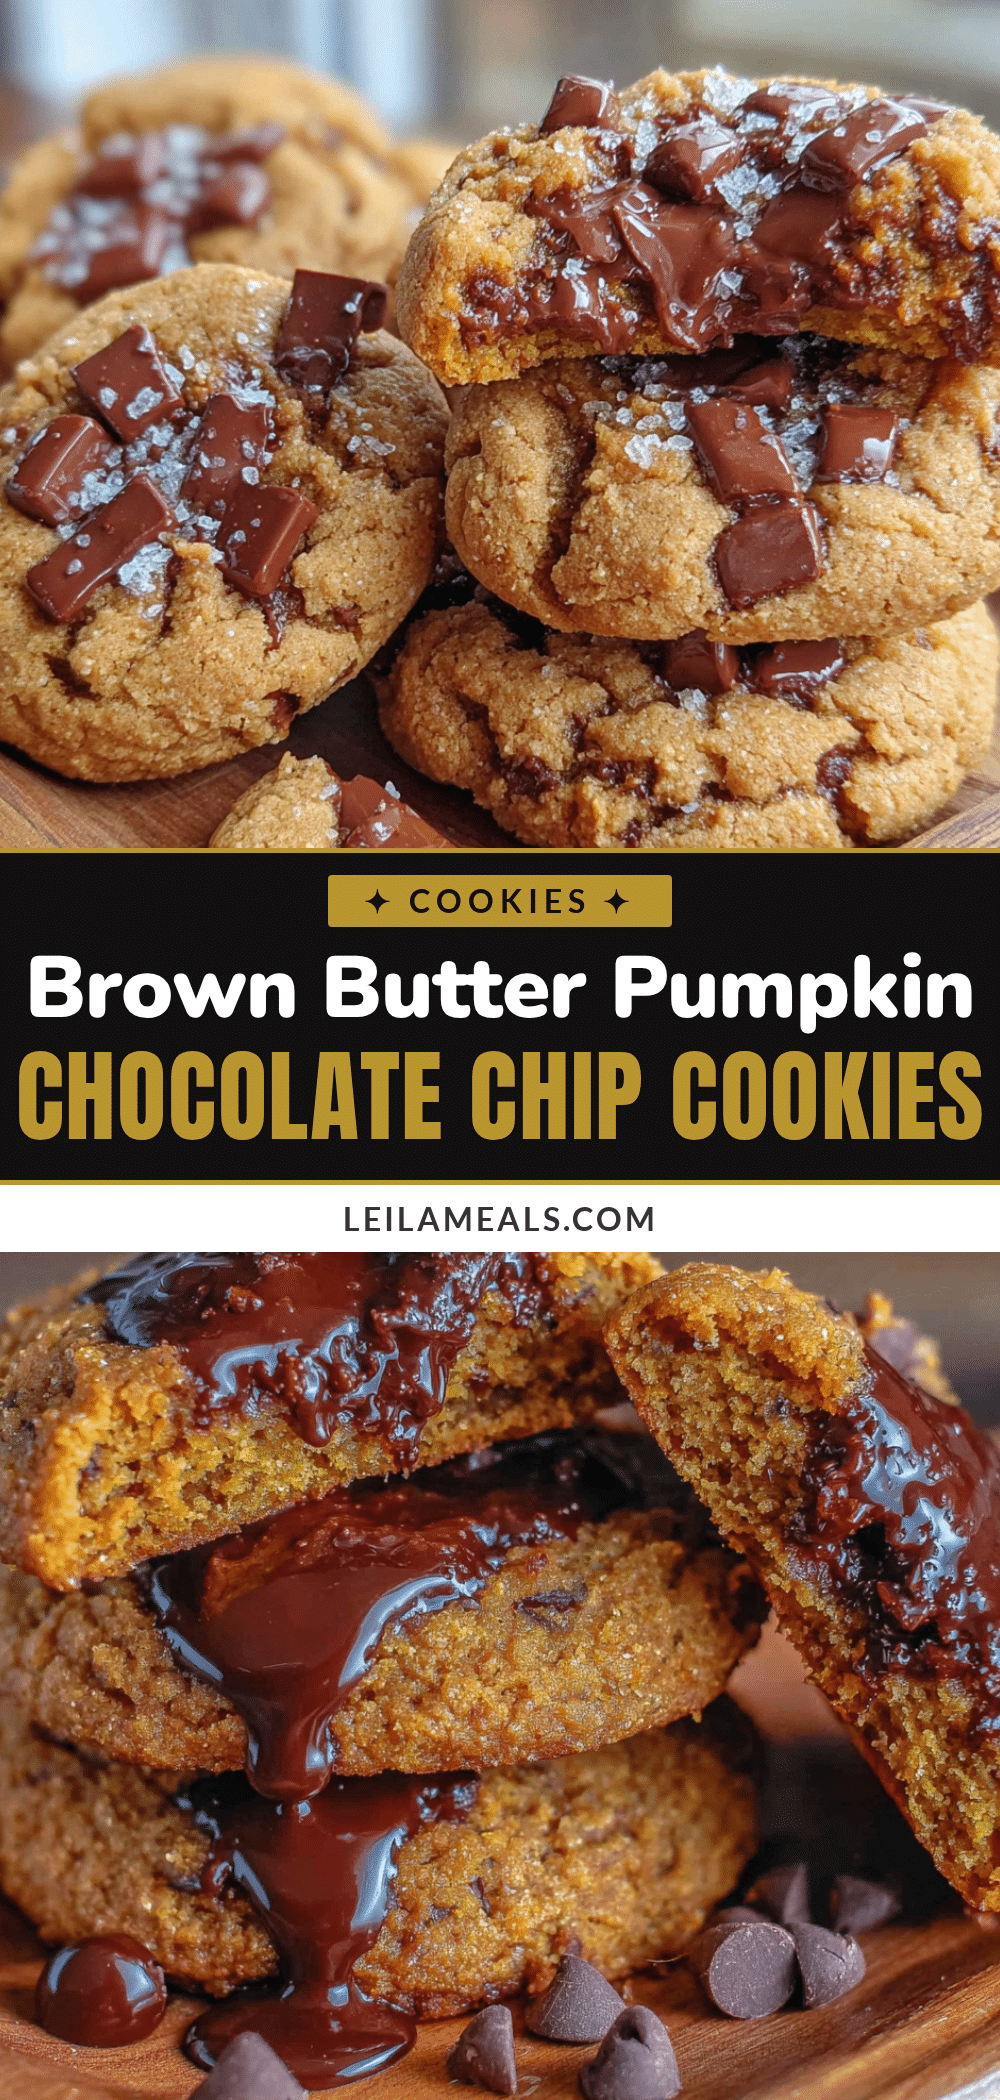
Presentation Ideas: Arrange them on a rustic wooden board or a simple white platter. Sprinkle a little flaky sea salt on top right after baking for a salty-sweet finish that looks professional. I like Maldon salt for this.
Pairings: These cookies are amazing with a hot cup of coffee, a glass of cold milk, or a warm mug of chai tea. For a dessert spread, serve them alongside a scoop of vanilla ice cream or a dollop of whipped cream. They also pair beautifully with a cozy pumpkin spice cold brew for the ultimate fall treat.
Storage: Store cooled cookies in an airtight container at room temperature for up to 5 days. Place a slice of bread in the container to keep them soft—the bread absorbs excess moisture and releases it slowly. Replace the bread slice every other day.
Freezing Instructions: These freeze beautifully. Place baked, cooled cookies in a single layer on a baking sheet and freeze for 1 hour. Transfer to a freezer-safe bag or container. They’ll keep for up to 3 months. Thaw at room temperature for about 30 minutes, or microwave for 15 seconds.
Freezing Dough: You can also freeze the dough balls. Scoop them onto a parchment-lined baking sheet and freeze until solid, then transfer to a freezer bag. Bake from frozen, adding 2-3 minutes to the baking time. Fresh cookies anytime you want them.
Nutritional Information & Benefits
These cookies are a treat, but they do have some redeeming qualities. Here’s the estimated nutrition per cookie (based on 24 cookies):
- Calories: 185
- Fat: 10g
- Carbohydrates: 24g
- Protein: 2g
- Fiber: 1g
- Sugar: 14g
Health Benefits: Pumpkin is packed with vitamin A, fiber, and antioxidants. It’s also low in calories and adds moisture without extra fat. The brown butter adds healthy fats from grass-fed butter if you use quality brands. Dark chocolate chips provide antioxidants and a little magnesium.
Dietary Considerations: These cookies are vegetarian. For a gluten-free version, use a 1:1 gluten-free flour blend. For dairy-free, use vegan butter and dairy-free chocolate chips. They are not low-carb or keto-friendly due to the sugar and flour.
Allergen Warning: Contains wheat, dairy, and eggs. May contain traces of nuts if using chocolate chips processed on shared equipment. Check your labels if you have allergies.
I’m not a nutritionist, but I feel good about serving these to my family. They’re made with real ingredients, no preservatives, and the pumpkin adds a little something extra beyond just empty calories. Everything in moderation, right?
Conclusion
These brown butter pumpkin chocolate chip cookies are everything I want in a fall dessert—warm, cozy, deeply flavorful, and surprisingly easy to make. The brown butter takes them from good to unforgettable, adding a nutty richness that makes pumpkin taste like it was always meant to be paired with toasty butter and dark chocolate.
I love that this recipe doesn’t require any special equipment or complicated techniques. It’s the kind of thing you can whip up on a random Tuesday afternoon when the craving hits, and still feel like you’ve made something special. The cookies come together in under 30 minutes, fill your kitchen with the best fall aromas, and disappear faster than you’d expect.
If you try these cookies, I’d love to hear how they turn out. Leave a comment below and let me know if you added any twists—I’m always looking for new variations to try. Tag me in your photos on social media too. There’s something about seeing other people enjoy a recipe you love that just makes your day.
Go ahead, brown that butter. Your cookies are waiting.
Frequently Asked Questions
Can I use pumpkin pie filling instead of pumpkin purée?
No, don’t do that. Pumpkin pie filling has added sugar and spices that will throw off the recipe completely. Stick with 100% pure pumpkin purée. Libby’s is the most reliable brand I’ve found.
Why did my cookies turn out cakey?
That usually happens when there’s too much pumpkin or not enough butter. Make sure you’re measuring the pumpkin correctly—drain any excess liquid if it looks watery. Also, don’t overmix the dough after adding the flour. Overmixing develops gluten and makes cookies dense and cakey.
Can I make these cookies ahead of time?
Absolutely. You can make the dough up to 2 days ahead and keep it covered in the fridge. Let it sit at room temperature for 10 minutes before scooping and baking. Or freeze the baked cookies for up to 3 months.
How do I know when the butter is properly browned?
You’re looking for two things: a deep golden-amber color with dark specks at the bottom, and a nutty, toasty smell. The butter will foam up, then settle down. Once you see those specks and smell that aroma, take it off the heat immediately. It happens fast, so don’t walk away.
Can I use white chocolate chips instead of semi-sweet?
Yes, white chocolate works great here. The sweetness pairs nicely with the brown butter and pumpkin. I’d recommend adding a pinch of flaky sea salt on top to balance the sweetness. For another pumpkin twist, try these soft pumpkin chocolate chip cookies with sea salt flakes for a slightly different take.
Pin This Recipe!
Best Brown Butter Pumpkin Chocolate Chip Cookies – Easy Fall Recipe
These brown butter pumpkin chocolate chip cookies are soft and tender in the middle with slightly crisp edges, featuring a nutty, caramel depth from browned butter that makes pumpkin taste warmer and richer. No stand mixer required, no chilling for hours, and they come together in under 30 minutes.
- Prep Time: 15 minutes
- Cook Time: 12 minutes
- Total Time: 27 minutes
- Yield: 24 cookies 1x
- Category: Dessert
- Cuisine: American
Ingredients
- 1 cup unsalted butter (2 sticks)
- 1 cup granulated sugar
- ½ cup packed light brown sugar
- 1 large egg, room temperature
- 1 teaspoon vanilla extract
- ¾ cup pumpkin purée (100% pure pumpkin, not pie filling)
- 2 cups all-purpose flour
- 1 teaspoon baking soda
- ½ teaspoon baking powder
- ½ teaspoon salt
- 2 teaspoons pumpkin pie spice
- 1 teaspoon ground cinnamon
- 1 cup semi-sweet chocolate chips
Instructions
- Brown the butter: Place butter in a light-colored saucepan over medium heat. Stir occasionally as it melts. It will foam, crackle, and pop. After a few minutes, foam subsides and golden brown specks form at the bottom. Once it smells nutty and toasty and specks are amber-colored, remove from heat immediately (about 5-7 minutes). Pour into a heat-safe bowl and let cool for 10 minutes.
- Preheat oven to 350°F (175°C). Line two baking sheets with parchment paper.
- Mix wet ingredients: In a large bowl, whisk together cooled brown butter, granulated sugar, and brown sugar until smooth. Add egg, vanilla extract, and pumpkin purée. Whisk until fully incorporated and smooth (about 30 seconds).
- Combine dry ingredients: In a medium bowl, whisk together flour, baking soda, baking powder, salt, pumpkin pie spice, and cinnamon until no lumps remain.
- Mix wet and dry: Add dry ingredients to wet mixture. Stir with a rubber spatula until just combined (a few streaks of flour are okay). Dough will be soft and slightly sticky.
- Fold in chocolate chips: Add chocolate chips and fold gently until evenly distributed. Reserve a handful to press into tops of cookies before baking.
- Scoop and shape: Use a cookie scoop (1.5 tablespoons each) to portion dough. Place 2 inches apart on prepared baking sheets. Press extra chocolate chips into tops.
- Bake one sheet at a time for 10-12 minutes. Edges should look set and lightly golden, centers still soft. For chewier cookies, bake 10 minutes; for crisper edges, 12 minutes.
- Cool on baking sheet for 5 minutes, then transfer to a wire rack to cool completely.
Notes
Watch the butter carefully—it goes from perfect to burnt in about 30 seconds. Don’t skip cooling the brown butter for 10 minutes or the egg will scramble. Use room temperature ingredients. Measure flour by spooning and leveling. Bake one sheet at a time for even results. Let cookies cool on the pan for 5 minutes before moving. For softer cookies, bake closer to 10 minutes. For gluten-free, use 1:1 gluten-free flour blend. For dairy-free, use vegan butter and dairy-free chocolate chips.
Nutrition
- Serving Size: 1 cookie
- Calories: 185
- Sugar: 14
- Sodium: 120
- Fat: 10
- Saturated Fat: 6
- Carbohydrates: 24
- Fiber: 1
- Protein: 2
Keywords: brown butter, pumpkin, chocolate chip, cookies, fall recipe, easy, no chill, freezer-friendly