My tía Lupe did not trust store-bought orange blossom water. “It smells like a cheap candle,” she’d mutter, pushing aside the bottle I’d brought from the fancy market. She reached into her own cabinet instead, pulling out a small, dusty jar she’d filled herself last spring from the blossoms of her neighbor’s tree. That was my first lesson in making real Pan de Muerto. I thought I knew what it was supposed to taste like—dry, a little sweet, mostly just bread. But her version? It was soft as a cloud, fragrant in a way that filled the whole kitchen, and that orange blossom glaze wasn’t just sweet. It tasted like something remembered.
For years, I’d buy Pan de Muerto from the panadería down the street. It was fine. It did the job for the ofrenda. But I never understood why people got so emotional about it until I made it from scratch, following the old ways. The dough needs patience, not shortcuts. The orange blossom glaze isn’t just a topping; it’s the whole point. Honestly, I almost gave up the first time—the dough felt too sticky, the yeast looked sleepy, and I was sure I’d ruined it. But then it rose, and that smell hit me, and I knew I’d never go back to store-bought.
This recipe is that version—the one that converted me. It’s not fussy or pretentious. It’s the kind of bread you make when you want to honor something, whether that’s a loved one who’s passed or just a quiet evening at home. The orange blossom glaze is the secret weapon here. It soaks into the warm bread, making every bite soft, fragrant, and just a little bit magical. If you’ve only ever had the dry bakery version, trust me on this one. You’re in for a revelation.
Why You’ll Love This Recipe
This isn’t just another bread recipe. After testing this over several Días de Muertos (and a few random Tuesdays), I can tell you this version is the one that finally made me feel like I knew what I was doing. Here’s why it works:
- Incredibly Soft Texture: The secret is a technique called a sponge starter. It gives the crumb a tender, almost brioche-like quality that stays soft for days. No more dry, crumbly bread.
- Authentic Orange Blossom Flavor: We’re not using extracts or artificial flavors. Real orange blossom water and fresh orange zest create a floral, citrusy aroma that’s both delicate and unmistakable.
- Perfect for Ofrendas or Brunch: This bread is a staple for Día de Muertos celebrations, but it’s also incredible with your morning coffee or as a centerpiece for a fall brunch. It pairs beautifully with a cozy spiced pumpkin chai latte.
- Beginner-Friendly Process: Despite the fancy name, the dough is forgiving. I’ve included all the visual cues I wish someone had shown me the first time.
- Crowd-Pleaser: I’ve brought this to gatherings where people had no idea what Pan de Muerto was, and it disappeared in minutes. The glaze is what hooks them.
What makes this different from other recipes is the double dose of orange blossom. I use it in both the dough and the glaze, which creates a layered floral sweetness that you just can’t get from one application. It’s not subtle—it’s the star of the show. And honestly, after the first bite, you’ll understand why this bread is so deeply tied to memory and tradition. It’s comfort food that feels like a hug from someone you miss.
What Ingredients You Will Need
This recipe uses simple, pantry-friendly ingredients to create something truly special. The magic is in how they come together, not in fancy shopping lists. Most of these are staples you might already have, but a few—like the orange blossom water—are worth seeking out for the real deal.
For the Sponge (Starter)
- 1/4 cup warm water (about 110°F)—not hot, or you’ll kill the yeast
- 1 tablespoon active dry yeast (or one packet)—I prefer Red Star for reliability
- 1 teaspoon granulated sugar—just to feed the yeast and get it bubbling
- 1/4 cup all-purpose flour—this helps create the sponge texture
For the Dough
- 4 cups all-purpose flour (plus more for dusting)—unbleached gives better structure
- 1/2 cup granulated sugar—not too sweet, just enough to balance the floral notes
- 1 teaspoon salt—don’t skip this; it controls the yeast and adds depth
- 1 tablespoon orange zest (from about 2 oranges)—use a microplane for the best texture
- 3 large eggs, room temperature—cold eggs will shock the dough
- 1/2 cup unsalted butter, softened (1 stick)—European-style butter (like Plugrà) adds richness
- 1/4 cup orange blossom water—look for brands like Cortas or Al Wadi; avoid anything with artificial flavors
- 1/4 cup warm milk (whole milk preferred)—adds tenderness
For the Orange Blossom Glaze
- 1 cup powdered sugar, sifted—sifting prevents lumps
- 2 tablespoons orange blossom water—adjust for desired consistency
- 1 tablespoon fresh orange juice—adds brightness and balances the sweetness
- 1 teaspoon orange zest—for color and aroma on top
For Decoration (Optional but Traditional)
- 2 tablespoons melted butter—for brushing before the glaze
- 1 tablespoon granulated sugar—mixed with a pinch of cinnamon for sprinkling
If you can’t find orange blossom water, you can substitute with orange extract mixed with a little water, but honestly, the flavor won’t be the same. It’s worth ordering online if your local store doesn’t carry it. I also recommend seeking out fresh oranges for the zest—the bottled stuff just doesn’t have the same punch.
Equipment Needed
You don’t need a professional bakery setup for this, but a few key tools will make your life easier. Here’s what I use:
- Stand mixer with dough hook—kneading by hand is possible, but this dough is soft and sticky, and the mixer saves your arms. I use my KitchenAid Artisan.
- Large mixing bowl (glass or stainless steel)—for rising the dough
- Plastic wrap or a clean kitchen towel—to cover the dough while it rises
- Baking sheet (half-sheet pan)—lined with parchment paper
- Microplane or zester—for getting fine orange zest without the bitter pith
- Pastry brush—for applying the melted butter and glaze
- Cooling rack—so the bottom of the bread doesn’t get soggy
- Small saucepan—for warming the milk and butter if needed
- Whisk—for the glaze
If you don’t have a stand mixer, you can knead by hand for about 10-12 minutes. It’s a good arm workout! Just keep your work surface lightly floured and be patient. The dough will come together. Also, a digital kitchen scale is a game-changer for measuring flour accurately, but measuring cups work fine if you spoon and level properly.
Preparation Method
This process looks long, but I promise it’s straightforward. Take it step by step, and don’t rush the rises—that’s where the flavor develops. Set aside about 3.5 to 4 hours total, including rising time.
Step 1: Make the Sponge (15 minutes)
In a small bowl, combine the warm water, active dry yeast, and 1 teaspoon of sugar. Stir gently and let it sit for 5-10 minutes until it becomes frothy and bubbly. If it doesn’t foam up, your yeast might be dead—start over with fresh yeast. Once it’s active, stir in the 1/4 cup of flour until smooth. Cover and let it rest for 10 minutes. This gives the yeast a head start and creates a more flavorful bread.
Step 2: Mix the Dough (10 minutes)
In the bowl of your stand mixer, whisk together the 4 cups of flour, 1/2 cup of sugar, salt, and orange zest. Make a well in the center and add the eggs, softened butter, orange blossom water, warm milk, and the sponge mixture. Mix on low speed with the dough hook until the ingredients come together into a shaggy dough—about 2 minutes.
Step 3: Knead the Dough (8-10 minutes)
Increase the speed to medium-low and knead for 8-10 minutes. The dough will be very soft and slightly sticky—that’s okay. It should pull away from the sides of the bowl but still feel tacky to the touch. If it’s too wet to hold shape, add flour one tablespoon at a time. If it’s too dry, add a splash of warm milk. The dough should be smooth and elastic, and when you stretch a small piece, it should form a thin “windowpane” without tearing.
Step 4: First Rise (1.5 to 2 hours)
Lightly grease a large bowl with butter or oil. Place the dough in the bowl, turning it once to coat. Cover tightly with plastic wrap and a kitchen towel. Let it rise in a warm, draft-free spot until doubled in size—about 1.5 to 2 hours. I usually put it in my oven with the light on (but the oven off). It should look puffy and airy, and when you poke it gently, the indentation should remain.
Step 5: Shape the Dough (15 minutes)
Punch the dough down gently to release the air. Turn it out onto a lightly floured surface. Divide it into two pieces: one large piece (about 2/3 of the dough) for the base, and one smaller piece (1/3) for the decorative bones and top piece. Shape the large piece into a smooth round ball and place it on your parchment-lined baking sheet. From the smaller piece, roll out four “bones” (long strips about 1/2-inch thick and 6 inches long) and one small round ball for the top center. To attach the bones, place them across the top of the round loaf in a cross pattern, pressing the ends gently into the sides. Place the small ball in the center where the bones cross. Press everything gently to adhere.
Step 6: Second Rise (45 minutes to 1 hour)
Cover the shaped loaf loosely with plastic wrap or a clean towel. Let it rise again until puffy, about 45 minutes to 1 hour. It won’t double this time, but it should look noticeably larger and feel soft when gently touched. Preheat your oven to 350°F (175°C) during the last 15 minutes of this rise.
Step 7: Bake the Bread (25-30 minutes)
Brush the risen loaf with the melted butter. Bake for 25-30 minutes, rotating the pan halfway through, until the top is deep golden brown and the loaf sounds hollow when tapped on the bottom. If the top is browning too quickly, tent it loosely with foil after 15 minutes. Let it cool on the baking sheet for 5 minutes, then transfer to a cooling rack.
Step 8: Make and Apply the Glaze (5 minutes)
While the bread is still warm (but not hot), whisk together the sifted powdered sugar, orange blossom water, orange juice, and orange zest until smooth. The glaze should be thick but pourable. Brush it generously over the warm bread. The warmth helps the glaze soak in, creating that signature tender, fragrant crust. Sprinkle with the cinnamon sugar mixture if desired. Let the glaze set for about 10 minutes before serving.
Cooking Tips & Techniques
I’ve made this recipe more times than I can count, and I’ve definitely had my share of flops. Here’s what I’ve learned the hard way so you don’t have to:
- Temperature is everything: Yeast is a living thing. If your water or milk is too hot (above 120°F), you’ll kill it. Too cold, and it won’t activate. Use a thermometer if you have one. Your liquid should feel like warm bath water—comfortable on your wrist.
- Don’t skip the sponge: I know it’s an extra step, but that 10-minute head start makes the dough rise higher and gives it a more complex flavor. It’s the difference between “good” and “I can’t stop eating this.”
- Sticky dough is your friend: Pan de Muerto dough is softer than regular bread dough because of the eggs and butter. Resist the urge to add too much flour during kneading. A slightly sticky dough yields a tender crumb. If it sticks to your hands, just lightly oil them instead of adding flour.
- Watch the rise, not the clock: Rising times are estimates. Your kitchen temperature affects everything. In a cold kitchen, it might take 3 hours. In a warm one, 1 hour. Look for visual cues: doubled in size, puffy, and the dough holds a gentle indentation when poked.
- Glaze while warm: This is the most important tip. If you wait until the bread is completely cool, the glaze will just sit on top. Brushing it on while the bread is still warm (about 10 minutes out of the oven) allows it to seep into the crust, creating that signature moist, fragrant exterior.
One mistake I made early on was over-baking. The bread should be deeply golden, but if it’s too dark, the crust becomes hard and the inside dries out. Check it at 25 minutes and trust the hollow-sound test over the color.
Variations & Adaptations
This recipe is traditional, but there’s always room to play. Here are a few ways I’ve adapted it over the years:
- Citrus Swap: Not a fan of orange blossom? Replace the orange blossom water with rose water and use lemon zest instead of orange. You’ll get a beautifully floral, slightly different bread that’s still perfect for the season. I tried this once for a spring gathering, and it was a hit.
- Gluten-Free Version: Substitute the all-purpose flour with a good 1:1 gluten-free baking blend (I like Bob’s Red Mill). Add 1 teaspoon of xanthan gum if your blend doesn’t include it. The dough will be stickier and won’t rise as high, but the flavor is still wonderful. Just handle it gently.
- Dairy-Free Adaptation: Use vegan butter (like Miyoko’s) and oat milk or almond milk in place of the dairy. The texture will be slightly less rich, but still very good. I’ve made this for friends with dairy allergies, and they didn’t miss a thing.
- Spiced Version: Add 1 teaspoon of ground cinnamon and 1/2 teaspoon of ground anise seed to the flour mixture. This gives the bread a warm, almost chai-like undertone that pairs beautifully with the orange blossom. It’s my go-to for a cozy fall afternoon, especially alongside a homemade pumpkin spice latte.
- Chocolate Drizzle: For a less traditional but undeniably delicious twist, melt 1/2 cup of dark chocolate chips with 1 tablespoon of coconut oil and drizzle it over the glazed bread. The bitterness of the chocolate balances the floral sweetness perfectly.
I personally love the spiced version during the fall. It fills the house with the most incredible aroma—like a bakery and a spice market had a baby.
Serving & Storage Suggestions
Pan de Muerto is best enjoyed the day it’s made, but it’s still wonderful for a few days after. Here’s how to handle it:
- Serving Temperature: Serve at room temperature or slightly warm. If it’s a day old, pop it in a 300°F oven for 5 minutes to revive the crust. The glaze will get slightly melty again—heavenly.
- Presentation: Place the loaf on a beautiful platter or a wooden board. If you’re using it for an ofrenda, arrange it with marigolds, photos, and other offerings. For a brunch table, slice it into wedges and fan them out.
- Pairings: This bread is incredible with a cup of Mexican hot chocolate or a strong coffee. For a dessert spread, serve it alongside a creamy pumpkin cheesecake bar for a fall-themed dessert table that will wow your guests.
- Storage: Store the bread in an airtight container at room temperature for up to 3 days. Do not refrigerate—it will dry out the bread and make the glaze sticky. If you need to keep it longer, wrap it tightly in plastic wrap and then foil, and freeze for up to 2 months.
- Reheating from Frozen: Thaw at room temperature, then warm in a 300°F oven for 5-7 minutes. The glaze might lose a bit of its shine, but the flavor will still be fantastic.
One thing I love about this bread is how the flavors deepen overnight. The orange blossom scent becomes more integrated, and the texture softens even more. It’s almost better on day two—if it lasts that long.
Nutritional Information & Benefits
Let’s be real—this is a treat, not a health food. But there are a few bright spots worth mentioning. Here’s the approximate nutritional breakdown per serving (1/8 of the loaf):
- Calories: 320
- Fat: 14g
- Carbohydrates: 45g
- Protein: 6g
- Fiber: 1g
- Sugar: 18g
On the plus side, the eggs provide high-quality protein and choline, which supports brain health. The orange zest offers a small dose of vitamin C and antioxidants. And honestly, there’s something to be said for the emotional and cultural benefits of sharing food made with intention. This bread is part of a tradition that honors loved ones and brings people together—that’s good for the soul, even if it’s not on a nutrition label.
If you’re watching your sugar intake, you can reduce the glaze sugar by half, but it won’t have the same glossy finish. For a lower-carb option, this isn’t the recipe—save it for a special occasion and enjoy every bite.
Potential allergens: wheat (gluten), dairy, eggs.
Conclusion
This Pan de Muerto with Orange Blossom Glaze is more than just a recipe—it’s a way to connect with tradition, with loved ones, and with the simple joy of making something beautiful with your hands. The soft, tender crumb, the fragrant floral glaze, and the satisfying ritual of shaping the bones on top—it all adds up to a bread that feels special without being fussy.
I hope you give it a try, whether it’s for Día de Muertos, a fall gathering, or just a Tuesday when you need something warm and beautiful in your kitchen. Don’t be afraid to make it your own—swap the citrus, add some spice, or keep it perfectly traditional. The best version is the one that makes you smile when you take that first bite.
If you make this, I’d love to hear about it. Leave a comment below and tell me how it turned out, or share a photo and tag me. Did you add a twist? Did it remind you of someone? That’s what this bread is really about—the memories we create around it. Happy baking, friends. And remember: the glaze is never too much.
Frequently Asked Questions
Can I use instant yeast instead of active dry yeast?
Yes, you can substitute instant yeast. Use the same amount (1 tablespoon), but you can skip the sponge step and mix it directly with the flour. The bread might rise a bit faster, so keep an eye on it.
Why is my dough so sticky?
That’s normal! This dough has a high fat and egg content, which makes it softer and stickier than regular bread dough. Avoid adding too much extra flour—lightly oil your hands instead. The stickiness ensures a tender crumb.
Can I make the dough ahead of time?
Absolutely. After the first rise, punch it down, wrap it tightly in plastic wrap, and refrigerate for up to 24 hours. The next day, let it come to room temperature for about 30 minutes before shaping and proceeding with the second rise.
What if I can’t find orange blossom water?
You can substitute with 2 teaspoons of orange extract mixed with 2 tablespoons of water for the dough, and use the same ratio for the glaze. The flavor won’t be as floral or delicate, but it will still be delicious. You can also use rose water for a different floral note.
How do I know when the bread is fully baked?
The top should be deep golden brown, and the loaf should sound hollow when you tap the bottom. You can also use an instant-read thermometer—the internal temperature should be around 190°F (88°C). If the top is browning too fast, tent it with foil.
Pin This Recipe!
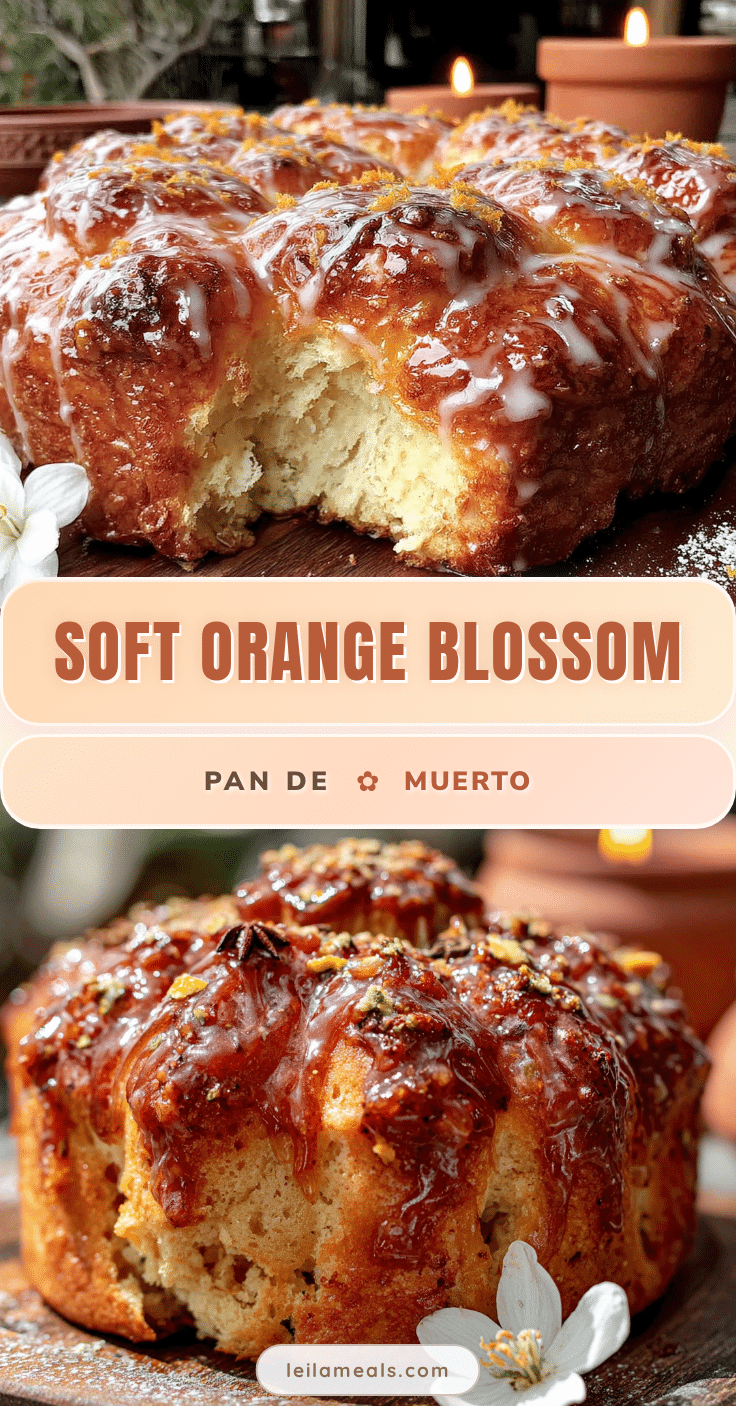
Traditional Pan de Muerto with Orange Blossom Glaze
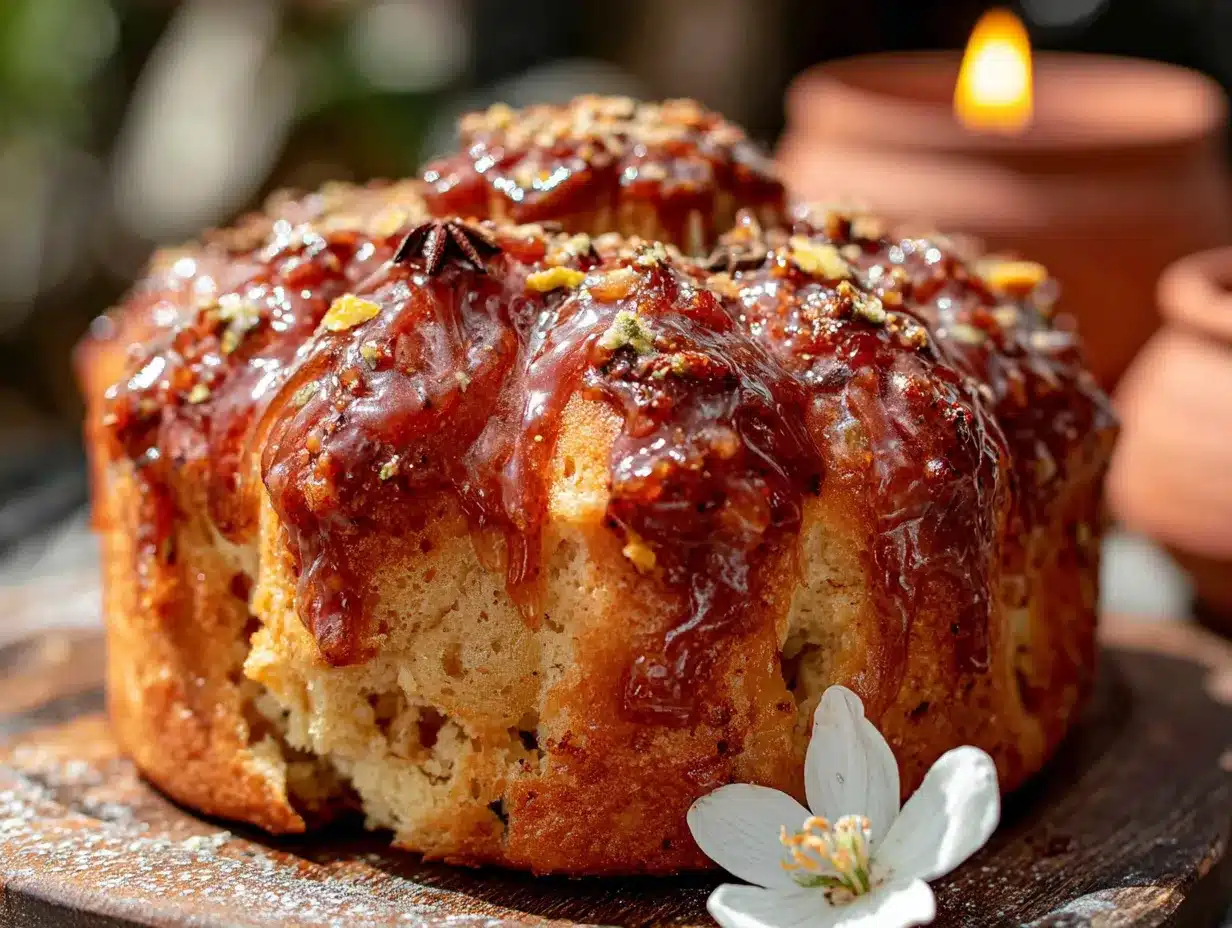
This soft, fragrant Pan de Muerto features a tender brioche-like crumb and a double dose of orange blossom in both the dough and glaze. It’s a traditional Día de Muertos bread that’s perfect for ofrendas or a cozy fall brunch.
- Prep Time: 30 minutes
- Cook Time: 30 minutes
- Total Time: 4 hours
- Yield: 8 servings 1x
- Category: Bread
- Cuisine: Mexican
Ingredients
- 1/4 cup warm water (about 110°F)
- 1 tablespoon active dry yeast
- 1 teaspoon granulated sugar
- 1/4 cup all-purpose flour
- 4 cups all-purpose flour (plus more for dusting)
- 1/2 cup granulated sugar
- 1 teaspoon salt
- 1 tablespoon orange zest (from about 2 oranges)
- 3 large eggs, room temperature
- 1/2 cup unsalted butter, softened (1 stick)
- 1/4 cup orange blossom water
- 1/4 cup warm milk (whole milk preferred)
- 1 cup powdered sugar, sifted
- 2 tablespoons orange blossom water
- 1 tablespoon fresh orange juice
- 1 teaspoon orange zest
- 2 tablespoons melted butter (for brushing)
- 1 tablespoon granulated sugar (mixed with a pinch of cinnamon for sprinkling)
Instructions
- Make the sponge: In a small bowl, combine warm water, active dry yeast, and 1 teaspoon sugar. Let sit 5-10 minutes until frothy. Stir in 1/4 cup flour until smooth. Cover and rest 10 minutes.
- Mix the dough: In a stand mixer bowl, whisk together 4 cups flour, 1/2 cup sugar, salt, and orange zest. Make a well and add eggs, softened butter, orange blossom water, warm milk, and the sponge mixture. Mix on low with dough hook until shaggy, about 2 minutes.
- Knead the dough: Increase speed to medium-low and knead 8-10 minutes until smooth and elastic. Dough should be soft and slightly sticky. Perform windowpane test.
- First rise: Lightly grease a large bowl. Place dough in bowl, turning to coat. Cover with plastic wrap and towel. Let rise in warm spot until doubled, 1.5 to 2 hours.
- Shape the dough: Punch down dough. Turn onto floured surface. Divide into two pieces: 2/3 for base, 1/3 for decorations. Shape large piece into a smooth round on parchment-lined baking sheet. From smaller piece, roll four ‘bones’ (1/2-inch thick, 6 inches long) and one small ball. Place bones in cross pattern on top of loaf, press ends into sides. Place small ball in center where bones cross.
- Second rise: Cover shaped loaf loosely. Let rise until puffy, 45 minutes to 1 hour. Preheat oven to 350°F (175°C) during last 15 minutes.
- Bake: Brush risen loaf with melted butter. Bake 25-30 minutes, rotating halfway, until deep golden brown and hollow-sounding when tapped. Tent with foil if browning too quickly. Cool on baking sheet 5 minutes, then transfer to rack.
- Make and apply glaze: While bread is warm, whisk together sifted powdered sugar, orange blossom water, orange juice, and orange zest until smooth. Brush generously over warm bread. Sprinkle with cinnamon sugar if desired. Let glaze set 10 minutes before serving.
Notes
Temperature is key: liquids should be warm (110°F) but not hot. Don’t skip the sponge step—it enhances flavor and rise. Sticky dough is normal; resist adding too much flour. Glaze while bread is still warm for best absorption. Bread can be stored at room temperature for up to 3 days or frozen for 2 months.
Nutrition
- Serving Size: 1/8 of loaf
- Calories: 320
- Sugar: 18
- Sodium: 290
- Fat: 14
- Saturated Fat: 8
- Carbohydrates: 45
- Fiber: 1
- Protein: 6
Keywords: Pan de Muerto, Day of the Dead bread, orange blossom bread, Mexican sweet bread, traditional bread, Día de Muertos recipe


