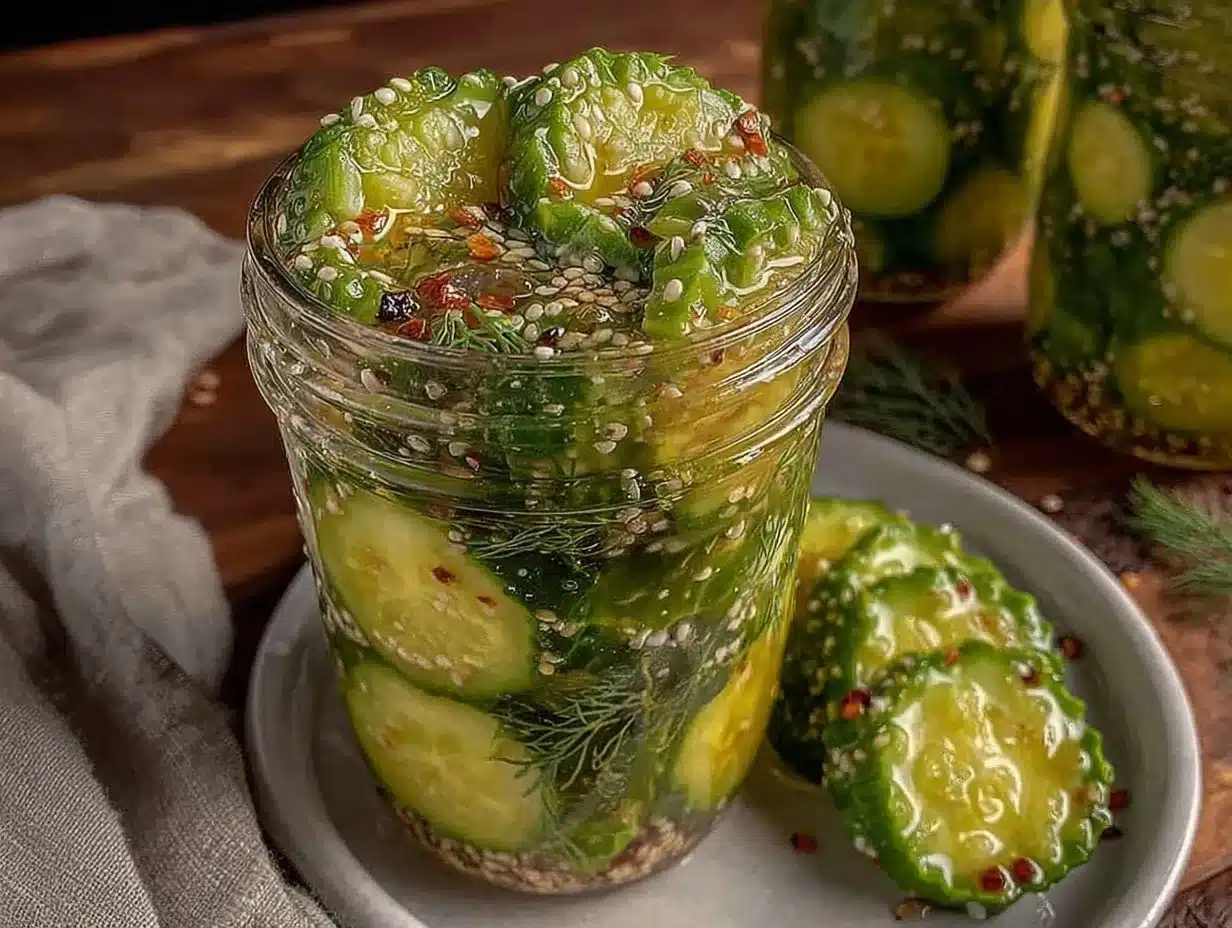
I figured pickling cucumbers would mean waiting weeks for that perfect tangy crunch. It took about 24 hours for that whole assumption to fall apart completely. One evening, tired of the usual jarred pickles that tasted like soggy sadness, I decided to throw together a batch of quick crisp refrigerator dill pickles. Honestly, I wasn’t expecting much—just something to satisfy a sudden craving without the long wait.
But as the hours ticked by, the cucumbers soaked up the briny, garlicky goodness in the fridge. By the next day, the pickles were crunchy, flavorful, and had that bright dill punch that I’d always thought took forever to develop. The best part? They were ready in a snap—no boiling water bath, no fuss, just fresh ingredients and a bit of patience.
That first jar changed the way I think about pickles. They’re no longer a pantry afterthought but a quick, reliable sidekick for everything from sandwiches to snacks. Plus, this recipe taught me that sometimes the simplest methods deliver the most satisfying results. So, if you’ve been put off by complicated pickling or lengthy waits, this recipe is your shortcut to crisp, tangy delight. It’s the kind of pickle that makes you pause mid-bite and appreciate the humble cucumber’s potential.
There’s something quietly satisfying about pulling out a jar of these quick crisp refrigerator dill pickles in less than 24 hours—like a secret weapon for turning ordinary meals into something memorable. That’s why this recipe stuck around in my kitchen, turning into a go-to for fast flavor and crunchy satisfaction.
Why You’ll Love This Recipe
Honestly, this quick crisp refrigerator dill pickles recipe has become my kitchen MVP, hands down. It’s the sort of recipe that you can whip up on a whim and have ready the next day—perfect for those moments when you want fresh pickles without the wait.
- Quick & Easy: Ready in just 24 hours, these pickles come together faster than you’d think possible, ideal for busy weeknights or last-minute cravings.
- Simple Ingredients: No need for fancy or hard-to-find items—just everyday kitchen staples like cucumbers, garlic, and dill.
- Perfect for Any Occasion: Whether it’s a casual sandwich lunch, a picnic, or a snack while watching the game, these pickles fit right in.
- Crowd-Pleaser: The crisp texture and fresh dill flavor get rave reviews from kids and adults alike—no one suspects these came together so fast.
- Unbelievably Delicious: The balance of garlic, dill, and tang makes these pickles a standout, the kind that make you close your eyes and savor every bite.
This isn’t just another pickle recipe—there’s a little trick in the brine ratio and the use of fresh dill that makes these pickles pop. Plus, soaking them in the fridge keeps that crunch intact without the mushiness that sometimes creeps in with quick pickles. I’ve tested this method repeatedly, tweaking it until the texture was just right, and trust me, it’s a keeper.
It felt like a revelation when I realized I could have crisp, homemade pickles ready almost overnight without fancy equipment or complicated steps. This recipe feels like comfort food’s cooler, tangier cousin—fast, fresh, and reliably perfect every time.
What Ingredients You Will Need
This recipe uses simple, wholesome ingredients to deliver bold flavor and satisfying crunch without any fuss. Most are pantry or fridge staples, and substitutions are pretty forgiving if you need to tweak things a bit.
- Fresh cucumbers (pickling cucumbers preferred, about 1 pound / 450 grams) – smaller cucumbers work best for that perfect crisp bite.
- Fresh dill (several sprigs, about 4-5) – the star herb that gives these pickles their signature aroma and flavor.
- Garlic cloves (2-3, smashed) – adds that punchy, savory note everyone loves.
- White vinegar (1 cup / 240 ml) – sharp and bright, the acid that pickles the cucumbers quickly.
- Water (1 cup / 240 ml) – dilutes the vinegar to the perfect tang.
- Kosher salt (1 tablespoon) – essential for flavor and crunch; Diamond Crystal is a favorite for consistent results.
- Granulated sugar (1 teaspoon) – balances out the acidity just a touch.
- Black peppercorns (1 teaspoon) – for a hint of spice and depth.
- Red pepper flakes (optional, 1/4 teaspoon) – add if you want a little heat.
You can swap out white vinegar for apple cider vinegar if you prefer a fruitier tang, though it might darken the pickles slightly. For a gluten-free twist, all ingredients here are naturally gluten-free, so no worries there. And if fresh dill isn’t in season, dried dill can be used but fresh really makes the biggest difference for that lively flavor.
Equipment Needed
- Quart-sized glass jar (or any similar airtight container) – you want something that seals well to keep flavors fresh while pickling in the fridge.
- Measuring cups and spoons – precise measurements help balance the brine perfectly.
- Mixing bowl – for combining your brine ingredients before pouring over cucumbers.
- Sharp knife – to slice cucumbers evenly for consistent texture.
- Cutting board – a sturdy one to handle the slicing chore.
- Optional: kitchen scale – if you want to be exact with cucumber weight, but it’s not mandatory.
If you don’t have a quart jar, a couple of smaller jars work just fine—just divide the ingredients proportionally. Glass is best because it doesn’t react with the vinegar, but a high-quality food-safe plastic container can work in a pinch. I’ve tried plastic containers before, but they never keep the pickles quite as crisp as glass jars do.
Preparation Method
- Wash and slice the cucumbers: Rinse 1 pound (450 grams) of pickling cucumbers thoroughly. Trim the ends to prevent any bitterness, then slice them into ¼-inch (6 mm) thick rounds or spears, whichever texture you prefer. The slices should be uniform so they pickle evenly.
- Prepare the brine: In a mixing bowl, combine 1 cup (240 ml) white vinegar, 1 cup (240 ml) water, 1 tablespoon kosher salt, and 1 teaspoon granulated sugar. Stir well until the salt and sugar dissolve completely, about 1-2 minutes. This brine is the magic potion that transforms cucumbers quickly.
- Add flavorings to the jar: Place 4-5 fresh dill sprigs, 2-3 smashed garlic cloves, 1 teaspoon black peppercorns, and optional ¼ teaspoon red pepper flakes into your quart-sized glass jar. These aromatics infuse the pickles with that classic dill flavor.
- Pack the cucumbers: Tightly but gently pack the cucumber slices or spears into the jar, leaving about 1 inch (2.5 cm) of headspace at the top. This space allows the brine to circulate and the pickles to stay crisp.
- Pour the brine: Pour the brine over the cucumbers and flavorings, making sure everything is fully submerged. You can press the cucumbers down slightly with a spoon if needed. If any cucumber peeks above the brine, add a little more water and vinegar in equal parts.
- Seal and refrigerate: Screw the lid on tightly and place the jar in the refrigerator. Let the pickles sit for at least 24 hours before tasting. The longer they sit, the more intense the flavor, but that first day already delivers impressive crunch and tang.
- Enjoy: After 24 hours, open the jar and give a sniff—the bright dill and garlic aroma should hit you right away. Taste a pickle for crunch and seasoning, and adjust salt or vinegar next time if desired.
Pro tip: If you want extra-crisp pickles, soak the cucumbers in ice water for 30 minutes before slicing to firm them up. Also, avoid overfilling the jar, as overcrowding can lead to uneven pickling.
Cooking Tips & Techniques
Getting that perfect crispness in quick pickles can feel like chasing a moving target, but a few tricks make it much easier.
- Choose the right cucumber: Pickling cucumbers are smaller, thinner-skinned, and have fewer seeds, which helps keep the texture firm. The garden variety or English cucumbers can get a bit mushy fast.
- Don’t skip the salt: Kosher salt is ideal because it dissolves cleanly and doesn’t contain additives that cloud the brine. Table salt often has iodine and anti-caking agents that can make pickles cloudy or bitter.
- Keep cucumbers submerged: Air exposure leads to soft spots and off-flavors. If necessary, use a small fermentation weight or a clean piece of cabbage leaf to hold the cucumbers under the brine.
- Patience is key: I’ve learned that even if you’re eager, letting the pickles rest the full 24 hours is worth it. Anything less, and the flavor won’t develop fully, and the crunch might feel underwhelming.
- Store cold: These are refrigerator pickles, so they need to stay chilled. Warm temperatures will speed up softening and spoilage.
One time, I left the jar out by mistake, and the pickles ended up soft and sour in the worst way. Lesson learned: keep them cold and sealed tight. Also, layering fresh dill with garlic ensures that every bite has that herbaceous, garlicky zip—don’t skimp on those!
Variations & Adaptations
This quick crisp refrigerator dill pickles recipe is pretty flexible, so it’s easy to make it your own.
- Spicy Pickles: Add more red pepper flakes or a sliced jalapeño to the jar for a fiery kick.
- Garlic Lovers’ Version: Double the garlic cloves or toss in some roasted garlic for a mellow, sweet twist.
- Herb Variations: Swap dill for fresh tarragon or add fresh cilantro for a different herb profile.
- Sweet & Tangy: Increase sugar to 1 tablespoon for a sweeter brine reminiscent of bread-and-butter pickles.
- Low Sodium: Cut the salt in half and add a splash of lemon juice for brightness, though the crunch may be slightly less firm.
For a fun twist, I once tried these pickles in my crispy Vietnamese banh mi sandwich, swapping out the usual pickled carrots and daikon. The dill pickles added a fresh, herbal zip that surprised everyone at the table.
Serving & Storage Suggestions
Serve these quick crisp refrigerator dill pickles chilled straight from the jar as a tangy snack or alongside sandwiches, burgers, or grilled meats. They pair wonderfully with creamy dishes like fresh caprese sandwiches or even a hearty bowl of lemon garlic shrimp pasta.
Store leftovers tightly sealed in the refrigerator for up to 2 weeks. The flavor will deepen over time, but the cucumbers may lose some crunch after about a week. If you want to retain the crispness longer, consider transferring the pickles and brine to smaller jars as you consume them to reduce air exposure.
When reheating dishes that include these pickles, it’s best to add them fresh at the end or serve on the side, as heat will soften their satisfying crunch.
Nutritional Information & Benefits
These quick crisp refrigerator dill pickles are low in calories—about 10-15 calories per serving—and naturally fat-free. The cucumbers provide hydration and small amounts of vitamins K and C. The vinegar brine aids digestion and may help stabilize blood sugar levels.
This recipe is gluten-free, dairy-free, and vegan-friendly, making it a versatile choice for many diets. Just watch for added sugar if you’re counting carbs closely. Fresh dill is packed with antioxidants and has anti-inflammatory properties, which adds a subtle health boost.
I appreciate having a recipe like this on hand because it’s a wholesome way to add flavor and crunch to meals without relying on processed snacks or store-bought pickles loaded with preservatives.
Conclusion
Why wait weeks when you can enjoy crunchy, tangy dill pickles in just 24 hours? This quick crisp refrigerator dill pickles recipe has stuck with me because it’s straightforward, dependable, and delivers exactly what I want every time—a fresh, flavorful pickle without the fuss. Customize it to your taste, whether you like things spicy, garlicky, or a bit sweeter.
Pickles don’t have to be complicated, and this recipe proves that well. I hope you enjoy making these as much as I do—they’re a small kitchen victory that adds a punch of brightness to so many meals. If you try this recipe, I’d love to hear how you make it your own!
Frequently Asked Questions
How long do refrigerator dill pickles last?
Stored properly in the fridge, these pickles stay fresh and crunchy for up to 2 weeks. After that, they might soften but are usually still tasty.
Can I use regular cucumbers for this recipe?
Pickling cucumbers are best because they’re firmer with fewer seeds. Regular cucumbers can work but may result in softer pickles.
Do I need to boil the brine for refrigerator pickles?
Nope! This recipe uses a cold brine, which is one reason the pickles stay crisp and the process is fast.
Can I make this recipe vegan and gluten-free?
Absolutely! All ingredients are plant-based and naturally gluten-free.
What’s the best way to keep pickles crunchy?
Keep cucumbers submerged in brine, use kosher salt, and refrigerate promptly. Soaking cucumbers in ice water before pickling also helps.
Pin This Recipe!
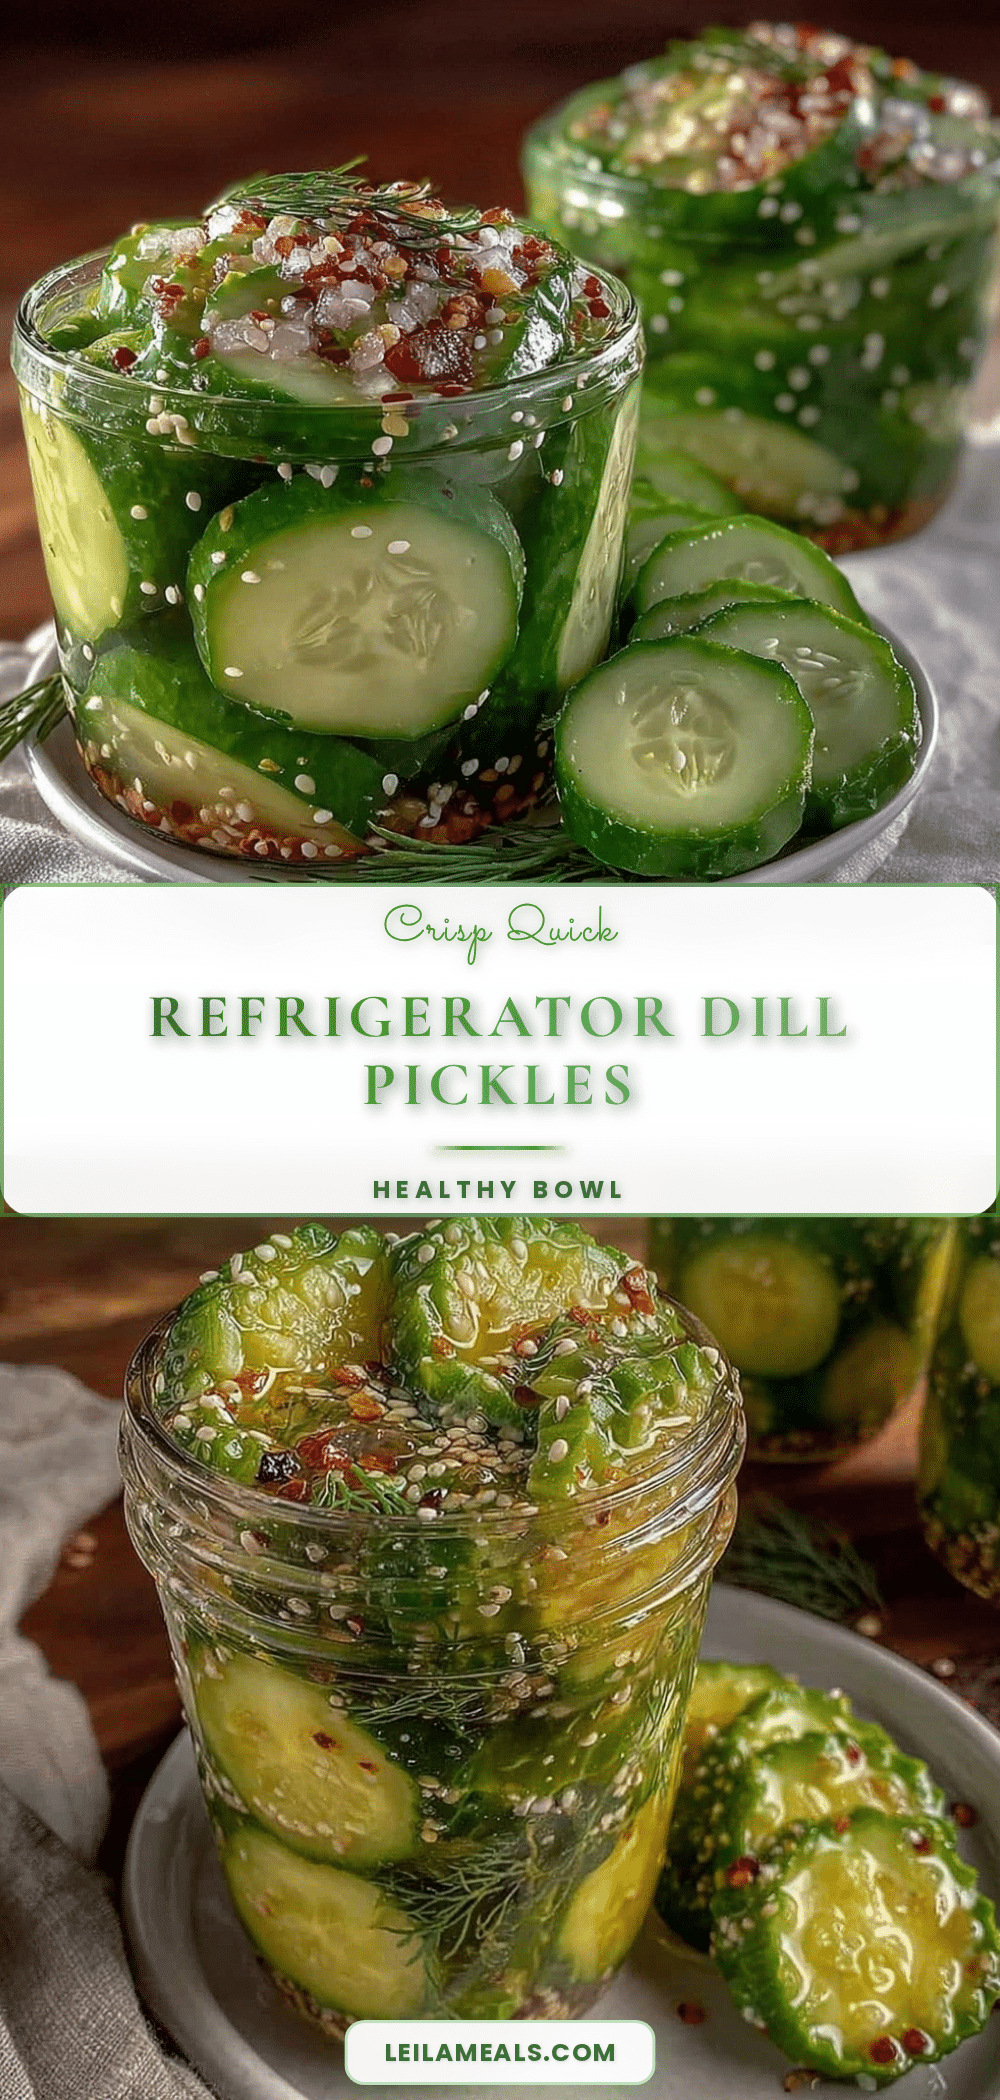
Quick Crisp Refrigerator Dill Pickles
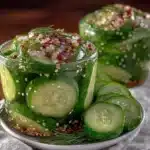
A fast and easy recipe for crunchy, tangy dill pickles ready in just 24 hours without boiling or fuss. Perfect for sandwiches, snacks, and quick flavor boosts.
- Prep Time: 15 minutes
- Cook Time: 0 minutes
- Total Time: 24 hours 15 minutes
- Yield: 4 servings 1x
- Category: Side Dish
- Cuisine: American
Ingredients
- 1 pound pickling cucumbers (about 450 grams), sliced into 1/4-inch rounds or spears
- 4–5 fresh dill sprigs
- 2–3 garlic cloves, smashed
- 1 cup white vinegar (240 ml)
- 1 cup water (240 ml)
- 1 tablespoon kosher salt
- 1 teaspoon granulated sugar
- 1 teaspoon black peppercorns
- 1/4 teaspoon red pepper flakes (optional)
Instructions
- Wash and slice the cucumbers into 1/4-inch thick rounds or spears.
- In a mixing bowl, combine white vinegar, water, kosher salt, and granulated sugar. Stir until salt and sugar dissolve.
- Place fresh dill sprigs, smashed garlic cloves, black peppercorns, and optional red pepper flakes into a quart-sized glass jar.
- Pack the cucumber slices or spears tightly into the jar, leaving about 1 inch of headspace.
- Pour the brine over the cucumbers and flavorings, ensuring they are fully submerged.
- Seal the jar tightly and refrigerate for at least 24 hours before tasting.
- After 24 hours, enjoy the pickles chilled. Adjust salt or vinegar next time if desired.
Notes
For extra crispness, soak cucumbers in ice water for 30 minutes before slicing. Keep cucumbers fully submerged in brine to avoid soft spots. Use kosher salt for best results. Store pickles refrigerated and consume within 2 weeks for optimal crunch.
Nutrition
- Serving Size: About 1/4 of the rec
- Calories: 15
- Sugar: 1
- Sodium: 800
- Carbohydrates: 3
- Fiber: 0.5
- Protein: 0.5
Keywords: quick pickles, refrigerator pickles, dill pickles, easy pickling, crunchy pickles, no boil pickles, homemade pickles