It was 11:47 PM on a random Tuesday in October, and I had a very specific craving for something that went bump in the night. I didn’t have the energy for a complicated Halloween bake, but I had three egg whites sitting in my fridge leftover from a custard experiment gone wrong, and the idea that arrived was a little ridiculous: what if I made ghosts out of meringue? Not the fancy, piped kind with perfect ruffles, but little wobbly, slightly derpy ghosts that looked like they’d crawled out of a cartoon. Honestly, the late hour made it better. There was no one to impress, no one to critique the shape of a ghost’s head. I just whisked, and I giggled, and I created the most charmingly imperfect little spirits I’ve ever seen. You know that feeling when you’re too tired to overthink, so you just let your hands do what they want? That’s this recipe.
I used a cracked glass bowl I should have thrown out ages ago and a hand mixer that sounds like a dying lawnmower. But something about the odd hours loosened the usual rules. I wasn’t trying to be perfect. I was just trying to make a ghost. The result was so unexpectedly adorable that I immediately texted a photo to my sister, who replied, “Are those… sad ghosts?” Yes. Yes, they were. And they were perfect. Maybe you’ve been there, staring into the fridge at 11 PM with a wild idea and no good reason to follow through. Let me tell you, it’s worth it. These ghost meringue cookies have become my go-to for every Halloween party, potluck, and spooky gathering since. They’re the kind of treat that makes people stop, smile, and ask, “Wait, you made these?” And honestly, that moment never gets old.
Why You’ll Love This Recipe
Let’s face it, hosting a Halloween party is stressful enough without adding a complicated dessert to the mix. You want something that looks impressive but doesn’t require a pastry chef diploma. These ghost meringue cookies are exactly that. They’re the little black dress of Halloween desserts — simple, classic, and surprisingly versatile. I’ve tested this recipe about six times now, tweaking the sugar ratio and the baking temperature until I got that perfect balance of a crisp shell and a soft, marshmallowy center. Trust me, I’ve had my fair share of flat, weeping meringues, and these are not those.
- Quick & Easy: From start to finish, these come together in under an hour, with most of that being hands-off baking time. Perfect for last-minute party prep when you realize you forgot to plan a dessert.
- Simple Ingredients: You likely already have everything in your kitchen right now. No weird specialty items or trips to three different stores. Just eggs, sugar, and a little vanilla.
- Perfect for a Spooky Party: Let’s be real, they’re ghosts. They’re inherently themed. No need for expensive cookie cutters or food coloring (though you can add some if you want).
- Crowd-Pleaser: Kids love them because they’re cute and sweet. Adults love them because they’re light and not overly sugary. Plus, they’re naturally gluten-free, so almost everyone can enjoy them.
- Unbelievably Delicious: The texture is what gets me every time. That initial crack when you bite into them, followed by that soft, melt-in-your-mouth interior. It’s pure comfort in a ghost-shaped package.
What makes these different from every other meringue recipe out there? It’s the technique. I use a Swiss meringue method that involves gently heating the egg whites and sugar together before whipping. It sounds fancy, but it’s actually more forgiving than the classic French method. It gives you a more stable meringue that’s less likely to collapse or weep, which is crucial when you’re trying to shape little ghosts. This isn’t just another version of a meringue cookie — it’s the best version, tested by a slightly sleep-deprived home cook at 11 PM on a Tuesday.
What Ingredients You Will Need
This recipe uses simple, wholesome ingredients to deliver that perfect meringue texture and subtle sweetness. The magic really happens with the technique, but the ingredients are the foundation. Here’s what you’ll need and why each one matters.
- Egg Whites (3 large, room temperature): This is the backbone of your meringue. For the best volume, make sure your eggs are at room temperature. Cold eggs just won’t whip up as well. I separate my eggs when they’re cold and then let the whites sit on the counter for about 30 minutes. It makes a real difference. If you’re in a rush, you can place the bowl of egg whites in a warm water bath for a few minutes.
- Granulated Sugar (¾ cup / 150g): Don’t try to substitute with powdered sugar or a sugar alternative here. Granulated sugar dissolves into the egg whites to create the structure. I’ve tried using superfine sugar, and it works a little faster, but regular granulated sugar is perfectly fine. Just make sure it’s fully dissolved before you start whipping.
- Vanilla Extract (½ teaspoon): This adds a lovely warmth and depth of flavor. I recommend using pure vanilla extract instead of imitation vanilla for a cleaner taste. That said, in a pinch, imitation works just fine — I’ve used it when I ran out, and nobody noticed.
- Cream of Tartar (¼ teaspoon): This is the secret weapon. It stabilizes the egg whites and helps them hold their shape. If you don’t have cream of tartar, you can substitute with a squeeze of lemon juice or white vinegar — about ½ teaspoon. It does the same job of preventing the meringue from deflating.
- Mini Chocolate Chips (for eyes, about ¼ cup / 45g): These are what bring your ghosts to life. You can use regular chocolate chips, but I prefer mini ones because they look more proportional on a small ghost. Dark chocolate chips give a nice contrast, but semi-sweet or milk chocolate work too. If you’re feeling creative, you can use black gel food coloring to pipe on eyes instead.
That’s it. Five ingredients. See what I mean about simple? You probably have all of these in your pantry right now. One thing I always tell people is to use fresh eggs. Older egg whites actually whip up better because they’re thinner, but I’ve had great results with both fresh and slightly older eggs. The most important thing is that no yolk gets into the whites. Even a tiny bit of fat can ruin your meringue, so separate your eggs carefully. I crack each egg into a small bowl first before adding the white to the main bowl. It’s an extra step, but it saves you from ruining a whole batch with one broken yolk.
Equipment Needed
You don’t need a professional bakery setup to make these ghosts. In fact, I made my first batch with a hand mixer and a Pyrex bowl. Here’s what you’ll actually need.
- Electric Mixer (Stand or Handheld): While you can technically whisk meringue by hand, I wouldn’t recommend it unless you’re looking for an arm workout. A hand mixer works perfectly. I use a KitchenAid stand mixer now, but I made these for years with a $20 hand mixer from the grocery store.
- Heatproof Mixing Bowl: You need a bowl that can sit over a pot of simmering water without melting. Glass or stainless steel works best. I use a glass bowl, and it’s perfect for the Swiss meringue method.
- Saucepan: For creating a double boiler. Any medium-sized saucepan will do. You just need it to hold an inch or two of simmering water.
- Rubber Spatula: For folding in the chocolate chips and scraping down the bowl. A silicone spatula is ideal because it won’t scratch your bowl.
- Baking Sheet: A standard half-sheet pan works perfectly. Line it with parchment paper. Do not skip the parchment paper — meringue sticks to everything.
- Piping Bag (or Zip-Top Bag): A piping bag with a round tip makes shaping the ghosts easier, but a zip-top bag with the corner snipped off works just as well. I’ve used both, and honestly, the zip-top bag method is less cleanup.
- Candy Thermometer (Optional but Helpful): For the Swiss meringue method, you want to heat the egg whites and sugar to 160°F (71°C). A candy thermometer takes the guesswork out of it, but you can also test by rubbing a bit of the mixture between your fingers — if it feels smooth and not grainy, it’s ready.
One tip I learned the hard way: make sure your bowl and beaters are completely clean and free of any grease. A tiny bit of oil can prevent your egg whites from whipping up. I wipe my bowl and beaters down with a little lemon juice or vinegar on a paper towel before I start. It’s a small step that saves a lot of frustration.
Preparation Method
Alright, let’s make some ghosts. This might look like a lot of steps, but I promise it moves fast. The key is to read through everything once before you start so you know what’s coming.
- Preheat and Prep: Preheat your oven to 200°F (93°C). Line a large baking sheet with parchment paper. This low temperature is what dries the meringues out without browning them. I’ve tried higher temperatures, and you just end up with tan ghosts, which is not the look we’re going for.
- Create a Double Boiler: Fill a medium saucepan with about an inch of water and bring it to a gentle simmer. Place your egg whites, granulated sugar, and cream of tartar in your heatproof mixing bowl. Set the bowl over the simmering water, making sure the bottom of the bowl doesn’t touch the water. You want steam, not a direct boil.
- Heat the Mixture: Whisk constantly as the mixture heats. You’re not whipping it yet, just stirring gently. Keep whisking until the sugar is completely dissolved and the mixture reaches 160°F (71°C). If you don’t have a thermometer, rub a tiny bit between your fingers — it should feel smooth and warm, with no sugar grains. This usually takes about 3-4 minutes. Be patient here. If the sugar isn’t fully dissolved, your meringue will be grainy and might weep later.
- Whip the Meringue: Remove the bowl from the heat. Using your electric mixer, start on low speed and gradually increase to high. Whip until the mixture forms stiff, glossy peaks. This takes about 5-7 minutes with a stand mixer or 7-10 minutes with a hand mixer. You’ll know it’s ready when you lift the whisk and the meringue stands up straight without flopping over. The bowl should also feel cool to the touch. At this point, add the vanilla extract and whip for another 30 seconds to combine.
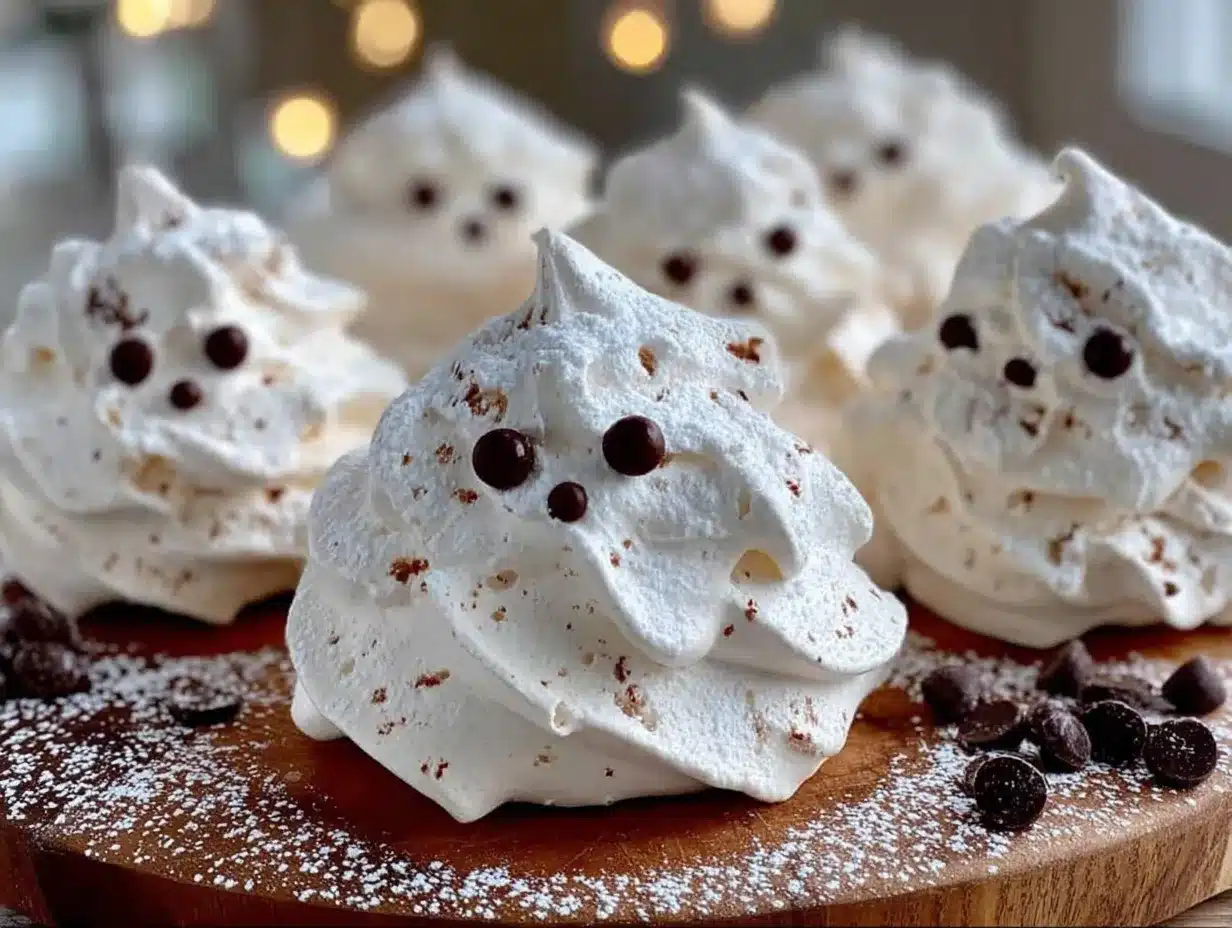
- Pipe the Ghosts: Transfer the meringue to your piping bag or zip-top bag. Snip off the tip to create about a ½-inch opening. On your prepared baking sheet, pipe small mounds of meringue to form the ghost bodies. Start with a small round base, then pull the piping bag straight up to create a taller, tapered shape. Don’t worry if they look a little uneven — that’s part of their charm. I like to give each ghost a little personality. Some are tall and slender, others are short and round. Leave about an inch of space between each one.
- Add the Eyes: This is the fun part. Gently press two mini chocolate chips into each ghost to create eyes. Place them slightly off-center for a goofy look, or closer together for a more surprised expression. I usually make a few with different expressions. It adds to the spooky (or cute) vibe.
- Bake: Place the baking sheet in the preheated oven and bake for 60-75 minutes. The meringues are done when they are dry to the touch and easily lift off the parchment paper. They shouldn’t be browned at all — just pale and matte. After baking, turn off the oven and leave the meringues inside with the door slightly ajar (use a wooden spoon to prop it open) for another 30 minutes to cool completely. This helps prevent cracking from sudden temperature changes.
A quick note: if you live in a humid climate, these might take a bit longer to dry out. You can leave them in the turned-off oven overnight if needed. I’ve done that before, and they came out perfect in the morning. Also, don’t open the oven door during the first 45 minutes of baking. The sudden rush of cool air can cause your ghosts to collapse. Trust the process and let them do their thing.
Cooking Tips & Techniques
I’ve made these ghost meringue cookies more times than I can count, and I’ve definitely had my share of failures. Here’s what I’ve learned so you don’t have to repeat my mistakes.
Humidity is your enemy. Meringue is basically sugar and egg whites, and sugar loves moisture. If you’re making these on a rainy day, they might take longer to dry out or end up a little sticky. I try to make them on a dry day, but if you can’t avoid it, just extend the baking time and leave them in the oven longer to dry. They’ll still be delicious, just maybe not as crisp.
Don’t over-whip your meringue. I know I said to whip until stiff peaks form, but there’s a fine line between stiff and over-whipped. Over-whipped meringue looks grainy and curdled, and it will deflate when you try to pipe it. If you see the mixture starting to separate or look dry, stop immediately. It’s better to stop a little early than to go too far. You can always whip a little more, but you can’t fix over-whipped meringue.
Let the sugar dissolve completely. This is the step I used to rush. I’d get impatient and pull the bowl off the heat before the sugar was fully dissolved. The result was a grainy meringue that didn’t hold its shape. Take the time to really rub a bit of the mixture between your fingers. It should feel silky smooth before you start whipping. This one step makes all the difference between a perfect ghost and a flat puddle.
Pipe with confidence. Your first ghost might look a little wonky, and that’s okay. The beauty of these cookies is that they’re supposed to look like ghosts — imperfect, slightly uneven, and a little spooky. I’ve had ghosts that looked more like blobs, and they were still adorable. Just go for it. The more you pipe, the better you’ll get.
Multitask wisely. While the meringue is baking, you can prep other things for your party. The long, low-temperature bake means you have about an hour of hands-off time. I usually use that time to set up my snack table or make a quick dip. Just don’t forget about them! Set a timer so you don’t accidentally leave them in the oven overnight.
Variations & Adaptations
One of the best things about this recipe is how easy it is to adapt. Here are a few ways I’ve changed it up depending on the occasion or what I had in the pantry.
- Chocolate Ghosts: For a richer flavor, replace 2 tablespoons of the granulated sugar with unsweetened cocoa powder. Sift the cocoa powder with the sugar to avoid lumps. You’ll end up with chocolate ghosts that are even more decadent. I made these for a Halloween party last year, and they disappeared faster than the plain ones.
- Minty Spirits: Add ¼ teaspoon of peppermint extract along with the vanilla. It gives the ghosts a refreshing, cool flavor that’s perfect for a spooky theme. You can also crush a candy cane and sprinkle the pieces on top before baking for a little crunch. Just don’t add too much extract — peppermint is strong, and a little goes a long way.
- Vegan Version: You can make these with aquafaba (the liquid from a can of chickpeas) instead of egg whites. Use 3 tablespoons of aquafaba to replace each egg white. Whip it the same way, and it behaves almost identically to egg whites. I’ve tested this, and the texture is slightly less crisp but still delicious. Plus, it’s a great option if you have vegan guests.
- Spooky Colors: If you want to add a little color, use gel food coloring. Just dip a toothpick into the coloring and swirl it into the meringue before piping. Don’t use liquid food coloring — it will add too much moisture and ruin the texture. A tiny bit of purple or green gel coloring can give your ghosts an eerie glow.
- Flavor Twists: Swap the vanilla extract for almond extract, coconut extract, or even a little orange zest. Each one gives the meringues a completely different personality. I made a batch with almond extract once, and they tasted like marzipan. It was a happy accident.
Serving & Storage Suggestions
These ghost meringue cookies are best served at room temperature, right after they’ve cooled. They have that perfect crisp exterior that gives way to a soft, airy interior. I love arranging them on a platter with a few spooky decorations — maybe some fake spiderwebs or a little dry ice for a smoky effect. They’re also great for hanging on a Halloween tree or using as cake toppers.
For a party, I usually set them out on a tiered stand with other treats like Halloween popcorn mix and pumpkin dip. They’re light enough that guests can grab a few without feeling too full. If you’re serving them with drinks, they pair surprisingly well with a hot apple cider or a spiced latte. The sweetness of the meringue balances the tartness of the cider beautifully.
Storage is pretty straightforward. Keep them in an airtight container at room temperature. Do not refrigerate them — the moisture in the fridge will make them sticky and soft. They’ll last for up to two weeks if stored properly, though I doubt they’ll last that long. I’ve also frozen them successfully. Just place them in a single layer in a freezer-safe container with parchment paper between layers. They’ll keep for up to three months. To thaw, let them sit at room temperature for about 15 minutes.
One thing I love about these cookies is that their flavor actually improves after a day or two. The vanilla seems to mellow and deepen, and the texture settles into that perfect balance. So don’t hesitate to make them a day ahead of your party. It’s one less thing to worry about on the day of.
Nutritional Information & Benefits
Let’s be honest — these are cookies, not health food. But they do have a few redeeming qualities. Each ghost meringue cookie (about 1 inch tall) contains roughly 25 calories, 0 grams of fat, and 6 grams of sugar. They’re naturally gluten-free and dairy-free, which makes them a great option for guests with dietary restrictions.
The main ingredient, egg whites, are a good source of protein and contain no cholesterol. They’re also low in calories and fat, which is why meringues feel so light compared to other cookies. The sugar is the main component here, so they’re definitely a treat, but they’re a lighter option compared to a chocolate chip cookie or a brownie.
If you’re watching your sugar intake, you can try using a sugar substitute like monk fruit sweetener or erythritol, but I have to warn you — the texture won’t be the same. Sugar is what gives meringue its structure and stability. I’ve tried making them with alternatives, and they just don’t crisp up the same way. Sometimes, it’s okay to just enjoy the real thing in moderation.
One last thing: these cookies are perfect for a party because they’re portion-controlled. Each little ghost is just a bite or two, so it’s easy to enjoy one without overindulging. That’s my story, and I’m sticking to it.
Conclusion
These ghost meringue cookies are more than just a Halloween treat — they’re a little piece of late-night kitchen magic. They remind me that some of the best recipes come from moments of spontaneity, when you’re not trying to impress anyone and you’re just having fun with what you have. That 11 PM Tuesday night experiment turned into a recipe I genuinely look forward to making every October.
I hope you give these a try and make them your own. Maybe you’ll add a little extra vanilla, or pipe them into different shapes, or give them the goofiest expressions possible. That’s the beauty of cooking — it’s yours to play with. And honestly, there’s no wrong way to make a ghost.
If you make these, I’d love to hear about it. Drop a comment below and let me know how they turned out, or share a photo on social media and tag me. Did your ghosts turn out spooky or silly? Did you try a variation? I’m genuinely curious. And if you have a favorite Halloween recipe, share that too — I’m always looking for new ideas. Until then, happy haunting, and happy baking!
Frequently Asked Questions
Can I make these ghost meringue cookies without a piping bag?
Absolutely! A zip-top bag with the corner snipped off works just as well. You can even use a small spoon to dollop the meringue into ghost shapes. They won’t be as uniform, but that adds to their charm. I’ve made plenty of “spoon ghosts” when I couldn’t find my piping tips.
Why did my meringue turn out flat and sticky?
This usually happens for one of two reasons: humidity or under-baking. If it’s a rainy day, your meringue might absorb moisture from the air. Try baking them a little longer or leaving them in the turned-off oven to dry overnight. Also, make sure your bowl and beaters are completely grease-free.
Can I use liquid food coloring for these cookies?
I wouldn’t recommend it. Liquid food coloring adds too much moisture and can cause your meringue to deflate. Stick with gel or powder food coloring if you want to add color. Just a tiny dab on a toothpick is enough to tint the whole batch.
How do I make my ghosts look more spooky and less cute?
Great question! To make them spookier, pipe them taller and thinner, with slightly jagged edges. Use dark chocolate chips for the eyes and place them closer together for an intense stare. You can also add a tiny drop of black gel food coloring to create a mouth shape. Experiment and see what works for you.
Can I double this recipe for a large party?
Yes, this recipe doubles beautifully. Just make sure you have a large enough bowl to whip the meringue, and bake the cookies in batches if needed. You might need to increase the baking time slightly if you’re baking two sheets at once. Just rotate them halfway through for even drying.
Pin This Recipe!
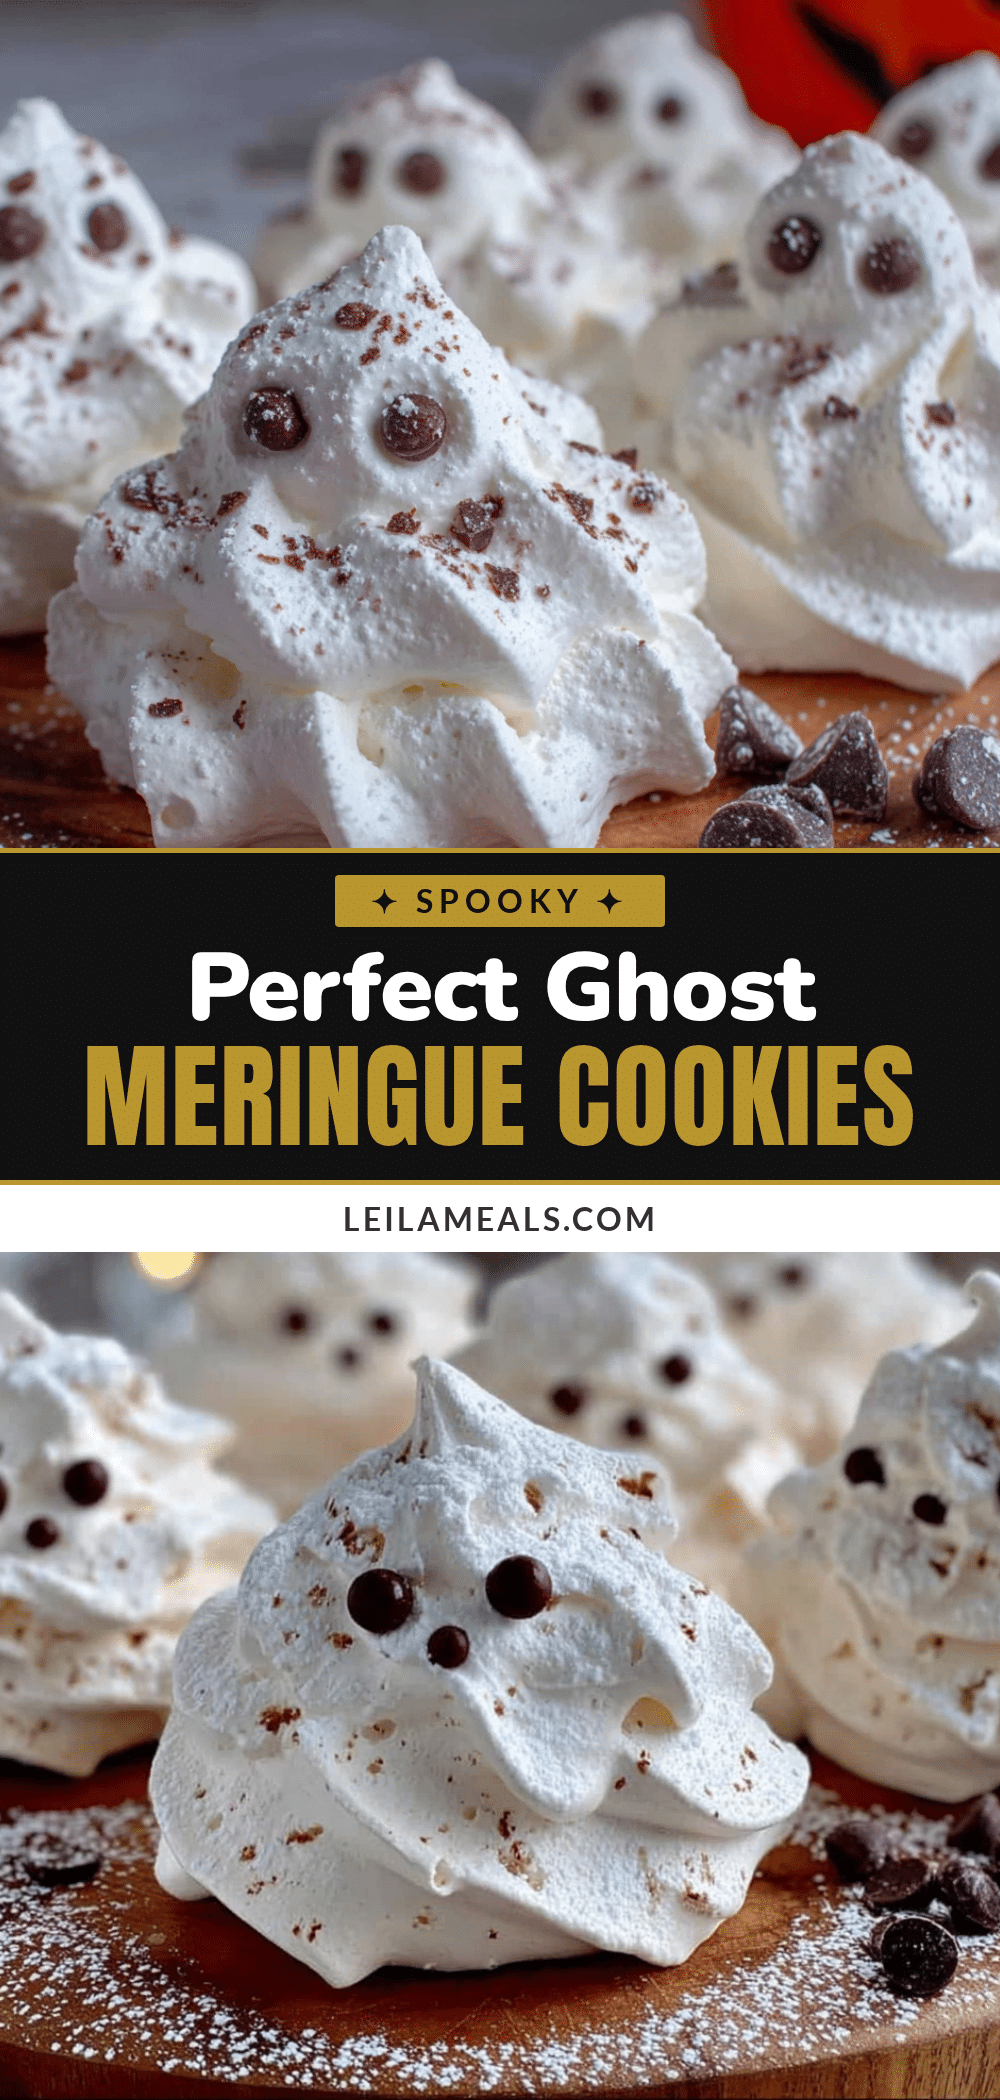
Perfect Ghost Meringue Cookies: Easy Spooky Party Treat
These ghost meringue cookies are a simple, fun Halloween treat with a crisp shell and soft, marshmallowy center. Made with just five ingredients, they’re perfect for last-minute party prep and naturally gluten-free.
- Prep Time: 15 minutes
- Cook Time: 60-75 minutes
- Total Time: 1 hour 30 minutes
- Yield: 24 servings 1x
- Category: Dessert
- Cuisine: American
Ingredients
- 3 large egg whites, room temperature
- ¾ cup (150g) granulated sugar
- ½ teaspoon vanilla extract
- ¼ teaspoon cream of tartar
- ¼ cup (45g) mini chocolate chips (for eyes)
Instructions
- Preheat oven to 200°F (93°C). Line a large baking sheet with parchment paper.
- Fill a medium saucepan with about an inch of water and bring to a gentle simmer. Place egg whites, granulated sugar, and cream of tartar in a heatproof mixing bowl. Set bowl over simmering water, ensuring bottom doesn’t touch water.
- Whisk constantly until sugar is completely dissolved and mixture reaches 160°F (71°C), about 3-4 minutes. If no thermometer, rub a bit between fingers—it should feel smooth and warm with no sugar grains.
- Remove bowl from heat. Using an electric mixer, start on low speed and gradually increase to high. Whip until stiff, glossy peaks form, about 5-7 minutes with a stand mixer or 7-10 minutes with a hand mixer. Add vanilla extract and whip 30 seconds more.
- Transfer meringue to a piping bag or zip-top bag with a ½-inch opening snipped off. Pipe small mounds onto prepared baking sheet to form ghost bodies: start with a small round base, then pull straight up to create a taller, tapered shape. Leave about an inch of space between each.
- Gently press two mini chocolate chips into each ghost for eyes. Place slightly off-center for a goofy look or closer together for a surprised expression.
- Bake for 60-75 minutes until dry to the touch and easily lift off parchment. They should be pale and matte, not browned. Turn off oven and leave meringues inside with door slightly ajar (prop with a wooden spoon) for 30 minutes to cool completely.
Notes
Humidity can affect meringue; on rainy days, extend baking time or leave in turned-off oven overnight. Ensure bowl and beaters are completely grease-free. Do not open oven door during first 45 minutes of baking. For best results, use room temperature egg whites and let sugar dissolve completely before whipping.
Nutrition
- Serving Size: 1 ghost cookie
- Calories: 25
- Sugar: 6
- Sodium: 10
- Carbohydrates: 6
- Protein: 0.5
Keywords: ghost meringue cookies, Halloween cookies, meringue cookies, easy Halloween treat, gluten-free cookies, spooky party treat


