“You know, these pears need a proper home.” My neighbor, Mrs. Gable, stood at my back door with a cardboard box so full of Bosc pears she could barely see over the top. She’d been pruning her ancient tree all spring, and it had repaid her with what looked like a thousand pounds of fruit. I took the box, mumbled something about making good use of them, and immediately felt a little panic. What was I supposed to do with all these pears?
That afternoon, I peeled and sliced and tasted my way through the first few pounds. They were good—sweet, a little grainy in that perfect pear way. But eating them plain felt like a waste of their potential. I wanted something that would last past the week, something that captured the late-summer feeling of standing in her yard while she told me about the year her tree froze over. I wanted a jar of fall I could open in February.
That’s when I thought about the vanilla beans sitting in my pantry. They were good ones—plump, moist, fragrant. I’d bought them for a cake I never made, and they’d been waiting. Pears and vanilla have this quiet, elegant thing going on. The vanilla doesn’t shout over the fruit; it just makes the pear taste more like itself. I started simmering a small test batch that evening, and by the time the kitchen smelled like a candle shop and a bakery had a baby, I knew I was onto something. These Homemade Vanilla Bean Pear Preserves were the home those pears deserved.
Why You’ll Love This Recipe
I’ve made a lot of preserves over the years, and I’ll be honest—some of them felt like more work than they were worth. Not this one. This recipe hit that sweet spot between “look what I made” and “that was surprisingly easy.” Here’s why it sticks.
- Simple Ingredients, Big Flavor: You don’t need a dozen obscure items. Pears, sugar, lemon, vanilla. That’s basically it. The magic happens in the simmering.
- Perfect for Gifting: I’ve given these jars to neighbors, teachers, and my mail carrier. Everyone lights up. A jar of homemade preserves says “I thought about you” without needing a fancy ribbon.
- Beginner-Friendly Canning: If you’ve never canned before, this is a great place to start. Pears have natural pectin, so you don’t need added pectin powder or a chemistry degree.
- Year-Round Sunshine: There’s something deeply satisfying about opening a jar of summer preserves in the middle of January. It’s like finding a note from your past self.
- Endlessly Versatile: Spread it on toast, swirl it into yogurt, spoon it over ice cream, or use it as a filling for thumbprint cookies. It’s a multitasker.
I tested this recipe four times before I was happy with it. The first batch was too runny. The second was too sweet. The third burned because I got distracted by a phone call. But the fourth—that one was just right. The pears held their shape a little, the syrup was thick enough to coat a spoon, and the vanilla bean seeds speckled the whole thing like tiny black stars. This is the version I want you to make.
What Ingredients You Will Need
This recipe uses simple, wholesome ingredients to deliver a preserve that tastes like it came from a fancy farm stand. Most of these are probably already in your kitchen, minus the vanilla beans maybe.
- Pears (3 pounds, about 6-7 medium): Bosc or Bartlett work best. Bosc hold their shape nicely during cooking, while Bartlett break down more for a smoother texture. I used Bosc for this batch because that’s what Mrs. Gable brought me. Look for pears that are ripe but still firm—not mushy. If they’re underripe, they’ll be less sweet and need more cooking time.
- Granulated Sugar (2 cups, 400g): Regular white sugar is fine. It helps with preservation and gives the syrup that beautiful clarity. I’ve tried this with coconut sugar, and it works but gives a darker, more molasses-y color.
- Fresh Lemon Juice (3 tablespoons, about 1 large lemon): This isn’t just for flavor—it balances the sweetness and helps the preserves set by adding acidity. Don’t skip it. Bottled lemon juice works in a pinch but fresh tastes noticeably brighter.
- Vanilla Beans (2 whole beans): This is where the magic lives. Look for plump, moist beans from a reputable brand like Nielsen-Massey or Madagascar. You can also use vanilla bean paste (1.5 tablespoons) if whole beans aren’t available, but avoid standard vanilla extract—it can turn bitter during long cooking.
- Water (1/4 cup, 60ml): Just enough to get things started without burning the sugar before the pears release their own juice.
- Optional: Pinch of Salt: A tiny pinch of fine sea salt rounds out the sweetness and makes the vanilla flavor pop. I add it every time now.
Equipment Needed
You don’t need a fancy canning setup for this, but a few specific tools make the process smoother. Here’s what I use.
- Large Heavy-Bottomed Pot or Dutch Oven: A 5-6 quart pot works well. The heavy bottom prevents scorching. I use my Le Creuset, but any good-quality pot will do.
- Sharp Paring Knife or Vegetable Peeler: Peeling pears is easier with a sharp peeler. A Y-shaped peeler is my favorite—it glides right through the skin.
- Canning Jars (4 half-pint or 2 pint jars): I use Ball or Kerr jars. Make sure they’re clean and free of cracks. Half-pint jars are perfect for gifting.
- Water Bath Canner or Large Stockpot: You need something deep enough to cover the jars by at least 1 inch of water. A regular stockpot with a rack works if you don’t have a dedicated canner.
- Jar Lifter and Canning Funnel: These are worth the investment. A jar lifter keeps you from burning your fingers, and a funnel makes filling jars less messy.
- Small Saucepan (for lids): You’ll need this to soften the lid seals before processing.
- Clean Kitchen Towels: For drying jars and wiping rims. Paper towels work too, but cloth feels more old-school.
Preparation Method
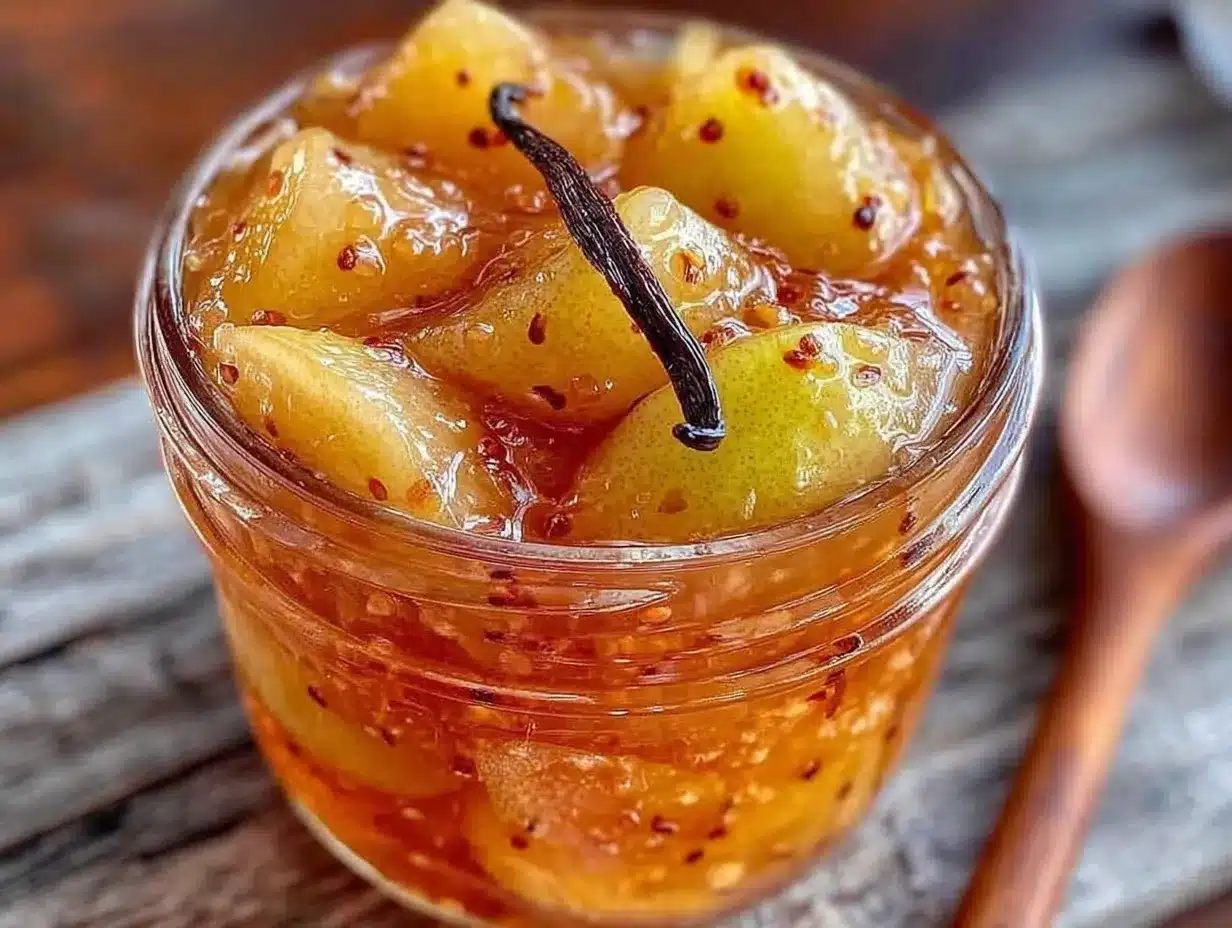
Okay, let’s get to it. This takes about 2 hours total, including canning time. Most of that is hands-off simmering, so you can tidy up the kitchen or pour yourself a cup of tea.
- Prep the pears (15 minutes): Wash the pears well. Peel them with a vegetable peeler, then cut them in half lengthwise. Use a melon baller or small spoon to scoop out the core and seeds. Cut each half into 1/2-inch dice or thin slices—your choice. Dice gives a chunkier preserve, slices are more elegant. I like a mix of both for texture. Place the cut pears in a large bowl and toss with the lemon juice to prevent browning.
- Split the vanilla beans (2 minutes): Lay each vanilla bean flat on a cutting board. Use a sharp paring knife to slice lengthwise down the center, splitting the bean open. Run the dull side of the knife along the inside to scrape out the tiny black seeds. Don’t throw away the pods—they still have flavor. Add both the seeds and the empty pods to the pot.
- Combine and macerate (10 minutes): In your large pot, add the pears, sugar, water, vanilla seeds and pods, and the optional pinch of salt. Stir everything together until the sugar starts to dissolve. Let it sit for 10 minutes. This maceration step draws out the pears’ natural juice and helps the sugar dissolve evenly. You’ll see liquid pooling at the bottom of the pot.
- Cook the preserves (45-60 minutes): Place the pot over medium heat. Stir gently until the mixture comes to a full boil—you’ll see big, lazy bubbles across the surface. Reduce the heat to medium-low so it maintains a steady simmer, not a furious boil. Cook uncovered, stirring occasionally, for 45-60 minutes. The pears will soften, the liquid will reduce, and the color will deepen to a warm amber. You’re looking for the preserves to thicken to the point where a spoon dragged across the bottom leaves a trail that doesn’t immediately fill in. This is called the “set point.” If you have a candy thermometer, it should read 220°F (104°C).
- Test the set (2 minutes): While the preserves are simmering, place a small plate in the freezer. When you think the preserves are close, drop a small spoonful onto the cold plate. Let it sit for 30 seconds, then push it with your finger. If it wrinkles and doesn’t run back together, it’s ready. If it’s still runny, cook another 5-10 minutes and test again.
- Prep the jars (during cooking): About 15 minutes before the preserves are done, bring a water bath canner or large pot of water to a boil. Place your clean jars in the water to sterilize them—let them boil for 10 minutes. In a small saucepan, cover the lids with water and bring to a gentle simmer (not boiling). Keep both jars and lids hot until you’re ready to fill them.
- Fill the jars (10 minutes): Remove the vanilla bean pods from the preserves and discard them (or rinse and dry them to add to a jar of sugar for vanilla sugar). Use a canning funnel to ladle the hot preserves into the hot jars, leaving 1/4 inch of headspace at the top. Run a clean butter knife or bubble remover tool around the inside of each jar to release any trapped air bubbles. Wipe the jar rims with a clean, damp towel—any residue will prevent a proper seal. Center the lids on the jars and screw on the bands until they’re fingertip-tight (tight, but not cranked down).
- Process in water bath (10 minutes): Using a jar lifter, carefully lower the filled jars into the boiling water bath. Make sure the water covers the jars by at least 1 inch. Cover the pot, bring back to a full boil, and process for 10 minutes (adjust for altitude if needed—add 5 minutes for every 1,000 feet above sea level).
- Cool and check seals (12+ hours): Using the jar lifter, transfer the jars to a clean towel on the counter. Leave them undisturbed for 12-24 hours. You should hear a satisfying “pop” as each jar seals. After cooling, press the center of each lid—if it doesn’t flex up and down, it’s sealed. Any unsealed jars should be refrigerated and used within 3 weeks.
A quick note: if the preserves look a little thin right after processing, don’t panic. They’ll continue to thicken as they cool. I’ve had batches that looked like soup at first but set up beautifully overnight.
Cooking Tips & Techniques
I’ve made this recipe enough times to know where things can go sideways. Here’s what I’ve learned, sometimes the hard way.
Don’t rush the maceration. Letting the pears sit with the sugar for a full 10 minutes isn’t optional—it’s what draws out the juice so you don’t need to add extra water. I once skipped this step because I was in a hurry, and the preserves took forever to thicken. Patience pays off here.
Watch the heat. Pears are delicate. If you boil them too hard, they’ll break down into mush and you’ll lose that lovely chunky texture. Keep it at a gentle simmer—just enough to see small bubbles breaking the surface. I learned this after my second batch turned into pear soup.
Use the cold plate test. This is my favorite trick for checking doneness without a thermometer. Keep that plate in the freezer from the start. Test every 10 minutes once you hit the 40-minute mark. The preserves will thicken more as they cool, so aim for a slightly looser set than you think you want.
Skim the foam. As the preserves cook, a layer of pinkish foam will rise to the surface. This is just air bubbles and impurities. Skim it off with a spoon for a clearer, more beautiful final product. I usually do this once about halfway through cooking.
Multitask wisely. While the preserves are simmering, prep your jars and lids. Have your water bath canner heating up. Set out your towels. The active time on this recipe is short, but the passive time is perfect for getting organized. I’ve burned a batch because I started jar prep too late and got flustered.
Variations & Adaptations
Once you’ve made the basic version, you can play around. Here are some variations I’ve tried and loved.
- Spiced Pear Preserves: Add 1 cinnamon stick, 2 whole cloves, and a star anise to the pot during cooking. Remove them before jarring. This version tastes like fall in a jar and pairs beautifully with sharp cheddar cheese.
- Low-Sugar Version: Reduce the sugar to 1 cup (200g) and add 2 tablespoons of Pomona’s pectin (which works with low-sugar recipes). The texture will be slightly softer, but the pear flavor shines through more. I make this version for my dad, who watches his sugar intake.
- Ginger-Pear Preserves: Add 2 tablespoons of finely grated fresh ginger along with the pears. The ginger adds a warm, spicy kick that cuts through the sweetness. This is amazing on buttermilk biscuits.
- No-Canning Option: If you don’t want to deal with water bath canning, skip the processing step. Pour the hot preserves into clean jars, let them cool to room temperature, then refrigerate. They’ll keep for 3-4 weeks in the fridge. This is perfect for a small batch.
- Pear-Vanilla Jam: For a smoother texture, use a potato masher or immersion blender to break down the pears more during cooking. I did this once when I wanted a spreadable jam for thumbprint cookies, and it worked great.
Serving & Storage Suggestions
These preserves are versatile in the best way. Here’s how I use them.
Serving: Spoon them over warm buttermilk pancakes or waffles for a breakfast that feels special. Swirl a generous dollop into plain Greek yogurt with a sprinkle of granola. Spread them on a cheese board alongside a aged gouda or sharp cheddar—the sweetness of the pears and the saltiness of the cheese is a classic combo. I also love using them as a filling for thumbprint cookies or layering them in a trifle with vanilla cake and whipped cream.
Storage: Properly sealed jars will keep in a cool, dark pantry for up to 18 months. Once opened, refrigerate and use within 3 weeks. I label my jars with the date and a little note about what I was doing when I made them—”Made while listening to that new podcast” or “The batch after Mrs. Gable’s pears.”
Reheating: These preserves don’t really need reheating, but if you want a warm topping for ice cream or oatmeal, spoon some into a small saucepan and warm gently over low heat for 2-3 minutes. Don’t microwave them in the jar—the metal lid can spark.
I’ve noticed the flavors deepen after about a week in the jar. The vanilla becomes more pronounced, and the pears soften into a silky texture. If you can wait that long before cracking one open, you’ll be rewarded.
Nutritional Information & Benefits
While preserves are a treat, they do have some redeeming qualities. Here’s the breakdown per 2-tablespoon serving.
- Calories: Approximately 60-70 calories per serving, depending on sugar content.
- Carbohydrates: 16-18g, mostly from natural fruit sugars and added sugar.
- Fiber: 1g from the pears.
- Vitamin C: 2-3% of daily value, from the pears and lemon juice.
- Fat & Protein: Negligible amounts.
Pears are a good source of dietary fiber, which supports digestive health. They also contain antioxidants like flavonoids, which help fight inflammation. The vanilla bean adds trace amounts of vanillin, a compound with antioxidant properties. That said, this is still a sugar-preserved product, so enjoy it in moderation. I think of it as a way to add joy to other healthy foods—like yogurt or oatmeal—rather than a health food itself.
This recipe is naturally gluten-free, dairy-free, and vegan. If you’re watching your sugar intake, try the low-sugar variation mentioned above.
Conclusion
These Homemade Vanilla Bean Pear Preserves have become a fall tradition in my kitchen. Every year when the pears start showing up at the farmers’ market, I buy a few extra pounds and spend a Saturday afternoon making jars of this golden goodness. It’s a small act of preservation—literally and figuratively—that connects me to the season and to the people I share it with.
What I love most about this recipe is how forgiving it is. You don’t need to be a master canner to get it right. The pears do most of the work, the vanilla adds a touch of elegance, and you end up with something that feels special without being fussy. Whether you’re spreading it on toast for a quiet Tuesday breakfast or giving it as a gift to someone who deserves a little sweetness, these preserves deliver.
I’d love to hear how yours turn out. Did you try a variation? Did you use a different type of pear? Drop a comment below and tell me about it. And if you’re looking for more ways to use up seasonal fruit, this peach upside-down cake is another favorite in my kitchen, and these salted caramel apple cheesecake bars are perfect for fall gatherings. Happy preserving, friends.
Frequently Asked Questions
Can I use frozen pears for this recipe?
Yes, but thaw them first and drain off any excess liquid. Frozen pears release more water during cooking, so you may need to cook the preserves a little longer to reach the set point. I prefer fresh pears for the best texture, but frozen work in a pinch.
Why did my preserves turn out too runny?
This usually happens when the preserves aren’t cooked long enough. Make sure you’re using the cold plate test to check for doneness. Also, underripe pears have less natural pectin, which can affect the set. If your batch is already jarred and still runny, you can re-cook it—just pour everything back into the pot, bring it to a boil, and cook until thickened, then re-process in fresh jars.
Do I really need to use a water bath canner?
If you plan to store the preserves at room temperature for more than a few weeks, yes. Water bath canning creates a vacuum seal that prevents spoilage. If you’re going to eat them within a month, you can skip the canning and just refrigerate the jars. I always recommend canning if you’re giving them as gifts or making a big batch.
Can I reduce the sugar in this recipe?
You can, but it will affect both the texture and the preservation. Sugar acts as a preservative by binding to water molecules, which prevents microbial growth. If you reduce the sugar, you’ll need to use a low-sugar pectin and either refrigerate or freeze the preserves. I’ve included a low-sugar variation above that works well.
How do I know if my jars are sealed properly?
After the jars cool for 12-24 hours, press the center of each lid. If it doesn’t flex up or down, it’s sealed. You can also remove the band and gently lift the jar by the lid—if the lid holds, it’s sealed. Any unsealed jars should be stored in the refrigerator and used within 3 weeks. Don’t try to re-process unsealed jars; just enjoy them sooner.
Pin This Recipe!
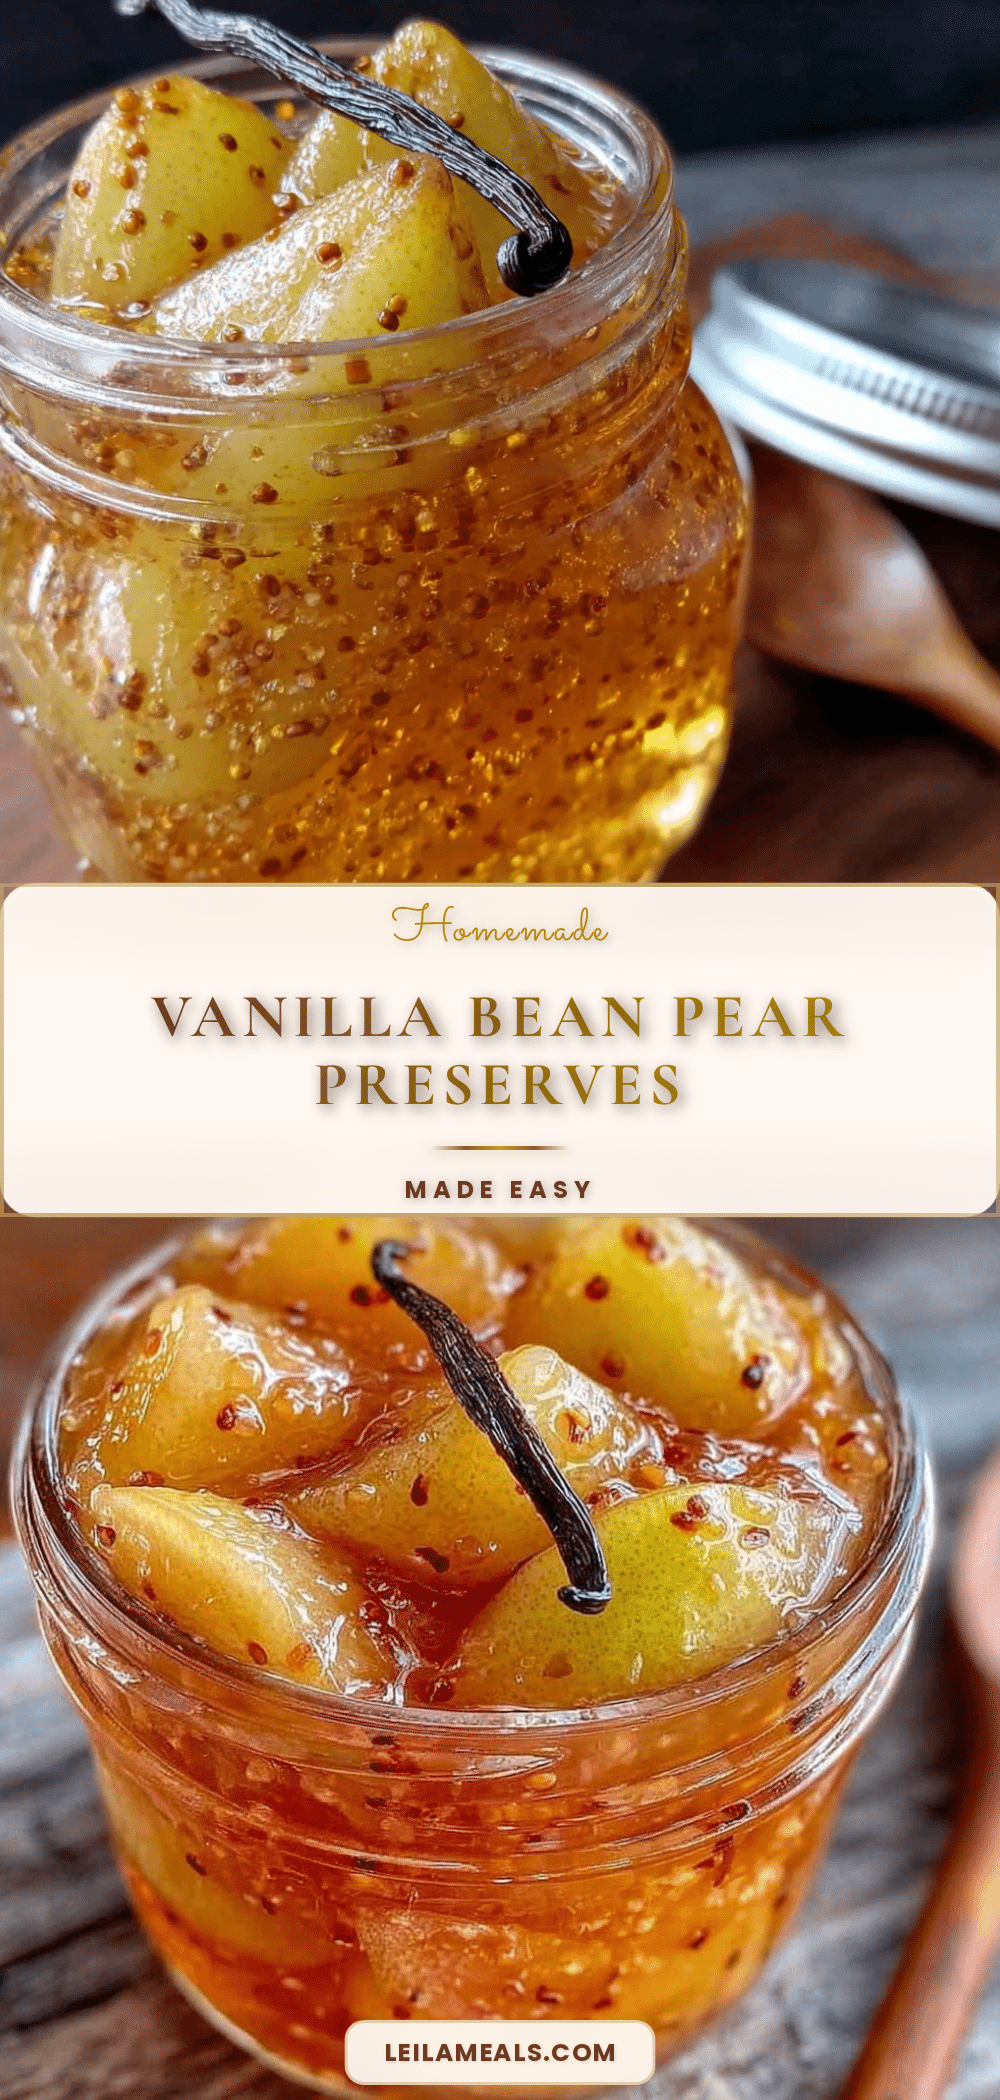
Homemade Vanilla Bean Pear Preserves: Easy Canning Recipe
A simple, elegant preserve made with ripe pears and fragrant vanilla beans. Perfect for gifting or enjoying year-round on toast, yogurt, or ice cream.
- Prep Time: 15 minutes
- Cook Time: 60 minutes
- Total Time: 2 hours 15 minutes
- Yield: 4 half-pint jars 1x
- Category: Preserves
- Cuisine: American
Ingredients
- 3 pounds (about 6–7 medium) pears, preferably Bosc or Bartlett, ripe but firm
- 2 cups (400g) granulated sugar
- 3 tablespoons fresh lemon juice (about 1 large lemon)
- 2 whole vanilla beans
- 1/4 cup (60ml) water
- Pinch of fine sea salt (optional)
Instructions
- Prep the pears: Wash, peel, and halve the pears. Remove cores and cut into 1/2-inch dice or thin slices. Toss with lemon juice to prevent browning.
- Split the vanilla beans: Slice each bean lengthwise and scrape out the seeds. Reserve both seeds and pods.
- Combine and macerate: In a large pot, combine pears, sugar, water, vanilla seeds and pods, and optional salt. Stir and let sit for 10 minutes to draw out juices.
- Cook the preserves: Bring to a boil over medium heat, then reduce to a gentle simmer. Cook uncovered for 45-60 minutes, stirring occasionally, until thickened and a spoon dragged across the bottom leaves a trail. Target temperature: 220°F (104°C).
- Test the set: Place a small plate in the freezer. Drop a spoonful of preserves onto the cold plate; if it wrinkles when pushed and doesn’t run, it’s ready.
- Prep the jars: About 15 minutes before preserves are done, sterilize jars in boiling water for 10 minutes. Simmer lids in a small saucepan (not boiling). Keep hot.
- Fill the jars: Remove vanilla pods. Ladle hot preserves into hot jars, leaving 1/4-inch headspace. Remove air bubbles, wipe rims, and apply lids and bands fingertip-tight.
- Process in water bath: Lower jars into boiling water bath, ensuring 1 inch of water covers them. Process for 10 minutes (adjust for altitude).
- Cool and check seals: Transfer jars to a towel and cool undisturbed for 12-24 hours. Press center of lids; if no flex, jars are sealed. Refrigerate any unsealed jars and use within 3 weeks.
Notes
Don’t rush the maceration step—it draws out juices. Keep heat at a gentle simmer to avoid breaking down pears. Use the cold plate test for doneness. Skim foam for a clearer preserve. Flavors deepen after a week in the jar.
Nutrition
- Serving Size: 2 tablespoons
- Calories: 6070
- Sugar: 1517
- Carbohydrates: 1618
- Fiber: 1
Keywords: pear preserves, vanilla bean, homemade preserves, canning recipe, fall preserves, pear jam, vanilla pear


