Honestly, I thought energy bites were a wellness scam for a long time. The kind of thing people post on Instagram with a hashtag like #cleaneating and then you take one bite and it tastes like cardboard mixed with regret. I had tried a few store-bought versions and they were either too dry, too sweet, or had that weird protein powder aftertaste that lingers in your mouth for an hour. So when my sister started raving about these no-bake granola energy bites she was making for her kids, I nodded politely and changed the subject.
Then she showed up at my door with a little container of them. Said she had been making a batch every Sunday for a month and her kids stopped asking for packaged granola bars entirely. I took one home, stuck it in the fridge, and forgot about it for two days. When I finally tried it—standing over the kitchen sink, half-distracted—I actually stopped what I was doing. It was chewy but not sticky, sweet but not cloying, and the oats and peanut butter did this thing where they felt substantial without being heavy. It was the kind of snack that doesn’t announce itself. It just quietly works.
I asked for the recipe, made my own batch that weekend, and tweaked it until it felt like mine. Now I keep a container in the fridge at all times. Not because I’m trying to be healthy—though they are—but because they solve a very real problem. You know that moment between lunch and dinner when your energy dips and you start wandering toward the pantry? These bites catch you before you grab something you’ll regret. They are the kind of snack that makes you feel like you have your life together, even if the rest of the kitchen is a mess.
Why You’ll Love This Recipe
Let me tell you why this particular recipe stuck with me after all those failed attempts with other versions. I have made these no-bake granola energy bites at least thirty times now, and I have tested them with different nut butters, different sweeteners, and even different mix-ins. They have survived road trips, preschool snack time, and late-night writing sessions. They hold up.
- Quick & Easy : Five minutes of active work. No oven, no stove, no blender to wash. Just a bowl and a spoon.
- Simple Ingredients : You probably have everything in your pantry right now. Oats, peanut butter, honey, chocolate chips. That is the base.
- Perfect for Meal Prep : Make a batch on Sunday and you have grab-and-go snacks for the whole week. They actually get better after a day in the fridge.
- Crowd-Pleaser : My kids devour these. My husband takes them to work. I have brought them to playdates and they disappear before the cut fruit.
- Unbelievably Satisfying : The combination of oats, protein, and healthy fats keeps you full without that heavy feeling you get from processed snacks.
What makes this recipe different from the dozens of other energy bite recipes out there is the ratio. I spent time getting the wet-to-dry balance just right so the bites hold together without being too sticky or too crumbly. The texture is soft and chewy, not dry and dusty. And I use a pinch of salt that makes the sweetness pop in a way that feels intentional, not accidental.
These are the kind of snacks that make you feel like you are taking care of yourself without trying too hard. They are perfect for busy mornings when breakfast was a coffee and a prayer, or for that 3 PM slump when you need something to keep you going until dinner.
What Ingredients You Will Need
This recipe uses simple, wholesome ingredients that come together to create something greater than the sum of their parts. No weird health food store finds required. Everything here is a pantry staple or easy to find at any grocery store.
- Rolled Oats : 1 cup (90g). Use old-fashioned rolled oats, not quick oats. Quick oats turn mushy and the texture gets weird. I prefer Bob’s Red Mill or Quaker old-fashioned. If you need these gluten-free, make sure your oats are certified gluten-free.
- Creamy Peanut Butter : 1/2 cup (130g). Natural peanut butter works but you want the kind that stirs together easily. If your peanut butter is too dry and separated, the bites will crumble. I use Skippy natural or Jif natural—both work great. You can substitute almond butter or sunflower seed butter for a nut-free version.
- Honey : 1/3 cup (110g). This binds everything together and adds sweetness. Maple syrup works too but the texture will be slightly stickier. Agave also works in a pinch.
- Mini Chocolate Chips : 1/3 cup (60g). Semi-sweet or dark chocolate. The mini ones distribute better so you get chocolate in every bite. If you only have regular chips, give them a rough chop first.
- Flaxseed Meal : 2 tablespoons (14g). This is the secret binder. It absorbs moisture and helps the bites hold together while adding fiber and omega-3s. You can skip it and use an extra tablespoon of oats, but the texture will be slightly less sturdy.
- Vanilla Extract : 1 teaspoon. Pure vanilla, not imitation if you can swing it. It rounds out the flavors and makes everything taste more like a cookie.
- Salt : 1/4 teaspoon. This is non-negotiable. Salt makes the sweetness taste sweeter and the peanut butter taste more peanut buttery. Trust me.
- Optional Mix-Ins : 1/4 cup shredded coconut, 2 tablespoons chia seeds, 1/4 cup chopped dried cranberries or raisins. I usually add shredded coconut because I like the texture, but you can customize this endlessly.
When I buy peanut butter for these bites, I always check the ingredient list. You want peanuts and maybe salt. No added sugar or hydrogenated oils. The texture comes out better and the flavor is cleaner. For the oats, I buy the big canister because I make these so often. They keep forever in the pantry.
Equipment Needed
You do not need much for these no-bake granola energy bites. That is kind of the point. I have made them in a borrowed kitchen with a wooden spoon and a cereal bowl and they turned out fine.
- Large Mixing Bowl : Any medium-to-large bowl works. You need enough room to stir everything together without oats flying everywhere.
- Measuring Cups and Spoons : Standard set. I recommend using dry measuring cups for the oats and liquid measuring cups for the honey and peanut butter for accuracy.
- Rubber Spatula or Wooden Spoon : Something sturdy enough to mix thick dough. A rubber spatula is great for scraping the sides.
- Small Cookie Scoop : This is my favorite tool for these bites. A 1-tablespoon scoop makes perfectly uniform balls with minimal mess. If you do not have one, just use your hands.
- Parchment Paper : For lining a baking sheet or plate while the bites chill. Makes cleanup much easier.
- Baking Sheet or Large Plate : Something flat to hold the bites while they firm up in the fridge.
- Airtight Container : For storage. Glass or plastic, doesn’t matter. Just make sure it seals well.
If you do not have a cookie scoop, wet your hands slightly before rolling the bites. It prevents the mixture from sticking to your fingers and makes the process much less frustrating. I learned that the hard way after my first batch looked like lumpy asteroids instead of tidy little spheres.
Preparation Method
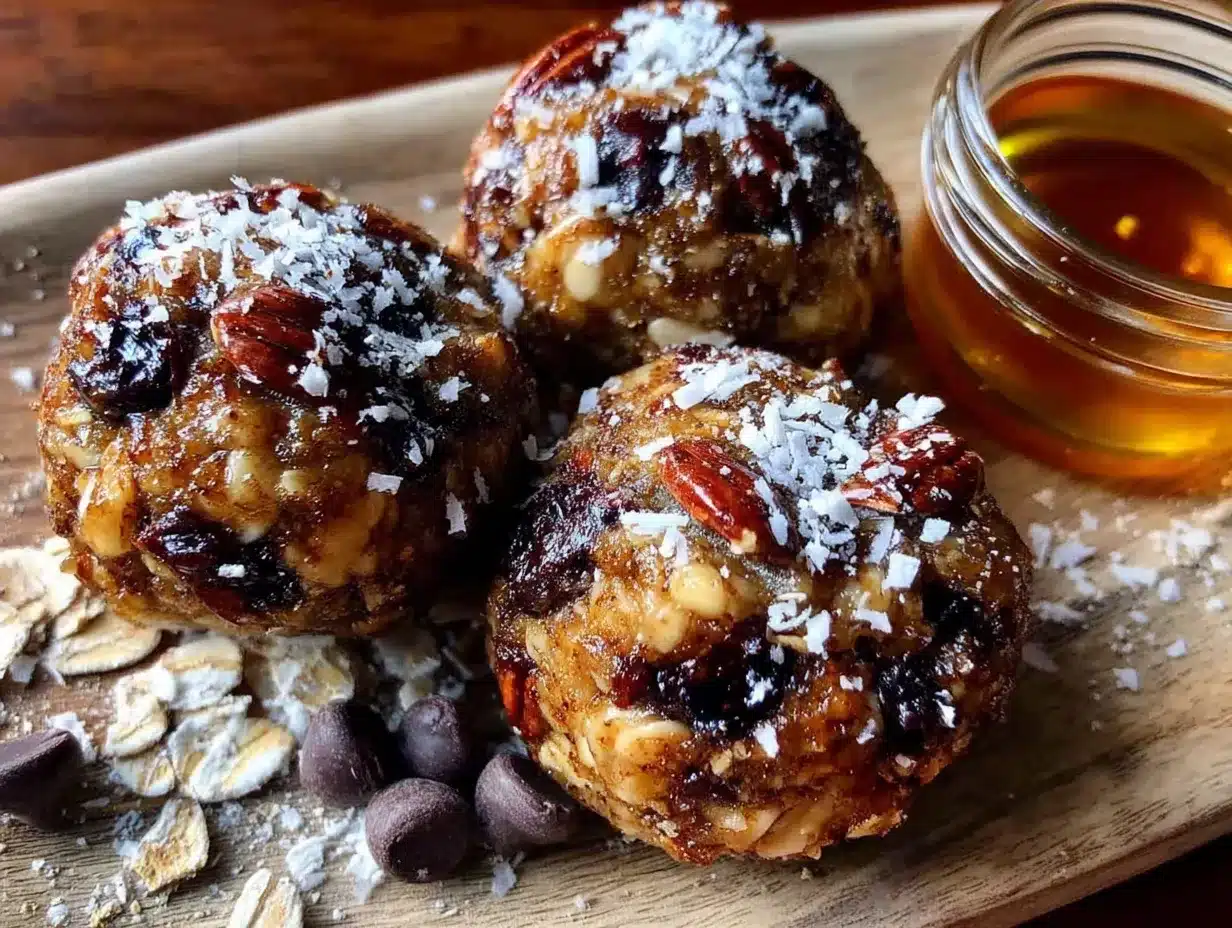
This is where the magic happens. Five minutes of work, and then you just wait for the fridge to do its thing. I have timed myself. It takes me exactly four minutes and thirty seconds from pulling out the ingredients to having the bowl in the sink. You can do this while your coffee brews.
- Combine the dry ingredients : In your large mixing bowl, add the rolled oats, flaxseed meal, and salt. If you are using shredded coconut or chia seeds, add them now. Give everything a quick stir with your spatula so the dry ingredients are evenly distributed. This takes about 30 seconds.
- Add the wet ingredients : Spoon the peanut butter into the bowl. Drizzle the honey over the top. Add the vanilla extract. Do not add the chocolate chips yet—they will get crushed if you mix them in too early.
- Mix thoroughly : Stir everything together with your spatula or wooden spoon. At first it will look like a dry, crumbly mess. Do not panic. Keep stirring, pressing the mixture against the sides of the bowl. The peanut butter and honey will gradually pull everything together. It takes about a minute of vigorous stirring. You are looking for a texture that holds together when you pinch it between your fingers. If it seems too dry, add a teaspoon of honey or peanut butter. If it seems too sticky, add a tablespoon of oats.
- Fold in the chocolate chips : Once the base mixture is uniform and holds together, gently fold in the mini chocolate chips. Stir just until they are distributed. You do not want to overmix and smash them into the dough.
- Chill the mixture : This step is optional but highly recommended. If you have time, cover the bowl and pop it in the fridge for 15-20 minutes. Chilled dough is much easier to roll into balls and holds its shape better. If you are in a hurry, you can skip this—just know the bites will be a little softer and stickier to handle.
- Roll into bites : Line a baking sheet or large plate with parchment paper. Using your cookie scoop or your hands, scoop out about 1 tablespoon of the mixture and roll it between your palms to form a smooth ball. Place it on the parchment paper. Repeat until all the mixture is used. You should get about 18-20 bites, depending on how big you make them.
- Chill to set : Place the baking sheet with the rolled bites in the refrigerator for at least 30 minutes. This allows them to firm up and hold their shape. They will be soft but not falling apart after this chill time.
One thing I learned the hard way: if you skip the chilling step before rolling, the bites tend to flatten on the bottom and look more like little hockey pucks than spheres. The 15-minute chill in the bowl makes a real difference in how round and tidy they come out. Also, if your hands are warm, the mixture will get sticky. Run them under cold water before rolling and dry them off—it helps a lot.
Cooking Tips & Techniques
I have made these no-bake granola energy bites enough times to have a few opinions about what works and what does not. Here is what I have learned through trial and error.
Texture troubleshooting : The biggest issue people have is the bites falling apart. This almost always means the mixture is too dry. The fix is simple: add more peanut butter or honey, one teaspoon at a time, until the mixture holds together when squeezed. On the flip side, if your bites are too sticky and wet, add more oats a tablespoon at a time. The humidity in your kitchen actually affects this, so trust your hands more than the recipe.
Peanut butter matters : I have made these with at least six different brands of peanut butter. The ones with added sugar and oil (like the standard Jif or Skippy) make a slightly sweeter, more cohesive bite. The natural, stir-it-yourself kind works but sometimes separates and makes the bites greasy. If you use natural peanut butter, make sure you stir it really well before measuring. I once forgot to stir and ended up with half the bites tasting like straight peanut oil. Not my finest moment.
Chilling is not optional : I know the recipe says 30 minutes, but if you can wait an hour, the texture improves significantly. The oats absorb moisture from the peanut butter and honey over time, creating a more uniform, chewy texture. These are actually better the next day. I always make them the night before I plan to serve them.
Keep them cold : These bites soften at room temperature, especially if you add chocolate chips that melt. Store them in the fridge and they will hold their shape for up to two weeks. If you take them on a road trip or to work, pack them in a small cooler or eat them within a few hours.
I once forgot a batch on the counter overnight. They were still edible but they had flattened into little discs and the chocolate chips had smeared everywhere. Still tasted fine, but they looked sad. Lesson learned.
Variations & Adaptations
This recipe is endlessly adaptable. I have made at least a dozen variations and they have all been good. Here are some of my favorites.
Chocolate Peanut Butter : Add 1 tablespoon of unsweetened cocoa powder to the dry ingredients and increase the honey by 1 tablespoon. It tastes like a Reese’s cup in oatmeal form. My kids request this version more than any other.
Almond Joy : Swap the peanut butter for almond butter, add 1/4 cup shredded coconut, and use dark chocolate chips. The almond-coconut-chocolate combination is dangerously good. I made these for a book club meeting and three people asked for the recipe.
Vegan Version : Use maple syrup instead of honey and make sure your chocolate chips are dairy-free. Maple syrup makes the bites slightly softer, so you might need to add an extra tablespoon of oats. They still hold together fine, just chill them a little longer.
Nut-Free : Substitute sunflower seed butter for the peanut butter. The color will turn a slightly greenish-brown (that is a normal reaction with sunflower seeds and baking soda), but the taste is great. Add an extra tablespoon of honey because sunflower butter is less sweet.
Protein Boost : Add 2 tablespoons of vanilla or unflavored protein powder. Reduce the oats by 2 tablespoons to keep the texture balanced. I do this when I am using these as a post-workout snack. The vanilla protein powder makes them taste like cookie dough.
I also tried a pumpkin spice version last fall with 2 tablespoons of pumpkin puree and a teaspoon of pumpkin pie spice. It worked, but the bites were softer and needed an extra hour in the fridge. They tasted like autumn in a ball, though, so it was worth it.
Serving & Storage Suggestions
These no-bake granola energy bites are best served cold, straight from the fridge. The texture is firm but chewy, and the chocolate chips stay snappy. If you leave them out at room temperature for more than an hour, they soften and the chocolate starts to melt. They are still good—just messier.
For serving, I like to arrange them on a small plate or in a little bowl. They look pretty with the chocolate chips peeking out. I have brought them to brunch, playdates, and even packed them in lunchboxes as a treat. They travel well if you keep them cool.
Storage : Place the bites in an airtight container with a lid. Layer them in a single layer if possible, or separate layers with parchment paper so they do not stick together. Store in the refrigerator for up to two weeks. They will not go bad—they just slowly dry out. I have never had a batch last longer than a week because we eat them too fast.
Freezer : These freeze beautifully. Arrange the bites on a baking sheet and freeze until solid, about 1 hour. Transfer to a freezer-safe bag or container. They will keep for up to three months. You can eat them straight from the freezer—they are like little frozen cookie dough bites. My kids love them this way in the summer.
Reheating : Do not bother. These are meant to be eaten cold or at room temperature. If you microwave them, the chocolate melts and the texture gets weird. Just take them out of the fridge a few minutes before eating if you want them slightly softer.
The flavors actually develop over time. Day-old bites taste more cohesive and the oat texture softens into something almost like a soft-baked granola bar. If you can wait a day, they are even better.
Nutritional Information & Benefits
These no-bake granola energy bites are a balanced snack with protein, healthy fats, and complex carbohydrates. Here is the estimated nutritional breakdown for one bite (based on 20 bites per batch):
| Nutrient | Amount per Bite |
|---|---|
| Calories | 110 |
| Protein | 3g |
| Carbohydrates | 14g |
| Fiber | 2g |
| Sugar | 8g |
| Fat | 5g |
| Saturated Fat | 1.5g |
| Sodium | 50mg |
The oats provide slow-release energy and fiber that keeps you full. The peanut butter adds protein and healthy monounsaturated fats. Flaxseed meal contributes omega-3 fatty acids and additional fiber. The honey gives you a quick energy boost without the crash you get from refined sugar. The chocolate chips add a little antioxidant goodness and make the whole thing feel like a treat.
These are naturally vegetarian and can be made vegan, gluten-free (with certified GF oats), and nut-free. They are free of eggs and dairy. If you have allergies, check your specific ingredients—some chocolate chips are processed in facilities that handle dairy or nuts.
I like knowing that when I grab one of these, I am eating something that actually fuels my body instead of just filling space. They are not a health food in the strict sense, but they are a whole lot better than the packaged snacks I used to reach for.
Conclusion
These no-bake granola energy bites have become a staple in my kitchen for a reason. They are fast, forgiving, and genuinely satisfying. You do not need to be a good cook to make them. You do not need special equipment or hard-to-find ingredients. You just need ten minutes and a little patience while they chill.
I love that I can make a batch on Sunday and have snacks ready for the whole week. I love that my kids eat them without complaint. I love that they keep me from raiding the pantry for something worse at 3 PM. They are not fancy or complicated, but they work. That is what matters.
Try this recipe as written first, then make it your own. Add what you like. Skip what you do not. That is the beauty of a recipe like this—it is a starting point, not a rulebook. If you try them, come back and let me know how they turned out. Tell me what variations you tried. I am always looking for new ideas.
Go make a batch. Your future self—the one who is hungry and tired and needs something good fast—will thank you.
Frequently Asked Questions
Can I use quick oats instead of rolled oats?
You can, but the texture will be different. Quick oats are cut smaller and absorb moisture faster, making the bites softer and less chewy. They will still taste good, just more like a soft ball than a chewy bite. If you only have quick oats, reduce the honey by one tablespoon to compensate for the extra absorption.
How long do these energy bites last?
In the refrigerator, they stay fresh for up to two weeks in an airtight container. In the freezer, they last up to three months. I have never tested beyond that because we eat them too fast. If they start to feel dry or crumbly, they are still safe to eat—just not as good.
Can I make these without peanut butter?
Absolutely. Almond butter, cashew butter, sunflower seed butter, or even tahini all work. Each one changes the flavor profile. Sunflower seed butter is the closest to peanut butter in texture. Almond butter makes them slightly richer. Just avoid super oily nut butters that separate easily—they make the bites greasy.
Why are my energy bites falling apart?
This usually means the mixture is too dry. Add more peanut butter or honey, one teaspoon at a time, until the mixture holds together when squeezed. Another common cause is not chilling them long enough. Give them at least 30 minutes in the fridge to firm up. If you are in a humid climate, you might need to add a little extra binder.
Can I double this recipe?
Yes, and I often do. Double everything and mix in a larger bowl. The proportions stay the same. Just make sure you have enough space in your fridge for the extra bites. I usually give half the batch away to friends or freeze the extras for later.
Pin This Recipe!
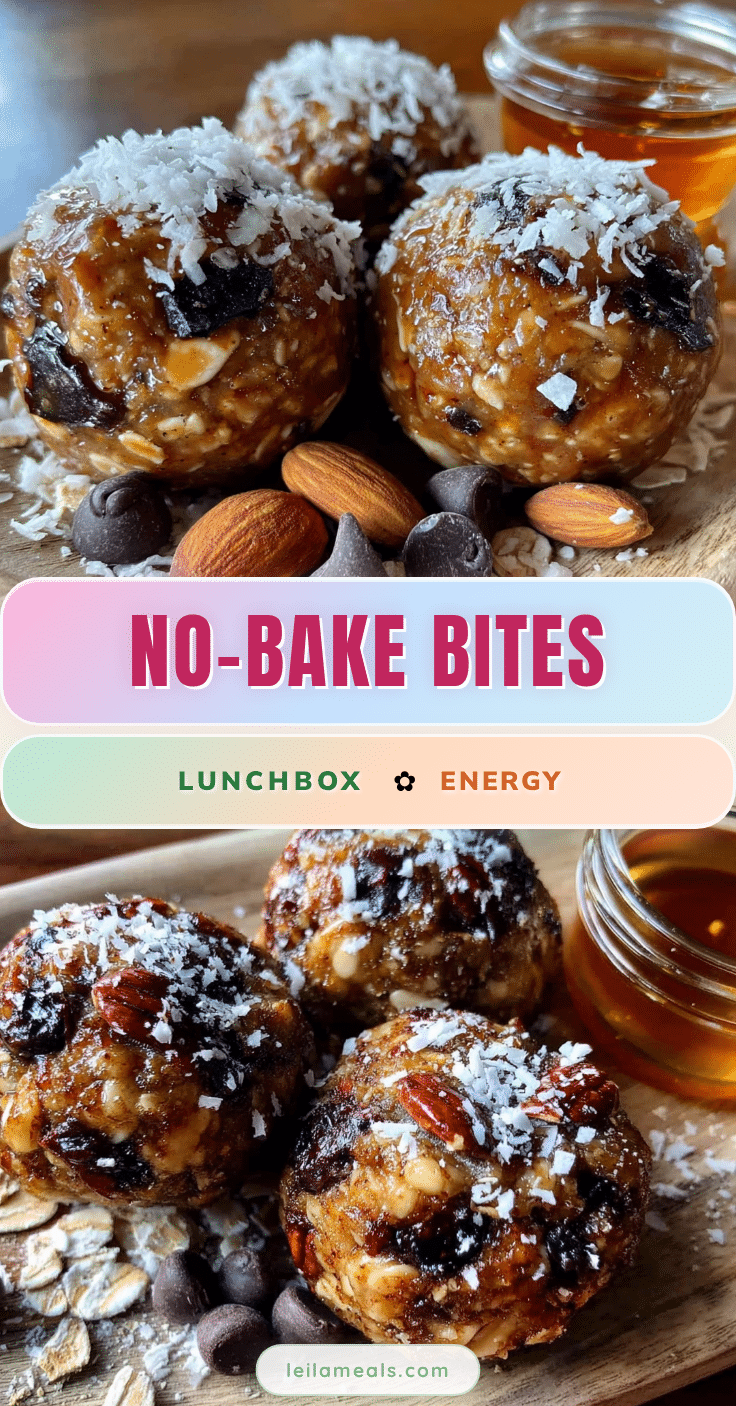
Easy No-Bake Granola Energy Bites: Perfect 5-Minute Snack

These no-bake granola energy bites are a quick, wholesome snack made with oats, peanut butter, honey, and chocolate chips. They come together in just 5 minutes and are perfect for meal prep, offering a satisfying, chewy texture that keeps you fueled between meals.
- Prep Time: 5 minutes
- Cook Time: 0 minutes
- Total Time: 35 minutes (includes chilling)
- Yield: 18-20 bites 1x
- Category: Snack
- Cuisine: American
Ingredients
- 1 cup (90g) rolled oats
- 1/2 cup (130g) creamy peanut butter
- 1/3 cup (110g) honey
- 1/3 cup (60g) mini chocolate chips
- 2 tablespoons (14g) flaxseed meal
- 1 teaspoon vanilla extract
- 1/4 teaspoon salt
- Optional: 1/4 cup shredded coconut, 2 tablespoons chia seeds, 1/4 cup chopped dried cranberries or raisins
Instructions
- In a large mixing bowl, combine the rolled oats, flaxseed meal, and salt. If using shredded coconut or chia seeds, add them now. Stir to distribute evenly.
- Add the peanut butter, honey, and vanilla extract to the bowl. Do not add the chocolate chips yet.
- Mix thoroughly with a spatula or wooden spoon until the mixture holds together when pinched. If too dry, add a teaspoon of honey or peanut butter; if too sticky, add a tablespoon of oats.
- Gently fold in the mini chocolate chips until just distributed.
- Optional: Cover the bowl and refrigerate for 15-20 minutes to make rolling easier.
- Line a baking sheet or large plate with parchment paper. Using a cookie scoop or your hands, scoop about 1 tablespoon of mixture and roll into smooth balls. Place on the parchment paper. Repeat until all mixture is used (about 18-20 bites).
- Refrigerate the rolled bites for at least 30 minutes to firm up. Store in an airtight container in the refrigerator for up to 2 weeks, or freeze for up to 3 months.
Notes
For best texture, chill the mixture for 15-20 minutes before rolling. If your hands get sticky, run them under cold water and dry before rolling. These bites soften at room temperature, so store in the fridge. They actually taste better the next day as the oats absorb moisture.
Nutrition
- Serving Size: 1 bite
- Calories: 110
- Sugar: 8
- Sodium: 50
- Fat: 5
- Saturated Fat: 1.5
- Carbohydrates: 14
- Fiber: 2
- Protein: 3
Keywords: no-bake energy bites, granola bites, peanut butter energy balls, healthy snack, meal prep snack, gluten-free snack, kid-friendly snack


