The sound of a lunchbox being unzipped. That distinct, soft crinkle of a plastic wrapper. For me, it was the unmistakable promise of a sealed, crustless peanut butter and jelly pocket. That little pillow of bread, perfectly crimped at the edges, was the gold standard of school lunches. But let’s be real, buying them by the box gets expensive, and the ingredient list? It reads more like a science experiment than a simple sandwich. I remember staring at the freezer aisle one afternoon, a toddler tugging at my coat, and thinking, “I can make these. Better. Without the preservatives.” And honestly, it was one of the best kitchen decisions I ever made.
That first batch of homemade uncrustable peanut butter and jelly pockets came out of my kitchen looking a little lopsided. Some leaked. A few were more oval than round. But the taste? Pure, unadulterated nostalgia. The soft bread, the sweet jam, the creamy peanut butter—it was everything I remembered, just without the 30 ingredients I couldn’t pronounce. Suddenly, packing lunches felt less like a chore and more like a secret act of love. I was sending a little piece of my kitchen with them, and that feeling, well, it’s hard to beat.
So, if you’ve ever wondered how to make these beloved lunchbox staples at home, you’re in the right place. This isn’t just a recipe; it’s a ticket to saving money, controlling what goes into your family’s food, and capturing that perfect, squishy, sweet-and-salty bite whenever you want it. Let’s get to it.
Why You’ll Love This Recipe
Let me tell you why this version has become a non-negotiable in my weekly meal prep. It’s not just about the taste, though that is a huge part of it. It’s about the process and the payoff.
- Budget-Friendly & Bulk Prep: A single loaf of bread, a jar of peanut butter, and some jelly make a dozen or more pockets for a fraction of the cost of store-bought boxes. It’s a game-changer for your grocery bill.
- Total Ingredient Control: You decide what goes in. No high-fructose corn syrup, no hydrogenated oils, no artificial flavors. Use organic peanut butter, low-sugar jam, or even whole wheat bread. You’re the boss.
- Freezer-Friendly Dream: Make a big batch on Sunday, freeze them flat, and grab one for a lunchbox or a quick breakfast on the go. They thaw perfectly by lunchtime, just like the original.
- Unbelievably Easy: If you can make a sandwich, you can make these. The only special tool is a sandwich sealer, and it does all the heavy lifting. No baking, no cooking, just assembly.
- Crowd-Pleaser: I have never, and I mean never, met a kid (or adult) who turned one of these down. They are the ultimate comfort food, portable and perfect for picky eaters.
This recipe isn’t just good—it’s the kind that makes you feel like a rockstar parent or meal-prepper. It’s a small effort for a huge payoff, and every time I pull a batch out of the freezer, I feel a little thrill of satisfaction. It’s comfort food, homemade and made with love.
What Ingredients You Will Need
This recipe uses simple, wholesome ingredients to deliver that classic flavor and soft texture without the fuss. You likely have everything you need in your kitchen right now.
- Bread: 12 slices of soft white bread (or whole wheat). The key here is softness. Stale or crusty bread won’t seal properly. I find that standard, fluffy sandwich bread works best for that authentic, squishy texture. For a slightly sturdier option, try a quality brioche or potato bread.
- Peanut Butter: ½ cup creamy peanut butter. I prefer a natural, no-stir variety for a cleaner taste, but any creamy peanut butter works. Crunchy can be used, but it sometimes pokes through the bread. For a school-safe option, you can use sun butter or almond butter.
- Jelly or Jam: ½ cup strawberry jam (or your favorite flavor). Grape jelly is the classic, but I love using a good quality strawberry jam with real fruit pieces. You can also use preserves, marmalade, or even apple butter.
- Optional for sealing: A small bowl of water. Dipping your fingers in water and running them along the edge of the bread before sealing helps create a stronger, more secure crimp.
I personally recommend using a brand like Dave’s Killer Bread for whole wheat or Wonder Bread for that classic, pillowy softness. For the jam, Bonne Maman is my go-to for a fruit-forward flavor without being too sugary. The simplicity of this list is what makes it so perfect—you don’t need a specialty grocery store to pull this off.
Equipment Needed
You don’t need a commercial kitchen to nail these. Here’s what you’ll need to get the job done.
- Uncrustable Sandwich Sealer: This is the star of the show. It’s a small, handheld plastic press that cuts off the crusts and crimps the edges. You can find them for under $10 online or at most kitchen supply stores. It’s a one-trick pony, but it does its trick perfectly.
- Rolling Pin: A standard rolling pin helps to slightly flatten the bread, making it more pliable and less likely to tear when you press the sealer down.
- Baking Sheet: A standard baking sheet lined with parchment paper is perfect for placing your finished pockets on before they go into the freezer. This prevents them from sticking.
- Parchment Paper: Essential for freezing. You’ll also use small squares to separate layers of pockets in your freezer bag so they don’t freeze into one giant, PB&J blob.
- Freezer-Safe Bags or Containers: Gallon-sized zip-top freezer bags work great for storing your finished product.
If you don’t have a sandwich sealer, you can use a large round cookie cutter (about 4 inches) and a fork to crimp the edges. It’s a bit more work, but it gets the job done. I’ve even used a clean, empty tuna can in a pinch! Just be careful of sharp edges.
Preparation Method
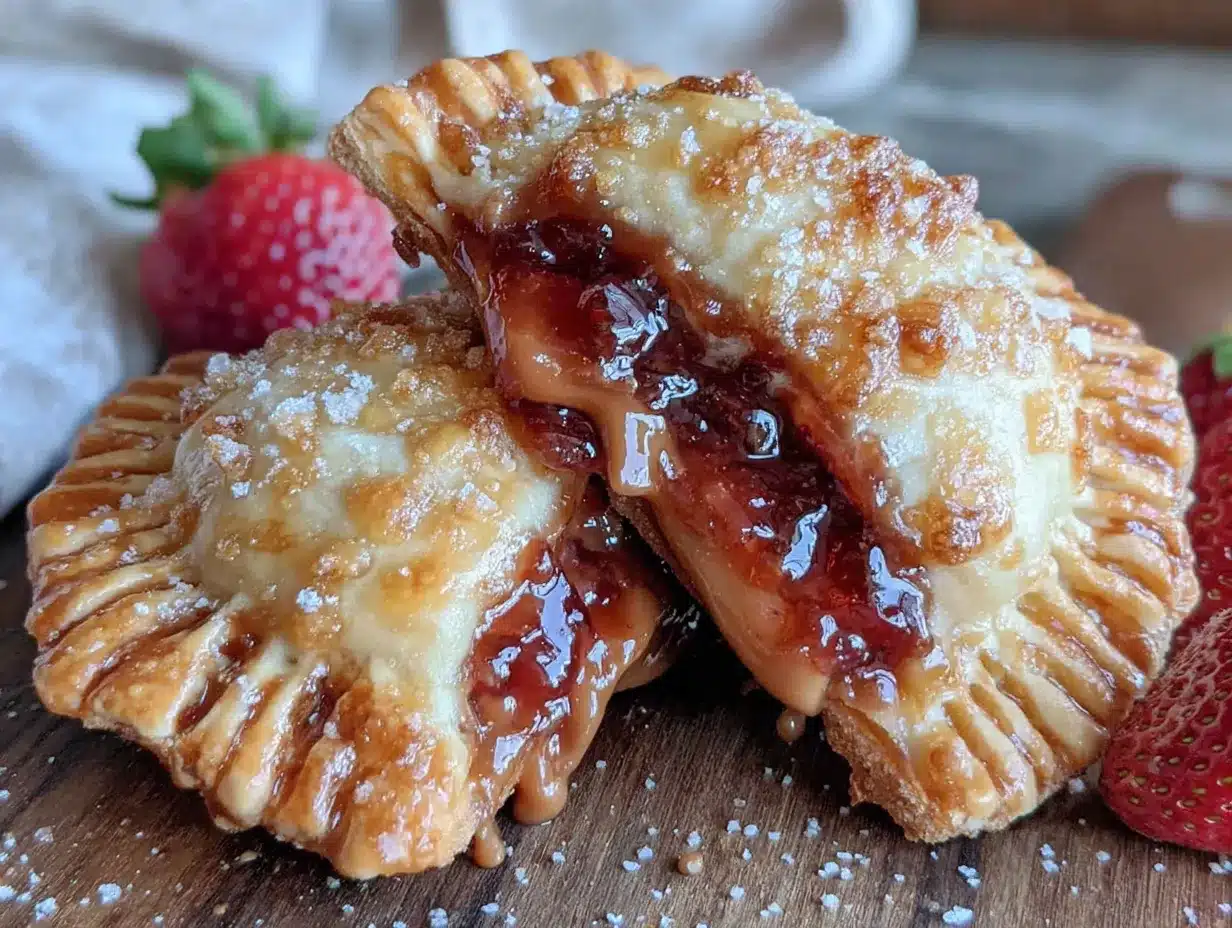
Let’s get to the fun part. This process is so simple, you’ll have a dozen pockets ready for the freezer in under 20 minutes.
- Prep Your Station: Clear your counter. Lay out your bread slices, peanut butter, jam, rolling pin, sandwich sealer, and a baking sheet lined with parchment paper. Having everything within reach makes this assembly-line style much faster.
- Flatten the Bread: Take a slice of bread and gently roll over it with your rolling pin. You want to flatten it slightly, making it about ¼-inch thick. Don’t crush it into a cracker! Just a gentle roll to make it more flexible. This step is crucial—it prevents the bread from tearing when you press the sealer down.
- Add the Fillings: Place the flattened bread on a clean surface. Spoon about 1 tablespoon of peanut butter into the center of the bread. Then, spoon about 1 tablespoon of jam right on top of the peanut butter. The key is to keep the filling centered and away from the edges. If you get filling too close to the rim, it will leak out during sealing.
- Top It Off: Take a second slice of flattened bread and place it on top of the filling. Gently press down around the mound of filling to push out any excess air. This helps prevent blowouts.
- Seal the Deal: Place your sandwich sealer over the bread stack, centering it over the mound of filling. Press down firmly and evenly. You’ll hear a satisfying crunch as it cuts through the crusts and crimps the edges. Give it a little twist to ensure a clean cut, then lift the sealer.
- Check the Seal: Gently remove the excess crust scraps from around your pocket. Inspect the crimped edges. If you see any gaps or thin spots, press them together with your fingers. A good seal is the difference between a perfect pocket and a leaky mess.
- Freeze Flat: Place the finished pocket on your parchment-lined baking sheet. Repeat steps 2-6 with the remaining bread and filling. Place the baking sheet in the freezer for at least 1-2 hours, or until the pockets are solid. This is called “flash freezing” and prevents them from sticking together.
- Bag ‘Em Up: Once frozen solid, transfer the pockets to a freezer-safe bag or container. Place a small square of parchment paper between each pocket to act as a barrier. Squeeze out as much air as possible, seal, and label with the date.
Cooking Tips & Techniques
I’ve made my fair share of mistakes so you don’t have to. Here are the lessons I learned the hard way.
Don’t Overfill! This is the number one rule. It’s tempting to pile on the peanut butter and jelly, but too much filling will cause the pockets to burst open during sealing or thawing. A heaping tablespoon of each is the sweet spot. Trust me on this one—a little goes a long way for that perfect bite-to-filling ratio.
The Air Bubble Enemy. Air is your enemy. When you place the top slice of bread on, press down gently from the center outwards to push out any trapped air pockets. Air expands when frozen, and that expansion can cause your pockets to crack or burst open in the lunchbox. A flat, well-pressed pocket is a happy pocket.
Warm Hands, Cold Bread. If your hands are warm, the peanut butter can get oily and the bread can get soft and sticky. If you find the bread is getting hard to handle, pop the slices in the fridge for 5 minutes before rolling. Cold bread is much easier to work with and less prone to tearing.
Master the Twist. When using your sandwich sealer, don’t just press straight down and pull up. Press down firmly, then give the sealer a slight twist (about a quarter turn) before lifting it. This action helps to fully sever the crust and creates a much cleaner, more defined crimp.
I once tried to rush the process and didn’t roll out the bread. The result was a batch of pockets that looked like sad, lumpy raviolis with jam leaking out of every seam. It was a mess. Since then, I never skip the rolling step. It’s the foundation for a perfect pocket.
Variations & Adaptations
The classic PB&J is perfect, but sometimes you want to mix things up. Here are some of my favorite ways to customize these pockets.
- The Fluffernutter: Swap the jelly for marshmallow fluff. The combination of creamy peanut butter and sweet, gooey marshmallow is a New England classic for a reason. It’s like a cloud of happiness wrapped in bread.
- The Nutella Dream: Replace the peanut butter with Nutella or any other chocolate-hazelnut spread. Use strawberry or raspberry jam for a chocolate-berry twist, or keep it simple with just the Nutella. These are dangerously good.
- The Healthy-ish Swap: Use whole wheat or sprouted grain bread. For the filling, try a seed butter like sunflower or tahini paired with a low-sugar chia seed jam. You can even add a few thin slices of banana for extra nutrition and flavor.
- The Gluten-Free Option: This works beautifully with gluten-free bread. Just be extra gentle when rolling it out, as gluten-free bread can be more fragile. Let it come to room temperature first for better pliability.
My personal favorite variation is the “Apple Pie Pocket.” I mix a little bit of cream cheese with some cinnamon and a spoonful of apple butter. It tastes like a mini apple pie, and it’s incredible for a fall lunchbox treat.
Serving & Storage Suggestions
These pockets are designed for convenience, but a little know-how goes a long way.
Serving: For a lunchbox, simply take a frozen pocket and place it in the lunch bag in the morning. It will thaw perfectly by lunchtime, remaining soft and delicious. You can also let it thaw at room temperature for about 30-45 minutes for a quick snack. They are best enjoyed at room temperature—don’t microwave them, as the bread can become tough and the filling will get dangerously hot.
Storage: Store your finished pockets in a sealed freezer bag or airtight container in the freezer for up to 3 months. They are at their best quality within the first month, but they will still be perfectly safe to eat after that. The parchment paper squares between each pocket are non-negotiable for easy separation.
Reheating (Not Recommended): If you absolutely must have a warm pocket, I suggest letting it thaw completely first, then toasting it in a panini press or a dry skillet over medium-low heat for a minute or two per side. This gives the bread a slightly crispy exterior while the inside stays soft. But honestly? They are perfect just as they are.
Flavors don’t really “develop” in the freezer, but knowing you have a stash of homemade goodness ready to go is a feeling of pure preparedness. It makes those hectic mornings just a little bit easier.
Nutritional Information & Benefits
This is a simple, satisfying snack, and making it at home puts you in control of the nutrition.
Estimated Per Pocket (using standard ingredients): Approximately 280-320 calories, 12g fat, 38g carbohydrates, 9g protein. These values will vary based on your specific brands and bread choice.
Health Benefits: By making these yourself, you can drastically reduce the sugar and eliminate preservatives found in store-bought versions. Peanut butter is a great source of healthy fats and protein, which helps keep kids (and adults!) full and focused. Using a high-quality jam with real fruit adds a small serving of fruit and antioxidants.
Dietary Considerations: This recipe is naturally vegetarian. For a vegan option, use a plant-based bread and a vegan butter or seed butter. For a nut-free option, sunflower seed butter is a perfect 1:1 substitute for peanut butter. Always check your labels for potential allergens, especially with bread.
I feel good about sending these in a lunchbox because I know exactly what’s in them. It’s a small act of control in a world of processed convenience foods, and that feels pretty great.
Conclusion
Making these homemade uncrustable peanut butter and jelly pockets is one of those kitchen wins that keeps on giving. It saves you money, cuts out the junk, and fills your freezer with a little bit of comfort. Honestly, once you see how easy it is, you’ll wonder why you ever bought the boxed version.
I encourage you to make a big batch this weekend. Get the kids involved—they love pressing the sealer down! Experiment with different breads and fillings. Make it your own. This recipe is just a starting point for your own lunchbox magic.
I would absolutely love to hear about your creations. Drop a comment below and tell me what filling combinations you tried, or share a photo of your perfectly sealed pockets. Don’t forget to share this post with a friend who needs a little more homemade goodness in their life. Until next time, happy prepping!
Frequently Asked Questions
Can I use a different type of bread?
Absolutely! While soft white bread gives the most authentic “uncrustable” texture, you can use whole wheat, brioche, or even sourdough. Just make sure the bread is fresh and soft so it seals properly. Stale bread will crack and crumble.
How do I prevent the jelly from leaking out?
The key is to not overfill and to keep the filling away from the edges. Also, make sure your bread is rolled flat and you press out any air bubbles before sealing. A little water on your finger along the edge of the bread before you press can also help create a stronger seal.
How long do these last in the freezer?
These pockets will stay fresh in the freezer for up to 3 months. For the best flavor and texture, try to enjoy them within the first month. Just make sure they are in an airtight freezer bag to prevent freezer burn.
Can I make these without a special sandwich sealer?
Yes, you can! Use a large round cookie cutter (about 4 inches in diameter) to cut out the bread. Then, use the tines of a fork to press the edges together firmly, creating a crimped seal. It takes a little more time, but it works perfectly.
Are these good for school lunches?
They are perfect for school lunches! They thaw completely by lunchtime and are easy for little hands to handle. Just make sure to check your school’s policy on nut products if using peanut butter. You can easily substitute with sunflower seed butter for a nut-free option.
Pin This Recipe!
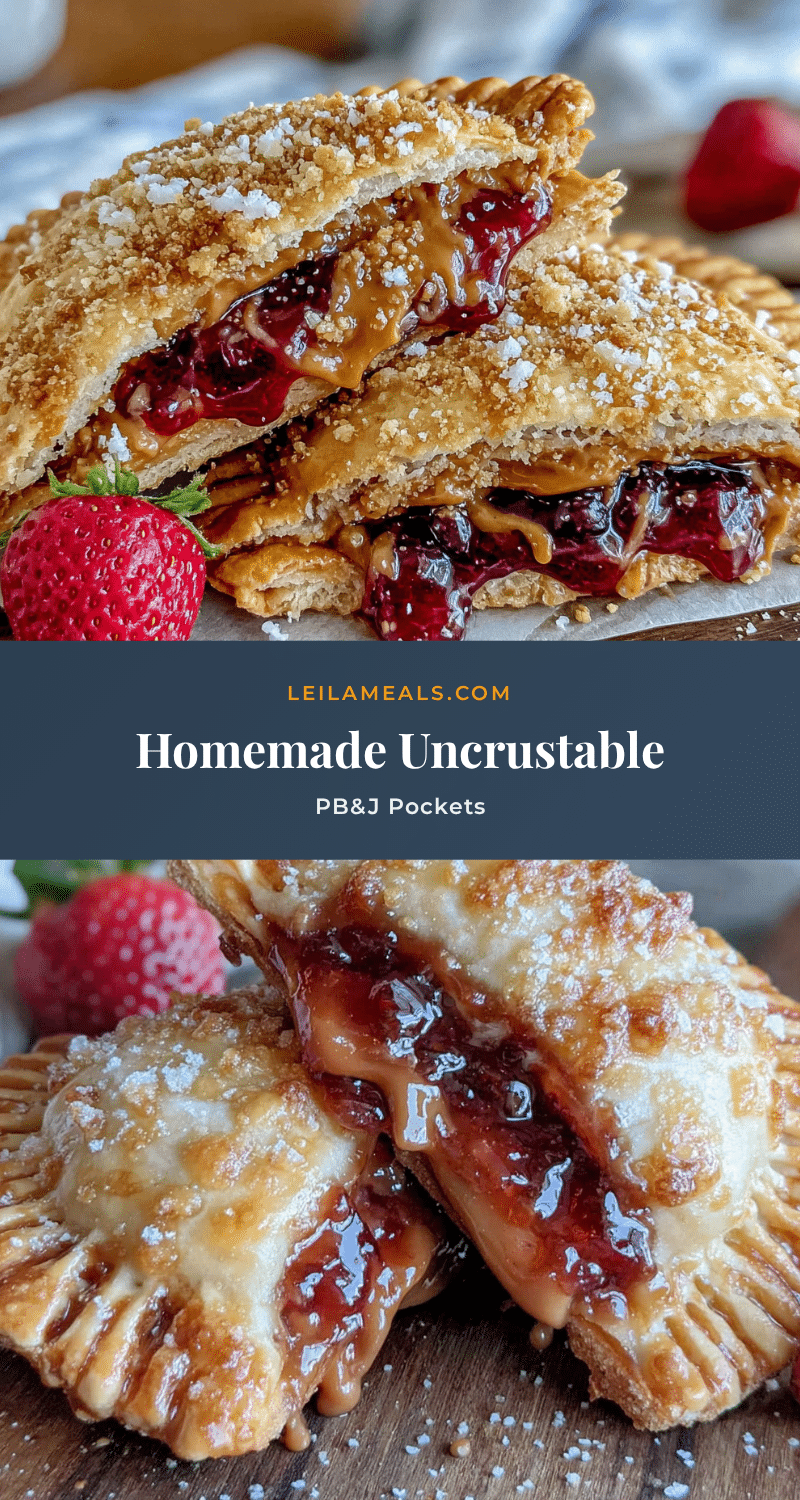
Easy Homemade Uncrustable Peanut Butter & Jelly Pockets

Make your own freezer-friendly peanut butter and jelly pockets at home. This easy recipe saves money, cuts out preservatives, and delivers that perfect, squishy, sweet-and-salty bite whenever you want it.
- Prep Time: 15 minutes
- Cook Time: 0 minutes
- Total Time: 15 minutes (plus 1-2 hours freezing time)
- Yield: 6 servings (6 pockets) 1x
- Category: Snack
- Cuisine: American
Ingredients
- 12 slices soft white bread (or whole wheat)
- ½ cup creamy peanut butter
- ½ cup strawberry jam (or your favorite flavor)
- Small bowl of water (optional, for sealing)
Instructions
- Prep Your Station: Clear your counter. Lay out your bread slices, peanut butter, jam, rolling pin, sandwich sealer, and a baking sheet lined with parchment paper.
- Flatten the Bread: Take a slice of bread and gently roll over it with your rolling pin to flatten it slightly, making it about ¼-inch thick. This prevents tearing when pressing the sealer down.
- Add the Fillings: Place the flattened bread on a clean surface. Spoon about 1 tablespoon of peanut butter into the center of the bread. Then, spoon about 1 tablespoon of jam right on top of the peanut butter. Keep the filling centered and away from the edges.
- Top It Off: Take a second slice of flattened bread and place it on top of the filling. Gently press down around the mound of filling to push out any excess air.
- Seal the Deal: Place your sandwich sealer over the bread stack, centering it over the mound of filling. Press down firmly and evenly. Give it a slight twist to ensure a clean cut, then lift the sealer.
- Check the Seal: Gently remove the excess crust scraps from around your pocket. Inspect the crimped edges. If you see any gaps or thin spots, press them together with your fingers.
- Freeze Flat: Place the finished pocket on your parchment-lined baking sheet. Repeat steps 2-6 with the remaining bread and filling. Place the baking sheet in the freezer for at least 1-2 hours, or until the pockets are solid.
- Bag ‘Em Up: Once frozen solid, transfer the pockets to a freezer-safe bag or container. Place a small square of parchment paper between each pocket to act as a barrier. Squeeze out as much air as possible, seal, and label with the date.
Notes
Don’t overfill! Use a heaping tablespoon of each filling. Press out air bubbles to prevent cracking. For a stronger seal, dip your finger in water and run it along the edge of the bread before pressing. Store in the freezer for up to 3 months. Thaw at room temperature for 30-45 minutes or pack frozen in a lunchbox—it will thaw by lunchtime. Do not microwave.
Nutrition
- Serving Size: 1 pocket
- Calories: 300
- Sugar: 14
- Sodium: 250
- Fat: 12
- Saturated Fat: 2
- Carbohydrates: 38
- Fiber: 3
- Protein: 9
Keywords: uncrustable, peanut butter and jelly, PB&J, homemade, freezer-friendly, lunchbox, kid-friendly, easy snack


