I was standing in the canned vegetable aisle last October, staring at a shelf of pumpkin puree that was somehow more expensive than the butter next to it. My youngest was tugging my sleeve, asking if we could make “that orange dessert” again, and I was mentally calculating if I could justify the cost. Then I remembered the dented can on the bottom shelf—marked down because the label was half-peeled off. That can cost me sixty-seven cents. And standing there, in that fluorescent-lit aisle with a toddler whining at my feet, I had this sudden, vivid flash of my Aunt Rosa’s kitchen. I was maybe eight years old, sitting on a wobbly stool at her counter while she pulled a pan of bars from the oven. The smell—pumpkin and cinnamon and something sweet and creamy—filled her tiny apartment and spilled out into the hallway. She was laughing at something, I don’t remember what, and she slid a warm bar onto a napkin for me. The top was slightly cracked, the cream cheese layer a little uneven, and it was the best thing I’d ever eaten. I haven’t seen Aunt Rosa in fifteen years. She moved to Florida, and we lost touch the way families sometimes do. But that moment in the grocery aisle, holding a dented can of pumpkin, I knew I had to figure out how to make those bars myself. Not her exact recipe—she never wrote it down—but something that captured that feeling. Something affordable enough that I could make it for my own kids without feeling guilty. Something that would make them close their eyes on that first bite the way I did on that wobbly stool. Let me tell you, it took some trial and error. I burned the first batch. The second one was too runny. But the third? The third batch was the one. And honestly, it’s become our family’s fall tradition ever since. Maybe you’ve been there—trying to recreate a taste from your past, hoping you can get it right for the people you love now.
Why You’ll Love This Recipe
These Budget-Friendly Pumpkin Cheesecake Bars are the kind of dessert that makes everyone at the table happy without making you stress about the grocery bill. I’ve tested this recipe seven times over two fall seasons, and I can tell you with confidence—it works every single time.
- Budget-Friendly: This whole recipe costs less than a fancy coffee run. Canned pumpkin, cream cheese on sale, and pantry staples you probably already have. No fancy ingredients required.
- Simple Ingredients: You don’t need to hunt down specialty stores. Everything is available at your regular grocery store, and most of it is probably in your kitchen right now.
- Perfect for Family Gatherings: Thanksgiving, Sunday dinners, or just a random Tuesday when you need something sweet. These bars travel well and disappear fast.
- Crowd-Pleaser: My kids fight over the corner pieces. My neighbor, who “doesn’t like pumpkin,” ate three. The texture is creamy, the crust is buttery, and the flavor is just right—not too sweet, not too spicy.
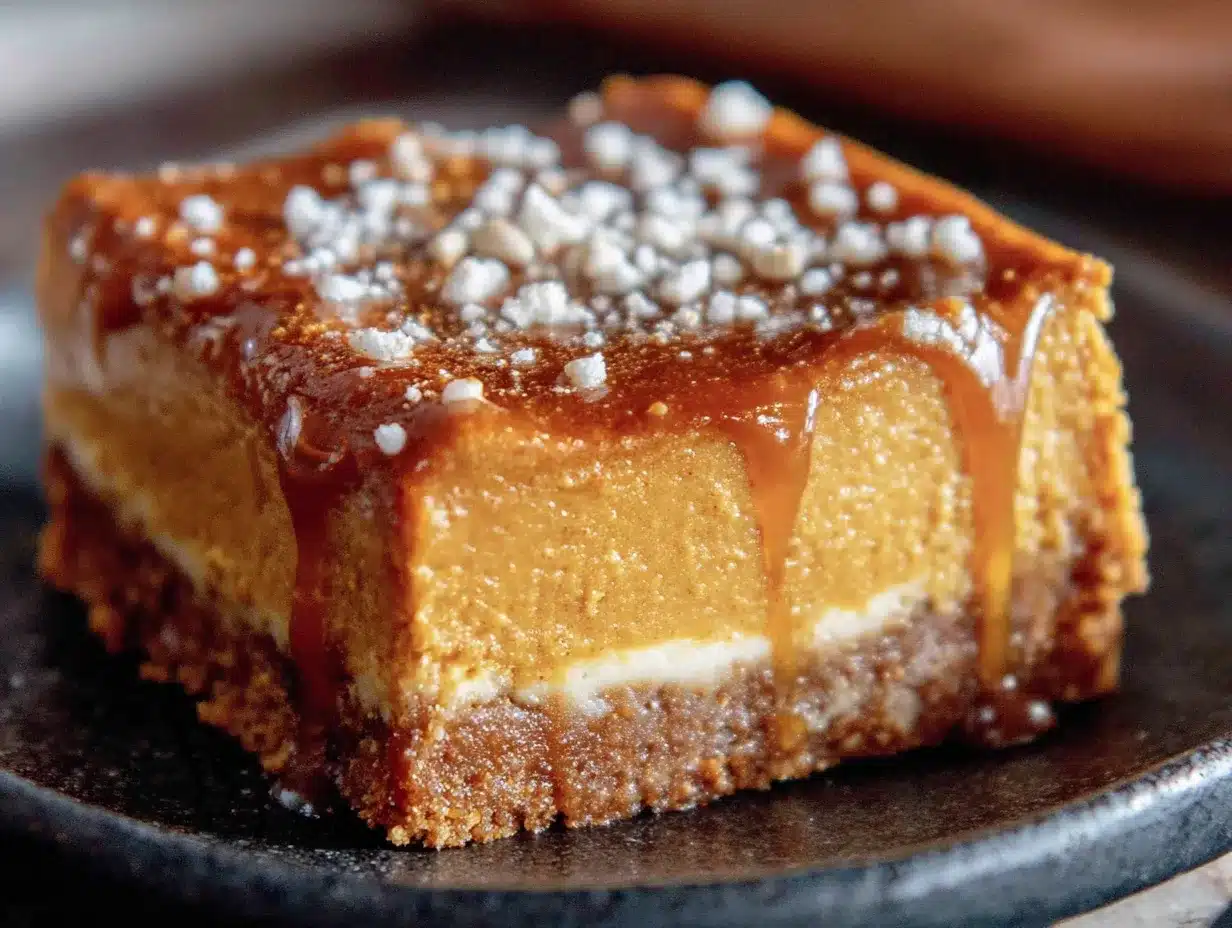
- Unbelievably Delicious: The secret is in the layering. A crunchy graham cracker crust, a velvety cheesecake layer, and a spiced pumpkin topping that bakes into pure comfort. It’s the kind of dessert that makes you close your eyes after the first bite.
What makes this recipe different from all the others? It’s the balance. So many pumpkin cheesecake bars are either too dense or too sweet. I spent weeks tweaking the ratios until I got that perfect creamy texture that holds its shape but melts in your mouth. Plus, I figured out a trick to make the crust stay crisp without getting soggy from the filling. That alone took three failed batches to perfect.
This isn’t just another pumpkin dessert. It’s the one you’ll come back to year after year, the one your kids will ask for by name, the one that makes fall feel like home without breaking the bank.
What Ingredients You Will Need
This recipe uses simple, honest ingredients that work together to create something greater than the sum of their parts. Nothing fancy, nothing expensive—just good food made with care.
For the Crust
- 1 ½ cups graham cracker crumbs (about 12 full sheets, crushed fine—or buy the pre-crushed box for convenience)
- ¼ cup granulated sugar (just enough to sweeten the crust without making it candy-like)
- 6 tablespoons unsalted butter, melted (I use salted butter in a pinch and skip the extra salt—works fine)
- Pinch of salt (balances the sweetness and makes the crust pop)
For the Cheesecake Layer
- 16 ounces cream cheese, softened to room temperature (I recommend Philadelphia for the creamiest texture—store brands sometimes turn out grainy)
- ½ cup granulated sugar (keeps it light—too much sugar makes the cheesecake layer weep)
- 2 large eggs, room temperature (cold eggs will make the batter lumpy—trust me, I learned this the hard way)
- 1 teaspoon vanilla extract (pure vanilla if you have it, imitation works in a pinch)
- 1 tablespoon all-purpose flour (this little trick prevents cracking—game changer)
For the Pumpkin Layer
- 1 cup canned pumpkin puree (not pumpkin pie filling—make sure you grab the pure stuff)
- ⅓ cup granulated sugar
- ¼ cup packed light brown sugar (adds depth and that warm molasses note)
- 2 large eggs, room temperature
- ½ cup heavy cream (or evaporated milk if you’re watching pennies—both work beautifully)
- 1 teaspoon vanilla extract
- 1 teaspoon ground cinnamon
- ½ teaspoon ground ginger
- ¼ teaspoon ground nutmeg
- ⅛ teaspoon ground cloves (optional, but I love the warmth it adds)
- Pinch of salt
One thing I’ve learned—pumpkin puree brands vary in water content. Libby’s is consistently thick and reliable. Store brands sometimes have more liquid, which can make your bars runny. If you’re using a generic brand, let the puree sit in a fine-mesh strainer for 15 minutes to drain excess moisture. That little step saved my fourth batch from disaster.
Equipment Needed
You don’t need a fancy kitchen to make these bars. Here’s what you’ll actually use:
- 9×9-inch baking pan (an 8×8 works too, but the bars will be slightly thicker and need a few extra minutes of baking time)
- Electric hand mixer or stand mixer (you can mix by hand with some elbow grease, but the cream cheese gets much smoother with a mixer)
- Mixing bowls (one medium, one large—I use my grandmother’s old Pyrex bowls)
- Parchment paper (absolute must—makes lifting the bars out so much easier than fighting with a stuck crust)
- Measuring cups and spoons
- Rubber spatula (for scraping every last bit of filling—waste not, want not)
- Rolling pin or food processor (for crushing graham crackers—a zip-top bag and a rolling pin works great and saves dishes)
If you don’t have a 9×9 pan, a 9-inch round cake pan works surprisingly well. The bars will be shaped differently, but they’ll taste just as good. I’ve also used a disposable aluminum pan when bringing these to potlucks—works perfectly and means one less dish to wash.
Preparation Method
Let me walk you through this step by step. I’ve included all the little details I wish someone had told me when I first started making these.
- Preheat your oven to 350°F (175°C). Line your 9×9 baking pan with parchment paper, leaving some overhang on two opposite sides. This creates “handles” that let you lift the whole block of bars out later. Spray the parchment lightly with non-stick spray for extra insurance.
- Make the crust. In a medium bowl, combine the graham cracker crumbs, sugar, and salt. Pour in the melted butter and stir with a fork until every crumb is moistened. The mixture should look like wet sand and hold together when you squeeze a handful. Press this mixture firmly into the bottom of your prepared pan. I use the bottom of a flat measuring cup to really pack it down—this prevents a crumbly, falling-apart crust later. Bake for 10 minutes, then set aside to cool slightly. Your kitchen will smell like butter and honey at this point, and it’s glorious.
- Start the cheesecake layer. In a large bowl, beat the softened cream cheese with an electric mixer on medium speed until smooth and creamy—about 2 minutes. Scrape down the sides of the bowl with your spatula. Add the sugar and beat for another minute until fluffy. Add the eggs one at a time, beating on low after each addition just until combined. Overbeating at this stage incorporates too much air, which causes cracks during baking. Stir in the vanilla and flour until just combined. Set this bowl aside.
- Make the pumpkin layer. In a separate medium bowl, whisk together the pumpkin puree, granulated sugar, and brown sugar until smooth. Add the eggs, heavy cream, and vanilla, whisking gently. Sprinkle the cinnamon, ginger, nutmeg, cloves, and salt over the top, then whisk until everything is beautifully combined and smells like fall in a bowl.
- Layer it up. Pour the cheesecake mixture over the pre-baked crust and spread it evenly with your spatula. Now, gently spoon the pumpkin mixture over the cheesecake layer. Don’t pour it all in one spot—distribute it in dollops across the surface. Then, use a butter knife or toothpick to gently swirl the two layers together. I like to do figure-eight motions, just 5 or 6 passes, to create a marbled effect. Too much swirling and the layers blend into one muddy color, so be gentle.
- Bake. Place the pan in the preheated oven and bake for 35-40 minutes. The edges should look set and slightly puffed, but the center should still jiggle slightly when you gently shake the pan—like firm Jell-O, not liquid. Overbaking is the number one cause of cracks, so don’t wait for the center to be completely firm. My first batch was dry and cracked because I thought “jiggly” meant “undercooked.” Learn from my mistake.
- Cool completely. This is the hardest part—the waiting. Let the bars cool on a wire rack for 1 hour at room temperature. Then, transfer the pan to the refrigerator and chill for at least 4 hours, but overnight is better. I know it’s tempting to cut into them warm, but the bars need this time to set properly. Warm cheesecake bars are a sad, runny mess. Cold ones slice clean and beautiful.
- Slice and serve. Once fully chilled, use the parchment handles to lift the entire block out of the pan. Place it on a cutting board and use a sharp knife to cut into 16 squares. Wipe the knife clean between cuts for the neatest edges. I like to cut 4 rows by 4 rows for perfect little squares.
Cooking Tips & Techniques
After making these bars more times than I care to count, I’ve collected some hard-won wisdom. Here are the things I wish I’d known from the start.
Room temperature ingredients matter more than you think. Cold cream cheese creates lumpy batter, and cold eggs can cause the mixture to curdle. Take everything out of the fridge 30-45 minutes before you start. If you forgot to plan ahead (which is me, every single time), cut the cream cheese into small cubes and microwave it in 10-second bursts until softened but not melted. For eggs, place them in a bowl of warm water for 5 minutes.
The water bath shortcut. Traditional cheesecake recipes use a water bath to prevent cracking, but it’s fussy and risks a soggy crust. Instead, place a small oven-safe dish filled with hot water on the lower rack of your oven while the bars bake. The steam creates humidity that helps the cheesecake layer bake evenly without cracking. This trick has saved countless batches in my kitchen.
Watch your oven like a hawk. Every oven runs differently. My old oven would bake these in 32 minutes; my new one takes 38. Start checking at the 30-minute mark. The edges should be set and slightly golden, but the center should still have a gentle wobble. If you see cracks forming around the edges, pull them out immediately—they’ll continue to set as they cool.
Don’t skip the chill time. I know, I know—four hours feels like an eternity when you’re craving pumpkin cheesecake bars. But slicing them too early is the fastest way to ruin all your hard work. The texture needs time to firm up, and the flavors actually deepen overnight. I’ve made these the night before Thanksgiving for years, and they’re always better the next day.
Clean cuts every time. Use a long, sharp knife and run it under hot water before each cut. Dry it off with a towel, slice, then rinse and repeat. This gives you those gorgeous, clean edges that look like they came from a bakery.
Variations & Adaptations
One of the best things about this recipe is how flexible it is. Here are some variations I’ve tried and loved.
Gluten-Free Version: Swap the graham cracker crust for gluten-free graham crackers or use crushed gluten-free shortbread cookies. The filling doesn’t contain any gluten, so you’re just changing the crust. My friend Sarah, who has celiac, says these are the best gluten-free bars she’s ever had.
Dairy-Free Adaptation: Use dairy-free cream cheese (Tofutti or Kite Hill work well) and replace the heavy cream with full-fat coconut cream from a can. The texture is slightly less dense but still delicious. I made this version for a dairy-free neighbor last year, and she asked for the recipe before she finished her first bar.
Pumpkin Spice Lover’s Version: If you can’t get enough pumpkin spice, add an extra ½ teaspoon of cinnamon and a pinch of cardamom to the pumpkin layer. You can also sprinkle a little cinnamon sugar on top before baking for a crunchy, sparkly finish.
Crunchy Topping Variation: Before baking, sprinkle ¼ cup of chopped pecans or walnuts mixed with 2 tablespoons of brown sugar over the top. It adds a lovely crunch that contrasts with the creamy filling. My husband insists this is the only way to make them.
Individual Mini Bars: Line a muffin tin with paper liners and press the crust mixture into the bottom of each cup. Fill with the cheesecake and pumpkin mixtures, then bake for 18-20 minutes. These are perfect for parties or portion control—not that I’ve ever had trouble controlling myself around these bars.
Serving & Storage Suggestions
These bars are forgiving and versatile, which makes them perfect for busy families.
Serving: Serve these bars cold, straight from the fridge. The texture is firm and creamy at this temperature, and the flavors are clean and bright. If you prefer a softer texture, let them sit at room temperature for 10-15 minutes before serving. A dollop of whipped cream and a light dusting of cinnamon on top makes them look extra special for guests.
What to serve alongside: A hot cup of coffee or spiced apple cider is the perfect companion. For a full fall dessert spread, these bars pair beautifully with a simple apple crisp or a warm slice of pumpkin bread. They’re also fantastic after a heavy meal—the lightness of the cheesecake balances out a rich dinner.
Storage: Store leftover bars in an airtight container in the refrigerator for up to 5 days. I layer them between sheets of parchment paper to prevent sticking. Honestly, they taste even better on day two—the flavors meld together and the texture becomes incredibly smooth.
Freezing: These bars freeze beautifully. Cut them into individual squares and place them on a baking sheet lined with parchment paper. Freeze for 1 hour until solid, then transfer the frozen squares to a freezer-safe bag or container. They’ll keep for up to 3 months. To serve, thaw individual bars in the refrigerator overnight or at room temperature for about 30 minutes. I always keep a stash in my freezer for unexpected guests or late-night cravings.
Reheating: I don’t recommend reheating these bars—they’re meant to be served cold. But if you want a warm dessert experience, microwave a single bar for 10-15 seconds. The crust stays crisp, and the filling becomes slightly soft and almost pudding-like. It’s a different experience, but a good one.
Nutritional Information & Benefits
Let’s be real—these are a treat, not a health food. But there are some redeeming qualities worth noting.
Estimated nutritional values per bar (based on 16 servings): Approximately 280 calories, 18g fat, 28g carbohydrates, 5g protein, 18g sugar. These numbers will vary based on your specific ingredients and portion sizes.
Health highlights: Pumpkin is packed with vitamin A, which supports eye health and immune function. It’s also rich in fiber and antioxidants. The eggs provide high-quality protein and choline, which is important for brain health. And the cream cheese, while indulgent, does contain some calcium and protein.
Dietary considerations: This recipe contains gluten (from the graham crackers), dairy (from the cream cheese and butter), and eggs. For gluten-free and dairy-free adaptations, see the variations section above. These bars are naturally vegetarian and can be made nut-free by omitting any nut toppings.
My perspective: I believe in balance. These bars aren’t something we eat every day, but they’re part of our fall traditions. I’d rather my kids have a homemade treat made with real ingredients than something processed from a box. And the joy of making them together? That’s good for the soul, even if it doesn’t show up on a nutrition label.
Conclusion
These Budget-Friendly Pumpkin Cheesecake Bars have become more than just a recipe in my house—they’re a tradition. They’re the smell that fills our kitchen on cool October afternoons, the treat my kids beg for when the leaves start turning, the dessert I bring to every fall gathering because I know people will ask for the recipe.
What I love most about this recipe is how accessible it is. You don’t need a culinary degree or a fancy grocery budget. You just need a few simple ingredients, a little patience, and the willingness to try. And honestly, even if your first batch isn’t perfect—mine certainly wasn’t—it’ll still be delicious. Because food made with love always is.
I’d love to hear how these turn out for you. Did your kids love them? Did you try a fun variation? Drop a comment below and let me know—I read every single one, and I genuinely love hearing about your kitchen adventures. And if you share a photo on Pinterest or Instagram, tag me so I can see your beautiful bars!
Go ahead, grab that can of pumpkin from the back of your pantry, and make some memories tonight. Your family will thank you.
Frequently Asked Questions
Can I use fresh pumpkin instead of canned?
Yes, but you’ll need to roast and puree it first, then strain it to remove excess moisture. Fresh pumpkin has more water than canned, so your bars might be slightly softer. I recommend using canned for consistency, but fresh works in a pinch.
Why did my cheesecake layer crack?
Cracks usually happen from overbaking or sudden temperature changes. Bake just until the edges are set and the center is still slightly jiggly. Let the bars cool gradually—first at room temperature, then in the fridge. Avoid opening the oven door during baking, as the temperature fluctuation can cause cracking.
Can I make these bars ahead of time?
Absolutely! In fact, they’re better made a day ahead. Prepare and bake the bars, cool them completely, then refrigerate overnight. The flavors meld and the texture becomes perfectly creamy. They’ll keep in the fridge for up to 5 days.
Can I use a different crust?
Of course. Shortbread cookies, vanilla wafers, or even crushed ginger snaps all make excellent crusts. Ginger snaps add a lovely spicy kick that complements the pumpkin. Just adjust the sugar slightly—ginger snaps are already sweet, so you might reduce the added sugar.
How do I know when the bars are done baking?
The edges should look set and might be slightly puffed or starting to pull away from the pan. The center should jiggle like firm Jell-O when you gently shake the pan. If the center looks liquid or sloshes around, it needs more time. If the edges are browning and the center is firm, you’ve overbaked them.
Pin This Recipe!
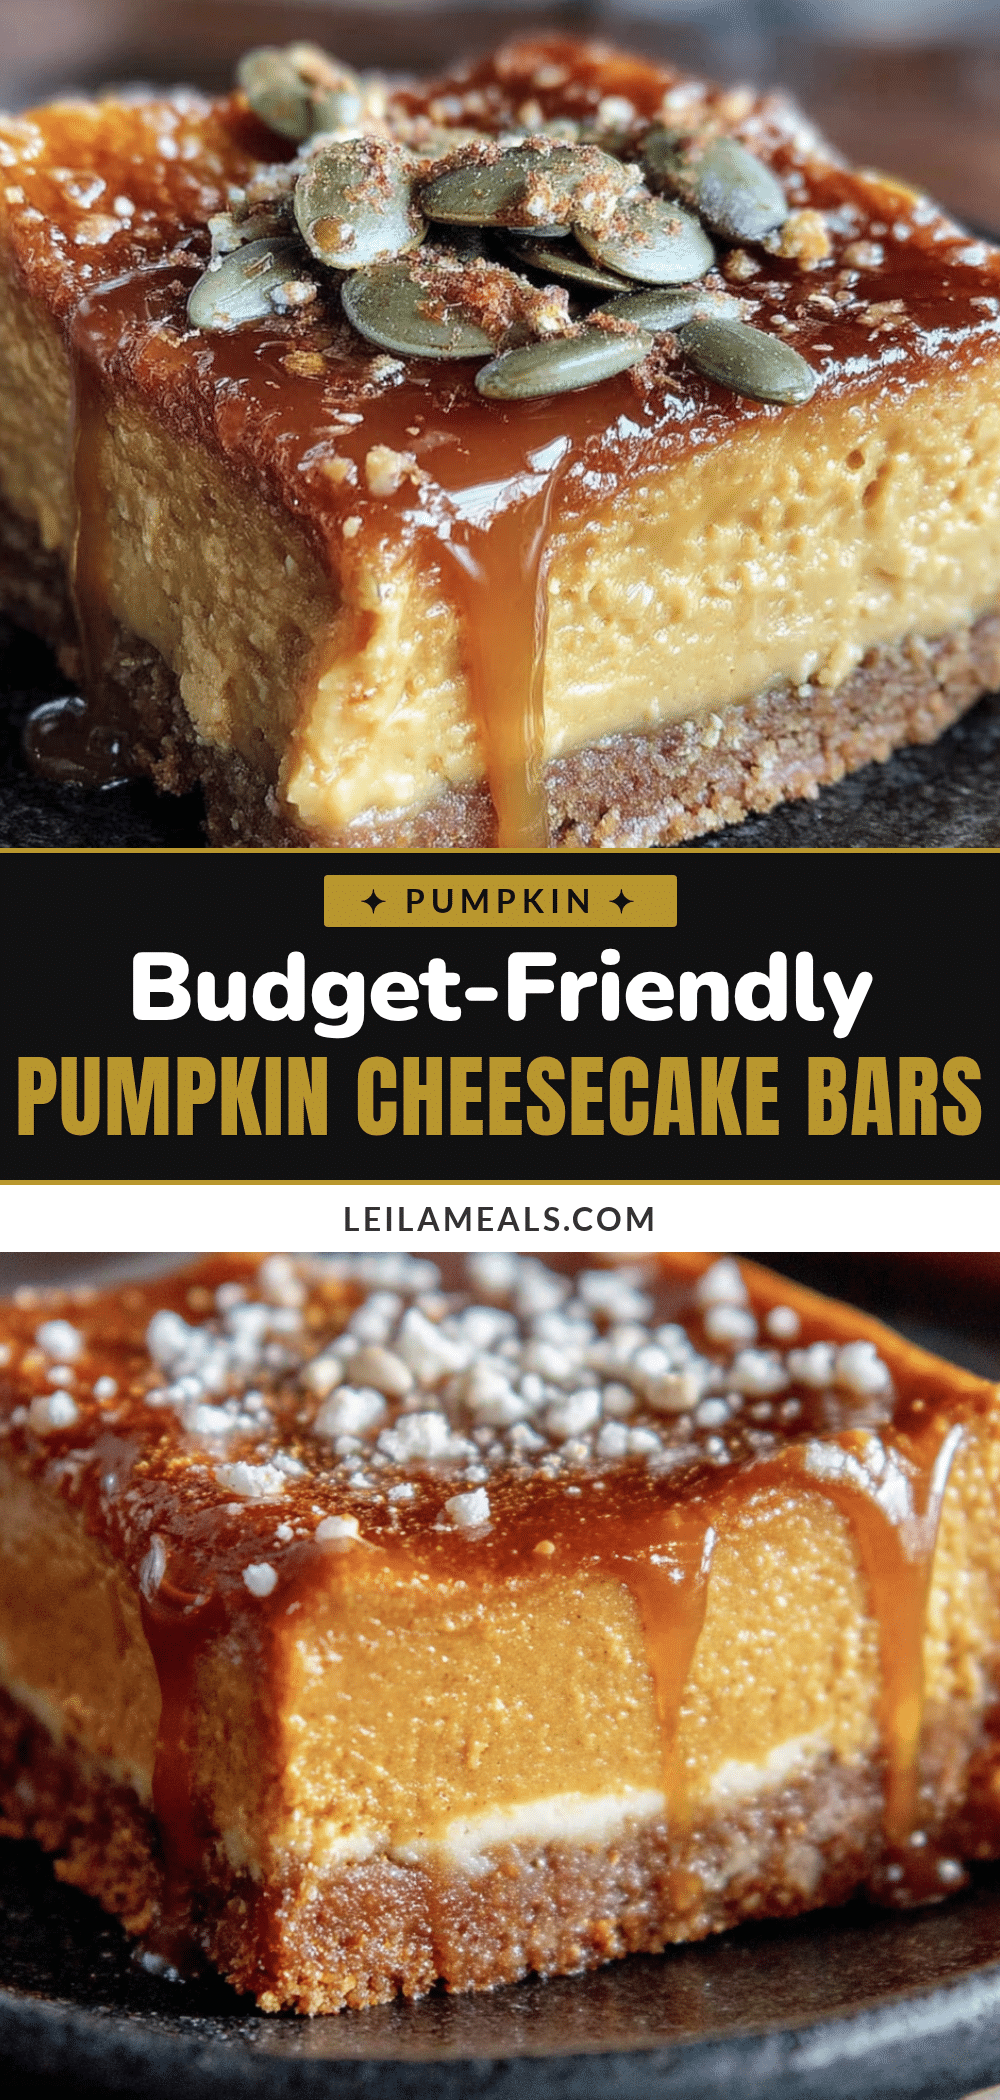
Budget-Friendly Pumpkin Cheesecake Bars: Easy Fall Dessert
These Budget-Friendly Pumpkin Cheesecake Bars are the kind of dessert that makes everyone at the table happy without making you stress about the grocery bill. A crunchy graham cracker crust, a velvety cheesecake layer, and a spiced pumpkin topping that bakes into pure comfort.
- Prep Time: 30 minutes
- Cook Time: 35-40 minutes
- Total Time: 5 hours 10 minutes (including chilling)
- Yield: 16 servings 1x
- Category: Dessert
- Cuisine: American
Ingredients
- 1 ½ cups graham cracker crumbs (about 12 full sheets, crushed fine)
- ¼ cup granulated sugar
- 6 tablespoons unsalted butter, melted
- Pinch of salt
- 16 ounces cream cheese, softened to room temperature
- ½ cup granulated sugar
- 2 large eggs, room temperature
- 1 teaspoon vanilla extract
- 1 tablespoon all-purpose flour
- 1 cup canned pumpkin puree (not pumpkin pie filling)
- ⅓ cup granulated sugar
- ¼ cup packed light brown sugar
- 2 large eggs, room temperature
- ½ cup heavy cream (or evaporated milk)
- 1 teaspoon vanilla extract
- 1 teaspoon ground cinnamon
- ½ teaspoon ground ginger
- ¼ teaspoon ground nutmeg
- ⅛ teaspoon ground cloves (optional)
- Pinch of salt
Instructions
- Preheat your oven to 350°F (175°C). Line your 9×9 baking pan with parchment paper, leaving some overhang on two opposite sides. Spray the parchment lightly with non-stick spray.
- Make the crust: In a medium bowl, combine the graham cracker crumbs, sugar, and salt. Pour in the melted butter and stir with a fork until every crumb is moistened. Press this mixture firmly into the bottom of your prepared pan. Bake for 10 minutes, then set aside to cool slightly.
- Start the cheesecake layer: In a large bowl, beat the softened cream cheese with an electric mixer on medium speed until smooth and creamy—about 2 minutes. Scrape down the sides. Add the sugar and beat for another minute until fluffy. Add the eggs one at a time, beating on low after each addition just until combined. Stir in the vanilla and flour until just combined. Set aside.
- Make the pumpkin layer: In a separate medium bowl, whisk together the pumpkin puree, granulated sugar, and brown sugar until smooth. Add the eggs, heavy cream, and vanilla, whisking gently. Sprinkle the cinnamon, ginger, nutmeg, cloves, and salt over the top, then whisk until combined.
- Layer it up: Pour the cheesecake mixture over the pre-baked crust and spread it evenly. Gently spoon the pumpkin mixture over the cheesecake layer in dollops. Use a butter knife or toothpick to gently swirl the two layers together with 5-6 figure-eight motions.
- Bake: Place the pan in the preheated oven and bake for 35-40 minutes. The edges should look set and slightly puffed, but the center should still jiggle slightly when you gently shake the pan.
- Cool completely: Let the bars cool on a wire rack for 1 hour at room temperature. Then, transfer the pan to the refrigerator and chill for at least 4 hours, but overnight is better.
- Slice and serve: Once fully chilled, use the parchment handles to lift the entire block out of the pan. Place on a cutting board and use a sharp knife to cut into 16 squares. Wipe the knife clean between cuts.
Notes
Room temperature ingredients matter. Take cream cheese and eggs out 30-45 minutes before starting. For a water bath shortcut, place a small oven-safe dish filled with hot water on the lower rack while baking. Don’t skip the chill time—bars need at least 4 hours to set properly. For clean cuts, run a sharp knife under hot water before each slice.
Nutrition
- Serving Size: 1 bar
- Calories: 280
- Sugar: 18
- Sodium: 200
- Fat: 18
- Saturated Fat: 10
- Carbohydrates: 28
- Fiber: 1
- Protein: 5
Keywords: pumpkin cheesecake bars, budget-friendly dessert, fall dessert, easy pumpkin recipe, cheesecake bars, pumpkin dessert, graham cracker crust


