I figured a box cake mix couldn’t possibly hold a candle to a real homemade dessert for a birthday party. It took about one bite of this Reese’s Peanut Butter Poke Cake for that assumption to fall apart completely. I was standing in my sister’s kitchen, fork halfway to my mouth, and honestly? I had to stop and just stare at the slice for a second. It was absurdly rich, ridiculously moist, and tasted like someone had melted a peanut butter cup into every single crumb. Not bad for something that started with a box.
You know that moment when you bring a dessert to a party and people do that awkward, polite “oh, that looks nice” thing? This cake gets the opposite reaction. It gets the silence. The kind of silence where everyone is too busy chewing to talk. I watched my brother-in-law go back for thirds, and my niece, who swears she “doesn’t like cake,” ate two slices. That’s when I knew this recipe was something special.
The secret is in the poke. You bake a simple chocolate cake, poke holes all over the top, and pour a warm, silky peanut butter mixture straight into those little pockets. It soaks in and creates these pockets of peanut butter goodness throughout the cake. Then you top it with a layer of chocolate ganache, more peanut butter drizzle, and a generous scattering of chopped Reese’s cups. It’s over-the-top in the best possible way. This isn’t a fancy, fussy dessert. It’s the kind of cake you make when you want to show up with something that looks like you spent hours on it, even though it came together in about twenty minutes of active work. And honestly? That’s my favorite kind of recipe.
Why You’ll Love This Reese’s Peanut Butter Poke Cake
This cake is a total winner for so many reasons, but let me break down the highlights that keep me coming back to it again and again.
- Incredibly Easy: We’re starting with a boxed cake mix. No judgment here. It keeps things simple and guarantees a tender crumb every single time. You don’t need to be a pastry chef to pull this off.
- Seriously Decadent: Every single bite is loaded with peanut butter and chocolate. The poke method means the flavor isn’t just on top—it’s baked right into the cake. It’s pure indulgence.
- Perfect for Parties: This cake feeds a crowd and looks stunning on a dessert table. It’s the kind of dessert that gets photographed before it gets eaten. It also travels well, which is a huge bonus.
- Make-Ahead Friendly: You can make this cake a day in advance. In fact, it tastes even better the next day after the flavors have had time to meld together in the fridge. Less stress for you on party day.
- Total Crowd-Pleaser: I have never, and I mean never, met anyone who didn’t love this cake. Kids go wild for it, and adults sneak extra slices when they think no one is looking. It’s a guaranteed hit.
This isn’t just another chocolate cake recipe. The combination of a moist chocolate base, a creamy peanut butter filling, a rich chocolate ganache, and crunchy candy pieces creates a texture and flavor profile that is next-level. It’s comfort food at its finest, but elevated just enough to feel special. It’s the dessert equivalent of a warm hug, honestly.
What Ingredients You Will Need
This recipe uses simple, pantry-friendly ingredients to create something that tastes incredibly complex. The magic is in the combination, not in hard-to-find items. Here’s everything you need to get started.
For the Cake:
- 1 box (15.25 oz) chocolate cake mix (I prefer Duncan Hines or Betty Crocker for consistent results)
- Ingredients called for on the back of the cake mix box (typically eggs, oil, and water)
For the Peanut Butter Filling:
- 1 can (14 oz) sweetened condensed milk (this is the base for the magic filling)
- 1/2 cup creamy peanut butter (I recommend Jif or Skippy for a stable texture; natural peanut butter can separate)
- 1 teaspoon vanilla extract (adds warmth and depth)
For the Ganache Topping:
- 1 cup semi-sweet chocolate chips (I like Ghirardelli or Toll House for a smooth melt)
- 1/2 cup heavy cream (this creates a glossy, pourable ganache)
For the Peanut Butter Drizzle:
- 1/4 cup creamy peanut butter (use the same brand as above for consistency)
- 2 tablespoons powdered sugar (helps thicken the drizzle without graininess)
- 2-3 tablespoons milk (to thin the drizzle to the perfect consistency)
For the Topping:
- 1 cup chopped Reese’s Peanut Butter Cups (about 8-10 mini cups or 4 regular-sized cups)
- Optional: 1/4 cup chopped salted peanuts for extra crunch
A quick note on peanut butter: stick with the processed stuff for this recipe. Natural peanut butter tends to separate and can make the filling grainy or oily. The classic brands give you that smooth, creamy texture that works perfectly here.
Equipment Needed
You don’t need any fancy gadgets for this recipe, which is part of its charm. Here’s what you’ll need to have on hand.
- 9×13-inch baking pan: This is the standard size for a poke cake. A metal or glass pan works well. If you use glass, you might need to add a few extra minutes to the baking time.
- Mixing bowls: You’ll need a large bowl for the cake batter and a couple of smaller bowls for the fillings and toppings.
- Whisk and spatula: A whisk for the ganache and a rubber spatula for scraping down the sides of bowls.
- Wooden spoon handle or a straw: This is your poking tool. The handle of a wooden spoon is perfect for creating nice, wide holes. A drinking straw also works in a pinch.
- Small saucepan: For heating the heavy cream for the ganache and for warming the peanut butter filling.
- Piping bag or zip-top bag: For drizzling the peanut butter topping neatly. A zip-top bag with a tiny corner snipped off works like a charm.
If you don’t have a piping bag, don’t worry. A spoon works just fine for drizzling the peanut butter mixture over the top. It won’t look as uniform, but it will taste just as good.
Preparation Method
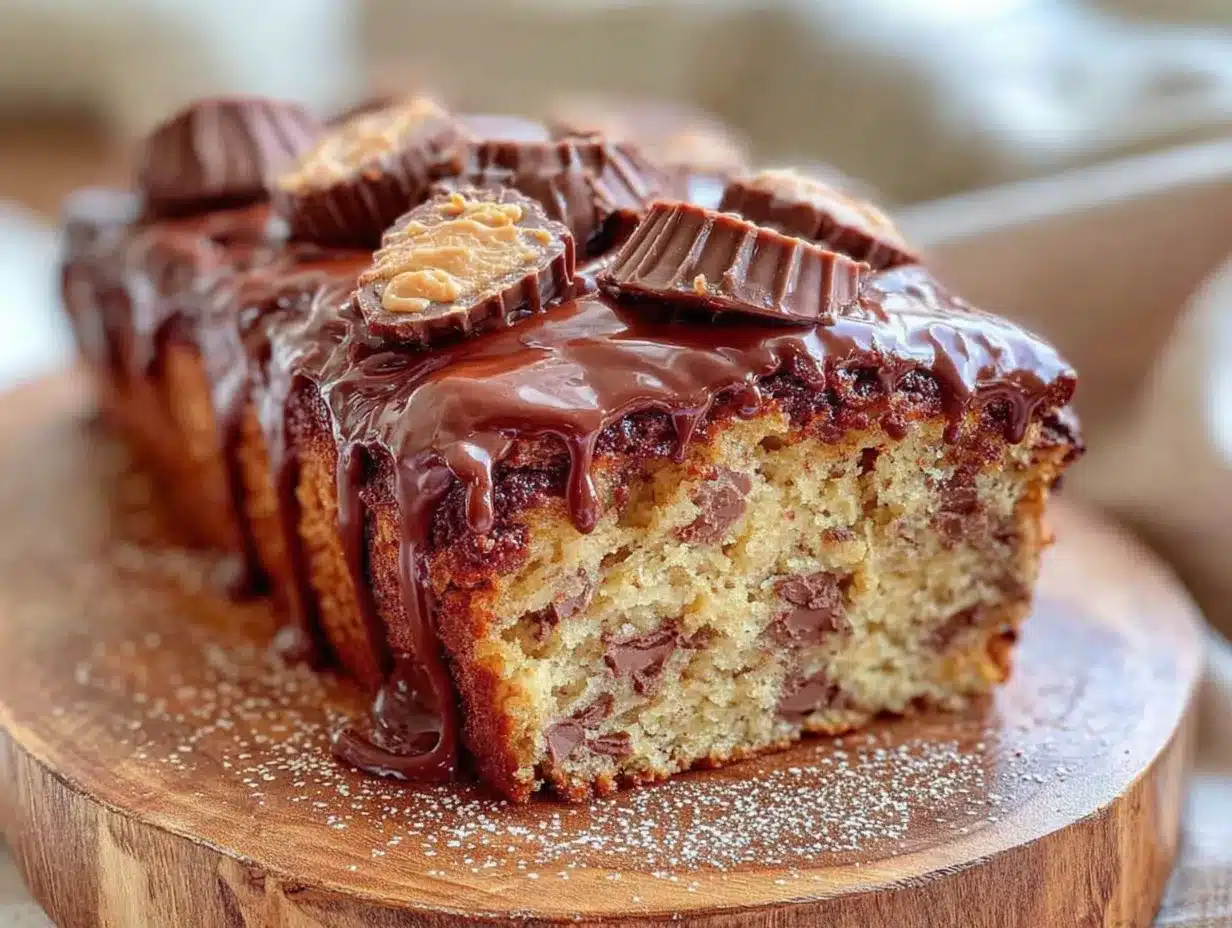
Alright, let’s get to the good part. Follow these steps carefully, and you’ll have a cake that looks and tastes like it came from a fancy bakery.
- Preheat and Prep. Preheat your oven to 350°F (175°C). Grease your 9×13-inch baking pan thoroughly with butter or non-stick cooking spray. You want to make sure the cake releases easily later.
- Bake the Cake. Prepare the chocolate cake mix according to the package directions. Pour the batter into your prepared pan and spread it into an even layer. Bake according to the box instructions, usually around 25-30 minutes, or until a toothpick inserted into the center comes out clean. Let the cake cool in the pan on a wire rack for about 10-15 minutes. It needs to be warm, not hot, when you poke it.
- Make the Peanut Butter Filling. While the cake is cooling slightly, combine the sweetened condensed milk, 1/2 cup creamy peanut butter, and vanilla extract in a small saucepan. Warm over low heat, stirring constantly, until the mixture is smooth and fully combined. It should be warm and pourable, not boiling. Remove from heat.
- Poke the Holes. This is the crucial step. Using the handle of a wooden spoon, poke holes all over the warm cake. Space them about 1 inch apart. Don’t be shy—poke all the way to the bottom of the cake. The more holes, the more filling gets absorbed.
- Pour in the Filling. Slowly pour the warm peanut butter mixture over the entire cake, making sure it gets into all the holes. Use your spatula to spread it evenly if needed. Don’t worry if some pools on top—that’s a good thing. Let the cake sit for about 10 minutes so the filling can soak in completely.
- Make the Ganache. In a small saucepan, heat the heavy cream over medium heat until it just begins to simmer. Don’t let it boil. Pour the hot cream over the chocolate chips in a heat-safe bowl. Let it sit for 2-3 minutes, then whisk gently until the chocolate is completely melted and the mixture is smooth and glossy.
- Pour the Ganache. Pour the ganache over the top of the cake and spread it into an even layer. It will set as it cools, creating a beautiful, fudge-like top.
- Make the Peanut Butter Drizzle. In a small bowl, whisk together the 1/4 cup peanut butter, powdered sugar, and 2 tablespoons of milk. If the mixture is too thick to drizzle, add the extra tablespoon of milk. You want it to be pourable but not watery.
- Drizzle and Top. Drizzle the peanut butter mixture over the ganache. You can use a spoon or a piping bag for a more controlled look. Immediately sprinkle the chopped Reese’s cups (and peanuts, if using) over the top. Gently press them in so they stick.
- Chill and Set. Place the cake in the refrigerator for at least 2 hours, or until the ganache is fully set. This step is essential for clean slices. The cake is best served cold or at room temperature.
Pro-Tip: The cake will look a little messy at this stage, but that’s part of its charm. Once it’s chilled and sliced, it will be a thing of beauty. Trust the process.
Cooking Tips & Techniques
I’ve made this cake more times than I can count, and I’ve learned a few things along the way. Here are my best tips for getting it perfect every single time.
Don’t Overbake the Cake. A slightly underbaked cake is better than a dry one. The poke filling will add moisture, so a cake that’s a touch on the soft side will absorb it beautifully. Start checking for doneness a couple of minutes before the box says to.
Poke While Warm. This is non-negotiable. If the cake is too hot, it will fall apart when you poke it. If it’s too cool, the holes will close up and the filling won’t soak in properly. That 10-15 minute cooling window is your sweet spot.
Use a Straw for Smaller Holes. If you want a more subtle peanut butter flavor throughout, use a drinking straw to poke the holes. The smaller holes distribute the filling more evenly. I use a wooden spoon handle because I like those big, generous pockets of flavor.
Let the Ganache Set. I know it’s tempting to dig in right away, but patience pays off here. The cake needs time in the fridge for the ganache to firm up. If you try to cut it too soon, you’ll end up with a gooey, messy slice. It will still taste amazing, but it won’t look as pretty.
Scale Up for a Bigger Crowd. This recipe doubles beautifully. If you’re feeding a larger party, just use two 9×13-inch pans. You can even freeze one for later. Just wrap it tightly in plastic wrap and foil before adding the toppings.
Variations & Adaptations
This cake is incredibly versatile. Here are a few ways to change it up based on what you have on hand or what you’re in the mood for.
Peanut Butter Lover’s Dream. For an even more intense peanut butter flavor, add 1/2 cup of peanut butter chips to the cake batter before baking. You can also swirl some extra peanut butter into the ganache before it sets. It’s over-the-top, but in the best way possible.
Chocolate Overload. If you’re a chocolate purist, swap the peanut butter filling for a chocolate pudding mixture. Use one small box of instant chocolate pudding mixed with 1 1/2 cups of milk. Pour it over the poked cake just like you would the peanut butter filling. Top with chocolate ganache and chocolate shavings.
Gluten-Free Option. Use a gluten-free chocolate cake mix for the base. Everything else in this recipe is naturally gluten-free, so you’re good to go. Just make sure to check the labels on your peanut butter and chocolate chips to be safe.
Nut-Free Version. For a school-safe treat, use a sunflower seed butter like SunButter in place of the peanut butter. The flavor will be different, but the texture and richness will be very similar. Top with chopped chocolate candies that don’t contain nuts.
Seasonal Twist. In the fall, add a teaspoon of pumpkin pie spice to the cake batter. Top the finished cake with a sprinkle of cinnamon and some crushed graham crackers for a s’mores-inspired version. It’s a fun way to make this recipe feel seasonal.
Serving & Storage Suggestions
This cake is incredibly forgiving and stores beautifully, which makes it perfect for making ahead.
Serving. This cake is best served cold or at room temperature. I prefer it straight from the fridge because the ganache is firmer and the slices are cleaner. Let it sit out for about 10 minutes before serving if you want it slightly softer. A dollop of whipped cream on top is a lovely addition, but it’s certainly not necessary.
Storage. Store any leftover cake in an airtight container in the refrigerator. It will keep well for up to 5 days. I actually think it tastes better on day two or three because the flavors have had more time to meld together. The peanut butter filling continues to soak into the cake, making it even more moist.
Freezing. This cake freezes beautifully. Wrap the entire cake (or individual slices) tightly in plastic wrap, then a layer of aluminum foil. Freeze for up to 3 months. To thaw, place it in the refrigerator overnight. The texture will be just as good as the day you made it.
Reheating. If you want a warm slice, pop it in the microwave for about 15-20 seconds. It will be gooey and decadent, almost like a molten lava cake. This is my favorite way to eat leftovers, honestly.
Nutritional Information & Benefits
Let’s be real—this is a dessert, and it’s meant to be indulgent. But here’s a look at what you’re getting in each slice and a few surprising benefits from the ingredients.
Estimated Nutritional Values (per slice, based on 16 servings):
- Calories: 420
- Fat: 22g
- Saturated Fat: 9g
- Carbohydrates: 52g
- Sugar: 38g
- Protein: 9g
- Fiber: 3g
Health Highlights:
- Peanut Butter: Provides a good source of protein and healthy monounsaturated fats. It also contains vitamin E, magnesium, and potassium.
- Dark Chocolate: The semi-sweet chocolate chips in the ganache contain antioxidants called flavonoids, which can be good for heart health.
- Portion Control: This cake is incredibly rich, so a small slice goes a long way. It’s the kind of dessert where one piece truly satisfies that sweet tooth.
Dietary Considerations: This recipe contains dairy, gluten, peanuts, and soy (from the chocolate). For a gluten-free version, use a gluten-free cake mix. For a dairy-free version, use a dairy-free cake mix, coconut cream instead of heavy cream, and dairy-free chocolate chips. The peanut butter drizzle can also be made with a nut-free alternative.
Frequently Asked Questions
Can I use a homemade chocolate cake recipe instead of a box mix?
Absolutely! If you have a favorite homemade chocolate cake recipe, feel free to use it. Just make sure it’s a sturdy cake that can handle being poked and soaked with filling. A lighter, fluffier cake might fall apart. Bake it in a 9×13-inch pan and follow the same poking and filling steps.
Can I make this cake in advance for a party?
Yes, and I actually recommend it. This cake tastes even better the next day after the flavors have had time to meld together. Make it a day ahead, keep it covered in the refrigerator, and add the chopped Reese’s cups on top just before serving for the best presentation.
My ganache turned out lumpy. What went wrong?
This usually happens if the cream was too hot or if it wasn’t whisked enough. If your cream was boiling, it can cause the chocolate to seize. Next time, heat the cream just until it simmers—small bubbles around the edge of the pan. If your ganache is lumpy, you can try whisking in a tablespoon of warm milk or cream to smooth it out.
Can I use crunchy peanut butter instead of creamy?
You can, but I don’t recommend it. The crunchy bits can make the filling grainy and can also get stuck in the holes, preventing the filling from soaking in evenly. Stick with creamy peanut butter for the smoothest, most consistent results. Save the crunchy stuff for the topping if you want some extra texture.
How do I get clean slices without the ganache cracking?
Use a sharp knife and run it under hot water before each cut. Wipe the blade dry and make a clean, swift cut. The heat helps the knife glide through the ganache without cracking it. This works like a charm every time.
Conclusion
This Reese’s Peanut Butter Poke Cake is the dessert you bring when you want to impress without the stress. It’s rich, decadent, and ridiculously easy to make. The combination of moist chocolate cake, creamy peanut butter filling, and glossy ganache is pure magic. Every single time I make it, it disappears within minutes, and I’m always asked for the recipe.
I love this cake because it feels like a celebration. It’s the kind of dessert that makes any day feel a little more special. Whether it’s for a birthday, a holiday, or just a Tuesday that needs a little pick-me-up, this cake delivers. And honestly? It’s just fun to make. Poking holes in a cake and pouring in a sweet, peanut butter filling is oddly satisfying.
I hope you give this recipe a try and make it your own. Add a little extra chocolate, swap in your favorite candy, or keep it classic. Just make sure you save a slice for yourself before it disappears. If you do make it, I’d love to hear how it turned out. Drop a comment below and let me know what you think. Happy baking, friend!
Pin This Recipe!
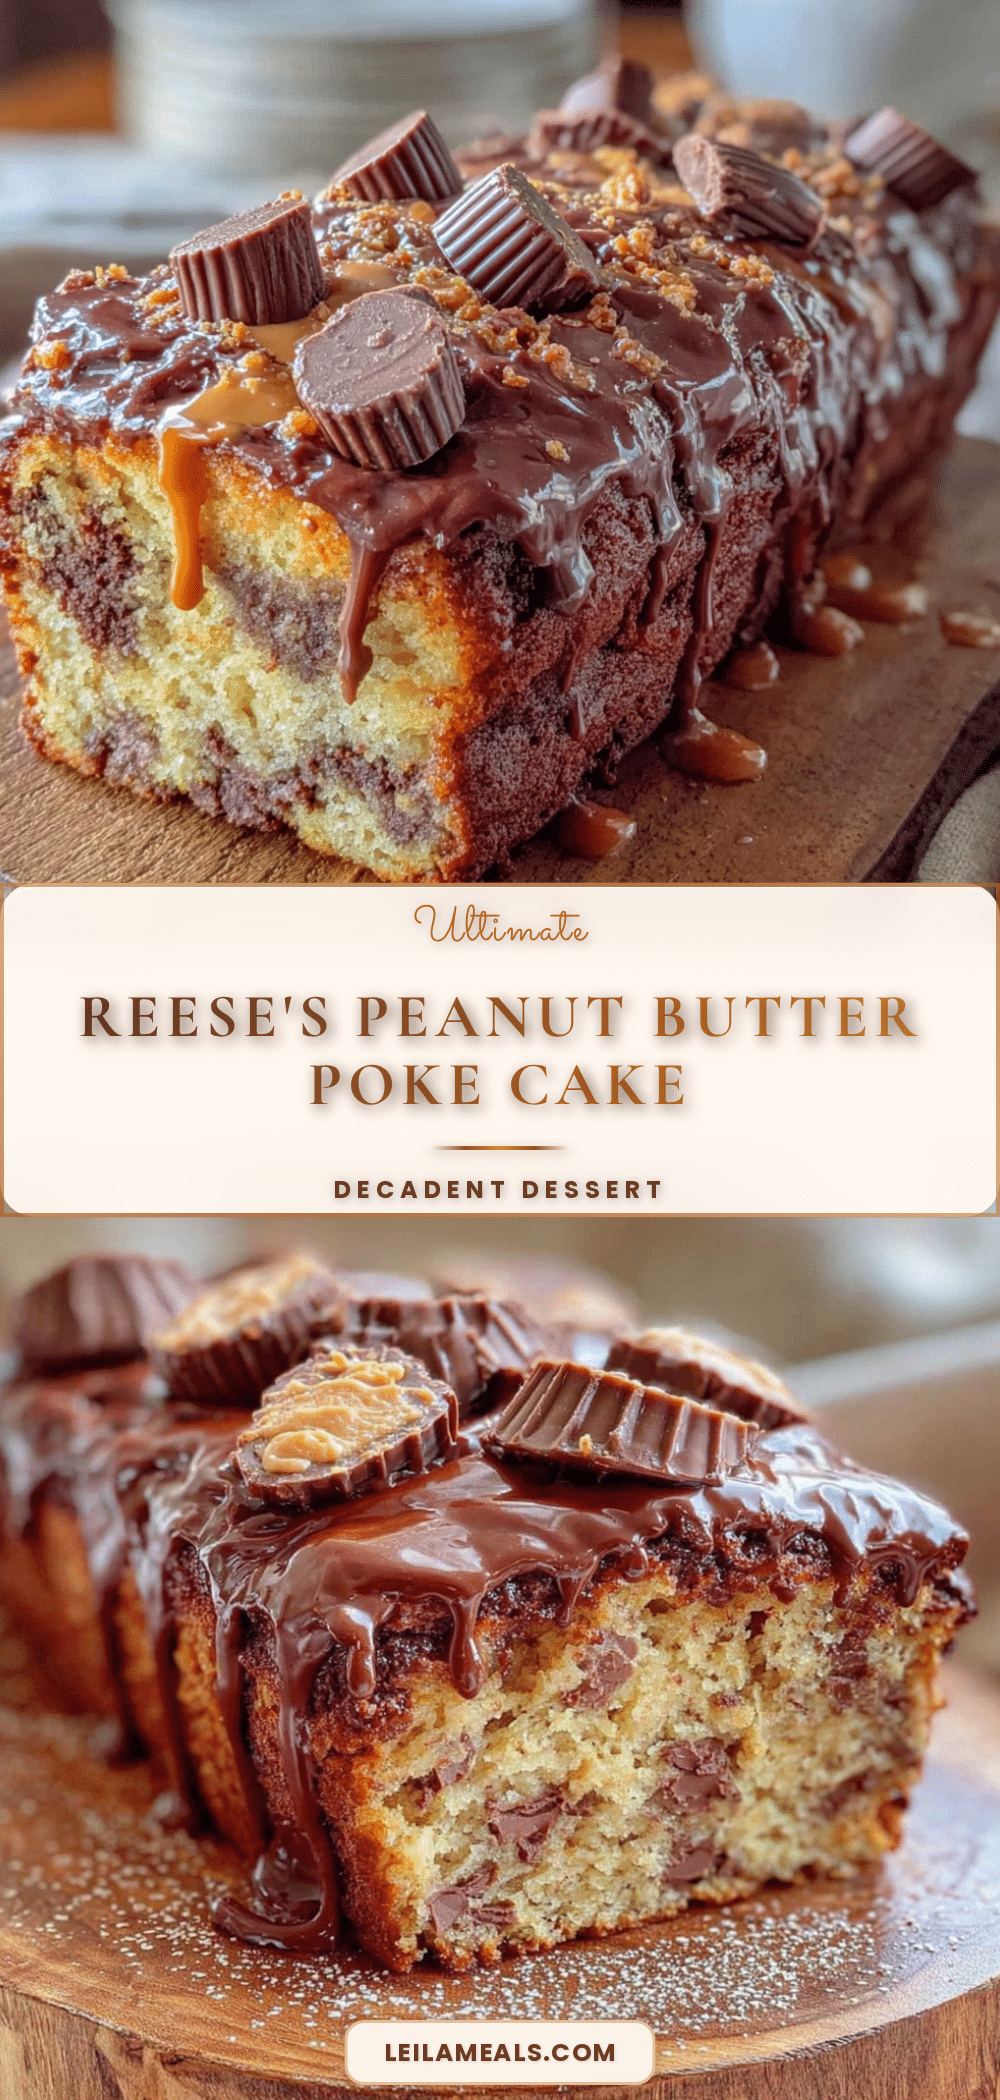
Best Reese’s Peanut Butter Poke Cake: Easy, Rich & Perfect for Parties

This Reese’s Peanut Butter Poke Cake is absurdly rich, ridiculously moist, and tastes like someone melted a peanut butter cup into every crumb. It’s an easy, decadent dessert that starts with a boxed cake mix but tastes completely homemade.
- Prep Time: 20 minutes
- Cook Time: 30 minutes
- Total Time: 2 hours 50 minutes (includes 2 hours chilling time)
- Yield: 16 servings 1x
- Category: Dessert
- Cuisine: American
Ingredients
- 1 box (15.25 oz) chocolate cake mix (Duncan Hines or Betty Crocker recommended)
- Ingredients called for on the back of the cake mix box (typically eggs, oil, and water)
- 1 can (14 oz) sweetened condensed milk
- 1/2 cup creamy peanut butter (Jif or Skippy recommended)
- 1 teaspoon vanilla extract
- 1 cup semi-sweet chocolate chips (Ghirardelli or Toll House recommended)
- 1/2 cup heavy cream
- 1/4 cup creamy peanut butter (for drizzle)
- 2 tablespoons powdered sugar
- 2–3 tablespoons milk
- 1 cup chopped Reese’s Peanut Butter Cups (about 8–10 mini cups or 4 regular-sized cups)
- Optional: 1/4 cup chopped salted peanuts
Instructions
- Preheat your oven to 350°F (175°C). Grease a 9×13-inch baking pan thoroughly with butter or non-stick cooking spray.
- Prepare the chocolate cake mix according to the package directions. Pour the batter into the prepared pan and spread into an even layer. Bake according to the box instructions, usually around 25-30 minutes, or until a toothpick inserted into the center comes out clean. Let the cake cool in the pan on a wire rack for about 10-15 minutes. It needs to be warm, not hot, when you poke it.
- While the cake is cooling slightly, combine the sweetened condensed milk, 1/2 cup creamy peanut butter, and vanilla extract in a small saucepan. Warm over low heat, stirring constantly, until the mixture is smooth and fully combined. It should be warm and pourable, not boiling. Remove from heat.
- Using the handle of a wooden spoon, poke holes all over the warm cake. Space them about 1 inch apart. Poke all the way to the bottom of the cake.
- Slowly pour the warm peanut butter mixture over the entire cake, making sure it gets into all the holes. Use a spatula to spread it evenly if needed. Let the cake sit for about 10 minutes so the filling can soak in completely.
- In a small saucepan, heat the heavy cream over medium heat until it just begins to simmer. Don’t let it boil. Pour the hot cream over the chocolate chips in a heat-safe bowl. Let it sit for 2-3 minutes, then whisk gently until the chocolate is completely melted and the mixture is smooth and glossy.
- Pour the ganache over the top of the cake and spread it into an even layer.
- In a small bowl, whisk together the 1/4 cup peanut butter, powdered sugar, and 2 tablespoons of milk. If the mixture is too thick to drizzle, add the extra tablespoon of milk. You want it to be pourable but not watery.
- Drizzle the peanut butter mixture over the ganache. Immediately sprinkle the chopped Reese’s cups (and peanuts, if using) over the top. Gently press them in so they stick.
- Place the cake in the refrigerator for at least 2 hours, or until the ganache is fully set. The cake is best served cold or at room temperature.
Notes
The cake tastes even better the next day after the flavors have melded together. For clean slices, use a sharp knife run under hot water before each cut. The cake can be frozen for up to 3 months.
Nutrition
- Serving Size: 1 slice
- Calories: 420
- Sugar: 38
- Fat: 22
- Saturated Fat: 9
- Carbohydrates: 52
- Fiber: 3
- Protein: 9
Keywords: Reese's peanut butter poke cake, chocolate peanut butter cake, easy poke cake, birthday cake, party dessert, chocolate ganache cake