The crunch of a cool, crisp pickle spear. The salty tang of a thin-shaved prosciutto ribbon. That first pop of a juicy grape on your tongue. Honestly, that specific combination of textures and tastes—the kind that hits you before you even reach the couch—still takes me straight to last year’s NFC Championship game. I was running late, the dip was still cold in the center, and I had about fifteen minutes before everyone showed up. I stared at my cutting board, a block of cheddar, and a bag of pretzel sticks, and just felt… tired. I didn’t want to assemble another giant, messy board that people would pick at awkwardly. I wanted something easy, something personal, something that wouldn’t require a side table the size of a coffee table.
So, I grabbed a stack of paper cups. I started layering. A few slices of salami at the bottom, a little wedge of brie, a handful of almonds. By the time the doorbell rang, I had a tray of these little individual cups—each one a tiny, perfect snack station. My friend Mike grabbed one, sat down, and didn’t move for an entire quarter. He just kept eating from his cup. That was the moment I knew I had stumbled onto something game-changing. These Best Mini Football Charcuterie Cups for Game Day aren’t just cute; they’re the most practical, mess-free, and customizable way to feed a crowd. They’re the snack that lets everyone focus on the big play, not the cheese board.
Why You’ll Love This Recipe
Let’s be real—traditional charcuterie boards are a pain. You spend an hour arranging things, and then someone sneezes near the Brie. These mini cups solve every single problem. They are the ultimate hands-off appetizer that actually lets you enjoy the party.
- No Sharing, No Mess: Everyone gets their own perfectly portioned cup. No double-dipping, no awkward reaching across the coffee table, and no fighting over the last piece of prosciutto. It’s the most civilized way to watch football.
- Endlessly Customizable: This isn’t a rigid recipe—it’s a template. You can build a cup for the spice lover, the cheese snob, the gluten-free friend, or the kid who only wants pepperoni. It’s like a choose-your-own-adventure snack.
- Prep in Under 15 Minutes: No cooking, no baking, no complicated steps. Just chop, arrange, and serve. You can have a full spread of these ready before the pre-game show ends. It’s the definition of low-effort, high-impact party food.
- Perfect for Crowds: Whether you’re hosting a Super Bowl party for thirty people or a quiet Saturday game for four, these scale perfectly. They also travel amazingly well for tailgates or potlucks.
- Visually a Knockout: They look so much more intentional than a sad bowl of chips. The layers of color—the deep red of salami, the creamy white of cheese, the bright green of olives—make a gorgeous, snackable display.
The first time I made these for a party, my cousin—who is a notoriously picky eater—ate three. He said it felt like he was opening a little present with every bite. That’s the magic of it. You get a little bit of everything, perfectly balanced, in one glorious cup. It’s the kind of snack that makes you close your eyes after a bite, even while the quarterback is scrambling.
What Ingredients You Will Need
This recipe is built on a simple formula: a foundation of something salty, a layer of something creamy, a pop of something briny or sweet, and a final touch of crunch. You don’t need to buy a whole deli counter. Here’s what you’ll need to build four to six amazing cups.
- For the Meats:
- 4-6 slices of Genoa salami (I prefer the thin-sliced kind from the deli counter—it folds beautifully)
- 4-6 slices of prosciutto (look for a good quality one; it adds that melt-in-your-mouth saltiness)
- 4-6 slices of pepperoni (the classic game-day staple, adds a little spice)
- For the Cheeses:
- 4-6 small cubes of sharp cheddar (about 1/2 inch each)
- 4-6 small wedges of brie (rind on is fine—it’s delicious and holds its shape)
- 4-6 small balls of fresh mozzarella (ciliegine size—the little ones—are perfect)
- For the Fruits & Veggies:
- 1/2 cup red or green seedless grapes (washed and dried)
- 1/4 cup cornichons or small dill pickles (spears cut in half are great)
- 1/4 cup kalamata olives or Castelvetrano olives (pitted, of course)
- For the Crunch & Extras:
- 1/4 cup Marcona almonds or roasted salted almonds (adds a buttery, salty crunch)
- 1/4 cup mini pretzel twists or sticks
- 1 tablespoon honey (for drizzling over the brie—trust me on this)
- Fresh rosemary sprigs or thyme for garnish (optional, but makes it look fancy)
Ingredient Notes & Substitutions: Feel free to swap in your favorite cheeses. A sharp white cheddar or a smoky gouda works beautifully. If you don’t like olives, try roasted red pepper strips or sun-dried tomatoes. For a lower-carb option, skip the pretzels and add extra nuts or celery sticks. I personally love using the easy honey turkey and cream cheese pinwheel wraps as a meat alternative in some cups—they add a completely different flavor profile.
Equipment Needed
You don’t need anything fancy for this. In fact, you probably have everything you need in your kitchen right now. The goal is simplicity, not a sink full of dishes.
- Small Paper or Plastic Cups: 5-ounce or 7-ounce cups are perfect. They’re the size of a small dip cup. Avoid anything too large, or people will overfill them and it gets messy. I like the sturdy, wax-lined ones for parties.
- Cutting Board: One large board for prepping all your ingredients. A wooden or plastic board works fine.
- Sharp Knife: A good chef’s knife for cutting cheese and slicing fruit. A paring knife is helpful for smaller details.
- Small Spoon or Tongs: For placing the smaller items like olives and nuts into the cups without making a mess.
- Serving Tray: A large, flat tray or a baking sheet to arrange all the cups on. It makes them easy to pass around or set on the coffee table.
I’ve made these using everything from fancy ceramic ramekins to simple red Solo cups. The paper cups are honestly the best because they’re disposable and you don’t have to worry about your guests dropping a glass. Plus, you can toss them in the recycling when the game is over. No cleanup!
Preparation Method
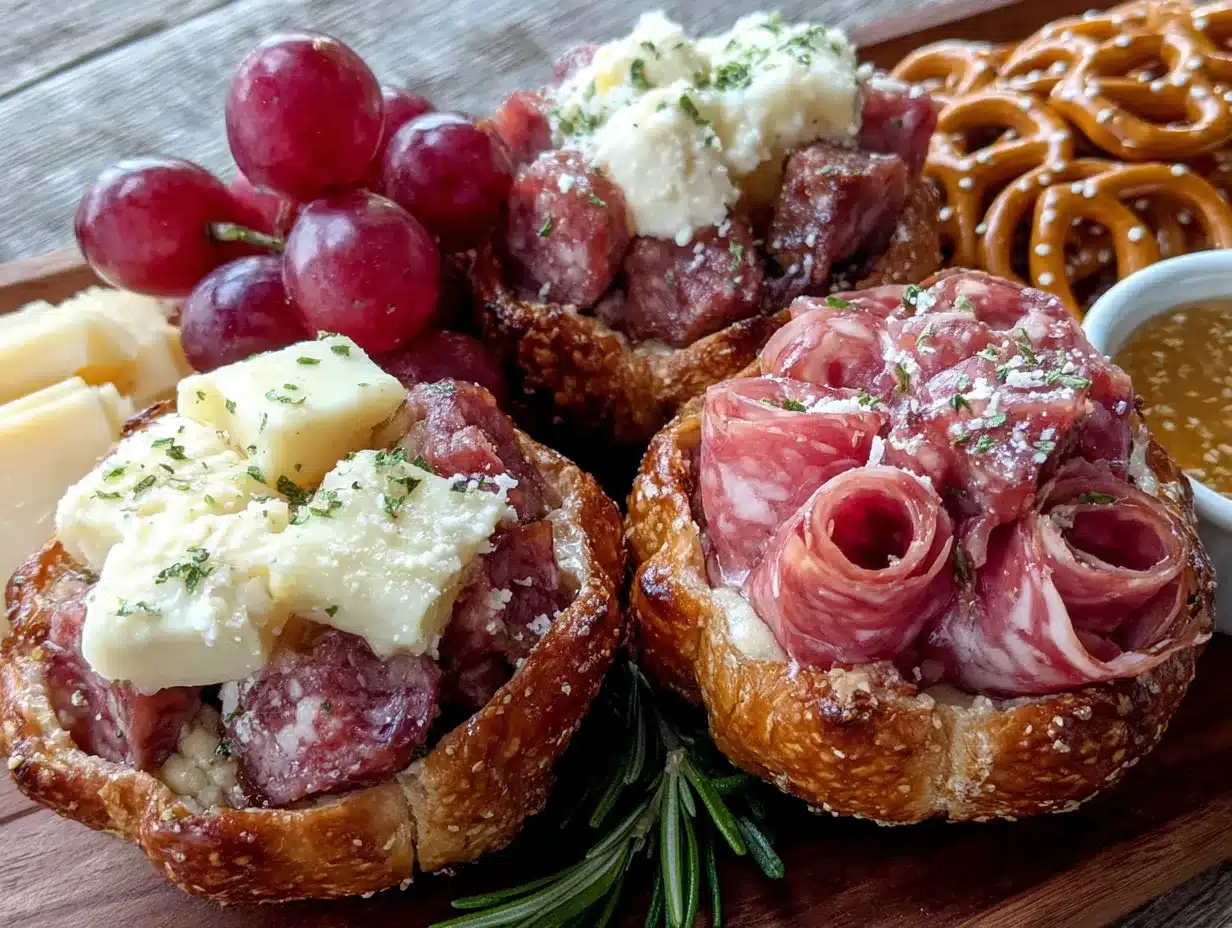
This is the easiest part. No heat, no timers, just a little bit of assembly. It’s a great task to do while you’re catching up with a friend before the game starts. Here’s how to build the perfect cup.
- Prep Your Ingredients: Lay everything out on your cutting board. Slice your cheddar into 1/2-inch cubes. Cut your brie into small wedges (about the size of a poker chip). Halve your grapes if they’re large. Make sure all your pickles, olives, and nuts are ready to go.
- Layer the Foundation: Start with the heartiest items at the bottom of the cup. Drop in a few cubes of cheddar, a wedge of brie, and a slice of salami folded into a little tent. This creates a stable base that won’t shift around. Don’t overfill the bottom—you want room for layers.
- Add the Meat: Fold or roll your prosciutto slices and tuck them in next to the cheese. Add a slice of pepperoni. The goal is to create visual interest—different heights and shapes. Think of it like a little landscape of flavors.
- Add the Fruits & Veggies: Nestle in a few grapes, a cornichon or two, and a couple of olives. These add the juicy, briny pops that cut through the richness of the cheese and meat. They’re the secret to a balanced bite.
- Top with Crunch: Sprinkle a small handful of almonds and a few mini pretzel sticks on top. This is the final textural element. The crunch is what makes it feel like a real snack, not just a plate of appetizers.
- Finish with a Drizzle: If you’re using brie, a tiny drizzle of honey over the top is a game-changer. It adds a touch of sweetness that pairs perfectly with the salty prosciutto. Garnish with a small sprig of rosemary or a few thyme leaves for a pop of green.
- Repeat: Continue building cups until you have enough for your crowd. I usually make 4-6 cups per person if it’s the main snack, or 2-3 if there are other dishes like crispy sheet pan cheeseburger sliders on the table.
Sensory Cues: When you’re layering, listen for the gentle rustle of the prosciutto and the soft thud of the cheese cubes hitting the cup. The colors should be vibrant—deep reds, creamy whites, bright greens. When you’re done, each cup should look like a tiny, edible bouquet.
Cooking Tips & Techniques
I’ve made a lot of these cups, and I’ve learned a few things the hard way. Here are my best tips to make sure your cups are perfect every single time.
- Don’t Overfill: The biggest mistake is stuffing the cup so full that people can’t get their fingers in to grab a piece. Leave about a half-inch of space at the top. It looks more elegant and is much easier to eat from.
- Balance the Bite: Think about what you want in a single mouthful. You want a piece of cheese, a bit of meat, a grape, and a crunch. Make sure each cup has a little of everything so every bite is a complete experience.
- Keep It Cold: If you’re prepping these a few hours ahead, cover the tray with plastic wrap and keep it in the fridge. Take them out about 15 minutes before serving to let the cheese soften slightly. Cold cheese is fine, but room-temperature cheese has way more flavor.
- Use the Right Cup: I once used tiny bathroom cups by accident. They were way too small and everything just fell out. Stick with the 5-ounce size. It’s the Goldilocks of charcuterie cups.
- Prep for the Crowd: If you’re serving a big group, set up a “charcuterie cup bar.” Lay out all the ingredients in bowls and let guests build their own. It’s interactive, fun, and takes all the pressure off you. Plus, it’s a great conversation starter.
I once forgot to dry my grapes after washing them, and they made the bottom of the cups soggy. Now I always pat them dry with a paper towel. A little moisture is fine, but you don’t want a puddle at the bottom. That’s a rookie mistake I won’t make again.
Variations & Adaptations
This recipe is a blank canvas. Here are some of my favorite ways to switch it up, depending on the crowd or the occasion.
- The “Spicy Kick” Cup: Swap the salami for spicy capicola or soppressata. Add a few pickled jalapeño slices and a dollop of hot honey instead of regular honey. It’s perfect for those who like a little heat with their cheese.
- The “Sweet & Savory” Cup: Add a few dried figs or apricots alongside the grapes. A small square of dark chocolate (70% cacao) tucked in next to the brie is an incredible pairing. It’s like a grown-up dessert cup.
- The “Vegetarian” Cup: Skip the meat entirely and double up on the cheese. Add roasted red pepper strips, marinated artichoke hearts, and some fresh basil leaves. A drizzle of balsamic glaze is a fantastic finishing touch.
- The “Kid-Friendly” Cup: Use only cheddar cheese, pepperoni, and pretzels. Add a few baby carrots or cucumber slices for a little veggie crunch. Kids love the “snack pack” feel of having their own cup.
- The “Game Day Brunch” Cup: Swap the meats for slices of smoked salmon and add a dollop of cream cheese mixed with chives. A few capers and a slice of cucumber make it feel like a bagel in a cup. It’s surprisingly good for a late-morning game.
I once made a batch using fresh mini caprese skewers as the base of each cup, with a little basil leaf and a cherry tomato. It was a huge hit and looked stunning. Don’t be afraid to experiment—the best cups come from trying something new.
Serving & Storage Suggestions
These cups are best served fresh, but they’re incredibly forgiving. Here’s how to make them work for your schedule.
Serving: Arrange the cups on a large serving tray or a wooden board. I like to group them by flavor variation so guests can easily pick their favorite. Serve them at room temperature for the best flavor—just take them out of the fridge 15-20 minutes before the game starts. They pair perfectly with a cold beer, a crisp white wine like Sauvignon Blanc, or even a spicy Bloody Mary. For a full spread, set them out alongside a bowl of ultimate loaded slow cooker queso dip for dipping.
Storage: If you have leftovers (which is rare in my house), you can store the cups in the refrigerator for up to 24 hours. Cover the tray tightly with plastic wrap to keep everything from drying out. The pretzels will lose a bit of their crunch, but the flavors will actually meld together beautifully overnight.
Reheating: You don’t need to reheat these. If the cheese has gotten too firm from being in the fridge, just let the cups sit on the counter for 10-15 minutes before serving. The brie will soften up beautifully.
Flavor Development: One thing I love about these cups is that the flavors get better over a few hours. The salt from the meat and olives starts to infuse the cheese, and the grapes release a tiny bit of juice that mingles with everything. They’re actually even more delicious the next day—if you can resist eating them all.
Nutritional Information & Benefits
While these are definitely a treat, they offer some surprising nutritional benefits when built with balance in mind. Here’s the estimated breakdown for one standard cup (without extra variations).
| Nutrient | Amount per Cup |
|---|---|
| Calories | 280-350 |
| Protein | 15-20g |
| Fat | 20-25g |
| Carbohydrates | 10-15g |
| Fiber | 2-3g |
| Sugar | 5-8g (from grapes and honey) |
| Sodium | 600-800mg |
Health Benefits: The cheese and nuts provide a good dose of protein and healthy fats, which help keep you full and satisfied during a long game. Grapes and olives are packed with antioxidants. The prosciutto and salami offer a quick energy boost. If you’re watching your sodium, you can use low-sodium meats and skip the added salt. This recipe is naturally gluten-free if you omit the pretzels, and it’s easy to make dairy-free by using vegan cheeses and nuts.
I love that these cups feel indulgent but are actually pretty balanced. You get a little bit of everything your body needs to power through the fourth quarter—without the sugar crash that comes from a bag of chips.
Conclusion
These Best Mini Football Charcuterie Cups for Game Day are more than just a snack—they’re a solution. They solve the problem of the messy, awkward, shared appetizer platter and replace it with something personal, practical, and genuinely delicious. Whether you’re hosting a Super Bowl party, a tailgate, or just a casual Saturday game with friends, these cups make everyone feel special. They’re the kind of snack that gets people talking—not just about the game, but about how good the food is.
I love them because they remind me of that first chaotic, last-minute party where I had to think on my feet. They turned a stressful moment into a fun, creative one. And now, they’re a staple at every game day gathering I host. I encourage you to make them your own. Swap in your favorite cheeses, try a new meat, add a crazy fruit you’ve never tried before. That’s the beauty of this recipe—it’s built for you to play around with.
So go ahead, grab a cup, and start layering. I promise you’ll never go back to a boring old charcuterie board again. Let me know in the comments what your favorite combination is—I’m always looking for new ideas! And if you loved these, share this post with your fellow game day hosts. Happy snacking!
Frequently Asked Questions
Can I make these cups ahead of time for a party?
Absolutely! You can assemble them up to 24 hours in advance. Just cover the tray tightly with plastic wrap and keep them in the fridge. Let them sit at room temperature for 15 minutes before serving for the best flavor.
What size cups work best for these charcuterie cups?
I recommend 5-ounce or 7-ounce paper or plastic cups. They’re big enough to hold a good variety of items but small enough to keep portions manageable. Avoid anything smaller than 5 ounces, as it gets too cramped.
Can I use different meats or cheeses?
Definitely! This recipe is super flexible. Try spicy capicola, soppressata, or even smoked turkey for a leaner option. For cheese, gouda, goat cheese, or blue cheese crumbles are all fantastic choices.
How do I keep the pretzels from getting soggy?
To keep pretzels crunchy, add them right before serving. If you’re making the cups ahead, store the pretzels in a separate bag and let guests add them at the table. You can also use nuts or crackers instead.
Are these cups suitable for a gluten-free diet?
Yes! Simply omit the pretzels and use gluten-free crackers or extra nuts instead. All the other ingredients—cheese, meats, fruits, and olives—are naturally gluten-free. Just double-check your meat labels to ensure no gluten-based additives are used.
Pin This Recipe!
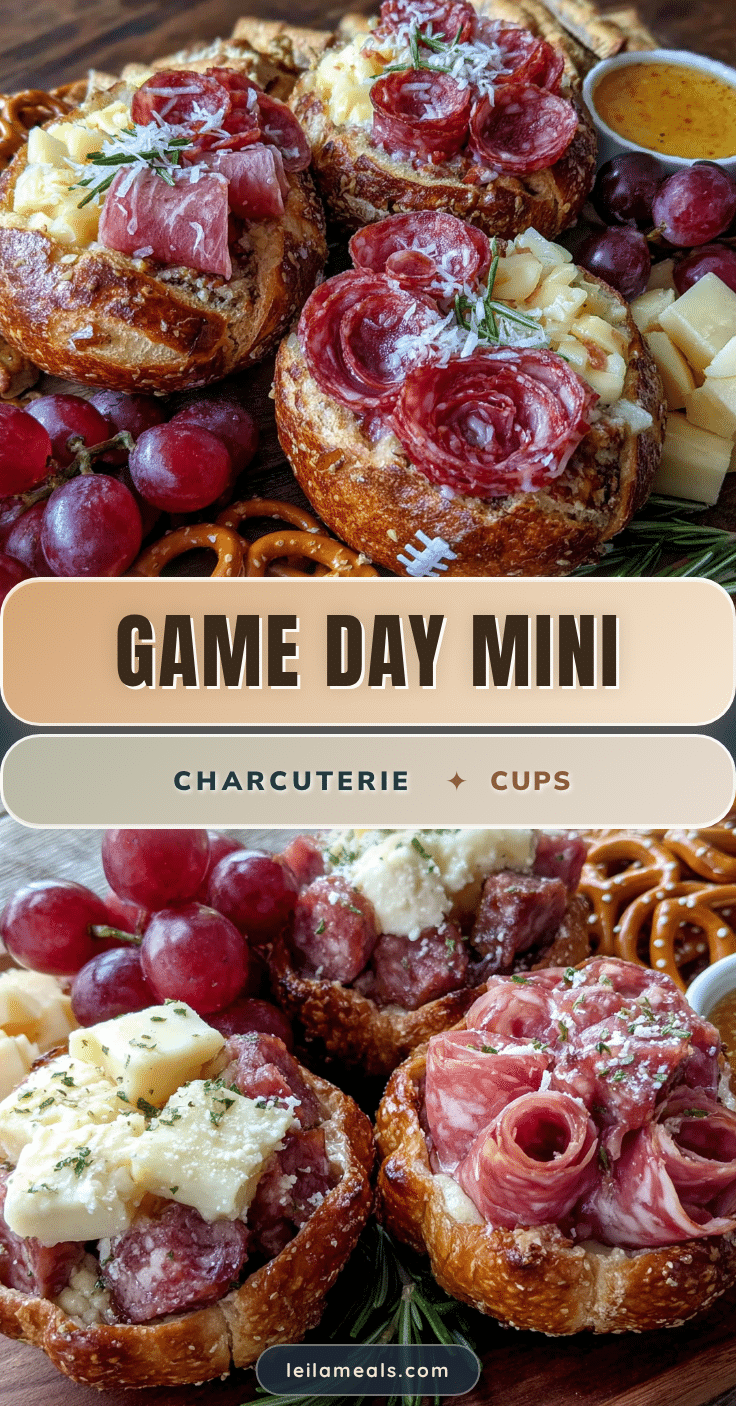
Best Mini Football Charcuterie Cups for Game Day
These mini charcuterie cups are the ultimate game day snack—no sharing, no mess, and endlessly customizable. Each cup is a perfectly portioned, bite-sized snack station that lets everyone focus on the big play.
- Prep Time: 15 minutes
- Cook Time: 0 minutes
- Total Time: 15 minutes
- Yield: 4-6 servings 1x
- Category: Appetizer
- Cuisine: American
Ingredients
- 4–6 slices Genoa salami
- 4–6 slices prosciutto
- 4–6 slices pepperoni
- 4–6 small cubes sharp cheddar (about 1/2 inch each)
- 4–6 small wedges brie (rind on)
- 4–6 small balls fresh mozzarella (ciliegine size)
- 1/2 cup red or green seedless grapes (washed and dried)
- 1/4 cup cornichons or small dill pickles (spears cut in half)
- 1/4 cup kalamata olives or Castelvetrano olives (pitted)
- 1/4 cup Marcona almonds or roasted salted almonds
- 1/4 cup mini pretzel twists or sticks
- 1 tablespoon honey (for drizzling)
- Fresh rosemary sprigs or thyme for garnish (optional)
Instructions
- Prep your ingredients: Lay everything out on your cutting board. Slice cheddar into 1/2-inch cubes. Cut brie into small wedges (about the size of a poker chip). Halve grapes if large. Ensure pickles, olives, and nuts are ready.
- Layer the foundation: Start with the heartiest items at the bottom of the cup. Drop in a few cubes of cheddar, a wedge of brie, and a slice of salami folded into a little tent. Leave room for layers.
- Add the meat: Fold or roll prosciutto slices and tuck them in next to the cheese. Add a slice of pepperoni. Create visual interest with different heights and shapes.
- Add the fruits and veggies: Nestle in a few grapes, a cornichon or two, and a couple of olives. These add juicy, briny pops that cut through the richness.
- Top with crunch: Sprinkle a small handful of almonds and a few mini pretzel sticks on top for the final textural element.
- Finish with a drizzle: If using brie, drizzle a tiny bit of honey over the top. Garnish with a small sprig of rosemary or a few thyme leaves.
- Repeat: Continue building cups until you have enough for your crowd. Make 4-6 cups per person if it’s the main snack, or 2-3 if there are other dishes.
Notes
Don’t overfill cups—leave about half an inch of space at the top. Pat grapes dry after washing to avoid soggy bottoms. For best flavor, let cups sit at room temperature for 15 minutes before serving. Can be assembled up to 24 hours in advance; cover and refrigerate. Add pretzels just before serving to keep them crunchy.
Nutrition
- Serving Size: 1 cup
- Calories: 280350
- Sugar: 58
- Sodium: 600800
- Fat: 2025
- Saturated Fat: 810
- Carbohydrates: 1015
- Fiber: 23
- Protein: 1520
Keywords: charcuterie cups, game day snacks, mini charcuterie, football party appetizers, no-cook appetizers, individual charcuterie, easy party snacks


