This was supposed to be a batch of banana muffins. I had the recipe memorized—my go-to, the one I could make in my sleep. But somewhere between answering a text from my brother and realizing I was out of muffin liners, I just… kept going. I poured the batter into a loaf pan instead, crossed my fingers, and hoped for the best. Honestly, I was already mentally drafting an apology to my coworkers for the weird, flat cake they’d be eating tomorrow.
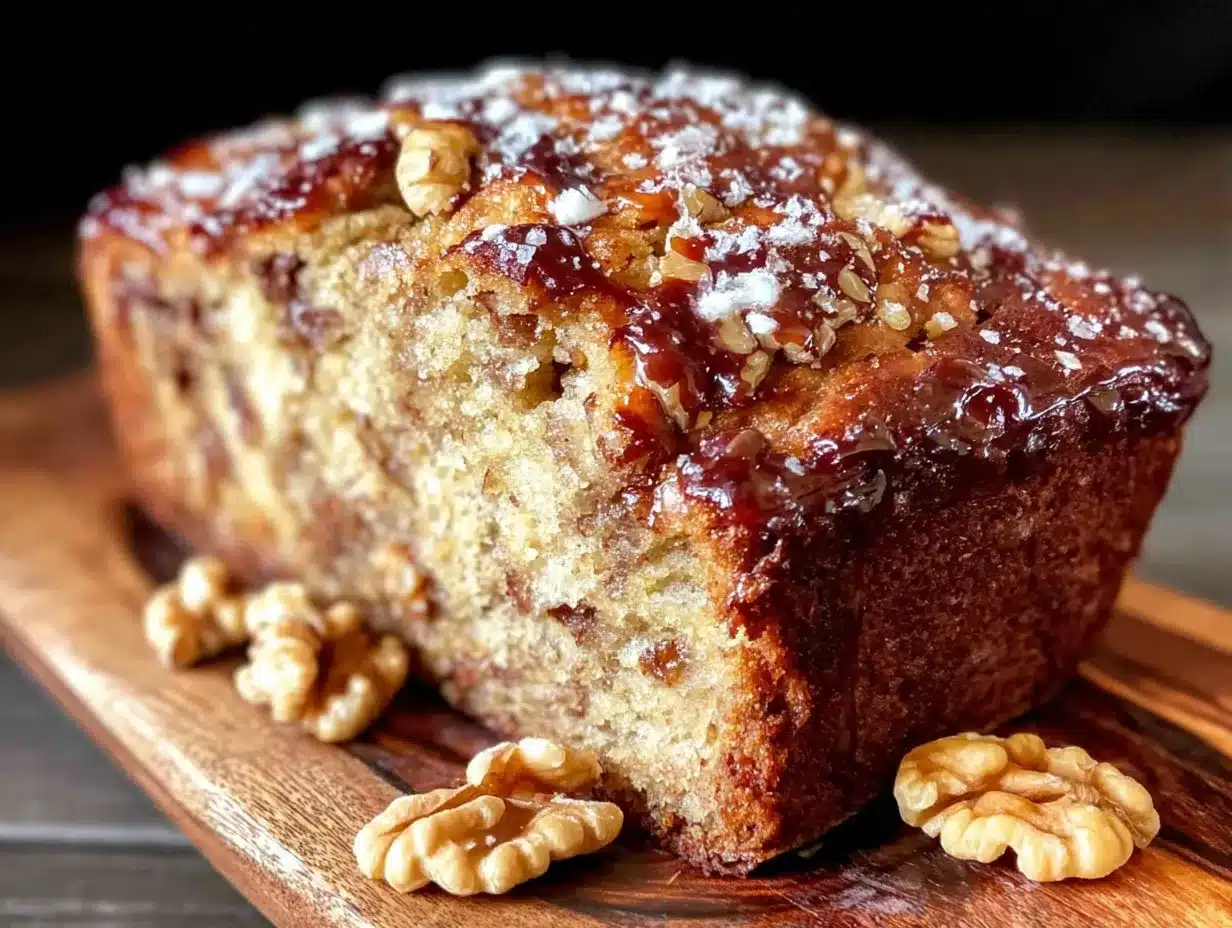
The smell that filled my kitchen was the first hint something had gone right. It was warm, sweet, and deeply comforting in a way that made me stop mid-spoon-licking. When I pulled that loaf out of the oven, it was golden, cracked perfectly down the middle, and smelled like every good thing from my childhood. I let it cool for maybe ten minutes before I cut a slice—okay, maybe five minutes—and that first bite was a revelation. It was denser than a muffin, more tender, with a crust that had this slight, satisfying crunch. I had accidentally made the best banana bread of my life.
That loaf disappeared in two days. My neighbor, Mrs. Gable, who usually just waves from her porch, actually came over to ask what I was baking. My husband, who claims he “doesn’t really like banana bread,” ate half of it standing at the counter. I knew I had stumbled onto something special. Maybe you’ve been there—when a recipe goes off the rails but somehow ends up better than the original plan. This banana bread is that happy accident, and I’ve been making it on purpose ever since.
Why You’ll Love This Recipe
After testing this recipe at least a dozen times (you’re welcome), I can tell you exactly why it works so well for busy weeknights. It’s not just good—it’s the kind of quick bread that makes you close your eyes after the first bite. Here is why this version stands out from the rest:
- Quick & Easy : From start to oven in under 15 minutes. One bowl, a whisk, and a spatula—that’s it.
- Simple Ingredients : No fancy grocery trips. You likely have everything in your kitchen right now, including those sad, spotty bananas on your counter.
- Perfect for Busy Weeknights : Mix it up while dinner is in the oven, and you’ll have breakfast ready for the next three mornings.
- Crowd-Pleaser : My kids, my picky father-in-law, and even my gluten-free friend all ask for this one.
- Unbelievably Delicious : The walnuts add this toasty crunch that makes every bite interesting. It’s comfort food, plain and simple.
What makes this recipe different is the method. I use melted butter instead of softened, which makes the batter come together in seconds and gives the bread a richer, almost buttery flavor throughout. The walnuts get toasted first—a tiny step that makes a huge difference. And I’ve nailed the ratio of bananas to flour so the bread is moist without being gummy. This isn’t just another banana bread recipe. It’s the one you’ll come back to again and again.
What Ingredients You Will Need
This recipe uses simple, wholesome ingredients to deliver that classic banana bread flavor and satisfying texture without any fuss. Most of these are pantry staples, which is exactly what you need on a busy weeknight.
For the Banana Bread
- 3 large ripe bananas, mashed (about 1 1/2 cups) — the riper, the better. Those spotty, almost-black bananas are perfect here. They’re sweeter and softer, which means less sugar needed overall.
- 1/3 cup unsalted butter, melted and slightly cooled (I use Kerrygold for its rich flavor, but any unsalted butter works)
- 3/4 cup granulated sugar — regular white sugar keeps the bread light. You can reduce to 1/2 cup if your bananas are very ripe.
- 1 large egg, at room temperature — this helps everything emulsify smoothly. If you forgot to take it out of the fridge, place it in a bowl of warm water for 5 minutes.
- 1 teaspoon vanilla extract — pure vanilla makes a difference here. Imitation works in a pinch, but the real stuff adds depth.
- 1 1/2 cups all-purpose flour — spoon and level it into your measuring cup. Scooping directly can pack the flour and make the bread dry.
- 1 teaspoon baking soda — make sure it’s fresh. Test it by dropping a pinch into vinegar; if it fizzes, you’re good.
- 1/2 teaspoon salt — fine sea salt or table salt. Don’t skip it—it balances the sweetness.
- 1/2 cup chopped walnuts, toasted — this is non-negotiable for me. Toasting brings out their oils and makes them taste almost buttery.
Optional Add-Ins
- 1/2 cup chocolate chips — semi-sweet or dark, for when you want a treat
- 1 teaspoon cinnamon — adds warmth and pairs beautifully with the walnuts
- 1 tablespoon milk or yogurt — if your bananas aren’t super soft, this adds extra moisture
Equipment Needed
You don’t need much for this recipe, which is part of its beauty. Here’s what you’ll need:
- 9×5-inch loaf pan — a standard size works best. If yours is 8×4, just increase the baking time by 5-10 minutes.
- Large mixing bowl — any bowl will do, but a wide one makes mashing and mixing easier.
- Whisk and rubber spatula — the whisk for the wet ingredients, the spatula for folding in the flour.
- Measuring cups and spoons — dry measuring cups for flour and sugar, liquid measuring cup for the melted butter.
- Fork or potato masher — for mashing those bananas. A fork works perfectly fine.
- Parchment paper — this is my secret to an easy release. Cut a strip long enough to hang over both long sides of the pan.
- Cooling rack — lets the bread cool evenly so the bottom doesn’t get soggy.
I’ve made this with a cheap loaf pan from the dollar store and it still turned out great. The only thing I’d splurge on is a good whisk—it makes mixing effortless.
Preparation Method
Let’s make some banana bread. This whole process takes about 10 minutes of active time, then the oven does the rest. Preheat your oven to 350°F (175°C) first so it’s ready when you are.
- Toast the walnuts. Spread the chopped walnuts on a baking sheet and toast them in the preheating oven for 5-7 minutes, until they smell nutty and are lightly golden. Keep an eye on them—they burn fast. Set them aside to cool while you prepare the batter. This step is worth the extra few minutes, I promise.
- Mash the bananas. In your large mixing bowl, mash the bananas with a fork until they’re mostly smooth with a few small lumps left. You want some texture—completely smooth bananas can make the bread dense. If your bananas are stubbornly under-ripe, microwave them for 30 seconds to soften them up.
- Mix the wet ingredients. Add the melted butter, sugar, egg, and vanilla extract to the mashed bananas. Whisk everything together until it’s well combined and looks a little glossy. Don’t overmix—just until the egg is fully incorporated. The batter will look a bit thin at this point, and that’s exactly right.
- Combine the dry ingredients. In a separate small bowl, whisk together the flour, baking soda, and salt. This step ensures the baking soda is evenly distributed so your bread rises evenly. If you’re adding cinnamon, whisk it in here too.
- Fold it all together. Pour the dry ingredients into the wet ingredients. Use your rubber spatula to fold gently—cut through the center, scrape the bottom, and turn. Stop as soon as you see no more streaks of flour. Overmixing at this stage develops gluten and makes the bread tough. A few lumps are totally fine.
- Add the walnuts. Gently fold in the toasted walnuts (and chocolate chips, if using). Reserve a handful to sprinkle on top for a pretty finish.
- Prepare the pan. Line your loaf pan with a strip of parchment paper, letting it hang over the long sides. This creates handles that make lifting the bread out so easy. Lightly grease the exposed ends with butter or non-stick spray.
- Pour and top. Pour the batter into the prepared pan and spread it into an even layer. Sprinkle the reserved walnuts on top, pressing them in gently so they stick.
- Bake. Place the pan in the center of the oven and bake for 55-65 minutes. The bread is done when a toothpick inserted into the center comes out clean or with just a few moist crumbs. If the top is browning too quickly after 40 minutes, tent it loosely with foil.
- Cool. Let the bread cool in the pan for 10 minutes, then use the parchment handles to lift it out onto a cooling rack. Let it cool completely before slicing—about 1 hour. I know it’s hard to wait, but slicing too early makes it crumbly.
Cooking Tips & Techniques
I’ve made this recipe more times than I can count, and I’ve learned a few things the hard way. Here are my best tips for perfect banana bread every time:
Use really ripe bananas. This is the most important tip. The bananas should be heavily speckled with brown spots, or even mostly black. Green or yellow bananas don’t have enough sugar or moisture, and your bread will be bland and dry. If you’re in a hurry, you can ripen bananas in a 300°F oven for 15-20 minutes until they’re soft and blackened.
Don’t overmix the batter. I know I’ve said this, but it’s worth repeating. Mix just until the flour disappears. Overmixing develops gluten, which gives you tough, rubbery banana bread instead of tender, moist banana bread. A few streaks of flour are better than a tough loaf.
Check for doneness with a thermometer. This is my favorite trick. Banana bread is perfectly done when an instant-read thermometer inserted into the center reads 200-205°F. This takes the guesswork out of the toothpick test.
Let it cool completely. I know it’s tempting to cut into that warm loaf, but patience pays off. The bread continues to set as it cools. Slicing too early can cause it to fall apart or become gummy. If you can wait overnight, the flavors actually meld together and taste even better the next day.
Toast the walnuts. This is not optional. Raw walnuts are fine, but toasted walnuts add a depth of flavor that transforms the whole bread. They stay crunchier too, so every bite has that lovely contrast of soft bread and crunchy nuts.
Variations & Adaptations
This banana bread recipe is incredibly flexible. Here are some of my favorite ways to change it up:
Chocolate Chip Banana Bread. Fold in 1/2 cup of semi-sweet or dark chocolate chips along with the walnuts. The combination of chocolate and banana is classic for a reason. My kids beg for this version every single time.
Gluten-Free Banana Bread. Substitute the all-purpose flour with a 1:1 gluten-free baking flour blend (I like Bob’s Red Mill). Add 1 tablespoon of yogurt or milk to help with moisture, as gluten-free flours can be a bit drying. The texture will be slightly more crumbly but still delicious.
Vegan Banana Bread. Replace the egg with a flax egg (1 tablespoon ground flaxseed mixed with 3 tablespoons water, let sit for 5 minutes). Use melted coconut oil or vegan butter instead of regular butter. The bread will be a bit denser but still incredibly moist and flavorful.
Spiced Banana Bread. Add 1 teaspoon of cinnamon, 1/2 teaspoon of nutmeg, and 1/4 teaspoon of ground ginger to the flour mixture. This version is perfect for fall and pairs beautifully with a cup of hot apple cider or a warm spiced apple cider.
Nut-Free Banana Bread. Simply omit the walnuts or replace them with an equal amount of pepitas (pumpkin seeds) or sunflower seeds for a similar crunch without the allergens.
Streusel-Topped Banana Bread. Mix together 1/4 cup flour, 1/4 cup brown sugar, 2 tablespoons cold butter, and 1/2 teaspoon cinnamon until crumbly. Sprinkle this over the batter before baking for a buttery, crunchy topping that looks gorgeous.
Serving & Storage Suggestions
This banana bread is wonderful on its own, but here are some ways to serve and store it:
Serving. Serve slices at room temperature or slightly warmed. A quick 10-second zap in the microwave brings back that fresh-from-the-oven softness. For a special treat, spread a slice with salted butter or a dollop of Greek yogurt and honey. It’s also fantastic toasted—the edges get crisp while the inside stays tender.
Storage. Wrap the cooled loaf tightly in plastic wrap or aluminum foil and store at room temperature for up to 4 days. The bread actually gets more moist and flavorful on day two. Do not refrigerate—it will dry out the bread faster.
Freezing. This banana bread freezes beautifully. Wrap the whole loaf or individual slices tightly in plastic wrap, then place in a freezer-safe bag or container. Freeze for up to 3 months. To thaw, leave at room temperature for a few hours or microwave individual slices for 30-45 seconds.
Make-Ahead Tip. You can prepare the dry ingredients (flour, baking soda, salt) in a zip-top bag and store it in your pantry. Then when you have ripe bananas, you just need to mash, mix, and bake. This cuts your prep time down to about 5 minutes.
Nutritional Information & Benefits
Here’s the approximate nutritional breakdown per slice (based on 10 slices):
- Calories: 245
- Fat: 11g
- Carbohydrates: 34g
- Fiber: 2g
- Sugar: 17g
- Protein: 4g
This banana bread offers some surprising benefits. Bananas are packed with potassium, which supports heart health and muscle function. Walnuts are rich in omega-3 fatty acids, which are great for brain health. And because this recipe uses melted butter instead of creaming it with sugar, it actually uses less fat than many traditional recipes.
For a lighter option, you can reduce the sugar to 1/2 cup and use whole wheat pastry flour for half the all-purpose flour. The texture will be a bit denser, but you’ll add extra fiber and nutrients. It’s still plenty sweet enough, especially with very ripe bananas.
Conclusion
This banana bread started as a mistake, but it’s become one of my most-requested recipes. It’s the kind of thing you can whip up on a Tuesday night with zero stress, using ingredients you already have, and end up with something that feels special. The walnuts add that perfect crunch, the texture is impossibly moist, and the flavor is pure comfort.
I love that this recipe is forgiving. You can swap ingredients, adjust the sweetness, or add your own mix-ins, and it still turns out great. It’s the kind of recipe that builds confidence in the kitchen, even for beginners. And honestly, there’s nothing better than the smell of banana bread filling your house on a cool evening.
I’d love to hear how yours turns out. Did you add chocolate chips? Try the streusel topping? Make it gluten-free? Drop a comment below and let me know—your adaptations might inspire someone else. And if you’re looking for another quick bread to try, you might enjoy this zucchini bread that uses a similar method. Happy baking!
Frequently Asked Questions
Can I use frozen bananas?
Absolutely. Frozen bananas actually work great in banana bread. Thaw them completely, then drain off any excess liquid before mashing. They’ll be very soft and almost liquid, which makes for an extra-moist bread.
Why did my banana bread sink in the middle?
This usually happens for one of three reasons: the bread was underbaked, the oven temperature was too low, or you opened the oven door too often during baking. Make sure your oven is fully preheated and resist the urge to peek until the last 10 minutes.
Can I make this into muffins instead?
Yes! Grease a 12-cup muffin tin and divide the batter evenly. Bake at 350°F for 18-22 minutes, until a toothpick comes out clean. Muffins will bake faster than a loaf, so start checking at 15 minutes.
How do I know when my bananas are ripe enough?
The peel should be heavily speckled with brown spots or mostly black. The banana should be soft to the touch and smell sweet. If you can mash it easily with a fork, it’s ready. Green or yellow bananas won’t give you the same sweetness or moisture.
Can I skip the walnuts?
Of course. The bread will still be delicious without them. Just leave them out, or swap in chocolate chips, dried fruit, or seeds for a different texture. If you’re baking for someone with a nut allergy, this is a simple fix.
Pin This Recipe!
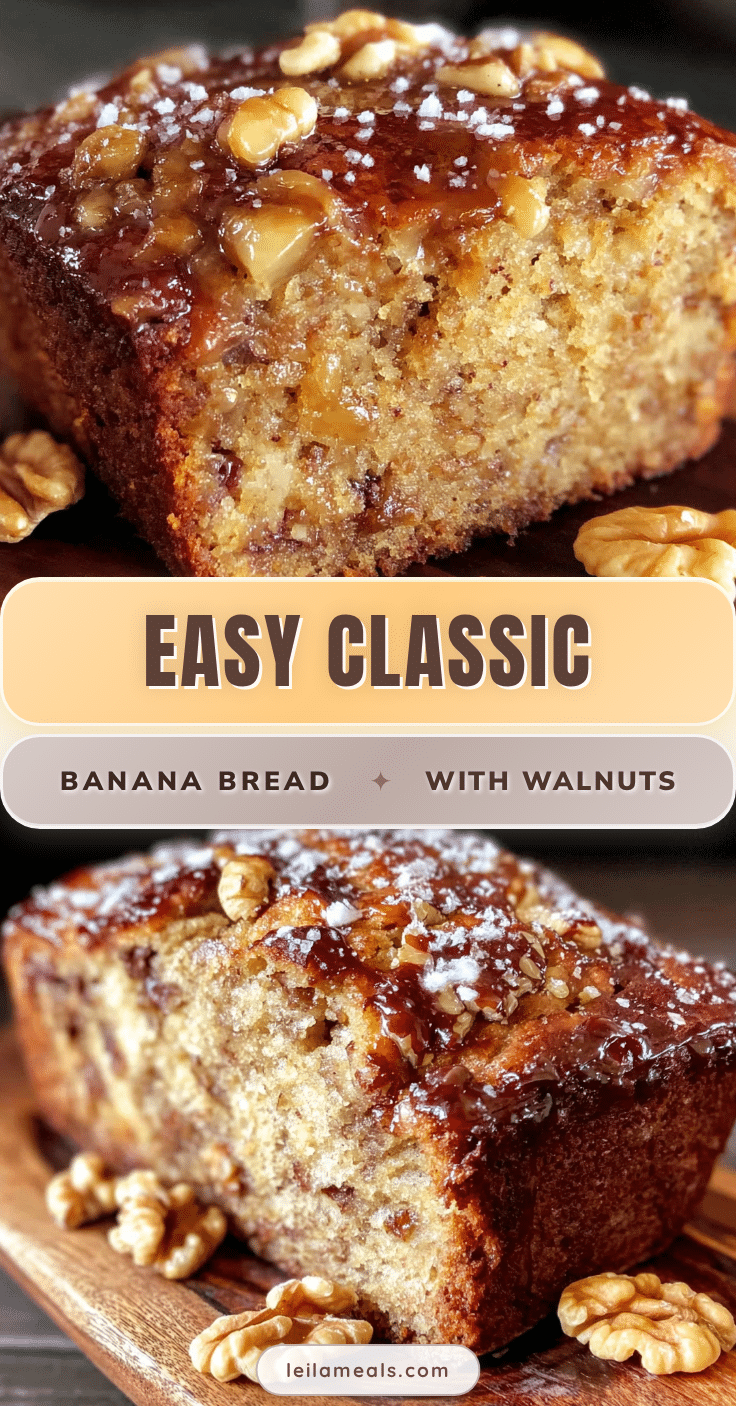
Easy Classic Banana Bread with Walnuts Best Homemade Recipe
This banana bread started as a happy accident and became the most requested recipe. It’s incredibly moist, tender, and packed with toasty walnuts for a perfect crunch in every bite.
- Prep Time: 15 minutes
- Cook Time: 55 minutes
- Total Time: 1 hour 10 minutes
- Yield: 10 servings 1x
- Category: Dessert
- Cuisine: American
Ingredients
- 3 large ripe bananas, mashed (about 1 1/2 cups)
- 1/3 cup unsalted butter, melted and slightly cooled
- 3/4 cup granulated sugar
- 1 large egg, at room temperature
- 1 teaspoon vanilla extract
- 1 1/2 cups all-purpose flour
- 1 teaspoon baking soda
- 1/2 teaspoon salt
- 1/2 cup chopped walnuts, toasted
- 1/2 cup chocolate chips (optional)
- 1 teaspoon cinnamon (optional)
- 1 tablespoon milk or yogurt (optional)
Instructions
- Preheat oven to 350°F (175°C). Toast the walnuts on a baking sheet for 5-7 minutes until fragrant and lightly golden. Set aside to cool.
- In a large mixing bowl, mash the bananas with a fork until mostly smooth with a few small lumps.
- Add melted butter, sugar, egg, and vanilla extract to the mashed bananas. Whisk until well combined and glossy.
- In a separate small bowl, whisk together flour, baking soda, and salt.
- Pour dry ingredients into wet ingredients. Fold gently with a rubber spatula until just combined (a few lumps are fine).
- Gently fold in toasted walnuts (and chocolate chips if using). Reserve a handful for topping.
- Line a 9×5-inch loaf pan with parchment paper, letting it hang over the long sides. Lightly grease exposed ends.
- Pour batter into prepared pan and spread evenly. Sprinkle reserved walnuts on top, pressing gently.
- Bake for 55-65 minutes, until a toothpick inserted in the center comes out clean or with a few moist crumbs. If top browns too quickly, tent with foil after 40 minutes.
- Cool in pan for 10 minutes, then lift out onto a cooling rack. Cool completely before slicing (about 1 hour).
Notes
Use very ripe bananas (heavily speckled or black) for best sweetness and moisture. Do not overmix the batter to avoid tough bread. Let bread cool completely before slicing to prevent crumbling. Bread keeps at room temperature for up to 4 days or freezes for up to 3 months.
Nutrition
- Serving Size: 1 slice
- Calories: 245
- Sugar: 17
- Sodium: 220
- Fat: 11
- Saturated Fat: 4
- Carbohydrates: 34
- Fiber: 2
- Protein: 4
Keywords: banana bread, easy banana bread, classic banana bread, banana walnut bread, homemade banana bread, quick bread