I had been looking for a dessert that actually tasted like the cookie it was named after. Not a whisper of cinnamon, not a vague hint of caramel, but that deep, spiced, almost-burnt-sugar thing that makes Biscoff cookies disappear from the package before you even pour your coffee. Every recipe I tried came close but missed the point—too sweet, too dense, or so complicated I needed a pastry degree just to get through the prep. So I stopped looking and started messing around in my own kitchen one Sunday afternoon when the house was quiet and I had a block of cream cheese that needed using.
The first attempt was fine. Edible. But it wasn’t that flavor—you know the one. The second attempt had too much cookie butter and the texture turned grainy. By the third try, I stopped measuring things exactly and just started tasting as I went, adding a pinch more salt here, a splash of vanilla there, until the spoonful I licked clean made me stop and actually nod. That was it. That was the one. And the best part? No oven, no water bath, no fussing with a springform pan that leaks. Just a few bowls, a whisk, and some patience while it sets in the fridge. Honestly, this is the kind of recipe you make when you want to impress people without letting them know how easy it was.
Why You’ll Love This Recipe
This isn’t just another no-bake cheesecake. It’s the one that makes people close their eyes after the first bite and then ask for the recipe before they’ve even finished their slice. Here’s what makes it different:
- No oven required. Not even for the crust. Everything comes together on the countertop and sets up in the fridge, which means you can make this in the middle of summer without breaking a sweat.
- Simple ingredients. You probably already have cream cheese, heavy cream, and vanilla in your kitchen. The only specialty item is Biscoff cookie butter and the cookies themselves, both of which are easy to find at most grocery stores now.
- Perfect for entertaining. This cheesecake slices cleanly, travels well, and sits pretty on a dessert table next to something like my creamy caramel apple cheesecake dip with toffee bits for a full spread.
- Crowd-pleaser. I’ve brought this to potlucks, family dinners, and casual get-togethers, and it gets devoured every single time. Kids love it, adults love it, and people who claim they don’t like cheesecake somehow end up going back for seconds.
- Make-ahead friendly. You can prep this a full day in advance, which takes so much stress off party day. Just pull it out of the fridge, add the crumble topping, and serve.
The texture is what really sells it though. It’s creamy without being heavy, firm enough to slice but still melts on your tongue. And that cookie crumble on top? It adds just enough crunch to keep every bite interesting. This is comfort food that doesn’t require any special skills, and honestly, that’s my favorite kind of recipe to share.
What Ingredients You Will Need
This recipe uses simple, pantry-friendly ingredients to build layers of flavor and texture without any complicated techniques. Most of these are staples you might already have, and the ones that aren’t are worth keeping on hand once you taste the result.
- Biscoff cookies – 250g (about 2 cups crushed). You’ll need the actual cookies, not just the spread, for the crust. I like the texture better than graham crackers here because they’re already spiced and slightly crisp.
- Unsalted butter – 6 tablespoons (85g), melted. This binds the crust together. If you only have salted butter, just skip adding any extra salt to the crust mixture.
- Biscoff cookie butter – 1 cup (280g). This is the smooth spread, not the crunchy kind. The smooth version blends more evenly into the filling and gives that signature flavor throughout.
- Cream cheese – 16 ounces (450g), softened to room temperature. Full-fat is best here for texture. Low-fat cream cheese can make the filling a bit loose and less creamy.
- Powdered sugar – 1/2 cup (60g). Adds sweetness without grit. Sift it if you want to be extra careful, but honestly, I skip that step and it turns out fine.
- Vanilla extract – 1 teaspoon. Pure vanilla makes a difference, but imitation works in a pinch. I use Nielsen-Massey when I’m feeling fancy.
- Heavy cream – 1 cup (240ml), cold. This gets whipped to stiff peaks and folded into the cream cheese mixture, which gives the cheesecake its light, mousse-like texture.
- Pinch of salt – Just a small one. It balances the sweetness and brings out the spice in the Biscoff.
For the topping, you’ll want an extra handful of crushed Biscoff cookies and maybe a drizzle of melted cookie butter if you’re feeling extra. I always add both because why not.
Equipment Needed
You don’t need much for this recipe, which is part of why I keep coming back to it. Here’s what you’ll want to have on hand:
- 9-inch springform pan – This makes releasing the cheesecake so much easier. If you don’t have one, you can use a deep pie dish, but the slices won’t be as clean.
- Food processor or zip-top bag – For crushing the cookies into fine crumbs. I prefer the food processor because it’s faster and gives a more even texture, but a rolling pin over a sealed bag works just fine.
- Electric hand mixer or stand mixer – You’ll need this for whipping the cream and beating the cream cheese. A whisk and strong arm can work for the cream cheese, but the whipped cream really needs the speed.
- Large mixing bowls – At least two. One for the crust, one for the filling.
- Spatula – For folding the whipped cream into the cream cheese mixture without deflating it.
- Measuring cups and spoons – Standard set. Nothing fancy.
I’ve made this with a cheap hand mixer I bought at a discount store and it worked perfectly. You really don’t need expensive equipment here—just things that get the job done.
Preparation Method
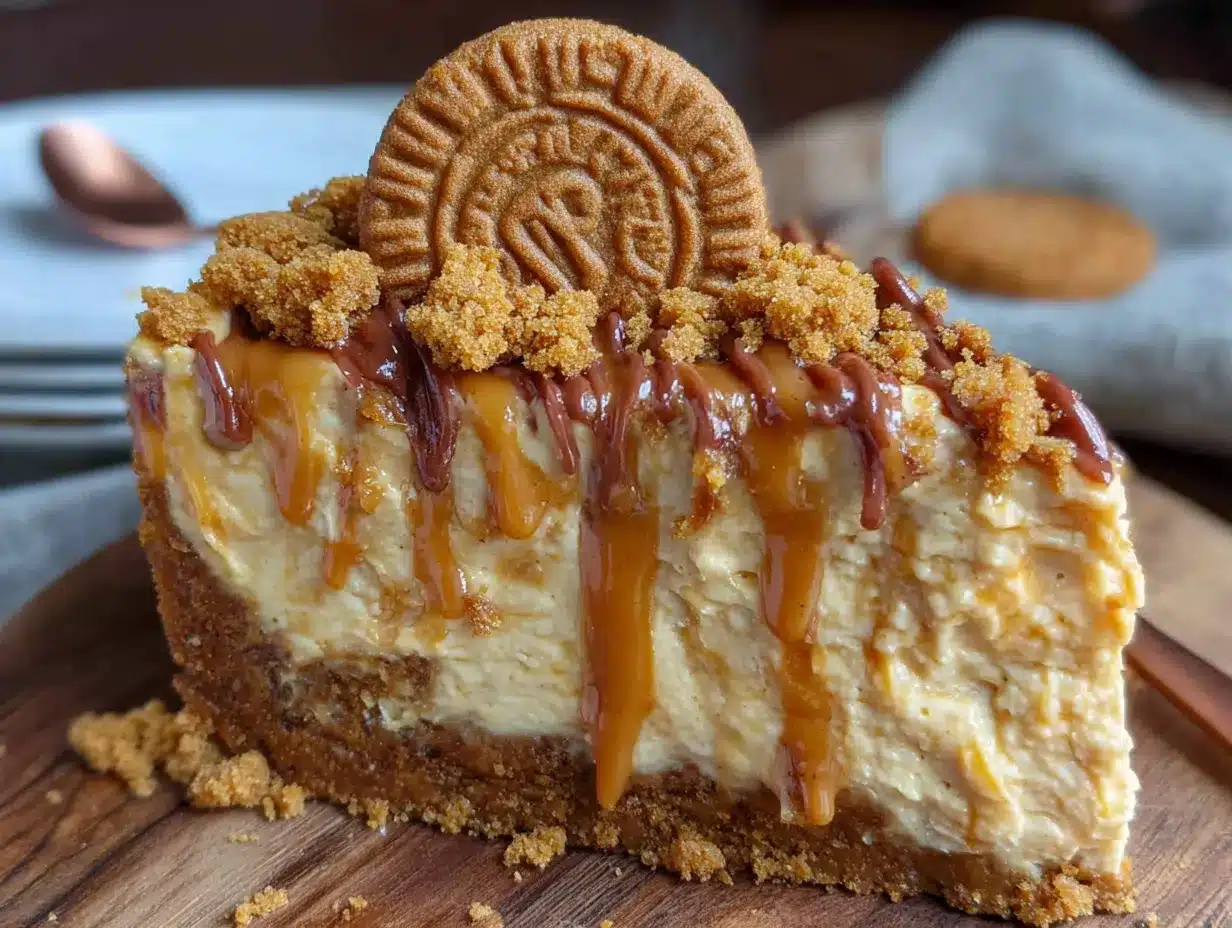
- Make the crust. Crush 250g of Biscoff cookies into fine crumbs using a food processor or a rolling pin. You want them to look like sand with no large chunks. Pour the crumbs into a medium bowl, add 6 tablespoons of melted unsalted butter, and stir until every crumb is coated. Press the mixture firmly into the bottom of a 9-inch springform pan. Use the bottom of a measuring cup to really pack it down—this keeps the crust from crumbling when you slice. Place the pan in the fridge while you make the filling.
- Whip the cream. In a clean, cold bowl, pour 1 cup of cold heavy cream. Beat with an electric mixer on medium-high speed until stiff peaks form. This takes about 3 to 4 minutes. You’ll know it’s ready when you lift the beaters and the cream holds its shape without drooping. Set the bowl aside in the fridge while you work on the cream cheese mixture.
- Beat the cream cheese. In a large bowl, beat 16 ounces of softened cream cheese with an electric mixer on medium speed until smooth and fluffy—about 2 minutes. Scrape down the sides of the bowl with a spatula halfway through. Add 1/2 cup of powdered sugar, 1 teaspoon of vanilla extract, and a pinch of salt. Beat again until combined, about 1 minute more.
- Add the cookie butter. Spoon 1 cup of smooth Biscoff cookie butter into the cream cheese mixture. Beat on low speed until fully incorporated. The mixture will look thick and a little sticky at this point, which is exactly what you want. Scrape the bowl again to make sure everything is even.
- Fold in the whipped cream. Take the whipped cream out of the fridge. Add about a third of it to the cream cheese mixture and fold gently with a spatula until mostly combined. Add the remaining whipped cream and fold until no white streaks remain. Be gentle here—overmixing can deflate the cream and make the cheesecake dense instead of light and creamy.
- Assemble the cheesecake. Pour the filling over the chilled crust and spread it evenly with a spatula. Tap the pan gently on the counter a few times to release any air bubbles. Smooth the top as best you can—it doesn’t need to be perfect because the crumble topping will cover it.
- Chill. Cover the pan with plastic wrap or foil and refrigerate for at least 6 hours, but overnight is better. The longer it sets, the cleaner your slices will be. Don’t rush this step—a warm cheesecake won’t hold its shape.
- Add the topping. Before serving, crush another handful of Biscoff cookies into coarse crumbs (some larger pieces are nice for texture) and sprinkle them over the top. Drizzle with melted cookie butter if you want that extra glossy finish. Run a knife around the edge of the pan, release the springform, and slice with a clean, sharp knife. Wipe the knife between cuts for the prettiest slices.
Cooking Tips & Techniques
I’ve made this cheesecake more times than I can count, and I’ve definitely learned a few things the hard way. Here are the tips I wish someone had told me from the start:
Room temperature cream cheese is non-negotiable. If you try to beat cold cream cheese, you’ll end up with lumps that never quite smooth out. Leave it on the counter for about 30 to 45 minutes before you start. If you’re in a hurry, cut it into small cubes and let them sit for 15 minutes—that helps too.
Don’t overwhip the cream. Stiff peaks are perfect, but if you keep going past that point, the cream will start to separate and turn grainy. Watch closely during the last minute of whipping and stop as soon as the peaks hold firm without flopping over.
Press the crust firmly. A loose crust means crumbly slices. I use the flat bottom of a glass or measuring cup to really compact the crumbs into the pan. It makes a noticeable difference when you’re cutting and serving.
Chill time matters. I know it’s tempting to rush this, especially if you’re craving cheesecake, but 6 hours is the minimum. Overnight is ideal. The filling needs that time to firm up properly, and the flavors actually deepen as it sits. I once served this after only 4 hours and it was still a bit soft in the center—still delicious, but messy.
Use a warm knife for clean slices. Run your knife under hot water, dry it off, then slice. Wipe the blade clean between each cut. This gives you those beautiful, bakery-style slices that make people think you worked way harder than you actually did.
Variations & Adaptations
One of the best things about this recipe is how flexible it is. Here are some variations I’ve tried and loved:
- Gluten-free option. Use gluten-free shortbread or ginger cookies for the crust instead of Biscoff. The texture will be slightly different, but the flavor profile stays similar. Just make sure the cookies you choose are certified gluten-free if that matters to you.
- Chocolate twist. Melt 4 ounces of dark chocolate and swirl it into the filling before adding the whipped cream. You’ll get these beautiful ribbons of chocolate throughout the cheesecake. I did this for a holiday party once and it disappeared faster than the plain version.
- Mini cheesecakes. Instead of a springform pan, use a muffin tin with paper liners. Press the crust into the bottom of each liner, fill with the cheesecake mixture, and chill. These are perfect for parties where people want grab-and-go portions. You’ll get about 12 mini cheesecakes from this recipe.
- Vegan adaptation. Use dairy-free cream cheese (I like the one from Miyoko’s), coconut cream instead of heavy cream, and vegan butter for the crust. The texture won’t be exactly the same—it’ll be a bit softer—but the flavor is still fantastic.
- Extra spice. Add 1/2 teaspoon of cinnamon and a pinch of nutmeg to the filling for a warmer, cozier flavor. This works especially well in the fall, and it pairs beautifully with a slice of cozy small batch pumpkin muffins with maple glaze on the side.
Serving & Storage Suggestions
This cheesecake is best served cold, straight from the fridge. I like to let it sit at room temperature for about 10 minutes before slicing—it takes the edge off the chill without making the filling too soft. A dollop of whipped cream on top never hurts, and a light dusting of cinnamon or cocoa powder adds a nice visual touch.
For drinks, this pairs wonderfully with coffee, especially a strong espresso or a cozy spiced pumpkin chai latte with oat milk. The spiced notes in both the cheesecake and the drink complement each other perfectly. If you’re serving it after dinner, a glass of bourbon or dark rum works surprisingly well too.
Storage: Cover the cheesecake tightly with plastic wrap or store it in an airtight container in the refrigerator. It will keep for up to 5 days, though the crust might soften slightly by day 4. I honestly think it tastes even better on day 2—the flavors have more time to meld together.
Freezing: You can freeze this cheesecake for up to 3 months. Wrap the entire cheesecake (still in the springform pan) in a layer of plastic wrap, then a layer of aluminum foil. Thaw overnight in the refrigerator before serving. Add the crumble topping after thawing, not before, so it stays crunchy.
Nutritional Information & Benefits
Here’s an approximate breakdown per slice (based on 12 servings):
- Calories: 420
- Fat: 30g
- Carbohydrates: 35g
- Protein: 6g
- Sugar: 22g
This is definitely a treat, not an everyday snack, but there are a few bright spots worth mentioning. The cream cheese provides a decent amount of protein and calcium, and the heavy cream adds some vitamin A. The Biscoff cookies are lower in sugar than many other sandwich cookies, which helps keep the overall sweetness balanced. If you’re watching your sugar intake, you can reduce the powdered sugar to 1/4 cup without affecting the texture too much—just know the flavor will be less sweet.
For those with dietary restrictions, this recipe contains dairy and gluten. The gluten-free variation I mentioned earlier works well, and the vegan adaptation is a solid option for dairy-free diets. As always, check your ingredient labels if you’re cooking for someone with specific allergies.
Conclusion
This creamy no-bake Biscoff cheesecake has become my go-to dessert for pretty much any occasion that calls for something special but not stressful. It’s the kind of recipe that makes you look like you spent hours in the kitchen when really, you just whisked a few things together and let the fridge do the work. The combination of that spiced cookie crust, the silky filling, and the crunchy crumble on top is honestly hard to beat.
I love that this recipe leaves room for your own touches—whether you add a chocolate swirl, make it gluten-free, or just pile on extra cookie butter because you can’t help yourself. That’s the beauty of a simple, solid base. You can make it your own without worrying about messing it up.
If you give this a try, I’d love to hear how it turns out. Leave a comment below and let me know if you made any tweaks, or tag me in your photos if you share them online. And if you’re looking for another no-bake dessert to add to your rotation, my easy no-bake pumpkin pie with cream cheese layer is another favorite that always gets rave reviews. Happy baking—or, you know, happy no-baking!
Frequently Asked Questions
Can I use crunchy Biscoff cookie butter instead of smooth?
You can, but the texture of the filling won’t be as smooth. The crunchy pieces can make the cheesecake feel a little grainy. I’d stick with smooth for the filling and save the crunchy version for drizzling on top if you want that extra texture.
How long does this cheesecake need to set in the fridge?
At least 6 hours, but overnight is best. The filling needs time to firm up so you can slice it cleanly. If you’re in a real hurry, 4 hours will work in a pinch, but the slices will be softer and might not hold their shape as well.
Can I make this without a springform pan?
Yes, you can use a deep 9-inch pie dish or even a 9×9 square baking dish. Just note that removing the cheesecake will be trickier. You’ll need to scoop it out like a pie or cut it directly in the dish. The presentation won’t be as polished, but the taste is exactly the same.
Why did my cheesecake turn out too soft?
This usually happens for one of three reasons: the cream cheese wasn’t softened enough, the whipped cream wasn’t stiff enough, or the cheesecake didn’t chill long enough. Make sure your cream cheese is at room temperature, whip the cream to stiff peaks, and give it a full 6 to 8 hours in the fridge.
Can I freeze the leftovers?
Absolutely. Wrap individual slices tightly in plastic wrap and then in foil, and freeze for up to 3 months. Thaw in the fridge overnight. Add fresh crumble topping after thawing so it stays crunchy. I’ve done this many times and the texture holds up beautifully.
Pin This Recipe!
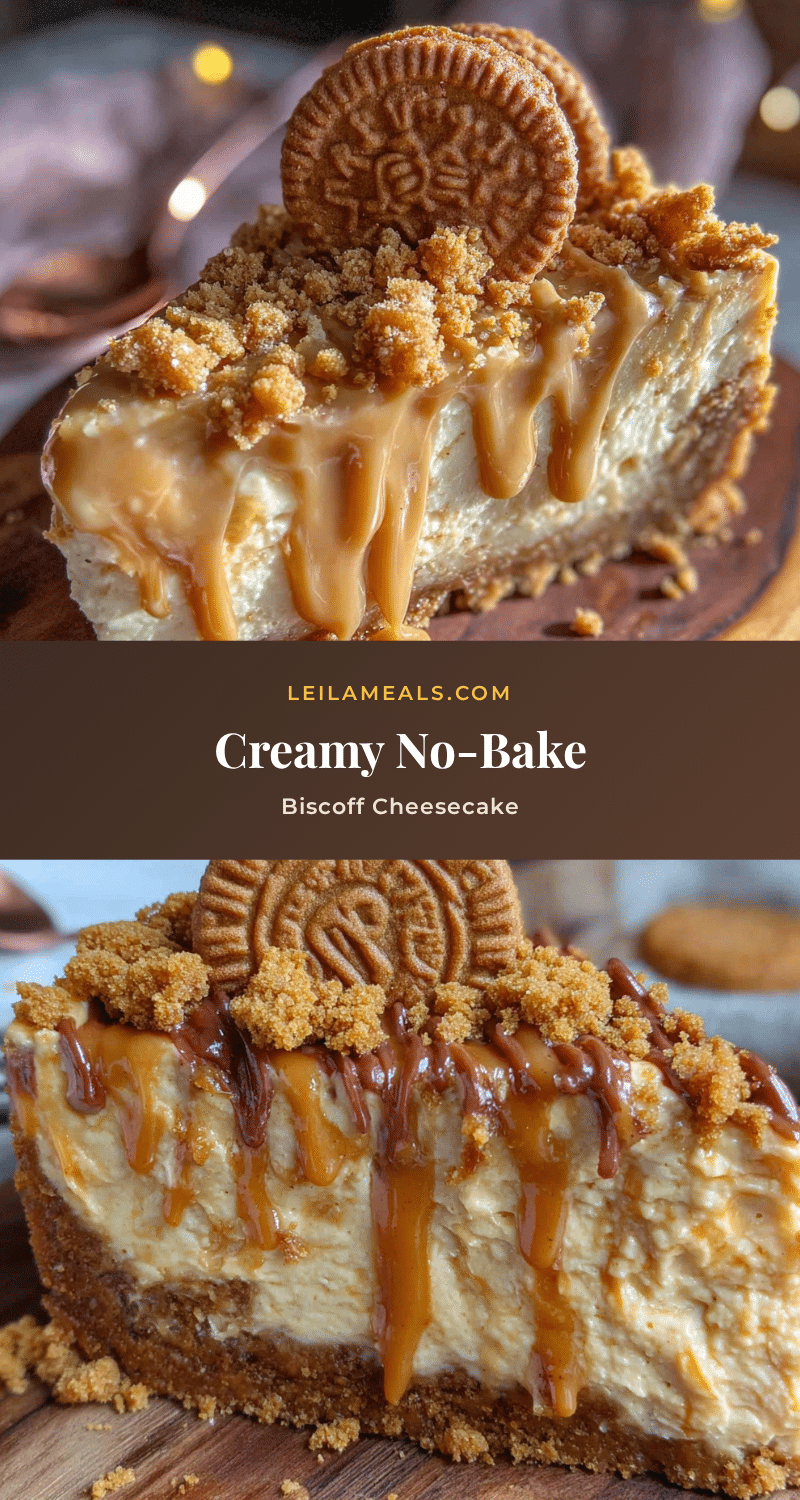
Best Easy No-Bake Biscoff Cheesecake Recipe
This creamy no-bake Biscoff cheesecake features a spiced cookie crust, silky filling, and crunchy crumble topping. It’s an easy, make-ahead dessert that impresses without requiring an oven.
- Prep Time: 20 minutes
- Cook Time: 0 minutes
- Total Time: 6 hours 20 minutes (includes chilling)
- Yield: 12 servings 1x
- Category: Dessert
- Cuisine: American
Ingredients
- 250g (about 2 cups crushed) Biscoff cookies
- 6 tablespoons (85g) unsalted butter, melted
- 1 cup (280g) smooth Biscoff cookie butter
- 16 ounces (450g) cream cheese, softened to room temperature
- 1/2 cup (60g) powdered sugar
- 1 teaspoon vanilla extract
- 1 cup (240ml) cold heavy cream
- Pinch of salt
- Extra crushed Biscoff cookies for topping
- Optional: melted cookie butter for drizzling
Instructions
- Make the crust: Crush 250g of Biscoff cookies into fine crumbs using a food processor or rolling pin. Mix with 6 tablespoons melted unsalted butter until coated. Press firmly into the bottom of a 9-inch springform pan. Refrigerate while making the filling.
- Whip the cream: In a clean, cold bowl, beat 1 cup cold heavy cream with an electric mixer on medium-high until stiff peaks form, about 3-4 minutes. Refrigerate.
- Beat the cream cheese: In a large bowl, beat 16 ounces softened cream cheese on medium speed until smooth and fluffy, about 2 minutes. Add 1/2 cup powdered sugar, 1 teaspoon vanilla extract, and a pinch of salt. Beat until combined, about 1 minute.
- Add the cookie butter: Spoon 1 cup smooth Biscoff cookie butter into the cream cheese mixture. Beat on low until fully incorporated.
- Fold in the whipped cream: Add about one-third of the whipped cream to the cream cheese mixture and fold gently with a spatula. Add the remaining whipped cream and fold until no white streaks remain.
- Assemble the cheesecake: Pour the filling over the chilled crust and spread evenly. Tap the pan gently on the counter to release air bubbles. Smooth the top.
- Chill: Cover with plastic wrap or foil and refrigerate for at least 6 hours, preferably overnight.
- Add the topping: Before serving, crush extra Biscoff cookies into coarse crumbs and sprinkle over the top. Drizzle with melted cookie butter if desired. Run a knife around the edge, release the springform, and slice with a clean, sharp knife.
Notes
Room temperature cream cheese is essential for a smooth filling. Don’t overwhip the cream; stop at stiff peaks. Press the crust firmly for clean slices. Chill for at least 6 hours, preferably overnight. Use a warm knife for clean slices.
Nutrition
- Serving Size: 1 slice
- Calories: 420
- Sugar: 22
- Fat: 30
- Carbohydrates: 35
- Protein: 6
Keywords: no-bake cheesecake, Biscoff cheesecake, cookie butter cheesecake, easy dessert, no-bake dessert, cheesecake recipe


