The faint crumble of oats giving way to a dense, fudgy bite—that’s the whole reason I make these. It’s not about the chocolate or the peanut butter separately, though they’re obviously great. It’s that first press of your teeth into a ball that holds together just enough, then breaks into a soft, almost creamy interior. I was standing in my kitchen, staring at a half-empty jar of peanut butter and a bag of chocolate chips that had seen better days, and I just knew. No mixer, no oven, no patience required. Just a bowl, a spoon, and the quiet satisfaction of making something that actually works.
Honestly, I’ve made versions of this recipe a dozen times—sometimes too dry, sometimes too sticky to roll. But this one? It’s the Goldilocks of protein balls. The texture is that perfect middle ground where everything holds together because you’ve packed in just enough moisture from the peanut butter and a touch of honey. I’m not going to pretend I had a grand plan. I was hungry, I was tired, and I wanted something that tasted like dessert but didn’t require turning on the oven. These Easy No-Bake Chocolate Peanut Butter Protein Balls were born out of pure necessity, and honestly, that’s where the best recipes come from.
There’s something grounding about rolling dough between your palms. It’s a small, repetitive motion that feels almost meditative after a long day. And when you’re done, you have a tray full of little bites that feel like a secret—your own stash of something good that took ten minutes to make. That’s the promise here. Not a complicated project, just a reliable, delicious snack that sticks with you.
Why You’ll Love This Recipe
I’ve tested this recipe about five times to get the texture just right. Not too crumbly, not too sticky—just that satisfying, fudgy bite that makes you forget you’re eating something healthy. Here’s why these protein balls work so well:
- Quick & Easy: From start to finish, you’re looking at about 15 minutes of active time. No baking, no waiting for anything to cool. Just mix, roll, and eat (or stash in the fridge for later).
- Simple Ingredients: You probably have everything in your pantry right now. Oats, peanut butter, chocolate chips, honey, and a scoop of protein powder. That’s it. No weird ingredients you have to hunt down at a specialty store.
- Perfect for Busy Days: Whether you need a pre-workout boost, a mid-afternoon pick-me-up, or a quick breakfast when you’re running late, these balls are ready to go. I keep a batch in my fridge at all times for those “hangry” moments.
- Crowd-Pleaser: I brought these to a potluck once, and they were gone in ten minutes. Kids love them, adults love them, and no one believes they’re actually good for you.
- No-Bake Convenience: This is the kind of recipe you can make with your kids or when you’re too tired to deal with a hot oven. It’s forgiving, flexible, and almost impossible to mess up.
What makes this version different from the dozens of other energy ball recipes out there? It’s the ratio. I spent a few batches figuring out the perfect balance of wet to dry ingredients so the balls don’t fall apart or feel greasy. The chocolate chips add little pockets of melty goodness, and the protein powder gives them staying power without making them taste chalky. This isn’t just another healthy snack—it’s the one that actually satisfies a sweet tooth.
I remember the first time I made these, I was skeptical. I thought, “How good can a no-bake ball really be?” But then I took a bite, and I actually closed my eyes. It was that moment of unexpected joy—when something simple surprises you with how good it is. That’s what I want you to experience.
What Ingredients You Will Need
This recipe uses simple, wholesome ingredients that come together to create a snack that’s both satisfying and nourishing. Most of these are pantry staples, which makes this recipe perfect for those days when you need something quick and don’t want to run to the store.
- Rolled Oats (1 cup / 100g): I prefer old-fashioned rolled oats for texture. They give the balls a bit of chewiness. Quick oats work too, but they’ll make the texture a little softer. If you’re gluten-sensitive, make sure to grab certified gluten-free oats.
- Creamy Peanut Butter (1/2 cup / 130g): The binding hero of this recipe. I use natural peanut butter (just peanuts and salt) because it has a better consistency and isn’t loaded with added sugar. If your peanut butter is super thick and dry, you might need to add a teaspoon of water or oil to help everything stick.
- Honey or Maple Syrup (1/4 cup / 85g): This adds sweetness and helps bind everything together. Honey gives a slightly floral sweetness, while maple syrup adds a warmer, caramel-like note. Both work great—use what you have.
- Chocolate Protein Powder (1/3 cup / 30g): This is where the protein boost comes from. I like using a chocolate whey or plant-based protein powder. If your protein powder is unsweetened, you might want to add an extra tablespoon of honey. Vanilla protein powder also works if that’s what you have on hand.
- Mini Chocolate Chips (1/3 cup / 60g): For those little pockets of melted chocolate in every bite. I use semi-sweet mini chips because they distribute evenly. Dark chocolate chips also work if you prefer a less sweet option.
- Flaxseed Meal (2 tablespoons / 14g): This is optional but highly recommended. It adds a subtle nutty flavor, extra fiber, and helps with binding. You can skip it or substitute with chia seeds if you prefer.
- Pinch of Sea Salt: Just a small pinch to balance the sweetness and enhance the chocolate and peanut butter flavors. Don’t skip this—it makes a difference.
- Vanilla Extract (1 teaspoon): A little vanilla goes a long way in rounding out the flavors. It adds warmth and depth to the overall taste.
I recommend using a peanut butter you actually enjoy eating on its own, because the flavor really comes through. My go-to is a brand with just peanuts and salt—no added oils or sugars. If you’re using a sweetened peanut butter, you might want to reduce the honey slightly to avoid making the balls too sweet.
For the chocolate chips, I’m partial to Enjoy Life mini chips because they’re allergy-friendly and melt beautifully. But any brand you like will work. Just make sure they’re mini chips—regular-sized chips tend to fall out of the balls when you roll them.
Equipment Needed
You don’t need a fancy kitchen to make these protein balls. In fact, you probably already have everything you need:
- Large Mixing Bowl: Any bowl you have will work. I prefer a wide, shallow bowl because it makes mixing easier.
- Wooden Spoon or Rubber Spatula: For combining all the ingredients. A rubber spatula is great for scraping the sides and making sure everything is evenly mixed.
- Measuring Cups and Spoons: Accurate measurements matter here, especially for the peanut butter and honey. If you’re using a sticky ingredient like honey, spray your measuring spoon with a little cooking oil first—it slides right off.
- Baking Sheet or Plate: To hold the rolled balls while you shape them. Line it with parchment paper for easy cleanup.
- Cookie Scoop (optional): If you want perfectly uniform balls, a small cookie scoop (about 1 tablespoon) is a game-changer. I use mine all the time for this recipe.
- Small Bowl of Water: Keep a small bowl of water nearby. Wetting your hands slightly before rolling prevents the mixture from sticking to your palms. It’s a simple trick that makes the process so much smoother.
Honestly, you could make this recipe with just a bowl and a spoon. I’ve done it in a hotel room once (don’t ask). The only “special” tool that makes a difference is the cookie scoop, and even that’s optional. If you don’t have one, just use a regular spoon and estimate the portions—they don’t have to be perfect.
Preparation Method
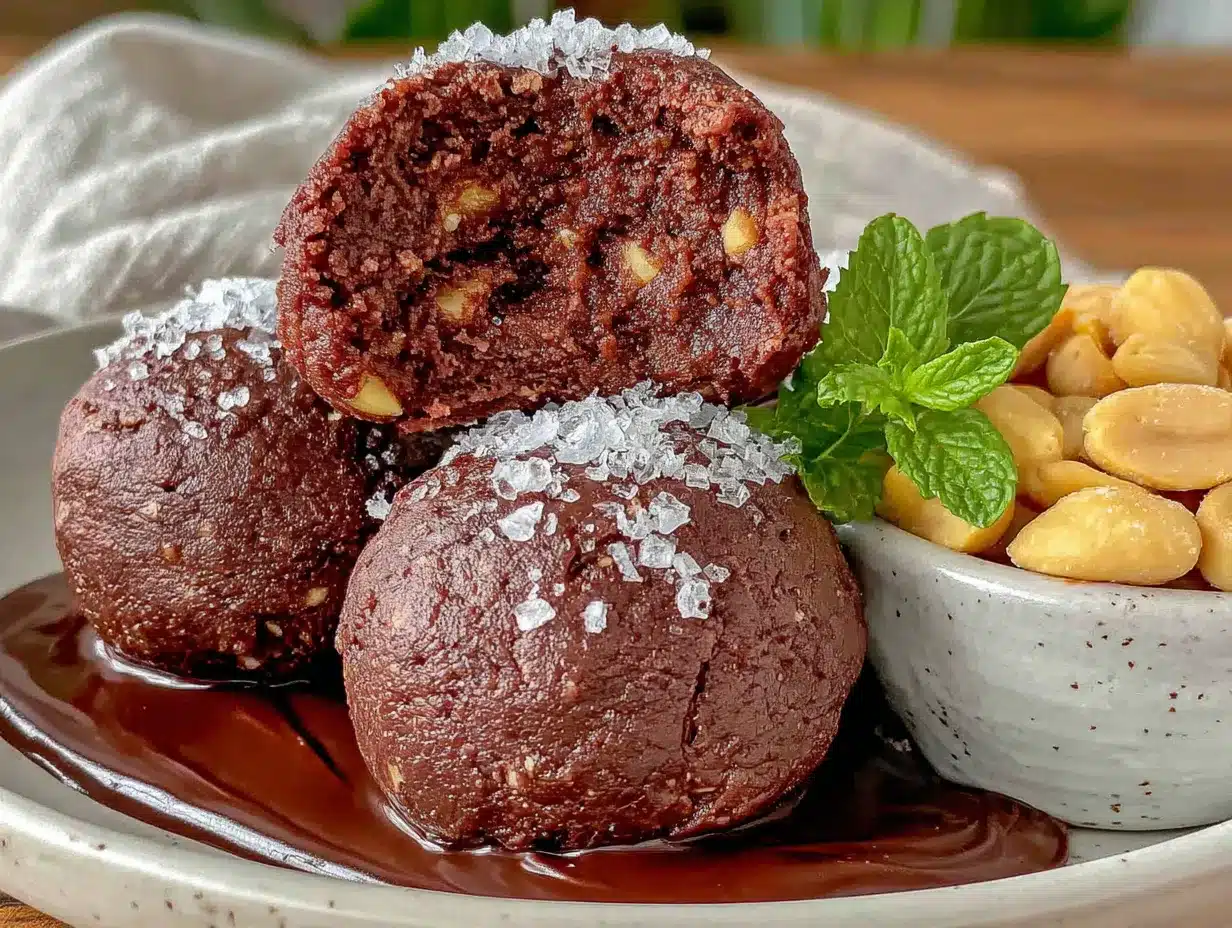
Making these Easy No-Bake Chocolate Peanut Butter Protein Balls is almost too simple. But don’t let the simplicity fool you—the technique matters. Here’s how to do it right.
- Combine the dry ingredients: In a large mixing bowl, add the rolled oats, chocolate protein powder, flaxseed meal (if using), and a pinch of sea salt. Whisk them together with a fork to break up any clumps. This step ensures the protein powder is evenly distributed so you don’t end up with a chalky pocket in one ball.
- Add the wet ingredients: Spoon the creamy peanut butter and honey (or maple syrup) into the bowl. Add the vanilla extract. At this point, the mixture will look dry and crumbly—don’t panic. That’s normal.
- Mix thoroughly: Use a rubber spatula or wooden spoon to fold everything together. Start by pressing the mixture against the sides of the bowl to incorporate the peanut butter. Keep mixing until no dry patches remain. The mixture should hold together when you squeeze a bit between your fingers. If it feels too dry, add a teaspoon of water or a tiny splash of milk and mix again.
- Fold in the chocolate chips: Add the mini chocolate chips and fold them in gently. Make sure they’re evenly distributed throughout the dough. You want chocolate in every bite, not just in a few balls.
- Chill the mixture (optional but recommended): Pop the bowl into the refrigerator for 15-20 minutes. This firms up the peanut butter and makes the dough easier to handle. If you’re in a rush, you can skip this step—just know the dough will be a bit stickier.
- Roll into balls: Lightly wet your hands with a little water (this is key—it prevents sticking). Scoop out about 1 tablespoon of the mixture and roll it between your palms to form a smooth ball. Place it on a parchment-lined baking sheet or plate. Repeat with the remaining mixture. You should get about 12-14 balls, depending on how big you roll them.
- Final chill: Place the baking sheet in the refrigerator for at least 30 minutes to let the balls set. This step is important—it helps them hold their shape. If you can wait an hour, even better.
- Store and enjoy: Transfer the protein balls to an airtight container. Keep them in the fridge for up to a week, or in the freezer for up to three months (if they last that long).
One thing I learned the hard way: don’t overmix. Once everything is combined, stop. Overworking the dough can make the balls dense and tough. You want them tender and fudgy, not like hockey pucks.
The first time I made these, I skipped the chilling step and ended up with misshapen, sticky blobs. They still tasted great, but they looked like a toddler made them. Chilling the dough makes a world of difference for presentation, especially if you’re making these for a gathering.
Cooking Tips & Techniques
I’ve made my fair share of mistakes with energy balls, and I’m happy to share them so you don’t have to repeat them. Here are some tips I’ve picked up along the way:
Texture troubleshooting: If your mixture feels too dry and crumbly, it’s usually because your peanut butter is too thick or your protein powder is particularly absorbent. Add a teaspoon of honey or a splash of milk (dairy or plant-based) and mix again. If it feels too sticky, add a tablespoon of oats or a bit more protein powder. The goal is a dough that holds together when squeezed but isn’t wet.
Wet hands are your friend: I cannot stress this enough. Rolling protein balls with dry hands is a recipe for frustration. The mixture will stick to your palms, and you’ll end up with a sticky mess. Keep a small bowl of water nearby and dip your fingers in before rolling each ball. It makes the process smooth and almost meditative.
Use a cookie scoop for consistency: If you want all your balls to be the same size (which helps with even storage and portion control), use a small cookie scoop. I use a 1-tablespoon scoop, and it gives me perfectly uniform balls every time. No guesswork, no uneven sizes.
Don’t skip the salt: A pinch of sea salt might seem insignificant, but it’s the secret to making the flavors pop. It balances the sweetness of the honey and chocolate and enhances the nuttiness of the peanut butter. Trust me on this one.
Let them set properly: I know you’re going to want to eat one immediately (I do too), but letting them chill in the fridge for at least 30 minutes makes a huge difference. The texture firms up, the flavors meld together, and they become much easier to handle. If you eat them right away, they’ll be softer and more crumbly.
I once made a batch where I forgot the vanilla extract, and they were noticeably flat. Vanilla might seem like a minor player, but it adds a warmth that rounds out the other flavors. Don’t skip it.
Variations & Adaptations
One of the best things about this recipe is how adaptable it is. Here are some variations I’ve tried and loved:
Nut-Free Version: Swap the peanut butter for sunflower seed butter or tahini. Sunflower seed butter has a similar creamy texture, though the color will turn a slightly greenish hue (don’t worry—it’s a natural reaction with the baking soda in some protein powders). If using tahini, add an extra tablespoon of honey to balance its slight bitterness.
Gluten-Free Option: Use certified gluten-free rolled oats. That’s the only change you need to make. Everything else is naturally gluten-free.
Vegan Version: Replace the honey with maple syrup or agave nectar. Make sure your chocolate chips are dairy-free (most dark chocolate chips are). If using a plant-based protein powder, check that it’s vegan-friendly.
Extra Protein Boost: Add a tablespoon of chia seeds or hemp hearts along with the flaxseed meal. These little seeds are packed with protein, fiber, and omega-3s. They also add a nice subtle crunch.
Flavor Twists: Try adding a tablespoon of cocoa powder for a double-chocolate version. Or swap the chocolate chips for white chocolate chips and dried cranberries for a more festive flavor. I once made a batch with a pinch of cinnamon and a dash of cayenne pepper—spicy chocolate peanut butter balls that were surprisingly addictive.
Lower Sugar Option: Use unsweetened protein powder and reduce the honey to 2 tablespoons. The chocolate chips will still provide some sweetness. You can also use sugar-free chocolate chips if you prefer.
I tried a version with crunchy peanut butter once, and while it added texture, the balls didn’t hold together as well. Stick with creamy peanut butter for best results. That’s a lesson I learned the hard way.
Serving & Storage Suggestions
These protein balls are incredibly versatile when it comes to serving. Here’s how I enjoy them:
Serving temperature: I like them straight from the fridge—they’re firm, fudgy, and satisfying. If you prefer a softer texture, let them sit at room temperature for 5-10 minutes before eating. For a real treat, pop one in the microwave for 10 seconds. The chocolate chips get melty, and it feels like you’re eating a warm cookie.
Perfect for meal prep: I make a double batch on Sunday and keep them in the fridge for the week. They’re my go-to for a quick breakfast on busy mornings, a pre-workout snack, or a mid-afternoon energy boost. Grab one, and you’re good to go.
Pairing suggestions: These balls pair beautifully with a cup of coffee or a glass of cold milk. If you’re feeling fancy, crumble one over a bowl of Greek yogurt with some fresh berries for a quick parfait. They also work great alongside a creamy iced brown sugar oat milk shaken espresso for a satisfying afternoon pick-me-up.
Storage: Store the protein balls in an airtight container in the refrigerator for up to 7 days. They also freeze beautifully—just place them in a single layer on a baking sheet, freeze for an hour, then transfer to a freezer-safe bag or container. They’ll keep for up to 3 months. Thaw in the fridge overnight or at room temperature for 15 minutes.
Packing for on-the-go: If you’re taking them to work or on a road trip, pack them in a small container with a piece of parchment paper between layers to prevent sticking. They hold up well at room temperature for a few hours, so they’re perfect for lunchboxes or hiking snacks.
One thing I love about these balls is that the flavors actually get better after a day in the fridge. The oats soften slightly, the peanut butter and honey meld together, and the chocolate chips firm up. They’re good on day one, but they’re amazing on day three.
Nutritional Information & Benefits
Here’s a rough estimate of the nutritional values per ball (based on 12 balls):
- Calories: ~180
- Protein: 8g
- Carbohydrates: 20g
- Fiber: 3g
- Sugar: 10g
- Fat: 9g
These numbers will vary depending on the specific brands you use, especially your protein powder and peanut butter. If you’re using a lower-calorie protein powder, the numbers will be slightly different.
Health benefits: These little balls pack a surprising nutritional punch. The oats provide complex carbohydrates for sustained energy, while the peanut butter offers healthy fats and protein to keep you full. The flaxseed meal adds a dose of omega-3 fatty acids and fiber, which supports digestive health. The chocolate chips? Well, they’re good for the soul. Dark chocolate, in particular, is rich in antioxidants.
Dietary considerations: This recipe is naturally vegetarian and can easily be made vegan, gluten-free, and dairy-free with simple substitutions. It’s also nut-free if you use sunflower seed butter. Just be mindful of your protein powder—some contain whey (dairy) or other allergens.
I’m not a nutritionist, but I’ve found that having one of these balls before a workout gives me steady energy without the crash you get from sugary snacks. They’re not a meal replacement, but they’re a fantastic, balanced snack that actually satisfies.
Conclusion
These Easy No-Bake Chocolate Peanut Butter Protein Balls have become a staple in my kitchen for a reason. They’re simple, forgiving, and genuinely delicious. No fuss, no fancy equipment, and no oven required. Just a bowl, a spoon, and ten minutes of your time. The texture is that perfect fudgy bite, the flavor is rich and satisfying, and the protein keeps you going when the afternoon slump hits.
What I love most about this recipe is how adaptable it is. You can tweak it based on what you have in your pantry, make it fit your dietary needs, or just enjoy it as-is. It’s the kind of recipe that feels like a win every single time. I’ve made it for busy weeks, for road trips, for after-school snacks, and for those moments when I just need something sweet that won’t derail my day.
Now I want to hear from you. Did you try these protein balls? Did you add your own twist? Drop a comment below and let me know how they turned out. And if you loved them, share this recipe with a friend who needs a quick, healthy snack in their life. Trust me—they’ll thank you later.
Frequently Asked Questions
Can I use quick oats instead of rolled oats?
Yes, you can. Quick oats will give the balls a softer, more uniform texture. They absorb moisture a bit faster, so you might need to add an extra teaspoon of liquid if the mixture feels dry. Rolled oats give a chewier texture, which I prefer, but both work fine.
How long do these protein balls last in the fridge?
They stay fresh in an airtight container in the refrigerator for up to 7 days. In my experience, they’re best within the first 5 days. After that, they start to dry out slightly. If that happens, you can warm one in the microwave for 10 seconds to soften it up.
Can I freeze these protein balls?
Absolutely. Place them in a single layer on a baking sheet and freeze for about an hour. Then transfer them to a freezer-safe bag or container. They’ll keep for up to 3 months. Thaw them in the fridge overnight or let them sit at room temperature for 15 minutes before eating.
My mixture is too dry and crumbly. What did I do wrong?
This usually happens if your peanut butter is too thick or your protein powder is very absorbent. Don’t worry—it’s fixable. Add a teaspoon of honey or a splash of milk (dairy or plant-based) and mix again. You can also add a teaspoon of coconut oil or melted butter for extra moisture. The mixture should hold together when squeezed.
Can I make these without protein powder?
Yes, you can. If you omit the protein powder, add an extra 1/4 cup of rolled oats to maintain the right texture. The protein content will be lower, but they’ll still be delicious and satisfying. You might also want to add a tablespoon of flaxseed meal or chia seeds for extra binding and nutrition.
Pin This Recipe!
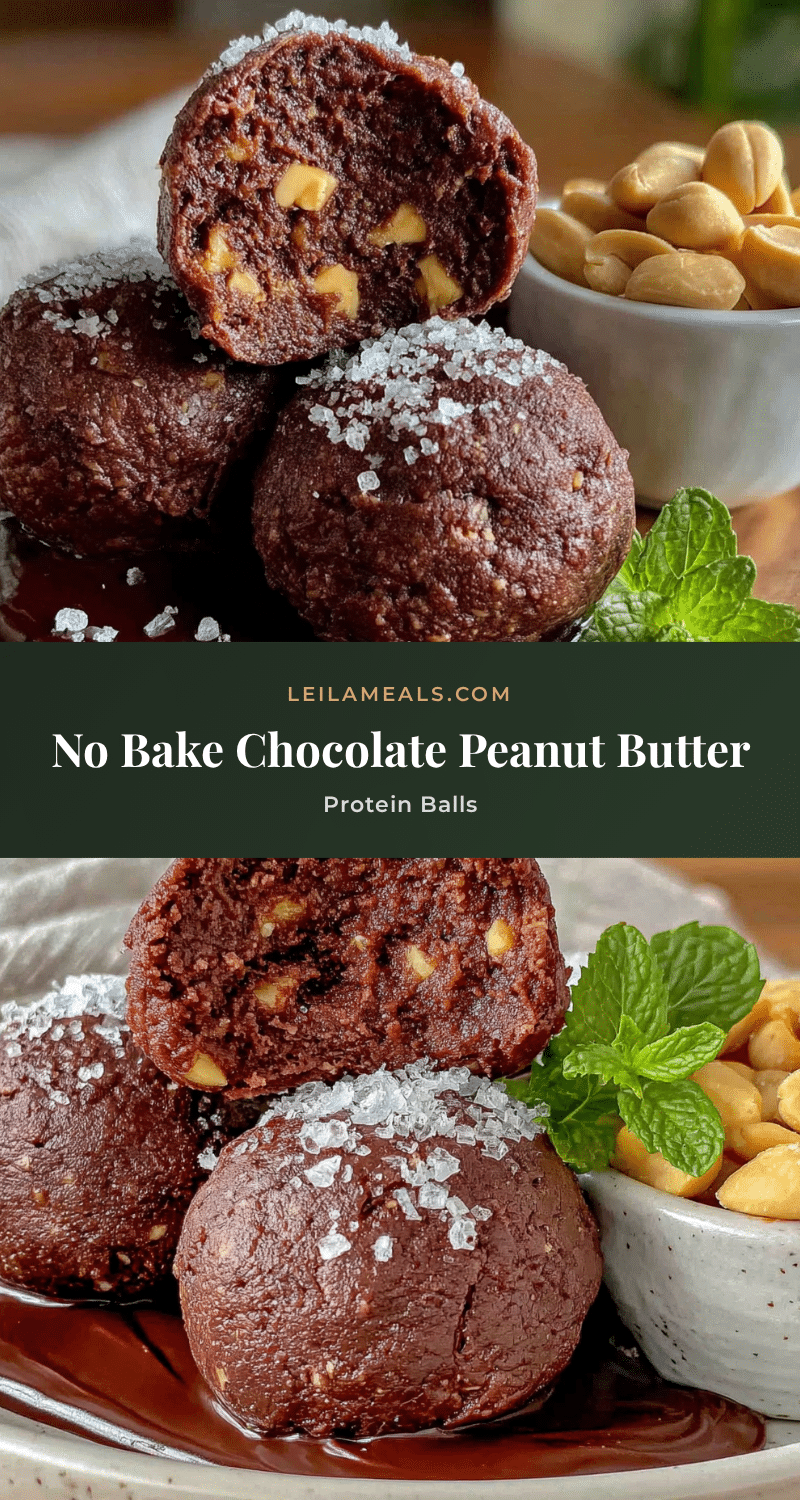
Easy No-Bake Chocolate Peanut Butter Protein Balls

These no-bake chocolate peanut butter protein balls are the perfect quick and easy snack. Made with simple pantry ingredients, they are fudgy, satisfying, and packed with protein for a healthy energy boost.
- Prep Time: 15 minutes
- Cook Time: 0 minutes
- Total Time: 45 minutes (includes chilling time)
- Yield: 12-14 balls 1x
- Category: Snack
- Cuisine: American
Ingredients
- 1 cup (100g) rolled oats
- 1/2 cup (130g) creamy peanut butter
- 1/4 cup (85g) honey or maple syrup
- 1/3 cup (30g) chocolate protein powder
- 1/3 cup (60g) mini chocolate chips
- 2 tablespoons (14g) flaxseed meal (optional)
- Pinch of sea salt
- 1 teaspoon vanilla extract
Instructions
- In a large mixing bowl, combine the rolled oats, chocolate protein powder, flaxseed meal (if using), and a pinch of sea salt. Whisk together to break up any clumps.
- Add the creamy peanut butter, honey (or maple syrup), and vanilla extract to the bowl. Mix with a rubber spatula or wooden spoon until no dry patches remain. The mixture should hold together when squeezed.
- Fold in the mini chocolate chips until evenly distributed.
- For easier handling, refrigerate the mixture for 15-20 minutes (optional but recommended).
- Lightly wet your hands with water to prevent sticking. Scoop about 1 tablespoon of the mixture and roll into a smooth ball. Place on a parchment-lined baking sheet or plate. Repeat with remaining mixture to make 12-14 balls.
- Refrigerate the balls for at least 30 minutes to set. Transfer to an airtight container and store in the fridge for up to 1 week, or freeze for up to 3 months.
Notes
For best texture, use creamy peanut butter (natural, with just peanuts and salt). If mixture is too dry, add a teaspoon of honey or milk. If too sticky, add a tablespoon of oats. Chilling the dough before rolling makes it easier to handle. Let balls set in the fridge for at least 30 minutes for best shape and flavor.
Nutrition
- Serving Size: 1 ball
- Calories: 180
- Sugar: 10
- Sodium: 80
- Fat: 9
- Saturated Fat: 2
- Carbohydrates: 20
- Fiber: 3
- Protein: 8
Keywords: no-bake protein balls, chocolate peanut butter protein balls, healthy snack, energy balls, gluten-free snack, easy protein balls


