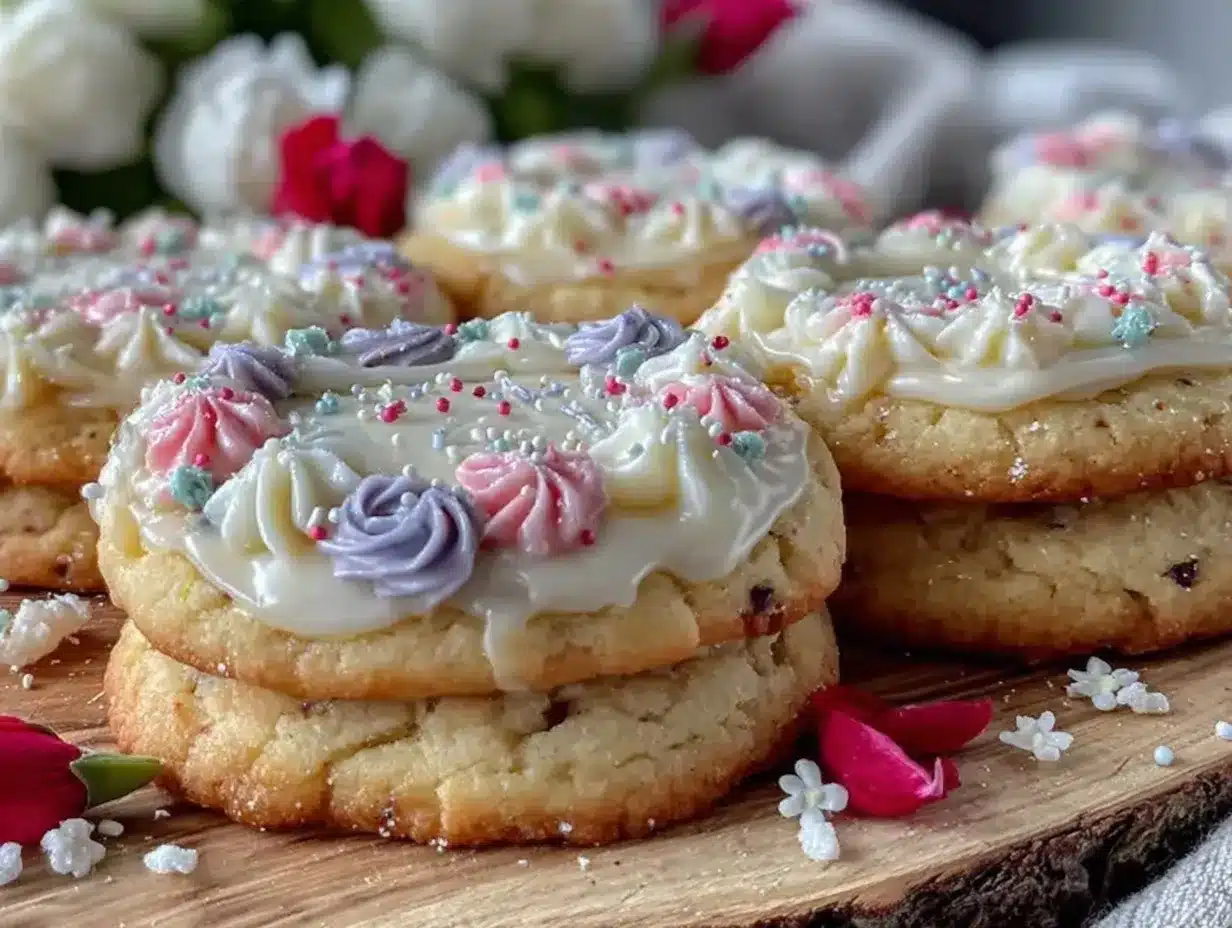
“Are you seriously going to eat that cookie or just stare at it all day?” My sister’s teasing voice snapped me out of my glaze-induced trance. Honestly, I couldn’t blame her—these perfect floral decorated sugar cookies with glossy royal icing almost looked too pretty to eat. I made them for a casual afternoon tea with a few friends, hoping for something sweet but simple. Instead, I ended up obsessing over every petal piped onto those cookies, tweaking my royal icing to get that flawless shine and smooth finish.
It all started when I found an old tin of cookie cutters from my grandmother’s kitchen—delicate flowers, leaves, and little hearts. I thought, why not try creating charming, dainty sugar cookies that taste as good as they look? I was skeptical at first about royal icing; it seemed intimidating, especially aiming for that glossy, glass-like finish. Turns out, with a few tweaks and some patience, it became my new favorite decorating medium.
That afternoon, as sunlight filtered through the kitchen window and soft music played in the background, I realized these cookies weren’t just treats—they were tiny edible works of art that brought everyone together. There’s something about crafting each bloom, layering colors, and watching the icing set that’s quietly satisfying. Plus, the flavor? Sweet, buttery, and just right—not too sugary, not too bland.
Now, I make these cookies whenever I want to impress without stress, especially when I need a little creative outlet. They’ve become my go-to for gifting during springtime gatherings or when I want to add a touch of elegance to casual celebrations. So, if you’ve ever hesitated because royal icing seemed too tricky or decorating too fancy, this recipe will gently prove otherwise.
In the end, these perfect floral decorated sugar cookies with glossy royal icing stuck around because they merge simple joy with a bit of craft—no fancy skills required, just a little love and patience.
Why You’ll Love This Recipe
- Quick & Easy: These sugar cookies come together in about 30 minutes of hands-on time, making them perfect for last-minute baking whims or casual get-togethers.
- Simple Ingredients: No need to hunt for specialty items—just basics like flour, sugar, butter, and eggs, with simple pantry staples for the royal icing.
- Perfect for Any Occasion: Whether you’re planning a bridal shower, a spring garden party, or just a cozy afternoon tea, these cookies add a charming, handmade touch.
- Crowd-Pleaser: Friends and family can’t get enough of these; the buttery cookie base paired with that glossy icing is always a hit.
- Unbelievably Delicious: The tender crumb of the sugar cookie pairs beautifully with smooth, glossy royal icing that dries just firm enough to hold intricate floral designs without cracking.
What sets this recipe apart is the balance between the cookie’s buttery softness and the perfectly smooth, shiny royal icing that’s just the right consistency for both flooding and delicate piping. I use a special technique for the icing—adding just a touch of cream of tartar and beating it longer than usual—to get that signature gloss without the usual dull finish.
It’s honestly the kind of recipe that makes you pause to appreciate the little details—the way the light catches the icing, the subtle sweetness balanced with buttery richness. Plus, it’s approachable enough for cookie decorators at any level, so you’re not stuck with bland or cracked icing like I was in the early days.
For me, these cookies don’t just taste good—they feel like a small celebration, every single time.
What Ingredients You Will Need
This recipe uses simple, wholesome ingredients to deliver bold flavor and satisfying texture without the fuss. Most of these items are pantry staples, and if you’re missing something, I’ve suggested easy swaps. Here’s what you’ll need:
- All-purpose flour (2 ¾ cups / 345g) — provides the perfect structure, not too dense or crumbly.
- Baking powder (1 teaspoon) — helps give a slight lift for tender cookies.
- Salt (½ teaspoon) — balances sweetness.
- Unsalted butter (1 cup / 227g, softened) — I prefer Land O’ Lakes for great creamy texture.
- Granulated sugar (1 cup / 200g) — sweetens without overpowering.
- Large egg (1, room temperature) — adds moisture and richness.
- Pure vanilla extract (1 teaspoon) — classic flavor enhancer.
For the royal icing:
- Powdered sugar (4 cups / 480g), sifted — ensures smooth, lump-free icing.
- Pasteurized egg whites (3 tablespoons) or meringue powder (2 tablespoons with 6 tablespoons water) — key for that glossy finish and stable icing.
- Fresh lemon juice (1 teaspoon) — brightens flavor and helps stabilize icing.
- Water (2-4 tablespoons) — to adjust icing consistency.
- Food coloring gels — I recommend AmeriColor or Wilton for vibrant, consistent shades.
If you’re dairy-free, swapping butter for a vegan margarine works fine, though the flavor is a touch different. For a gluten-free twist, almond flour could work, but the texture will be more tender and less sturdy for decorating. I’ve found that small-curd cream cheese frosting doesn’t hold up nearly as well for detailed floral piping, so royal icing remains my favorite.
Equipment Needed
- Mixing bowls: At least two—one for the cookie dough, one for the royal icing.
- Electric mixer: Handheld or stand mixer with paddle and whisk attachments makes mixing and beating royal icing much easier.
- Rolling pin: For rolling out even cookie dough layers.
- Floral cookie cutters: A set with various flower and leaf shapes is essential. I found a sturdy stainless steel set perfect for clean edges.
- Baking sheets: Rimmed, lined with parchment paper or silicone mats.
- Piping bags and tips: Small round tips (#1, #2) for outlining, and petal tips (#101) or small leaf tips for floral details. Disposable bags work fine for beginners.
- Toothpicks or scribe tools: Helpful for fixing small icing bubbles or smoothing edges.
If you don’t have a stand mixer, a strong whisk and some elbow grease will do, though beating royal icing by hand takes more patience. Budget-friendly silicone baking mats are a great alternative to parchment and reusable for many batches. Keeping your piping tips clean and dry is key for crisp lines; I recommend rinsing them in warm water and drying thoroughly between colors.
Preparation Method
- Prepare the cookie dough: In a medium bowl, whisk together 2 ¾ cups (345g) all-purpose flour, 1 teaspoon baking powder, and ½ teaspoon salt. Set aside. (5 minutes)
- Cream butter and sugar: Using a mixer, beat 1 cup (227g) softened unsalted butter and 1 cup (200g) granulated sugar on medium speed until light and fluffy, about 3-4 minutes. The texture should look pale and airy. (4 minutes)
- Add egg and vanilla: Beat in 1 large room-temp egg and 1 teaspoon vanilla extract until combined. The mixture may look slightly curdled but that’s okay. (2 minutes)
- Incorporate dry ingredients: Gradually add flour mixture to wet ingredients on low speed, mixing just until dough forms. Avoid overmixing to keep cookies tender. Dough will be soft but not sticky. (3 minutes)
- Chill dough: Divide dough into two discs, wrap in plastic, and refrigerate for at least 1 hour or up to overnight. Chilling prevents spreading and improves cutting precision. (60+ minutes)
- Preheat oven and prep pans: Heat oven to 350°F (175°C). Line baking sheets with parchment or silicone mats. (5 minutes)
- Roll and cut cookies: On a lightly floured surface, roll dough to about ¼ inch (6 mm) thickness. Use floral cookie cutters to cut shapes, transfer carefully to baking sheets about 1 inch (2.5 cm) apart. (10-15 minutes)
- Bake: Bake for 8-10 minutes or until edges are just turning golden. Watch carefully—overbaking dries cookies out. Let cool on sheets for 5 minutes, then transfer to wire racks to cool completely. (10 minutes baking + cooling)
- Make royal icing: In a clean bowl, beat 4 cups (480g) sifted powdered sugar with 3 tablespoons pasteurized egg whites (or meringue powder equivalent), 1 teaspoon fresh lemon juice, and 2 tablespoons water. Beat on medium-high for 5-7 minutes until glossy, stiff peaks form. Adjust water to achieve “flooding” consistency—thick but fluid enough to spread smoothly. (10 minutes)
- Color and decorate: Divide icing into small bowls, add gel colors as desired. Use piping bags fitted with small tips to outline each cookie, then flood with thinned icing. Let base layer dry 30-45 minutes. Pipe floral details with thicker icing for dimension and texture. (60+ minutes)
- Dry completely: Allow decorated cookies to dry at room temperature for several hours or overnight to harden icing fully before stacking or packaging.
Pro tip: If icing pools or spreads unevenly, use a toothpick to gently nudge it into corners. For crisp petal edges, let piped outlines crust for a few minutes before flooding.
Cooking Tips & Techniques
Royal icing can be intimidating, but patience is your best friend. I learned the hard way that rushing the beating process results in dull, grainy icing rather than that perfect gloss. Aim for a silky sheen by beating the icing longer and adding just enough lemon juice to balance flavor and stability.
Temperature matters, too. Too warm a kitchen softens the icing; too cold can cause cracking once dry. I keep my workspace cool but not chilly, and cover icing bowls with damp towels between coloring sessions to prevent drying out.
When rolling dough, less is more. Overworking warms the butter and makes cookies tough. I sprinkle flour sparingly and roll gently, turning the dough frequently for even thickness.
One common mistake is baking cookies too thick or thin. Aim for about ¼ inch thickness to maintain that tender bite and sturdy base for icing. Also, rotate baking sheets halfway through for even browning.
Multitasking helps—while cookies cool, prepare your icing and color palettes so you’re ready to decorate as soon as the cookies are set. If you want to speed up drying, a fan on low can help, but keep it gentle to avoid dust settling on icing.
Variations & Adaptations
- Seasonal twists: Swap classic floral cutters for seasonal shapes like pumpkins in fall or snowflakes in winter, adjusting colors to match.
- Flavor variations: Add almond extract or lemon zest to cookie dough for a subtle extra flavor. For icing, a drop of rose water adds a delicate floral note.
- Dietary adaptations: Use gluten-free flour blends for those avoiding gluten; just note dough may be more fragile. Egg-free royal icing can be made with aquafaba (chickpea water) but requires careful whipping.
- Alternative decorating: For a rustic look, try simple sugar glaze instead of royal icing and sprinkle edible flowers or colored sugar on top.
- Personal fave: I once paired these cookies with a batch of fluffy lavender honey scones for a garden party—they complemented each other beautifully and sparked lots of compliments.
Serving & Storage Suggestions
These perfect floral decorated sugar cookies are best served at room temperature to fully appreciate the tender crumb and smooth icing. Arrange them on a pretty platter or tiered stand for an elegant presentation at tea or brunch.
They pair wonderfully with lightly brewed herbal teas, lemonade, or even a sparkling mimosa bar for festive occasions. For something savory alongside, a fresh spring greens salad with strawberries and goat cheese (like this recipe) balances the sweetness nicely.
Store cookies in an airtight container at room temperature for up to 5 days, layering with parchment paper to prevent sticking. For longer storage, freeze undecorated cookies and decorate after thawing to preserve icing quality.
When reheating, avoid microwaves as they soften royal icing; instead, let frozen cookies thaw fully at room temperature. The floral details stay crisp and the glossy finish shines beautifully even after storage.
Nutritional Information & Benefits
Per cookie (based on 24 servings): approximately 120 calories, 5g fat, 18g carbs, 1g protein.
Key ingredients like butter provide rich flavor and satisfying texture, while the powdered sugar and egg whites in royal icing contribute sweetness and structure without added fats.
This recipe is naturally gluten-friendly if you use a gluten-free flour blend, and can be made dairy-free by substituting vegan butter. It contains egg whites, so it’s not suitable for those with egg allergies unless you try aquafaba-based icing.
From a wellness standpoint, these cookies are a delightful treat that doesn’t rely on artificial additives or preservatives—just simple ingredients you can trust.
Conclusion
These perfect floral decorated sugar cookies with glossy royal icing became a staple for me because they combine simple baking with creative decorating that’s actually doable. Whether you’re gifting, entertaining, or just treating yourself, this recipe gives you that satisfying mix of buttery softness and elegant, detailed icing.
Feel free to make it yours—try new colors, swap extracts, or experiment with shapes. I love how these cookies bring a little calm and joy when I need it most, and I hope you find the same comfort in making them.
If you give these a try, I’d love to hear how your floral designs turn out or what flavors you add. Sharing your experience always brightens my day.
Here’s to many sweet moments, one cookie at a time.
Frequently Asked Questions
How do I get my royal icing to be shiny and smooth?
Beating the icing for at least 5-7 minutes until it forms stiff peaks is key. Adding fresh lemon juice helps stabilize and brighten the icing, giving it that glossy finish. Avoid over-thinning the icing with water.
Can I make the cookie dough ahead of time?
Yes! Dough can be wrapped tightly and refrigerated for up to 3 days or frozen for up to 2 months. Bring it to room temperature before rolling out for easier handling.
What if my royal icing cracks when it dries?
Cracking usually happens if the icing is too thick or dries too quickly in a dry environment. Try adding a little more water to the icing and drying cookies at room temperature away from drafts.
Can I use powdered egg whites instead of fresh?
Absolutely! Meringue powder is a convenient and safe alternative to fresh egg whites and works just as well for royal icing. Use the recommended ratios on the package.
How should I store decorated sugar cookies to keep them fresh?
Store in an airtight container at room temperature, layering with parchment paper to prevent sticking. Avoid refrigeration as it can soften the icing and cookies.
Pin This Recipe!
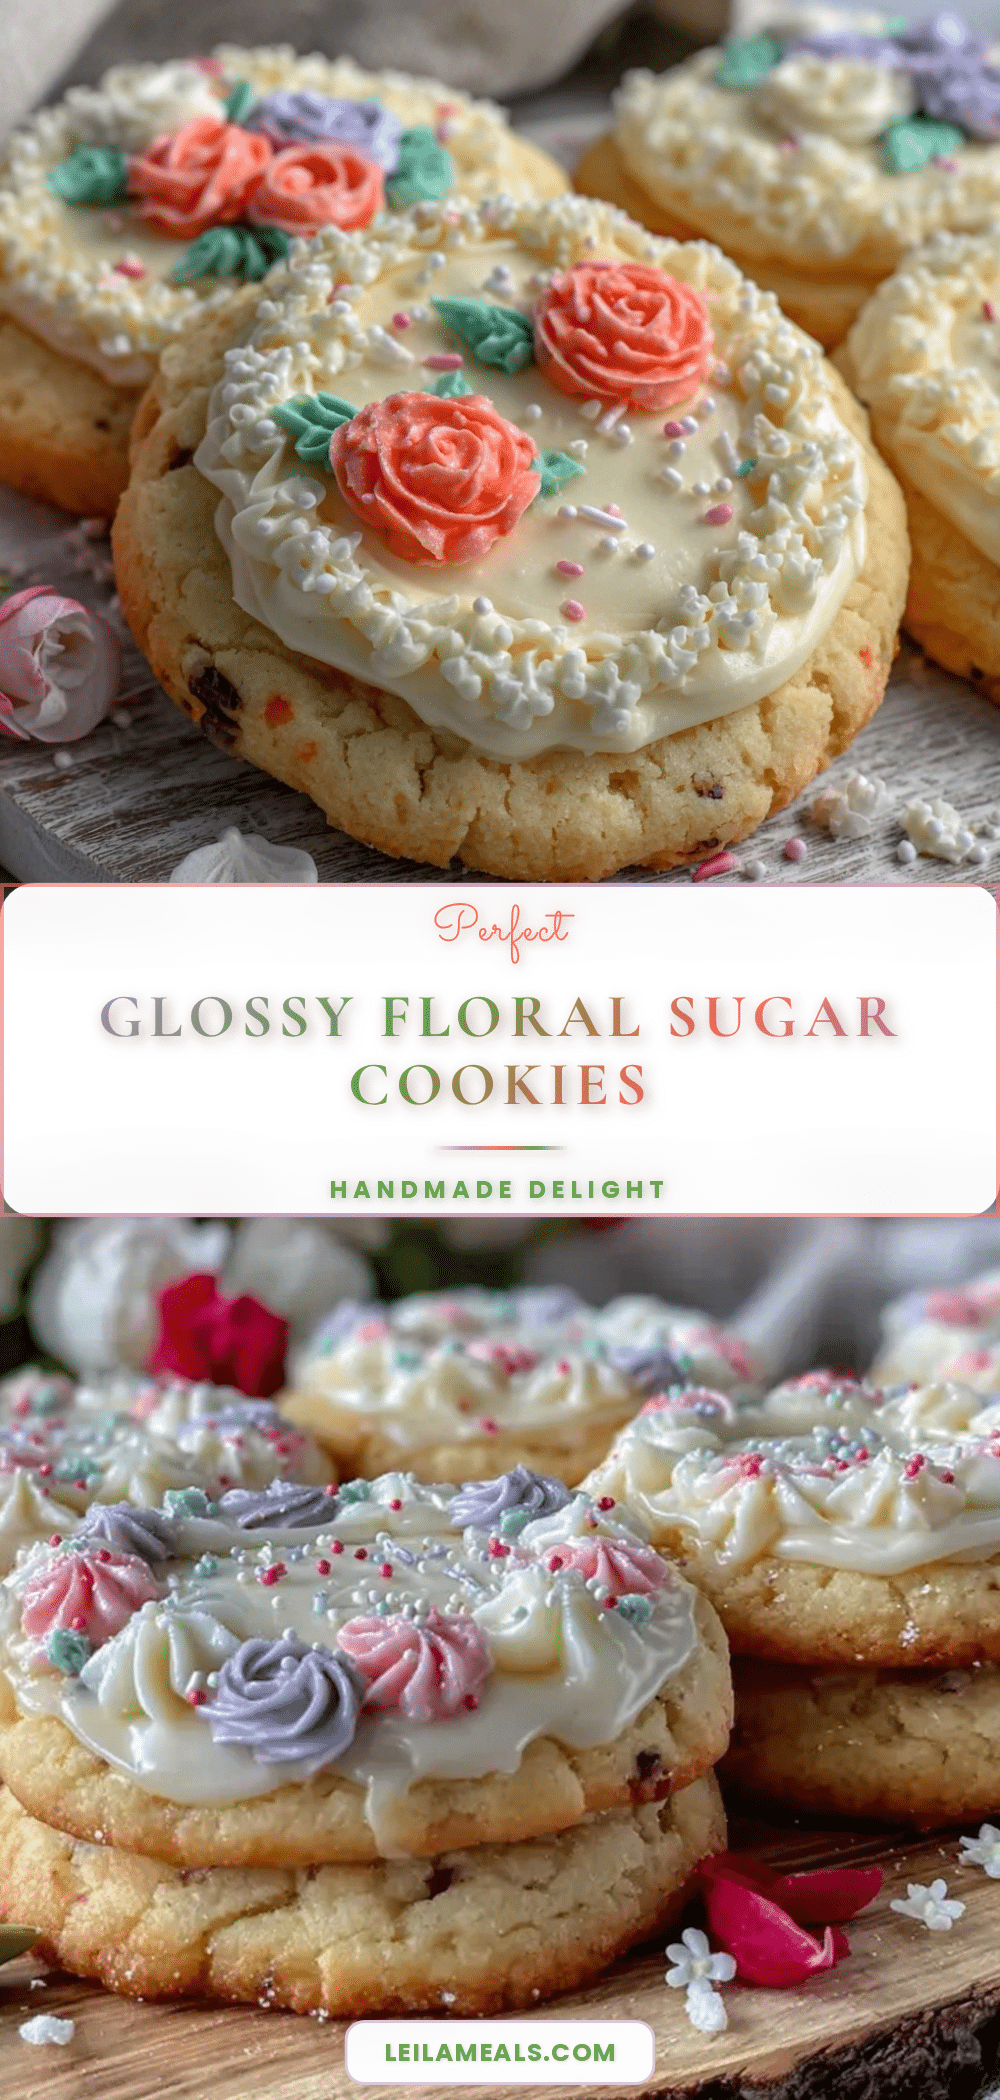
Perfect Floral Decorated Sugar Cookies Recipe with Easy Glossy Royal Icing Tutorial

These perfect floral decorated sugar cookies feature a tender buttery base paired with smooth, glossy royal icing ideal for delicate piping and flooding. They are quick, easy, and perfect for any occasion, from casual tea to elegant celebrations.
- Prep Time: 30 minutes (hands-on) plus 1 hour chilling
- Cook Time: 8-10 minutes baking plus cooling time
- Total Time: Approximately 2.5 to 3 hours including chilling and decorating
- Yield: 24 servings (cookies) 1x
- Category: Dessert
- Cuisine: American
Ingredients
- 2 ¾ cups (345g) all-purpose flour
- 1 teaspoon baking powder
- ½ teaspoon salt
- 1 cup (227g) unsalted butter, softened
- 1 cup (200g) granulated sugar
- 1 large egg, room temperature
- 1 teaspoon pure vanilla extract
- 4 cups (480g) powdered sugar, sifted
- 3 tablespoons pasteurized egg whites or 2 tablespoons meringue powder with 6 tablespoons water
- 1 teaspoon fresh lemon juice
- 2–4 tablespoons water
- Food coloring gels (AmeriColor or Wilton recommended)
Instructions
- In a medium bowl, whisk together flour, baking powder, and salt. Set aside.
- Using a mixer, beat softened butter and granulated sugar on medium speed until light and fluffy, about 3-4 minutes.
- Beat in the egg and vanilla extract until combined; mixture may look slightly curdled.
- Gradually add flour mixture to wet ingredients on low speed, mixing just until dough forms; avoid overmixing.
- Divide dough into two discs, wrap in plastic, and refrigerate for at least 1 hour or up to overnight.
- Preheat oven to 350°F (175°C). Line baking sheets with parchment paper or silicone mats.
- Roll dough on a lightly floured surface to about ¼ inch (6 mm) thickness. Cut shapes with floral cookie cutters and transfer to baking sheets about 1 inch apart.
- Bake for 8-10 minutes or until edges just turn golden. Cool on sheets for 5 minutes, then transfer to wire racks to cool completely.
- Make royal icing by beating powdered sugar, egg whites (or meringue powder mixture), lemon juice, and water on medium-high for 5-7 minutes until glossy stiff peaks form. Adjust water for flooding consistency.
- Divide icing into bowls, add gel colors as desired. Outline cookies with small tips, flood with thinned icing, and let dry 30-45 minutes.
- Pipe floral details with thicker icing for dimension and texture. Allow decorated cookies to dry at room temperature for several hours or overnight before stacking or packaging.
Notes
Beat royal icing for 5-7 minutes to achieve glossy stiff peaks. Add lemon juice to stabilize and brighten icing. Chill dough for at least 1 hour to prevent spreading. Avoid overbaking to keep cookies tender. Use a toothpick to nudge icing into corners if pooling occurs. Let piped outlines crust before flooding for crisp edges. Store cookies in airtight container at room temperature layered with parchment paper. Freeze undecorated cookies for longer storage and decorate after thawing.
Nutrition
- Serving Size: 1 cookie
- Calories: 120
- Fat: 5
- Carbohydrates: 18
- Protein: 1
Keywords: sugar cookies, royal icing, floral cookies, decorated cookies, easy sugar cookies, glossy icing, cookie decorating, spring cookies, tea party cookies