Late one spring afternoon, I found myself watching a tiny flash of color darting around my backyard garden. Honestly, I wasn’t expecting much — just a few wilting flowers and a lot of weeds. But then, this little hummingbird zipped by, pausing briefly at a feeder I’d hastily put up that morning. The nectar inside was homemade, a simple mix I’d thrown together after a quick search online. At first, I was skeptical — could something so plain really attract these delicate creatures? Turns out, yes. The very next day, the hummingbirds returned, and then more showed up. It became this quiet daily ritual, sipping nectar from my feeder as the sun set.
Making your own hummingbird nectar feels like a small act of kindness in a chaotic world. It’s easy, straightforward, and surprisingly rewarding when you see those tiny wings fluttering inches away. This easy homemade hummingbird nectar recipe for your garden is perfect if you want to bring a bit of nature’s charm closer to home — without fuss, fancy ingredients, or guesswork. You’ll learn how to make this in just three simple steps, and soon enough, your garden will be humming with life in the best way.
There’s something quietly satisfying about mixing just sugar and water and knowing you’re providing a safe, natural treat that these little birds love. Plus, no additives or dyes — just the nectar hummingbirds need. That little recipe stuck with me because it’s accessible, effective, and feels like a small celebration of spring’s return every time I refill the feeder.
Why You’ll Love This Recipe
After making this easy homemade hummingbird nectar recipe countless times, I can say it’s one of those recipes that just works — every time. Whether you’re a seasoned bird watcher or just someone who enjoys a lively garden, this nectar mix is a game-changer. Here’s why:
- Quick & Easy: Comes together in under 10 minutes — no cooking skills required, perfect for busy gardeners or spontaneous feeder refills.
- Simple Ingredients: You probably already have white granulated sugar and water on hand, so no last-minute store runs needed.
- Safe for Hummingbirds: No artificial colors or additives, which means it’s gentle and healthy for the birds visiting your garden.
- Perfect for Outdoor Relaxation: Watching hummingbirds sip nectar is one of those peaceful moments that make your garden feel alive and welcoming.
- Cost-Effective: Homemade nectar is way cheaper than store-bought options and you control exactly what goes into it.
- Reliable and Consistent: This recipe has been tested by bird lovers and garden experts alike, with consistent results in attracting hummingbirds.
What makes this recipe stand out? It’s the balance — just the right sugar-to-water ratio to mimic what hummingbirds find in flowers. Unlike some complicated versions that call for honey or artificial sweeteners (which you should avoid), this one sticks to basics. It’s like the hummingbird equivalent of a classic lemonade — simple, refreshing, and exactly what they need.
Honestly, once you try it, you’ll notice how the birds seem to prefer it over anything else. It’s a little thing, but it turns your outdoor space into a lively, joyful haven. And that’s why this recipe has become my go-to — easy, natural, and perfectly suited to bringing hummingbirds close.
What Ingredients You Will Need
This recipe uses simple, wholesome ingredients to deliver just the right sweetness and consistency for hummingbirds. These pantry staples keep it fuss-free while providing a natural food source that’s safe and inviting. Here’s what you’ll need:
- White granulated sugar – 1 cup (200 grams). This is the key ingredient providing the energy hummingbirds need. Avoid raw or brown sugar as they can be harmful.
- Water – 4 cups (950 ml), preferably filtered or distilled for purity. Tap water works fine if it’s not heavily chlorinated.
Notes on ingredients:
- I recommend using pure white sugar like Domino or C&H for the best clarity and safety.
- Do not use honey, artificial sweeteners, or red food coloring — these can harm hummingbirds or attract unwanted insects.
- If your tap water tastes strongly of chlorine, boiling it first and letting it cool can improve nectar quality.
- During warmer months, it’s better to make fresh nectar every 2-3 days to avoid fermentation or mold.
Equipment Needed
Making homemade hummingbird nectar doesn’t require specialized tools — thankfully! Here’s what you’ll want to have on hand:
- A medium saucepan or pot for boiling water
- A clean measuring cup (for both sugar and water)
- A spoon or whisk to stir the sugar into the hot water
- A clean, sealable container or bottle for storing the nectar
- A hummingbird feeder (preferably glass or BPA-free plastic)
If you don’t have a saucepan, a microwave-safe bowl works fine for heating water in short bursts. Just be sure to stir well. I’ve found that a funnel makes refilling feeders less messy.
Keep your hummingbird feeder clean to avoid mold and bacteria growth — a simple bottle brush or specialized feeder brush helps a lot. I use a small brush set dedicated to the feeders, which makes maintenance easier and prolongs their life.
Preparation Method
- Measure the water: Pour 4 cups (950 ml) of clean water into your saucepan. Using filtered or distilled water helps keep the nectar fresh longer.
- Bring water to a boil: Heat the water on the stove until it reaches a rolling boil. This step helps dissolve the sugar completely and sterilizes the mixture.
- Add sugar: Remove the saucepan from heat and stir in 1 cup (200 grams) of white granulated sugar. Stir until the sugar is fully dissolved — you want the liquid clear and smooth, no graininess.
- Cool the nectar: Let the mixture cool to room temperature. Hot nectar can damage hummingbird feeders or harm the birds themselves.
- Fill your feeder: Once cooled, pour the nectar into your clean hummingbird feeder and hang it outside in a shady spot.
- Maintain freshness: Replace nectar every 2-3 days in warm weather, or up to a week in cooler weather. Clean feeders thoroughly each time to avoid mold buildup.
Pro tip: Avoid stirring sugar into cold water — it takes longer to dissolve and can leave grainy nectar that birds won’t like. Boiling water makes all the difference.
Also, placing your feeder near bright flowers or where you can watch comfortably makes the experience more enjoyable — trust me, it’s addictive seeing those tiny birds hover and sip.
Cooking Tips & Techniques
Making hummingbird nectar might seem simple, but a few tricks help keep your feathered friends happy and healthy:
- Don’t skip boiling: Boiling the water isn’t just about dissolving sugar; it kills any bacteria or mold spores that could spoil the nectar quickly.
- Keep it clean: Mold grows fast in nectar, especially in warm weather. Clean your feeder weekly (or more often if it looks dirty) with hot soapy water.
- Use the right sugar: White granulated sugar mimics natural flower nectar best. Avoid honey or artificial sweeteners — they can cause illness in hummingbirds.
- Watch the temperature: Never put hot nectar directly into plastic feeders — it can warp them. Always cool before filling.
- Placement matters: Hang your feeder in shaded areas to slow fermentation and keep nectar fresh longer.
- Seasonal timing: In hot summer months, change nectar more frequently to prevent spoilage.
I’ve learned the hard way that skipping boiling or cleaning leads to moldy feeders that repel birds. It’s tempting to make a big batch and forget about it, but hummingbirds thrive on fresh nectar. Those little mistakes taught me to keep it simple and clean, and now my garden’s buzzing with activity.
Variations & Adaptations
While the classic sugar-water mix is best, here are some ideas if you want to mix things up a bit:
- Fruit Infusion: Add a few slices of orange or lemon to the nectar after it’s cooled for a subtle citrus scent. Remove fruit before filling feeders.
- Herbal Twist: A small sprig of fresh mint or basil can add a mild fragrance. Again, strain before serving.
- Seasonal Flowers: Place feeders near blooming native flowers to complement the nectar with natural sources.
Allergy-friendly? This recipe is naturally gluten-free and vegan, so it suits most dietary considerations if you’re preparing nectar as a gift or for education.
Personal favorite variation: once, I added a tiny bit of apple cider vinegar to slow mold growth. It worked, but I prefer the straightforward recipe for daily use.
Serving & Storage Suggestions
Serve your homemade hummingbird nectar fresh and cool. Ideally, fill your feeder each morning or afternoon after the nectar has cooled completely. Keep the feeder in a shaded, protected spot to maintain nectar quality.
- Complementary Plants: Surround feeders with native flowers like bee balm, trumpet vine, or salvia to attract more hummingbirds naturally.
- Storage: Store extra nectar in a sealed container in the refrigerator for up to a week. Avoid freezing as it changes texture.
- Reheating: If cooled nectar crystallizes, gently warm it again to dissolve sugar before refilling feeders.
- Flavor Development: Nectar doesn’t change flavor over time, but freshness is key to keep birds coming back.
Nutritional Information & Benefits
This easy homemade hummingbird nectar recipe provides a natural energy boost for hummingbirds, consisting mainly of sugar and water. Each cup of nectar has roughly 774 calories, though keep in mind hummingbirds consume tiny amounts — their high metabolism demands frequent feeding.
Key benefits include:
- Simple carbohydrates for quick energy
- Hydration through water content
- No additives or harmful chemicals
From a garden perspective, offering this nectar supports local pollinators and wildlife health. For humans, it’s a natural, safe way to engage with nature and help hummingbirds during migration or dry seasons.
Note: This recipe is free from gluten, dairy, and common allergens, making it a safe choice for wildlife feeding.
Conclusion
This easy homemade hummingbird nectar recipe has become a little ritual of mine — simple, honest, and wonderfully rewarding. It’s not just about feeding birds; it’s about creating a small space of calm and connection in the garden. The three straightforward steps let anyone try it, and the results? Well, the gentle hum of wings and vibrant flashes of color say it all.
Feel free to tweak the recipe to suit your garden’s needs or your personal style, but keep it simple. The hummingbirds appreciate the basics, just like I do. Hopefully, this recipe brings as much joy to your outdoor moments as it has to mine.
If you give it a try, I’d love to hear how your garden visitors respond — or any little twists you add. Here’s to many peaceful afternoons watching tiny miracles in flight.
FAQs
How often should I change hummingbird nectar?
In warm weather, replace nectar every 2-3 days to prevent fermentation or mold. Cooler temperatures allow for up to a week.
Can I use honey instead of sugar in hummingbird nectar?
No. Honey can promote harmful bacteria growth and is unsafe for hummingbirds. Stick to plain white granulated sugar.
Is it necessary to boil the water when making nectar?
Boiling helps dissolve sugar fully and sterilizes the nectar, keeping it fresh and safe for hummingbirds.
Can I add food coloring to the nectar?
Avoid food coloring as it can be harmful to hummingbirds and attract unwanted insects.
How do I clean my hummingbird feeder properly?
Use hot, soapy water and a feeder brush to clean all parts weekly. Rinse well and dry before refilling to prevent mold.
Pin This Recipe!
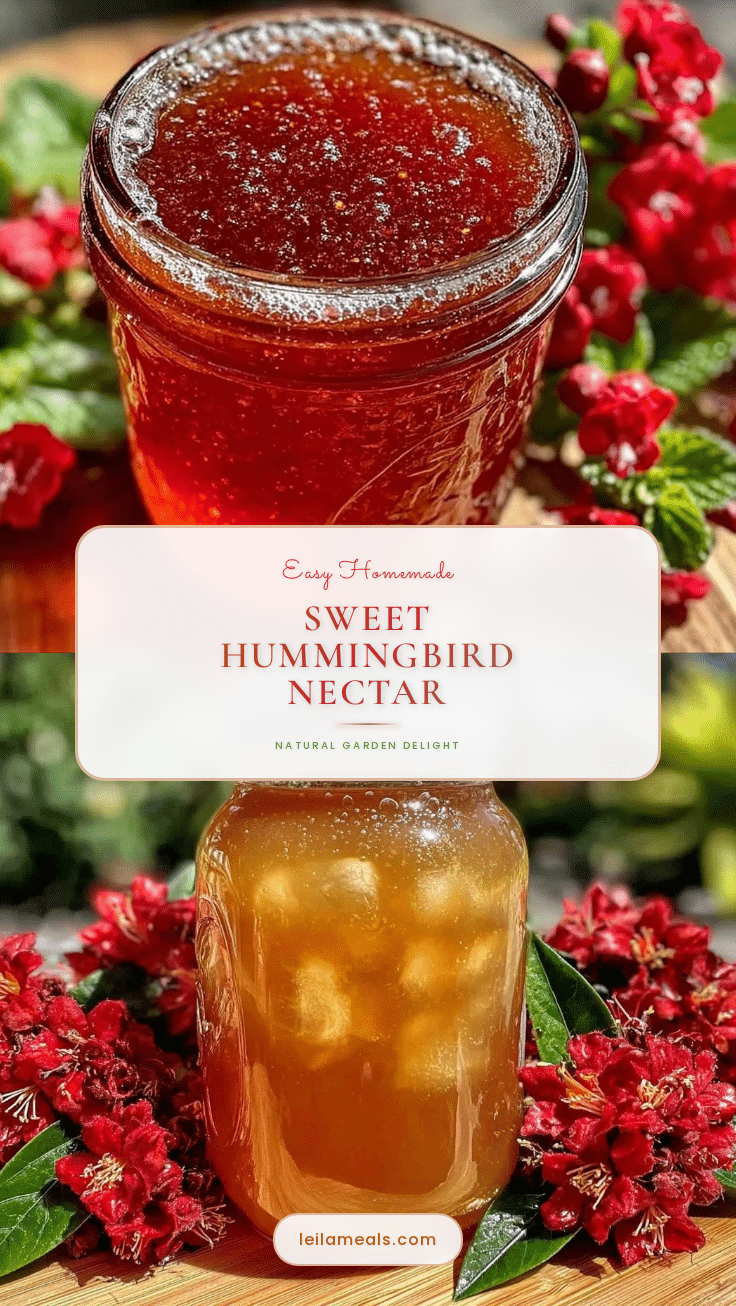
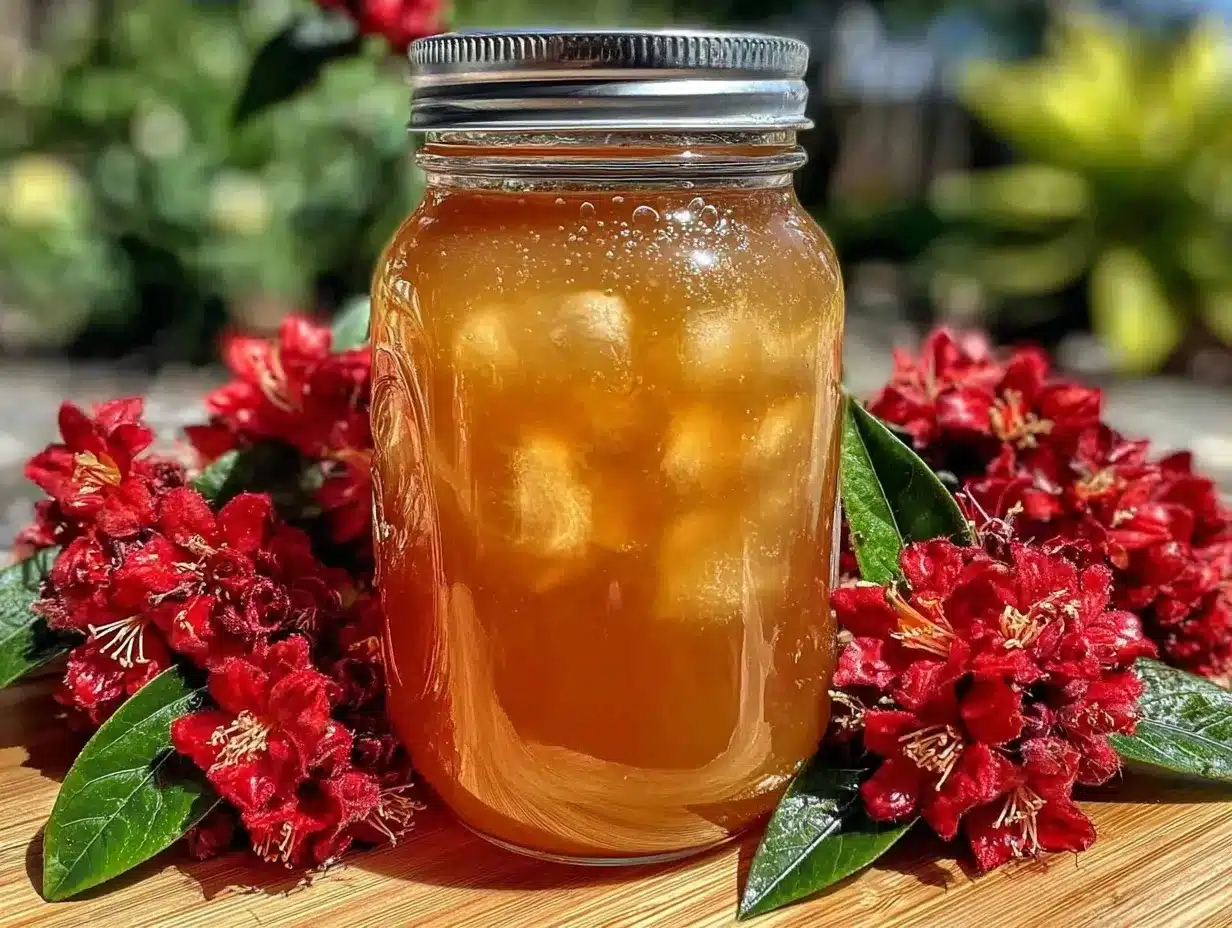
Easy Homemade Hummingbird Nectar Recipe
A simple and safe homemade hummingbird nectar recipe using just white granulated sugar and water to attract hummingbirds to your garden.
- Prep Time: 5 minutes
- Cook Time: 5 minutes
- Total Time: 10 minutes
- Yield: About 5 cups of nectar 1x
- Category: Bird Feeding
- Cuisine: N/A
Ingredients
- 1 cup white granulated sugar (200 grams)
- 4 cups water (950 ml), preferably filtered or distilled
Instructions
- Pour 4 cups (950 ml) of clean water into a saucepan.
- Heat the water on the stove until it reaches a rolling boil.
- Remove the saucepan from heat and stir in 1 cup (200 grams) of white granulated sugar until fully dissolved.
- Let the mixture cool to room temperature.
- Pour the cooled nectar into a clean hummingbird feeder and hang it outside in a shady spot.
- Replace nectar every 2-3 days in warm weather or up to a week in cooler weather and clean feeders thoroughly each time.
Notes
Do not use honey, artificial sweeteners, or red food coloring as they can harm hummingbirds. Boil water to sterilize and dissolve sugar fully. Cool nectar before filling feeders to avoid damage. Replace nectar every 2-3 days in warm weather to prevent fermentation or mold. Keep feeders clean to avoid mold and bacteria growth.
Nutrition
- Serving Size: Small amounts consum
- Calories: 774
- Sugar: 200
- Carbohydrates: 200
Keywords: hummingbird nectar, homemade hummingbird food, bird feeder recipe, sugar water nectar, hummingbird feeding, garden bird food