“Are you sure this is going to look like a graduation cap?” my niece asked while hovering over the kitchen counter, eyes wide with a mix of skepticism and curiosity. Honestly, I wasn’t 100% confident either. It was late afternoon, and the pressure was on to create a show-stopping dessert for her graduation party—something impressive but not too complicated. I’d been fiddling around with buttercream recipes for weeks, trying to nail a texture that was creamy yet sturdy enough for decorating. That day, I set out to bake what would become my easy buttercream graduation cap sheet cake, a creation born from a pinch of improvisation and a lot of trial and error.
The kitchen smelled like warm vanilla and cocoa as I mixed the batter, the soft hum of the mixer blending with the chatter from the living room where family was setting up decorations. This cake wasn’t just about the flavors; it was about capturing a milestone, a moment frozen in time with frosting and cake layers. I remember the moment I piped that first tassel onto the cap—there was a quiet sort of magic in the air, a feeling that this simple cake could carry the weight of a big celebration.
It’s funny how a recipe you almost skip turns into something you can’t stop making. What started as a last-minute idea turned into a family favorite that everyone asks for year after year. The best part? It’s so straightforward, anyone can make it without needing hours or fancy tools, which is a lifesaver when you’re juggling a million things on party day. This easy buttercream graduation cap sheet cake is more than just dessert; it’s a sweet way to honor achievement and bring people together, frosting and all.
After all those attempts, the cake’s moist crumb and silky buttercream frosting finally hit the spot—and I think that’s why it sticks around in my recipe box. It’s reliable, festive, and honestly, it just feels right when you cut into it at the end of a long day of celebration.
Why You’ll Love This Easy Buttercream Graduation Cap Sheet Cake
Trust me when I say this cake has been tested from one graduation party to the next, and it never disappoints. Here’s why it’s become my go-to for celebrations:
- Quick & Easy: This cake comes together in under 90 minutes, making it perfect for busy parents or anyone needing a last-minute yet impressive dessert.
- Simple Ingredients: No need to hunt down exotic items; you probably have most of these pantry staples already, like unsalted butter, sugar, and eggs.
- Perfect for Celebrations: Whether it’s a graduation party, a milestone birthday, or an impromptu get-together, this cake’s festive look and taste fit right in.
- Crowd-Pleaser: It’s rich but not overwhelming, with a balanced sweetness that kids and adults love alike (I’ve had requests to make it for birthdays, too!).
- Unbelievably Delicious Texture: The buttercream is silky smooth yet firm enough to hold the graduation cap design, thanks to a little trick I learned while perfecting the frosting.
What makes this recipe stand out is how it combines ease with style. Unlike other decorated cakes that require hours of piping or special molds, this one uses a simple sheet cake base with buttercream that you can spread and shape easily. Plus, the cake itself stays moist for days, so you can bake ahead and relax on the big day.
This isn’t just any sheet cake—it’s the kind of treat that makes guests pause, smile, and say, “Wow, you made this?” without realizing how straightforward it actually is. And honestly, that feeling of pulling off something special with minimal stress? Priceless.
What Ingredients You Will Need
This recipe uses simple, wholesome ingredients to deliver bold flavor and a satisfying texture without the fuss. Most of these are pantry staples, and where possible, I’ve added some tips for substitutions or enhancements.
- For the Cake:
- All-purpose flour — 2 ½ cups (312.5 grams), sifted for a lighter crumb
- Granulated sugar — 2 cups (400 grams), for that perfect sweetness
- Unsweetened cocoa powder — ¾ cup (75 grams), good quality like Hershey’s for richer chocolate flavor
- Baking soda — 1 ½ teaspoons
- Baking powder — 1 ½ teaspoons
- Salt — 1 teaspoon
- Buttermilk — 1 cup (240 ml), room temperature (substitute: 1 cup milk + 1 tbsp lemon juice, let sit 5 minutes)
- Vegetable oil — ½ cup (120 ml), adds moistness
- Large eggs — 2, room temperature
- Vanilla extract — 2 teaspoons
- Boiling water — 1 cup (240 ml), helps intensify cocoa flavor and keeps cake moist
- For the Buttercream Frosting:
- Unsalted butter — 1 cup (227 grams), softened (I usually use Land O’Lakes for best consistency)
- Powdered sugar — 4 cups (480 grams), sifted to avoid lumps
- Heavy cream — 2-3 tablespoons (30-45 ml), to get that silky texture
- Vanilla extract — 2 teaspoons
- Salt — a pinch, to balance sweetness
- Black gel food coloring — just a small amount, to tint the buttercream for the graduation cap (optional)
- For Decoration:
- Edible gold sprinkles or glitter (optional) for that celebratory sparkle
- Fondant or piped buttercream tassel in contrasting color (e.g., yellow or gold)
For a gluten-free twist, you can swap the all-purpose flour with a 1:1 gluten-free baking flour blend. If avoiding dairy, try using coconut cream in place of heavy cream and a plant-based butter substitute for the frosting.
Equipment Needed
- 9×13 inch (23×33 cm) baking pan — the classic size for sheet cakes
- Electric mixer — stand or hand mixer for smooth batter and fluffy buttercream
- Mixing bowls — at least two, medium and large
- Sifter or fine-mesh sieve — helps aerate dry ingredients
- Rubber spatula — for folding ingredients gently
- Offset spatula or butter knife — essential for spreading buttercream evenly
- Piping bags and tips — optional, for creating the tassel and details on the cap
- Cooling rack — helps cool the cake evenly and prevents sogginess
If you don’t have a sifter, a whisk will do in a pinch to mix and aerate your flour. For spreading frosting, a dinner knife or even the back of a spoon can work if you don’t own an offset spatula. Budget-friendly options like silicone spatulas tend to be easier to clean and gentle on your bakeware.
Preparation Method
- Preheat oven and prepare pan: Set your oven to 350°F (175°C). Grease the 9×13 inch pan with butter, then dust lightly with flour or line with parchment paper for easy removal. This step prevents sticking and helps the cake come out clean.
- Mix dry ingredients: In a large bowl, sift together the flour, cocoa powder, baking soda, baking powder, and salt. Whisk them to combine evenly so every bite tastes balanced.
- Combine wet ingredients: In another bowl, whisk the buttermilk, vegetable oil, eggs, and vanilla extract until smooth and slightly frothy. This ensures the batter has even moisture and flavor.
- Combine wet and dry: Slowly add the wet mixture to the dry ingredients, stirring gently with a spatula or mixer on low speed. Avoid overmixing—stop when just combined to keep the cake tender.
- Add boiling water: Carefully pour the boiling water into the batter and mix slowly. The batter will be thin—that’s normal. This step intensifies the cocoa flavor and keeps the cake moist.
- Bake the cake: Pour the batter evenly into the prepared pan. Bake for 30-35 minutes or until a toothpick inserted in the center comes out clean. Keep an eye near the end to avoid overbaking, which can dry out the cake.
- Cool completely: Let the cake cool in the pan for about 15 minutes, then transfer to a cooling rack. It’s important the cake is fully cool before frosting to prevent melting the buttercream.
- Make the buttercream frosting: Beat the softened butter with an electric mixer on medium speed until creamy (about 2 minutes). Gradually add powdered sugar, one cup at a time, mixing well.
- Add cream, vanilla, and salt: Pour in heavy cream and vanilla extract, then beat on high speed for 3 minutes until fluffy. Add a pinch of salt to balance the sweetness. If the buttercream is too thick, add a little more cream; if too thin, add extra powdered sugar.
- Tint the buttercream: For the graduation cap, add black gel food coloring a tiny bit at a time until you reach the desired deep black. Stir well to avoid streaks.
- Assemble and decorate: Spread a thin crumb coat layer of buttercream over the cake to lock in crumbs. Chill for 20 minutes, then cover with a thicker layer of black buttercream, smoothing it out with an offset spatula.
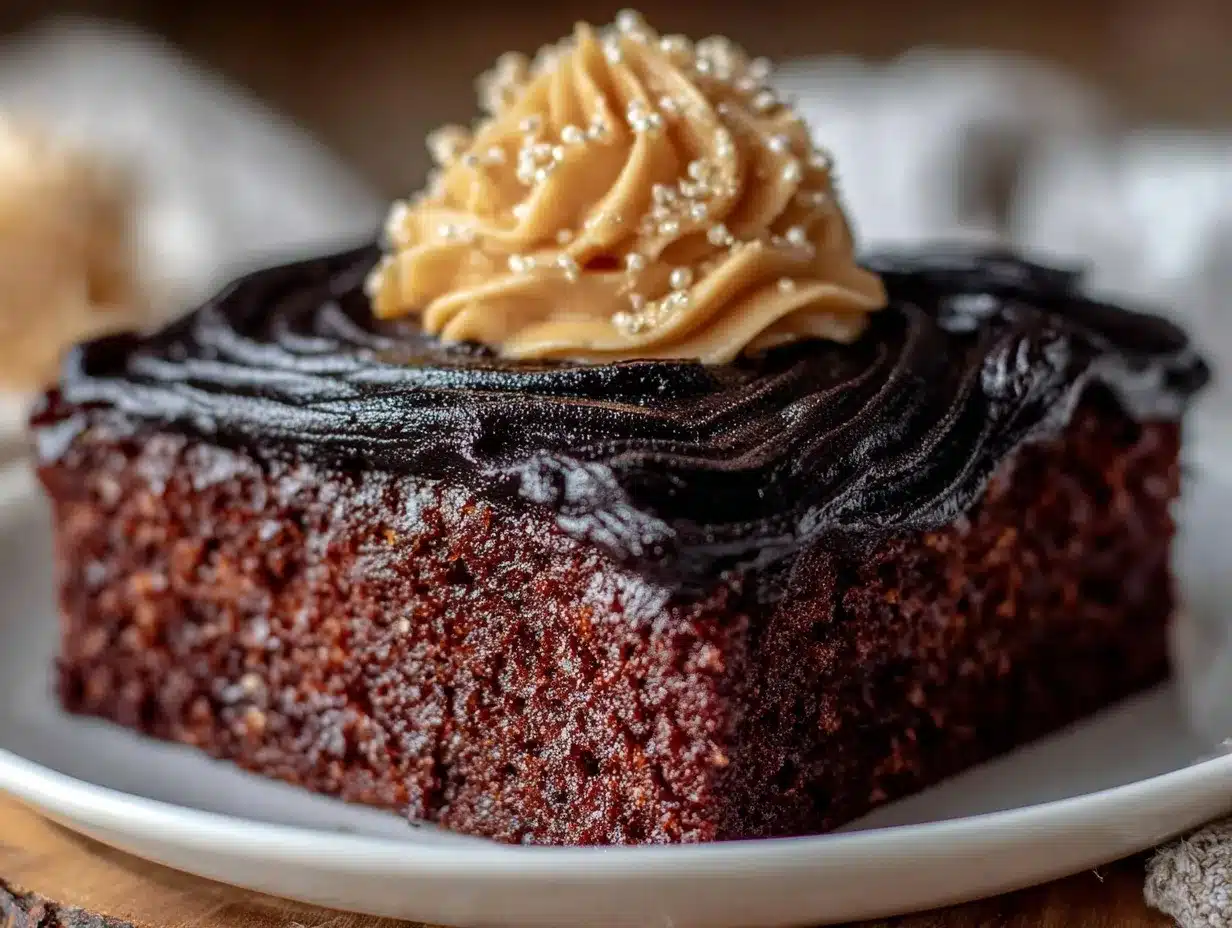
- Create the cap design: Use leftover frosting or fondant to shape the mortarboard square and pipe a tassel with yellow buttercream. Add edible glitter or sprinkles if you like a bit of sparkle.
Pro tip: If your buttercream feels too soft while decorating, pop it in the fridge for 10 minutes to firm up. Also, a warm spatula can help smooth the frosting better—dip it in hot water and dry before smoothing.
Cooking Tips & Techniques
Here’s what I’ve learned after making this cake a bunch of times (sometimes twice in the same week during graduation season):
- Room temperature ingredients matter: Eggs and buttermilk at room temp incorporate better, giving a fluffier cake texture. Cold ingredients can toughen the crumb.
- Don’t skip the boiling water: It really brings out the cocoa’s richness and keeps the cake moist, even a day later.
- Beat buttercream thoroughly: Whipping the butter alone before adding sugar makes a big difference in smoothness. Don’t rush this step.
- Coloring buttercream: Use gel food coloring instead of liquid to avoid thinning the frosting. Add just a little at a time to reach a consistent black.
- Crumb coat is your friend: It traps loose crumbs and gives you a smooth canvas for decorating, so your graduation cap looks clean and polished.
- Work in a cool environment: Buttercream melts quickly. If your kitchen’s warm, chilling the cake between frosting layers helps keep things tidy.
- Practice piping tassels on parchment: If you’re new to piping, practicing on parchment paper first takes the pressure off your decoration skills.
One time, I accidentally added too much water to the batter and thought I ruined the cake—turns out, it was one of the moistest batches I’ve ever made. So don’t sweat little mistakes; sometimes they lead to happy accidents.
Variations & Adaptations
You can easily tweak this easy buttercream graduation cap sheet cake to suit different tastes and dietary needs:
- Flavor twists: Swap cocoa powder for espresso powder in the batter for a mocha version. Or add a teaspoon of cinnamon for a subtle warmth.
- Frosting alternatives: Use cream cheese frosting instead of buttercream for a tangy contrast. Just keep in mind cream cheese frosting needs refrigeration.
- Dietary needs: Make it gluten-free by using a 1:1 gluten-free baking blend. For dairy-free, replace butter and cream with plant-based alternatives like vegan margarine and coconut cream.
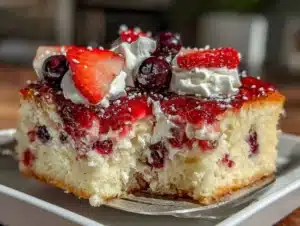
- Seasonal decor: For spring or summer graduations, add fresh edible flowers or fruit on top (think blueberries or sliced strawberries) to brighten the look.
- Mini cakes: Try baking in smaller pans or cupcake tins to create individual graduation caps—perfect for party favors or easy servings.
I once made a version with a peppermint buttercream twist for a winter graduation, and it was surprisingly refreshing! Feel free to experiment with piping different tassel colors or adding a personalized message on the cake’s edge.
Serving & Storage Suggestions
This cake is best served at room temperature, about 30 minutes after taking it out of the fridge. The buttercream softens slightly, making each bite melt in your mouth.
Present it on a simple white platter or a decorative board with some fresh flowers or graduation-themed toppers for a festive touch. It pairs wonderfully with cold milk, coffee, or even a sparkling punch for adults.
To store, cover the cake loosely with plastic wrap or place it in an airtight container. It will stay fresh in the refrigerator for up to 4 days. For longer storage, slice and freeze individual pieces in sealed bags for up to 3 months. Thaw overnight in the fridge and bring to room temperature before serving.
The flavors actually deepen after a day or two, so if you can resist, prepping it a day ahead is a smart move. Just keep the frosting covered well to avoid any crust forming.
Nutritional Information & Benefits
This cake is a treat, but here’s a rough idea of the nutrition per generous slice (1/12th of the cake):
| Calories | 350-400 kcal |
|---|---|
| Fat | 18-22 grams (mostly from butter and oil) |
| Carbohydrates | 45-50 grams (mostly from sugar and flour) |
| Protein | 4-5 grams (from eggs and milk) |
The cocoa powder adds antioxidants, and the buttermilk provides calcium and a slight tang that balances the sweetness. For those watching dietary concerns, this cake can be modified to be gluten-free or dairy-free as noted earlier.
While it’s not an everyday snack, this cake brings joy and celebration to the table, which is just as important for wellness as the ingredients themselves.
Conclusion
If you’re looking for a cake that’s both easy to make and special enough for a graduation party, this easy buttercream graduation cap sheet cake fits the bill perfectly. It’s the kind of recipe that feels like a little victory every time you make it—simple ingredients, approachable steps, and a look that always impresses.
Don’t be afraid to tweak the decorations or flavors to match your graduate’s personality. Whether you’re hosting a big bash or a cozy family gathering, this cake brings warmth and sweetness to the celebration.
Honestly, baking this cake has become a small tradition in my circle—something that marks the moment with a smile (and a big slice). I’d love to hear how your version turns out or what creative twists you try, so feel free to leave a comment below and share your experience!
Frequently Asked Questions
Can I make this cake ahead of time?
Yes! Bake the cake a day or two in advance, store it covered in the fridge, and frost on the day of the celebration for the best results.
How do I get the buttercream to be black for the graduation cap?
Use gel food coloring instead of liquid to avoid thinning the frosting. Add a little at a time and mix well until you get a deep black shade.
Can I use a different pan size?
A 9×13 inch pan works best, but you can adjust the baking time if using a smaller or larger pan. Just watch for doneness by testing with a toothpick.
What if I don’t have buttermilk?
Make a quick substitute by adding 1 tablespoon lemon juice or white vinegar to 1 cup milk. Let it sit for 5 minutes before using.
How do I pipe the tassel if I’m new to decorating?
Practice piping on parchment paper first. Use a small round tip and steady your hand. If piping feels tricky, a simple fondant tassel or pre-made decoration works well too.
For a lighter summer dessert to pair with this cake, you might enjoy the refreshing fresh watermelon cucumber gazpacho. Its crisp flavors balance the richness beautifully. And for a little extra sweetness, the fluffy mulberry muffins are a perfect treat for casual gatherings that need a touch of homemade comfort.
Pin This Recipe!
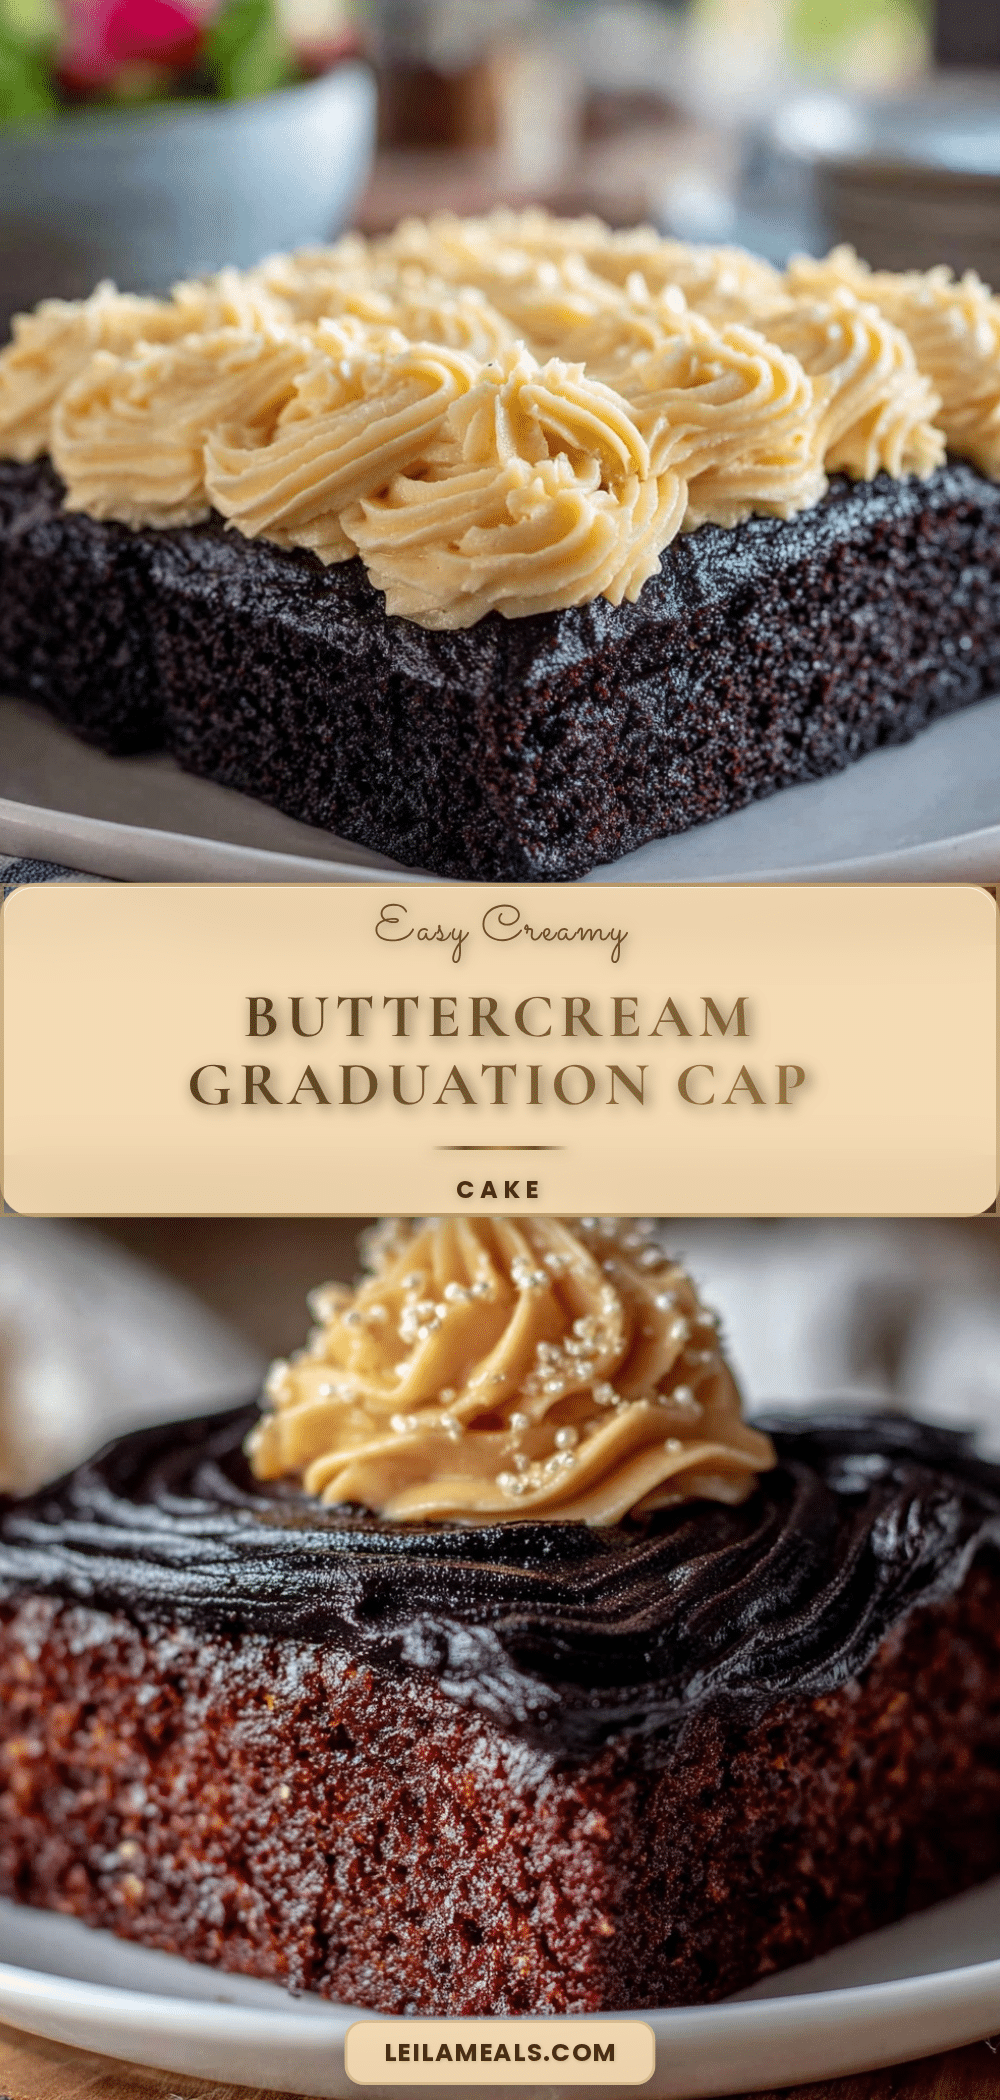
Easy Buttercream Graduation Cap Sheet Cake Recipe for Perfect Celebrations
A quick and easy chocolate sheet cake with silky buttercream frosting, decorated to look like a graduation cap. Perfect for celebrations and crowd-pleasing with simple pantry ingredients.
- Prep Time: 20 minutes
- Cook Time: 35 minutes
- Total Time: 55 minutes
- Yield: 12 servings 1x
- Category: Dessert
- Cuisine: American
Ingredients
- 2 ½ cups all-purpose flour (312.5 grams), sifted
- 2 cups granulated sugar (400 grams)
- ¾ cup unsweetened cocoa powder (75 grams)
- 1 ½ teaspoons baking soda
- 1 ½ teaspoons baking powder
- 1 teaspoon salt
- 1 cup buttermilk (240 ml), room temperature (or 1 cup milk + 1 tbsp lemon juice, let sit 5 minutes)
- ½ cup vegetable oil (120 ml)
- 2 large eggs, room temperature
- 2 teaspoons vanilla extract
- 1 cup boiling water (240 ml)
- 1 cup unsalted butter (227 grams), softened
- 4 cups powdered sugar (480 grams), sifted
- 2–3 tablespoons heavy cream (30–45 ml)
- 2 teaspoons vanilla extract
- Pinch of salt
- Black gel food coloring (optional)
- Edible gold sprinkles or glitter (optional)
- Fondant or piped buttercream tassel in contrasting color (e.g., yellow or gold)
Instructions
- Preheat oven to 350°F (175°C). Grease a 9×13 inch baking pan with butter and dust lightly with flour or line with parchment paper.
- In a large bowl, sift together flour, cocoa powder, baking soda, baking powder, and salt. Whisk to combine.
- In another bowl, whisk buttermilk, vegetable oil, eggs, and vanilla extract until smooth and slightly frothy.
- Slowly add the wet mixture to the dry ingredients, stirring gently with a spatula or mixer on low speed until just combined.
- Carefully pour boiling water into the batter and mix slowly. The batter will be thin.
- Pour batter evenly into the prepared pan and bake for 30-35 minutes or until a toothpick inserted in the center comes out clean.
- Let the cake cool in the pan for 15 minutes, then transfer to a cooling rack to cool completely.
- Beat softened butter with an electric mixer on medium speed until creamy (about 2 minutes). Gradually add powdered sugar, one cup at a time, mixing well.
- Add heavy cream, vanilla extract, and a pinch of salt. Beat on high speed for 3 minutes until fluffy. Adjust consistency with more cream or powdered sugar as needed.
- Add black gel food coloring a little at a time until desired deep black color is reached. Stir well to avoid streaks.
- Spread a thin crumb coat layer of buttercream over the cooled cake and chill for 20 minutes.
- Cover with a thicker layer of black buttercream, smoothing with an offset spatula.
- Use leftover frosting or fondant to shape the mortarboard square and pipe a tassel with yellow buttercream. Add edible glitter or sprinkles if desired.
Notes
Use room temperature eggs and buttermilk for a fluffier cake. Add boiling water to intensify cocoa flavor and keep cake moist. Use gel food coloring to avoid thinning buttercream. Chill cake between frosting layers to prevent melting. Practice piping tassels on parchment paper if new to decorating. Cake can be made ahead and stored in fridge for up to 4 days or frozen for up to 3 months.
Nutrition
- Serving Size: 1 slice (1/12th of c
- Calories: 375
- Sugar: 35
- Sodium: 300
- Fat: 20
- Saturated Fat: 12
- Carbohydrates: 48
- Fiber: 3
- Protein: 5
Keywords: graduation cake, buttercream cake, chocolate sheet cake, easy cake recipe, celebration dessert, buttercream frosting, graduation party dessert