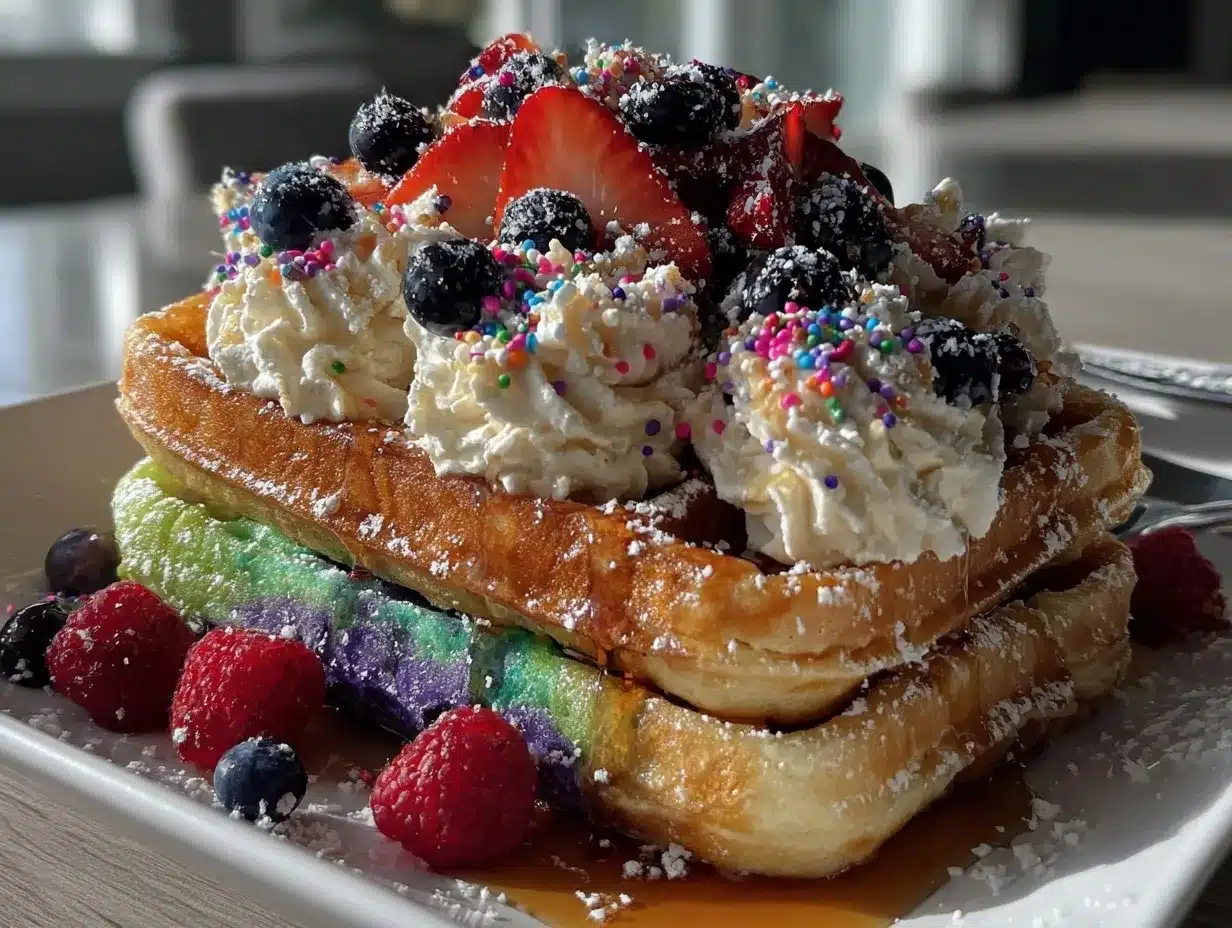
Imagine this: Your kitchen is filled with the sweet scent of vanilla and butter, a gentle sizzle from the waffle iron, and a riot of colors that could make even the Grinch crack a smile. When you open the waffle maker, it’s not just breakfast—it’s a whimsical parade of red, blue, and green, ready to delight your little ones. The first time I whipped up these crispy Dr. Seuss waffles, the look on my kids’ faces was priceless. They stared wide-eyed, mouths open, and then burst out laughing at their “wacky” breakfast. It was the kind of moment where you pause, take a deep breath, and just smile because, honestly, you know you’ve stumbled onto something truly special.
This waffle recipe is straight from the playbook of my childhood—back when I was knee-high to a grasshopper and my grandma would sneak crazy colors into our pancakes “just for fun.” Years ago, I would’ve never thought to bring Dr. Seuss’s topsy-turvy world to the breakfast table, but a rainy Saturday and a stack of library books changed all that. Now, these wacky colorful waffles are a staple for Saturday mornings, birthday breakfasts, and any day that needs a bit of cheer. I wish I’d discovered this simple trick years ago—it turns even the sleepiest kids into eager little helpers.
Let’s face it, these crispy Dr. Seuss waffles aren’t just for show. My family couldn’t stop sneaking them off the cooling rack (and neither could I, if we’re being honest). They’re perfect for playdates, sleepovers, or as a surprise “happy Friday” treat. There’s something magical about watching kids debate which color tastes the best, even though you and I know it’s all the same delicious, crispy base. After testing this recipe more times than I care to admit (in the name of research, of course), I can safely say this one’s a keeper. It’s the kind of breakfast that feels like a warm hug and makes you want to snap a quick photo for your Pinterest board. Trust me, you’re going to want to bookmark this one.
Why You’ll Love These Crispy Dr. Seuss Waffles
Making these crispy Dr. Seuss waffles has turned me into a bit of a breakfast legend in my house. Over years of testing, tweaking, and “just one more batch to get it right,” I’ve picked up a few tricks that make this recipe stand out. Here’s why it deserves a spot in your kitchen rotation:
- Quick & Easy: You can whip these up in under 30 minutes, even with little helpers in tow. Great for those mornings when you need a win but still want to enjoy your coffee while it’s hot.
- Simple Ingredients: No fancy stuff here! You probably have everything you need in your pantry and fridge right now—flour, eggs, milk, and a few pantry basics.
- Perfect for Celebrations: These waffles are a hit at birthday breakfasts, Dr. Seuss Day, or just to add a pop of fun to a dull morning. They’re guaranteed to steal the show at any kiddo gathering.
- Crowd-Pleaser: Kids love the colors and crispy edges, and adults love that they’re not too sweet or heavy. Even picky eaters have been known to clean their plates.
- Unbelievably Delicious: These aren’t just cute—they’re golden, crispy, and tender inside. The secret? A touch of cornstarch and a hot waffle iron for that signature crunch.
What really sets this Dr. Seuss waffle recipe apart is the clever use of gel food coloring for vibrant hues without weird aftertastes. Plus, I always separate the eggs and whip the whites for extra fluff (a pro tip from my days working the brunch line). You won’t find soggy, limp waffles here—just crispy, color-packed goodness that holds up to syrup, fruit, or whipped cream.
Honestly, the best part is the reaction you get. It’s the kind of breakfast that makes even grown-ups giggle and sparks a little extra joy at the table. It’s comfort food, but with a playful twist—healthier than boxed mixes, faster than a bakery run, and way more memorable. If you want a breakfast that brings people together, gets everyone talking, and leaves you with a stack of happy memories (and maybe some sticky fingers), these crispy Dr. Seuss waffles are your new go-to.
What Ingredients You Will Need
These crispy Dr. Seuss wacky colorful waffles for kids are proof that a handful of kitchen staples can pull off a magical breakfast. Here’s everything you’ll need for a batch of pure, playful fun:
- All-Purpose Flour – 2 cups (250g) (for a classic, crispy texture; King Arthur or Gold Medal both work well)
- Cornstarch – 1/4 cup (30g) (for extra crunch—don’t skip this secret weapon!)
- Granulated Sugar – 2 tablespoons (25g) (just enough sweetness without overpowering)
- Baking Powder – 1 tablespoon (12g) (for nice lift and fluff)
- Baking Soda – 1/2 teaspoon (2g)
- Salt – 1/2 teaspoon (3g) (brings out the flavor)
- Large Eggs – 2, separated (room temperature helps with fluffier waffles)
- Whole Milk – 1 3/4 cups (420ml) (can sub with dairy-free milk, like oat or almond, if needed)
- Unsalted Butter – 1/2 cup (115g), melted and cooled (or use coconut oil for a dairy-free version)
- Pure Vanilla Extract – 1 teaspoon (5ml) (for that comforting aroma)
- Gel Food Coloring – red, blue, green, yellow, etc. (AmeriColor or Wilton are my favorites—gel gives the brightest colors without thinning the batter)
- Nonstick Cooking Spray or Additional Melted Butter (for greasing your waffle iron—crucial for those crispy edges)
Optional toppings: Whipped cream, fresh berries, chocolate chips, colored sprinkles, or maple syrup. (Let the kids pick!)
Ingredient tips: For gluten-free waffles, swap the flour for your favorite 1:1 gluten-free blend. If you’re egg-free, you can use a flax egg (1 tablespoon ground flax + 3 tablespoons water, per egg) but the color won’t be as vivid. Don’t use liquid food coloring—it’ll water down your batter. If you want a lower-sugar version, you can reduce the sugar to 1 tablespoon without losing taste.
Equipment Needed
- Waffle Iron – Any standard or Belgian-style works. I’ve had great results with both cheap and pricier models. If you have a mini waffle maker for the kids, those work too! (Don’t forget to preheat!)
- Mixing Bowls – One large, one medium, and a few small bowls for the colored batters.
- Hand Mixer or Stand Mixer – For whipping egg whites. (You can do it by hand, but your arm might protest.)
- Measuring Cups & Spoons – Accuracy makes a difference, especially with baking powder and cornstarch.
- Spatula – For gently folding and scooping colorful batter.
- Small Spoon or Ice Cream Scoop – For portioning colored batter into the waffle iron.
- Cooling Rack – Helps keep waffles crispy before serving.
- Nonstick Spray or Pastry Brush – For greasing the waffle iron.
No waffle iron? You can cook the batter like pancakes on a nonstick skillet—just lower the heat and watch for those crispy edges. If you’re on a budget, thrift stores often have reliable waffle makers for a few bucks. Just give them a good scrub! And for specialty equipment, like gel coloring squeeze bottles, a good rinse in hot soapy water keeps them ready for the next batch of fun.
How to Make Crispy Dr. Seuss Wacky Colorful Waffles
-
Prep the Waffle Iron:
Preheat your waffle iron according to manufacturer instructions. The hotter, the crispier! Lightly grease with nonstick spray or melted butter. (Nothing ruins the mood like a stuck waffle.)
-
Mix Dry Ingredients:
In a large bowl, whisk together 2 cups (250g) all-purpose flour, 1/4 cup (30g) cornstarch, 2 tablespoons (25g) sugar, 1 tablespoon (12g) baking powder, 1/2 teaspoon (2g) baking soda, and 1/2 teaspoon (3g) salt. Make sure there are no lumps—kids love helping with this part!
-
Combine Wet Ingredients:
In a separate medium bowl, whisk together 1 3/4 cups (420ml) milk, 1/2 cup (115g) melted butter (cooled), and 1 teaspoon (5ml) vanilla. Add the two egg yolks (save the whites for later) and whisk until smooth. If your butter is too hot, you might scramble the eggs, so let it cool a bit first.
-
Whip Egg Whites:
In another clean bowl, use a hand mixer or stand mixer to whip the 2 egg whites until stiff peaks form (about 2–3 minutes). This step is what gives your waffles their fluff and crispy shell—trust me, don’t skip it!
-
Combine Everything:
Pour the wet ingredients into the dry and gently mix just until combined. Some lumps are OK—don’t overmix or you’ll get tough waffles.
-
Fold in Whipped Egg Whites:
Gently fold the whipped egg whites into the batter with a spatula. Use a light hand—think “scooping clouds,” not “mixing cement.” The batter will be fluffy and light.
-
Divide & Color:
Split the batter evenly into 3–4 small bowls (depending on how many colors you want). Add a tiny amount of gel food coloring to each bowl and stir to combine. Go slow—gel is potent! (If you’re worried about stains, put the bowls on a baking sheet for easy cleanup.)
-
Assemble the Waffles:
Spoon dollops of each colored batter onto the hot waffle iron. There’s no wrong way—swirls, stripes, blobs, or polka dots! Close the lid and let cook per manufacturer instructions (usually 3–5 minutes), until the waffle is golden and crisp. Steam should mostly stop rising when they’re done.
-
Remove & Cool:
Use a fork or tongs to lift the waffle out and transfer to a cooling rack (not a plate—keeps them crispy!). Repeat with remaining batter, re-greasing the iron as needed.
-
Serve:
Pile the wacky colorful waffles onto a platter, top with whipped cream, fruit, or syrup, and watch the smiles appear.
Troubleshooting: If your waffles are pale and limp, the iron wasn’t hot enough. If they’re sticking, add more grease and don’t lift too soon. Batter too thick? Add a splash of milk. Colors bleeding? Use less food coloring and work quickly.
Personal tip: I like to let the kids “paint” their own waffle with a spoon for extra fun—just put a kitchen towel under the bowls and let them go wild!
Cooking Tips & Techniques
- Preheat is Key: Always let your waffle iron heat fully before adding batter. If you rush, you’ll get soggy, pale waffles. Trust me, I’ve learned this the hard way when I was in a hurry (and regretted it!).
- Don’t Overmix: Lumpy batter is happy batter. Overmixing develops gluten, which makes waffles tough—not what you want for breakfast fun.
- Egg White Magic: Whipping and folding in the egg whites makes a surprisingly big difference in crispiness. I used to skip this step, but after a few floppy batches, I’m a convert.
- Work Fast with Color: Once you add food coloring, get the batter into the iron quickly. If it sits too long, the colors can fade or bleed together. If you want super-sharp lines, use squeeze bottles for each color.
- Batch Cooking Strategy: If making a lot, keep finished waffles in a 200°F (95°C) oven on a rack—never stacked on a plate, or they’ll steam and lose their crunch.
- Grease Often: Even nonstick waffle irons need a quick spray between batches. A stuck waffle is a sad waffle (and a mess to clean up!).
- Let Kids Help: This is a great recipe for little hands. Assign them to stir, squeeze color, or pick toppings. Just keep hot irons out of reach.
Lessons learned: I once tried liquid food coloring, and the batter turned out runny—stick to gel for best results. And don’t be afraid to experiment with pattern—no two waffles ever look the same, and that’s the fun of it!
Variations & Adaptations
- Gluten-Free: Swap the all-purpose flour for a 1:1 gluten-free flour blend. The texture is still crispy and light—my neighbor’s gluten-sensitive kid gave them a big thumbs-up!
- Dairy-Free: Use oat milk or almond milk and substitute melted coconut oil for butter. The color is a little different, but the flavor is still awesome.
- Natural Colors: For a dye-free version, use beet powder (pink), spirulina (green), and turmeric (yellow). The colors are softer, but still fun—and perfect for kids with sensitivities.
- Chocolate Swirl: Add 2 tablespoons of cocoa powder to one bowl of batter for a chocolate stripe or swirl. My kids call these “Cat in the Hat” waffles!
- Mini Waffles: Use a mini iron for bite-sized, lunchbox-friendly versions. They freeze and reheat well, too.
- Egg-Free: Replace eggs with flax eggs or a commercial replacer. The waffles are a bit less fluffy, but still crisp and tasty.
One of my favorite twists was making a “rainbow” batch for a Pride celebration—just divide the batter into more bowls and use all the colors you have. Don’t be afraid to let your kids pick their own color combos for a truly wacky breakfast!
Serving & Storage Suggestions
For the ultimate Dr. Seuss breakfast, serve these waffles hot and crispy, straight from the iron. I like to stack them high on a big platter, drizzle with syrup, and finish with sprinkles or whipped cream. If you’re feeling fancy, add a side of fresh berries or a rainbow fruit salad. For drinks, a cold glass of milk or a fruity smoothie keeps things kid-friendly and fun.
If you have leftovers (which, let’s be honest, rarely happens), let the waffles cool completely on a rack. Store them in an airtight container in the fridge for up to 3 days or freeze for up to a month. Just pop them in the toaster or oven at 350°F (175°C) for 5–7 minutes to bring back the crunch. I’ve noticed the colors stay vibrant even after reheating, so don’t worry about drab leftovers.
The flavors actually get even better after a little rest—something about the vanilla and butter melding overnight. These waffles also make a great lunchbox treat or after-school snack. Stack with parchment between layers to keep them from sticking, and watch for little hands sneaking “just one more” from the container!
Nutritional Information & Benefits
Each crispy Dr. Seuss waffle (about 1/6 of the recipe) contains approximately 220 calories, 9g fat, 28g carbs, 5g protein, and less than 7g sugar (without toppings). They’re a good source of energy for busy mornings, with a nice balance of carbs and protein from eggs and milk.
If you go the gluten-free or dairy-free route, the numbers shift a bit, but you still get a fun, nutrient-packed breakfast without much fuss. The food coloring is used in small amounts, but if you prefer, natural powders are a good alternative. Allergens in this recipe include wheat, eggs, and dairy—easy to adapt with swaps above.
Honestly, breakfast is more than just nutrition—it’s about starting the day with a little joy. These waffles are my way of making mornings feel special, even when life is busy. And with wholesome ingredients, I feel good about serving them to my crew (with a side of fruit, of course!).
Conclusion
If you want a breakfast that’s as fun to make as it is to eat, these crispy Dr. Seuss wacky colorful waffles are your ticket to an unforgettable morning. They’re easy, quick, and guaranteed to spark a little magic at your table—whether it’s a birthday, a rainy Saturday, or just a day when you need some extra cheer. I love how these waffles bring my family together, spark laughter, and turn even the most ordinary day into something worth celebrating.
Don’t be afraid to customize—change up the colors, add fun toppings, or let the kids make their own masterpiece. That’s half the fun! If you make these, I’d love to hear what wild color combos you try or see your creations (tag me on Pinterest or drop a comment below!).
Here’s to crispy edges, colorful swirls, and breakfast memories that last. Go ahead—make your morning a little wackier. You won’t regret it!
FAQs About Crispy Dr. Seuss Wacky Colorful Waffles for Kids
Can I use liquid food coloring instead of gel?
Gel food coloring is best because it gives vibrant color without thinning the batter. Liquid coloring can make your waffles soggy and pale. If you must use liquid, use it sparingly, and expect more pastel shades.
How do I make these waffles gluten-free?
Simply swap the all-purpose flour for a 1:1 gluten-free flour blend. The texture stays crispy and light, and the colors turn out just as bright!
Can I freeze these waffles?
Yes! Let them cool completely, then freeze in a single layer. To reheat, pop them in the toaster or oven at 350°F (175°C) until crispy—just like fresh.
Are these waffles very sweet?
Nope! They’re lightly sweetened, so you can pile on toppings or syrup without overdoing it. If you prefer less sugar, reduce to 1 tablespoon with no issues.
What’s the best way to get super crispy waffles?
Make sure your waffle iron is fully preheated and don’t stack hot waffles—cool them on a rack. The combo of cornstarch and whipped egg whites is the secret for that perfect crunch!
Pin This Recipe!
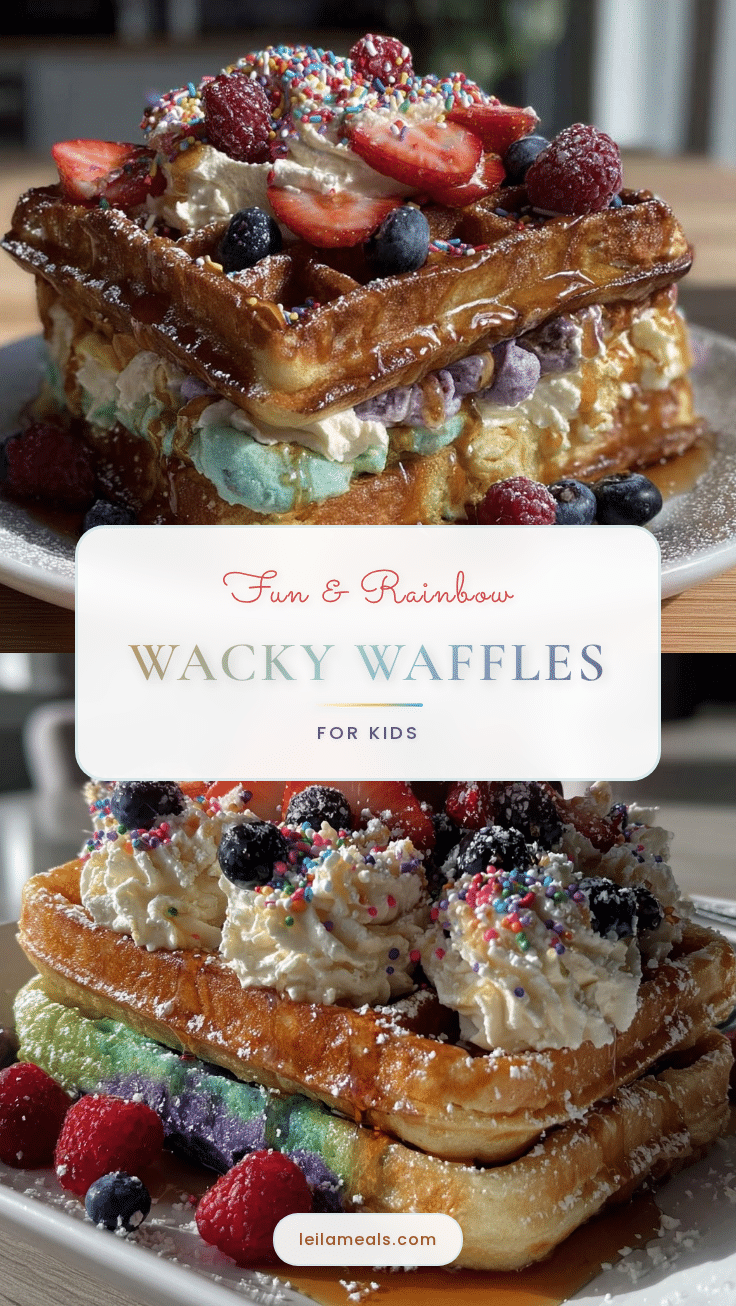
Crispy Dr. Seuss Waffles – Easy Colorful Breakfast Kids Love
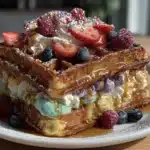
These crispy, colorful Dr. Seuss waffles are a whimsical breakfast treat that kids adore and adults love too. With a golden, crunchy exterior and playful swirls of color, they’re perfect for celebrations or brightening up any morning.
- Prep Time: 15 minutes
- Cook Time: 15 minutes
- Total Time: 30 minutes
- Yield: 6 waffles 1x
- Category: Breakfast
- Cuisine: American
Ingredients
- 2 cups all-purpose flour (250g)
- 1/4 cup cornstarch (30g)
- 2 tablespoons granulated sugar (25g)
- 1 tablespoon baking powder (12g)
- 1/2 teaspoon baking soda (2g)
- 1/2 teaspoon salt (3g)
- 2 large eggs, separated
- 1 3/4 cups whole milk (420ml)
- 1/2 cup unsalted butter, melted and cooled (115g) (or coconut oil for dairy-free)
- 1 teaspoon pure vanilla extract (5ml)
- Gel food coloring (red, blue, green, yellow, etc.)
- Nonstick cooking spray or additional melted butter (for greasing waffle iron)
- Optional toppings: whipped cream, fresh berries, chocolate chips, colored sprinkles, maple syrup
Instructions
- Preheat your waffle iron according to manufacturer instructions. Lightly grease with nonstick spray or melted butter.
- In a large bowl, whisk together flour, cornstarch, sugar, baking powder, baking soda, and salt until well combined.
- In a medium bowl, whisk together milk, melted butter (cooled), and vanilla. Add the two egg yolks and whisk until smooth.
- In another clean bowl, use a hand mixer or stand mixer to whip the 2 egg whites until stiff peaks form (about 2–3 minutes).
- Pour the wet ingredients into the dry ingredients and gently mix just until combined. Do not overmix.
- Gently fold the whipped egg whites into the batter with a spatula until just incorporated.
- Divide the batter evenly into 3–4 small bowls. Add a small amount of gel food coloring to each bowl and stir to combine.
- Spoon dollops of each colored batter onto the hot waffle iron in any pattern you like. Close the lid and cook per manufacturer instructions (usually 3–5 minutes), until golden and crisp.
- Remove waffles and transfer to a cooling rack. Repeat with remaining batter, re-greasing the iron as needed.
- Serve hot with your favorite toppings.
Notes
For gluten-free waffles, use a 1:1 gluten-free flour blend. For dairy-free, substitute oat or almond milk and coconut oil. Use only gel food coloring for vibrant colors without thinning the batter. Keep finished waffles on a rack in a 200°F oven if making a large batch. Let kids help with coloring and decorating for extra fun.
Nutrition
- Serving Size: 1 waffle (about 1/6
- Calories: 220
- Sugar: 7
- Sodium: 300
- Fat: 9
- Saturated Fat: 5
- Carbohydrates: 28
- Fiber: 1
- Protein: 5
Keywords: waffles, Dr. Seuss, colorful breakfast, kids breakfast, crispy waffles, fun breakfast, birthday breakfast, easy waffles, homemade waffles