Let me tell you, the aroma of melted chocolate swirling together with the sweet scent of fresh strawberries is one of those magical kitchen moments. Seriously, when you dip fluffy marshmallows into glossy chocolate and finish them off with a pop of vibrant strawberry, it’s like a party for your senses. The first time I made these Chocolate-Covered Strawberry Marshmallow Pops, I was just trying to impress my niece for her birthday (she’s got a sweet tooth the size of Texas). I remember pausing, sticky hands and all, and just smiling—because sometimes you stumble upon a treat so fun, so cheerful, that it instantly becomes a family classic.
Back when I was knee-high to a grasshopper, my grandma used to make homemade marshmallows and dip them in all sorts of things, but chocolate and strawberries always stole the show. These pops remind me of those lazy summer afternoons, sugar-dusted fingers, and giggles echoing through the house. I wish I’d known about this dangerously easy combo years ago (honestly, I’d have been the hero of every bake sale and school party). Now, whenever I whip up a batch, my family can’t help but sneak a few off the tray before they’ve even cooled. You know what? I can’t really blame them.
There’s something about Chocolate-Covered Strawberry Marshmallow Pops that brings pure, nostalgic comfort—plus, they’re perfect for potlucks, birthday parties, Valentine’s Day, or just brightening up your Pinterest board. These treats have become a staple for our family gatherings and gifting (all in the name of research, of course). If you’re looking for a sweet, playful treat that feels like a warm hug, you’re going to want to bookmark this one. Trust me, your party table will thank you!
Why You’ll Love This Recipe
Chocolate-Covered Strawberry Marshmallow Pops aren’t just adorable—they’re downright irresistible. After testing these pops more times than I care to admit (hey, someone’s got to do it), I’ve picked up a few tricks to make them foolproof. Here’s why they deserve a permanent spot in your treat arsenal:
- Quick & Easy: Comes together in under 30 minutes—no baking, no waiting forever. Perfect for busy parents, last-minute party planners, or anyone who wants a sweet treat fast.
- Simple Ingredients: No fancy shopping required. Most of what you need is probably already in your pantry or fridge.
- Perfect for Parties: These pops are made for celebrations—think birthdays, Valentine’s, baby showers, or any time you want to impress without a hassle.
- Crowd-Pleaser: Kids go wild for them, adults sneak extras, and honestly, they’re a hit with just about everyone. There’s just something about the classic chocolate-strawberry combo that never gets old.
- Unbelievably Delicious: The fluffy marshmallow center, crisp chocolate shell, and tangy strawberry topping create a texture and flavor combo that’s pure comfort food.
What sets these pops apart? Unlike those store-bought versions, my recipe uses real strawberries for a fresh burst of flavor, a special double-dip chocolate technique to keep them glossy, and a playful assembly that’s fun for all ages. Whether you’re blending the berries for a smooth finish or letting little hands help with the dipping, these treats are a memory-maker. They’re not just pretty—they’re the kind of snack that makes you close your eyes after the first bite, savoring every sweet, fruity, chocolatey moment.
If you’ve ever wanted to impress guests without melting into a puddle of stress, or just want to turn an ordinary weeknight into something memorable, these Chocolate-Covered Strawberry Marshmallow Pops are the answer. Give them a try, and you’ll see why my family requests them for every get-together!
What Ingredients You Will Need
This recipe uses simple, wholesome ingredients to deliver bold flavor and satisfying texture without the fuss. Most are pantry staples or easy to find at any grocery store (no wild goose chases required). Here’s what you’ll need:
- For the pops:
- Large marshmallows (about 24 pieces) – classic or jumbo size, depending on your preference
- Fresh strawberries (about 12 medium berries), hulled and sliced thin
- Chocolate chips (1½ cups/270g) – semi-sweet or dark, depending on your taste (I love Ghirardelli for extra sheen)
- Coconut oil (2 tablespoons/30ml) – helps chocolate stay smooth and glossy
- Short lollipop sticks or wooden skewers (about 24 pieces)
- For decoration (optional):
- White chocolate chips (½ cup/90g), melted for drizzling
- Sprinkles, colored sugar, or crushed freeze-dried strawberries (for a pop of color and crunch)
- Ingredient notes & substitutions:
- If you’re dairy-free, use Enjoy Life chocolate chips and skip the white chocolate drizzle or sub with vegan white chocolate.
- Mini marshmallows can be used for bite-sized pops—just adjust the stick size.
- If strawberries aren’t in season, swap in freeze-dried strawberries or strawberry preserves (use a small dab on top of each marshmallow).
- Try almond or peanut butter chips for a fun twist on the drizzle.
- No coconut oil? A spoonful of butter works in a pinch, but coconut oil gives the best snap.
- Pro tip: For best flavor, use ripe, juicy strawberries—look for berries that are deep red all the way through. If you have leftovers, toss them in a smoothie or over pancakes!
Equipment Needed
- Lollipop sticks or wooden skewers – Short sticks are best for easy handling. I’ve used popsicle sticks in a pinch, but the thinner ones look neater.
- Microwave-safe bowl or double boiler – For melting chocolate. If you’re fancy, a chocolate melting pot is great, but honestly, the microwave works just fine for small batches.
- Baking sheet lined with parchment paper – Makes cleanup a breeze and keeps the pops from sticking.
- Small knife – For slicing strawberries thin and prepping marshmallows if needed.
- Toothpicks – Handy for swirling chocolate or adding fine detail with drizzles.
- Refrigerator space – You’ll need a shelf to chill the pops and set the chocolate.
If you don’t have parchment paper, wax paper works. For melting chocolate, a heatproof glass bowl over a saucepan of simmering water is a classic trick (my grandma always did it this way). When using wooden skewers, I like to snip them to size and sand off rough edges for safety, especially for kids. If you make pops often, reusable silicone mats are a budget-friendly investment—just wipe clean and store for next time!
Preparation Method
-
Prep your workspace (5 minutes):
Line a baking sheet with parchment paper. Set out marshmallows, strawberries, and lollipop sticks. Make sure your strawberries are washed, hulled, and sliced about ¼-inch (0.5cm) thick. If marshmallows are sticky, dust them lightly with powdered sugar. -
Insert sticks (5 minutes):
Push a stick or skewer about halfway into each marshmallow. If you’re making double-layer pops, alternate marshmallow and strawberry slices on the stick (marshmallow, strawberry, then marshmallow again). Make sure everything is secure but not squished. -
Melt chocolate (5 minutes):
Place chocolate chips and coconut oil in a microwave-safe bowl. Microwave in 20-second intervals, stirring after each, until smooth and glossy. (Alternatively, use a double boiler: stir chocolate and oil over simmering water until melted.) Chocolate should be fluid but not runny—if it’s too thick, add a splash more coconut oil. -
Dip pops (5–10 minutes):
Hold each marshmallow pop by the stick and dip into melted chocolate, turning to coat. Lift and let excess drip off. If you want a thicker shell, let the first coat set for 2–3 minutes in the fridge, then dip again. Sometimes I use a spoon to help cover stubborn spots. -
Add toppings (5 minutes):
Quickly press a thin strawberry slice onto each chocolate-covered marshmallow before the shell sets. Drizzle with melted white chocolate or sprinkle with colored sugar, freeze-dried berries, or sprinkles. If you’re feeling extra, swirl with a toothpick for a marbled effect. -
Chill to set (10–15 minutes):
Place finished pops on the lined baking sheet. Chill in the refrigerator for 10–15 minutes, or until chocolate is firm to the touch. Don’t skip this step—otherwise, the chocolate may smudge or slide! -
Serve and enjoy (immediate):
Once chocolate is set, remove from the fridge and arrange on a platter. If making ahead, keep pops chilled until serving. They’re best enjoyed fresh, but hold up well for a few hours at room temp.
Troubleshooting tips: If chocolate seizes (gets grainy), add a splash of coconut oil and stir gently. If pops stick to parchment, wiggle gently or use a thin spatula. Strawberries sliding off? Pat them dry before using. For efficiency, work in batches—dip, decorate, and chill in groups of 6.
Personal tip: When I’m making pops for a crowd, I set up a dipping station and let kids help with the toppings. It’s a little chaotic, but makes the party twice as fun!
Cooking Tips & Techniques
Here’s where the pro tricks come in (and a few hard-earned lessons from my own kitchen adventures):
- Chocolate matters: Use good-quality chocolate chips for a glossy, snappy shell. Cheap chips sometimes melt weird or taste waxy—trust me, I’ve tried.
- Don’t skip the coconut oil: It keeps the chocolate smooth and makes for easy dipping. Butter works in a pinch, but coconut oil is my go-to.
- Dry strawberries are key: If your berries are too wet, they’ll slip right off the marshmallow. Pat them dry with a paper towel before slicing.
- Chill between steps: If you want super clean layers, chill the marshmallow pops after the first chocolate dip, then dip again for a thick shell. This helps prevent melting or sliding.
- Batch work is smarter: Dip and decorate 6 pops at a time, then chill. This keeps everything manageable and stops toppings from melting off.
- Common mistakes: Overheating chocolate can cause it to seize. Use short microwave bursts and stir well. If you accidentally scorch it, toss and start over—burnt chocolate is no one’s friend!
- Decorating fun: Drizzle quickly before chocolate sets. If decorating with sprinkles or sugar, do it immediately after dipping for best stick.
- My kitchen fail: One time, I skipped the chilling step and ended up with a big gooey mess (lesson learned—patience pays off!).
- Multitasking: Set up an assembly line for dipping, topping, and chilling. Gets the job done faster and makes it a party activity for kids or guests.
If you follow these tips, your pops will turn out consistently delicious—and look picture-perfect for those Pinterest boards!
Variations & Adaptations
- Gluten-Free: All ingredients are naturally gluten-free, but double-check labels if you’re serving guests with allergies. Use gluten-free sprinkles or toppings if needed.
- Vegan Option: Swap regular marshmallows for a vegan brand (Dandies is great), and use dairy-free chocolate chips. Coconut oil is already vegan!
- Flavor Swap: Try dipping marshmallows in white or ruby chocolate for a different look and flavor. Or add a pinch of freeze-dried strawberry powder to the chocolate for extra berry flavor.
- Seasonal Twist: In winter, replace strawberries with candied orange peel or crushed peppermint. In summer, try fresh raspberries or blueberries for a colorful change.
- Nutty Crunch: Sprinkle chopped peanuts, almonds, or hazelnuts on the chocolate before it sets for a grown-up twist.
- Personal favorite: I love adding a thin layer of strawberry jam between two marshmallows, then dipping—almost like a marshmallow sandwich pop!
Customize for taste preferences: Mix and match toppings, swap fruits, or drizzle with colored chocolate. For different cooking methods, you can use a stovetop double boiler instead of the microwave for melting chocolate. If you need allergen substitutions, sunflower seed butter chips or carob chips work well for those with nut or chocolate allergies. Honestly, the fun is in experimenting!
Serving & Storage Suggestions
Chocolate-Covered Strawberry Marshmallow Pops are best served chilled or at cool room temperature. Pile them high on a colorful platter or stick them in a foam block for a party “bouquet”—it’s a showstopper for any dessert table!
- Serving: Serve straight from the fridge for crisp chocolate and fresh flavor. Pair with a glass of milk, lemonade, or sparkling rosé for grown-ups. For themed parties, match sprinkle colors to your event.
- Storage: Store pops in an airtight container in the refrigerator for up to 3 days. Layer with parchment so they don’t stick. For longer storage, freeze for up to 1 month—just thaw in the fridge before serving.
- Reheating: Pops don’t really need reheating, but if chocolate looks dull, let them sit at room temp for 15 minutes. Avoid microwaving, as marshmallows will melt!
- Flavor notes: The strawberry flavor intensifies after a few hours. Pops are best within 24 hours, but still delicious after a day or two.
If you’re gifting, wrap each pop in cellophane and tie with ribbon. They travel well for lunchboxes or party favors, too!
Nutritional Information & Benefits
Estimated per pop:
- Calories: 110
- Fat: 4g
- Sugar: 13g
- Protein: 1g
Key ingredients like strawberries provide vitamin C and antioxidants, while dark chocolate (if used) offers a little iron and magnesium. Marshmallows are mostly sugar, so think of these pops as a fun treat rather than a health food. For gluten-free or dairy-free diets, swap ingredients as needed—these pops are super adaptable. Possible allergens include dairy (in chocolate), gelatin (in marshmallows), and coconut oil. Always check labels if you’re serving guests with sensitivities. Personally, I love these pops for their balance of sweet and fruity—you get a little boost without going overboard. Everything in moderation, right?
Conclusion
If you’re hunting for a party treat that’s joyfully simple and sure to impress, these Chocolate-Covered Strawberry Marshmallow Pops are your new best friend. They’re easy to make, fun to decorate, and always a crowd favorite. Whether you stick to the classic combo or riff with your own creative toppings, each pop is a little bite of happiness.
Feel free to customize based on your family’s tastes—try new fruits, drizzle with colored chocolate, or add a crunchy sprinkle. I love this recipe for its playful spirit and nostalgic flavor (plus, it’s a lifesaver for last-minute entertaining). Give it a try, and let me know how it goes! Drop a comment below with your twist, share photos, or tag me if you post on Pinterest. Honestly, I can’t wait to see your creations—here’s to sweet party moments and sticky fingers!
Remember, the best recipes are the ones you make your own. Happy dipping!
FAQs
Can I make Chocolate-Covered Strawberry Marshmallow Pops ahead of time?
Absolutely! Prepare and chill up to 24 hours ahead. Store in an airtight container in the fridge, and they’ll stay fresh for your party.
What chocolate works best for dipping?
Semi-sweet or dark chocolate chips work great. Higher quality brands like Ghirardelli or Guittard melt smoother and taste richer.
How do I keep strawberries from sliding off the marshmallows?
Pat strawberries dry before slicing and pressing onto the chocolate. Wet berries can slip, so a little paper towel goes a long way.
Can I use frozen strawberries?
Fresh is best for flavor and texture, but you can use freeze-dried strawberries or a small dab of strawberry preserves if fresh aren’t available.
Are these pops safe for kids to make?
Yes, with adult supervision for melting chocolate. Kids love decorating—just watch out for sticky fingers and chocolate faces!
Pin This Recipe!
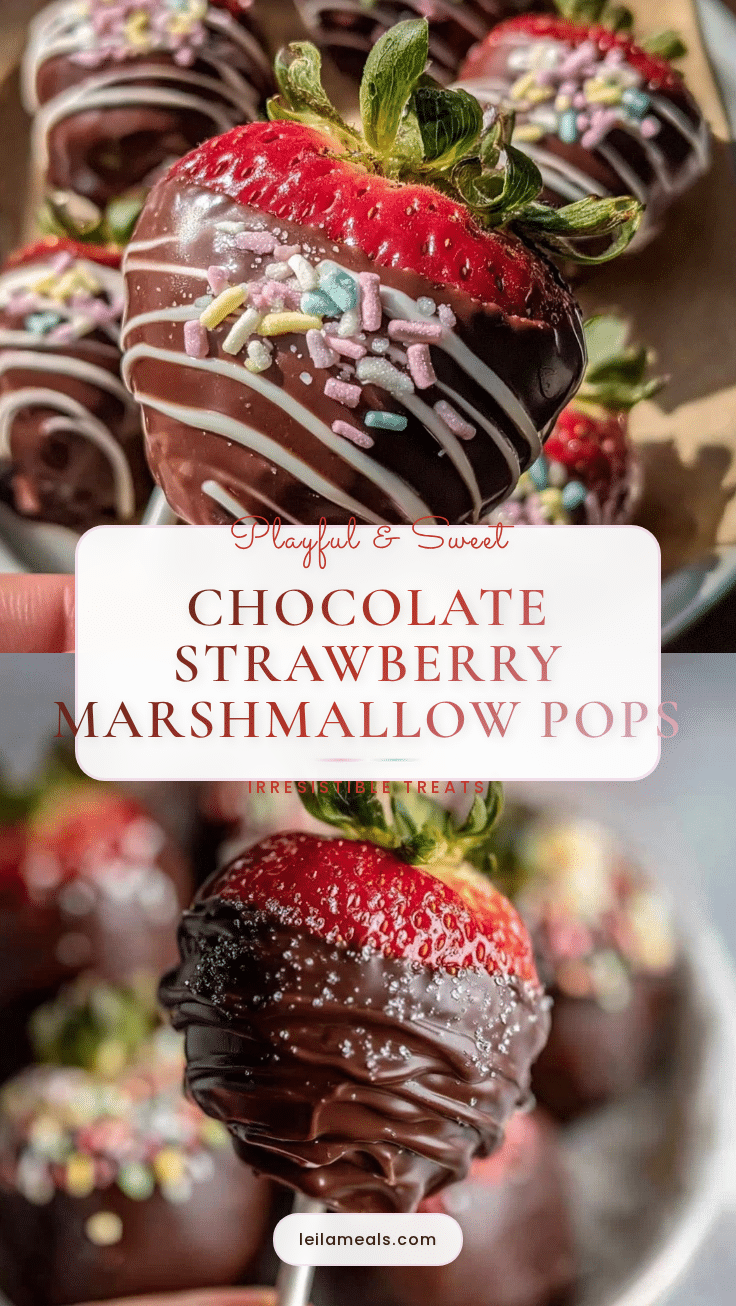
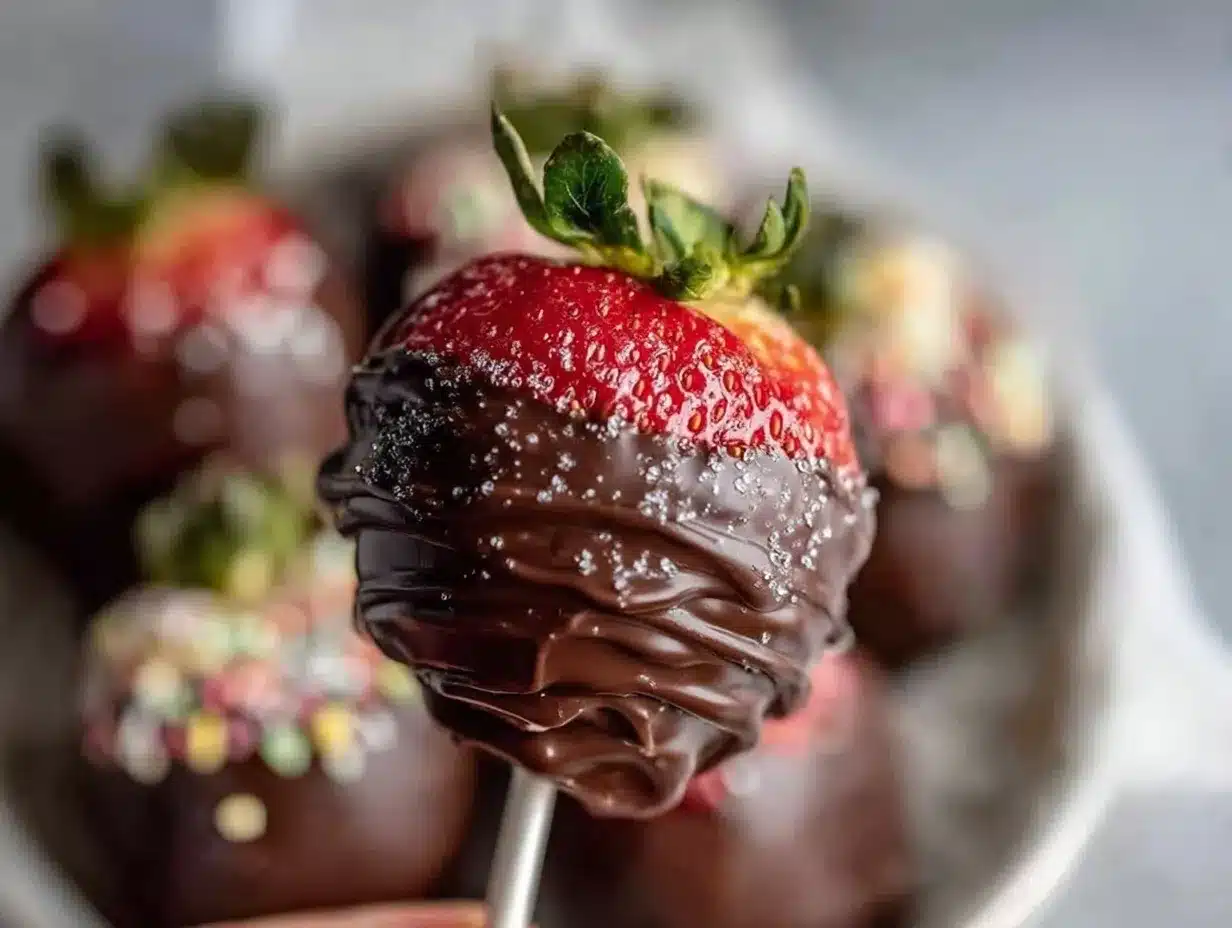
Chocolate-Covered Strawberry Marshmallow Pops

These Chocolate-Covered Strawberry Marshmallow Pops are a quick, easy, and playful party treat featuring fluffy marshmallows, fresh strawberries, and a glossy chocolate shell. Perfect for birthdays, holidays, or any celebration, they’re a nostalgic, crowd-pleasing dessert that’s fun to make and decorate.
- Prep Time: 10 minutes
- Cook Time: 10 minutes
- Total Time: 25 minutes
- Yield: 24 pops 1x
- Category: Dessert
- Cuisine: American
Ingredients
- 24 large marshmallows (classic or jumbo size)
- 12 medium fresh strawberries, hulled and sliced thin
- 1 1/2 cups (9 oz) semi-sweet or dark chocolate chips
- 2 tablespoons coconut oil
- 24 short lollipop sticks or wooden skewers
- 1/2 cup white chocolate chips, melted for drizzling (optional)
- Sprinkles, colored sugar, or crushed freeze-dried strawberries for decoration (optional)
Instructions
- Line a baking sheet with parchment paper. Set out marshmallows, strawberries, and lollipop sticks. Wash, hull, and slice strawberries about 1/4-inch thick. If marshmallows are sticky, dust lightly with powdered sugar.
- Push a stick or skewer halfway into each marshmallow. For double-layer pops, alternate marshmallow and strawberry slices on the stick (marshmallow, strawberry, marshmallow). Ensure everything is secure but not squished.
- Place chocolate chips and coconut oil in a microwave-safe bowl. Microwave in 20-second intervals, stirring after each, until smooth and glossy. Alternatively, melt using a double boiler. If chocolate is too thick, add a bit more coconut oil.
- Hold each marshmallow pop by the stick and dip into melted chocolate, turning to coat. Let excess drip off. For a thicker shell, let the first coat set for 2–3 minutes in the fridge, then dip again.
- Quickly press a thin strawberry slice onto each chocolate-covered marshmallow before the shell sets. Drizzle with melted white chocolate or sprinkle with colored sugar, freeze-dried berries, or sprinkles as desired.
- Place finished pops on the lined baking sheet. Chill in the refrigerator for 10–15 minutes, or until chocolate is firm.
- Once set, remove from the fridge and arrange on a platter. Serve immediately or keep chilled until serving. Best enjoyed fresh, but can be kept at room temperature for a few hours.
Notes
For best results, use ripe, dry strawberries and good-quality chocolate. Chill pops between dips for a thicker shell. Work in batches to keep toppings from melting off. Pops can be made gluten-free or vegan with ingredient swaps. Store in the fridge for up to 3 days or freeze for up to 1 month. Let kids help with decorating for a fun party activity.
Nutrition
- Serving Size: 1 pop
- Calories: 110
- Sugar: 13
- Sodium: 15
- Fat: 4
- Saturated Fat: 3
- Carbohydrates: 18
- Fiber: 1
- Protein: 1
Keywords: chocolate covered marshmallow pops, strawberry marshmallow pops, party treats, easy dessert, kid-friendly, no bake, chocolate strawberry, marshmallow pops, Valentine’s Day, birthday dessert