“Wait, you made ice cream without an ice cream maker?” my friend asked, eyebrows raised as she eyed the smooth, glossy bowl of salted caramel ice cream I’d just scooped. Honestly, I was just as surprised the first time I whipped up this creamy no-churn salted caramel ice cream recipe. I’d been craving something sweet and indulgent but didn’t want to fuss with complicated gadgets or spend hours stirring a frozen concoction. It started on a late Saturday night—halfway through a binge-watch session, the kind where the snacks you planned just don’t cut it anymore.
The kitchen was quiet except for the soft hum of the fridge and the occasional sigh of impatience as I searched for an easy dessert hack. I’d stumbled across this recipe, skeptical at first, thinking, “No-churn? How can it be that creamy without all the fancy machines?” But, the salty-sweet allure of caramel mixed with the richness of cream sounded like a perfect match for my restless cravings. After a few tries, I realized this was more than a shortcut; it was a game changer.
What hooked me wasn’t just the simplicity or the luscious texture but the way this recipe captures that cozy, comforting feeling in a frozen treat. It’s like the best parts of caramel sauce and creamy ice cream got together for a late-night rendezvous. Now, it’s my go-to anytime I want something indulgent but fuss-free—no waiting around, no fancy equipment, just pure creamy delight that melts slowly on the tongue.
And, honestly, it’s been a quiet little secret in my kitchen, a simple recipe that turns a regular day into a moment worth savoring.
Why You’ll Love This Recipe
This creamy no-churn salted caramel ice cream recipe is one of those treats that feels like you’re cheating the system—easy enough for a beginner but impressive enough to wow your guests. After making it several times (okay, maybe more than several), I’ve noticed why it keeps winning rave reviews around here:
- Quick & Easy: Ready in under 10 minutes of prep, it’s perfect for those spontaneous dessert urges or low-key weekend treats.
- Simple Ingredients: No fancy or hard-to-find items needed. Most are pantry staples, making this recipe super accessible.
- Perfect for Any Occasion: Whether it’s a casual family night, a summer BBQ, or a sweet finish after a brunch like the cherry cream cheese stuffed french toast, this ice cream fits right in.
- Crowd-Pleaser: The balance of salty and sweet appeals to both kids and adults. I’ve literally had friends ask for it twice in the same evening.
- Unbelievably Delicious: The texture is rich and creamy without feeling heavy. The salted caramel swirl adds that flavor punch that makes you close your eyes after the first bite.
What sets this apart? The secret is in the way the caramel is incorporated—not just drizzled on top but gently folded in to keep that smooth, velvety texture. Plus, no-churn means you’re skipping the fuss but not the flavor. It’s kind of like the roasted peach no-churn ice cream I love making in summer—simple, fresh, and with a rich homemade feel.
Honestly, this recipe feels like a little luxury you can make anytime, with minimal effort but maximum comfort.
What Ingredients You Will Need
This creamy no-churn salted caramel ice cream recipe keeps things straightforward, relying on a handful of wholesome ingredients that come together for big flavor and smooth texture. Most of these are pantry basics, and if you’ve got a sweet tooth, chances are you already have everything on hand.
- For the Ice Cream Base:
- Heavy whipping cream (2 cups / 480 ml) – for that rich, creamy texture, I prefer brands like Organic Valley for consistency.
- Sweetened condensed milk (1 can, 14 oz / 396 g) – adds sweetness and creaminess without needing extra sugar.
- Pure vanilla extract (1 teaspoon) – a splash of warmth that rounds out the flavor.
- For the Salted Caramel Sauce:
- Granulated sugar (1 cup / 200 g) – the star of the caramel, cooked slowly to avoid burning.
- Unsalted butter (6 tablespoons / 85 g), cut into pieces and softened – adds richness and silkiness.
- Heavy cream (1/2 cup / 120 ml), warmed slightly – blends caramel into a smooth sauce.
- Sea salt flakes (1 teaspoon) – the magic touch that balances the sweetness with a subtle salty pop.
If you’re avoiding dairy, swapping the heavy cream with coconut cream and the sweetened condensed milk with a dairy-free condensed milk alternative works surprisingly well, though the texture will be a bit different. Just a heads up: for the best caramel results, use a heavy-bottomed pan to prevent scorching. Also, I’ve found that using flaky sea salt, like Maldon, gives a nice crunch and flavor burst.
Equipment Needed
One of the beauties of this recipe is the minimal equipment required, making it approachable even if your kitchen is light on gadgets.
- Mixing bowl (large) – to whip the cream and mix the base. A chilled bowl helps keep the cream airy.
- Electric hand mixer or stand mixer – highly recommended for whipping the cream to stiff peaks easily. If you don’t have one, a sturdy whisk will work, but prepare for a workout!
- Saucepan – for making the caramel sauce. A medium-sized, heavy-bottomed pan is best to cook sugar evenly without burning.
- Rubber spatula – for folding the caramel into the whipped cream gently without deflating it.
- Freezer-safe container – for setting the ice cream. I like a loaf pan or any airtight container that’s easy to scoop from.
If you’re budget-conscious, these tools are pretty standard. For example, I use a simple hand mixer that’s lasted years, and it’s been a trusty companion for recipes like the whiskey chocolate chip cookie skillet. Also, keeping your bowl and beaters chilled before whipping cream makes a big difference in speed and volume.
Preparation Method

- Make the Salted Caramel Sauce (15 minutes):
- In a medium saucepan over medium heat, add the granulated sugar and stir constantly with a wooden spoon or heatproof spatula. The sugar will clump up but keep stirring—it will eventually melt into a smooth amber liquid. Watch closely to avoid burning (about 7-10 minutes).
- Once melted, remove from heat and immediately add the softened butter pieces. Stir until melted and combined.
- Slowly pour in the warm heavy cream while stirring continuously. The mixture will bubble vigorously, so be careful.
- Return the pan to low heat and stir for 1-2 minutes until smooth and thickened slightly.
- Remove from heat and stir in the sea salt flakes. Set aside to cool to room temperature.
- Prepare the Ice Cream Base (10 minutes):
- In a large chilled mixing bowl, pour the heavy whipping cream. Beat with an electric mixer on medium-high speed until stiff peaks form (about 3-5 minutes).
- Gently fold in the sweetened condensed milk and vanilla extract using a spatula. Be careful not to deflate the whipped cream; use a folding motion.
- Combine and Freeze (5 minutes prep + 6 hours freeze):
- Reserve a few tablespoons of the salted caramel sauce to drizzle on top after freezing, if desired.
- Gently fold the remaining caramel sauce into the ice cream base, creating beautiful swirls without mixing it completely.
- Transfer the mixture to a freezer-safe container, smoothing the top slightly.
- Drizzle the reserved caramel on top in a swirl pattern.
- Cover with a lid or plastic wrap and freeze for at least 6 hours or overnight for best texture.
- Serving:
- Allow the ice cream to sit at room temperature for 5-10 minutes before scooping to soften slightly, making scooping easier and texture creamier.
If you notice any graininess in the caramel, it usually means the sugar overheated—next time, slow and steady wins the race. And when folding the caramel in, less is more for those gorgeous swirls that make this ice cream look as good as it tastes.
Cooking Tips & Techniques
Getting this creamy no-churn salted caramel ice cream just right involves some little tricks I’ve picked up after a few sticky caramel mishaps and too-firm ice cream trials.
- Whip the Cream Properly: Chill your mixing bowl and beaters ahead of time. Whipping cream cold helps it reach those stiff peaks faster and hold air better, which is key for that fluffy, creamy texture.
- Caramel Patience: Don’t rush melting the sugar. Stir constantly but gently, and watch the color closely. Once it turns a deep amber, remove promptly to avoid bitterness.
- Folding Technique: When combining the caramel sauce with the whipped cream base, fold gently to keep the airiness intact. Overmixing will flatten your ice cream.
- Freeze Time: Resist the urge to dig in too early. The ice cream needs at least 6 hours to set properly, or overnight for a scoopable, creamy texture.
- Salt Balance: Salt is crucial here—it cuts through the sweetness and highlights the caramel’s richness. Taste your sauce before folding it in; you can always add a pinch more sea salt if you want a stronger contrast.
One time, I accidentally added cold cream directly into the hot caramel, and it seized up into clumps. Warming the cream a little first makes all the difference. Also, if you want a smoother swirl, pour the caramel in slowly and fold just a couple of times.
Variations & Adaptations
This recipe is a great canvas for creativity. Here are some ways I’ve switched it up or seen others do so:
- Chocolate Swirl: Add a melted dark chocolate swirl alongside the caramel for a salted caramel chocolate combo that’s irresistible.
- Nutty Crunch: Fold in toasted pecans or walnuts for texture and a nutty flavor that complements the caramel beautifully.
- Dairy-Free Version: Use coconut cream in place of heavy cream and a vegan condensed milk alternative. The flavor shifts slightly but remains rich and satisfying.
- Spiced Caramel: Add a pinch of cinnamon or cayenne to the caramel sauce for a subtle warmth and unexpected kick.
- Alcohol Infusion: A splash of bourbon or rum stirred into the caramel sauce before folding can deepen the flavor for an adult twist.
Once, I experimented with folding in some homemade salted caramel sauce from scratch and a bit of espresso powder, which gave the ice cream an amazing mocha-caramel vibe. It’s a fun way to personalize this easy recipe to your taste.
Serving & Storage Suggestions
This creamy no-churn salted caramel ice cream is best served slightly softened for the creamiest mouthfeel. A few minutes at room temperature before scooping really helps.
It pairs wonderfully with warm desserts like fruit crisps or alongside a slice of the cinnamon roll casserole with cream cheese frosting for a decadent brunch treat. Or simply enjoy it solo with a sprinkle of flaky sea salt on top.
For storage, keep the ice cream in an airtight container in the freezer to avoid ice crystals. It holds well for up to two weeks, although it usually disappears faster around here!
If your ice cream becomes too hard after long storage, let it thaw for 10-15 minutes before serving. This little patience pays off with a scoop that’s creamy and luscious again, not icy or chalky.
Nutritional Information & Benefits
This homemade salted caramel ice cream is a treat, so it’s definitely best enjoyed in moderation. A typical serving (about 1/2 cup or 125 g) contains roughly:
| Nutrient | Amount |
|---|---|
| Calories | 290 kcal |
| Fat | 18 g (mostly from cream and butter) |
| Sugar | 25 g (mainly from condensed milk and caramel) |
| Protein | 3 g |
The heavy cream and butter provide fat that helps keep you full longer, and the sea salt adds some trace minerals. If you’re looking to reduce sugar, you could experiment with a lower-sugar caramel sauce or substitute sweetened condensed milk for a lighter version, though the texture might vary.
Conclusion
This creamy no-churn salted caramel ice cream recipe is proof that you don’t need fancy tools or complicated steps to make a dessert that feels special. It’s straightforward, indulgent, and has that little salty twist that keeps you coming back for more. Whether you’re treating yourself after a busy day or impressing friends with a homemade sweet, this recipe fits right in.
Personally, I love how it brings that cozy feeling of comfort food but in a cool, creamy package. Plus, it’s flexible enough to adapt to whatever you have on hand or crave at the moment. If you make it, I’d love to hear how you personalized your batch—drop a comment or share your favorite twist!
Here’s to easy homemade delight that’s as creamy and dreamy as it sounds.
Frequently Asked Questions
Can I make this salted caramel ice cream without heavy cream?
You can try using coconut cream as a dairy-free alternative, but keep in mind the texture and flavor will be slightly different. Heavy cream is best for that classic rich creaminess.
How long does the no-churn ice cream keep in the freezer?
Stored properly in an airtight container, it stays good for up to two weeks. Beyond that, it may develop ice crystals and lose smoothness.
Can I prepare the salted caramel sauce ahead of time?
Absolutely! You can make the caramel sauce a day or two ahead and store it in the fridge. Just warm it slightly before folding into the ice cream base for easier mixing.
What’s the best way to get smooth caramel without crystallizing?
Use a clean pan without any residual sugar crystals, stir gently, and avoid sudden temperature changes. Adding a little lemon juice or corn syrup to the sugar before cooking can help prevent crystallization.
Is this recipe suitable for kids?
Yes! The salted caramel flavor is mild and delicious for all ages. If you add any alcohol variations, obviously skip that for kids.
Pin This Recipe!
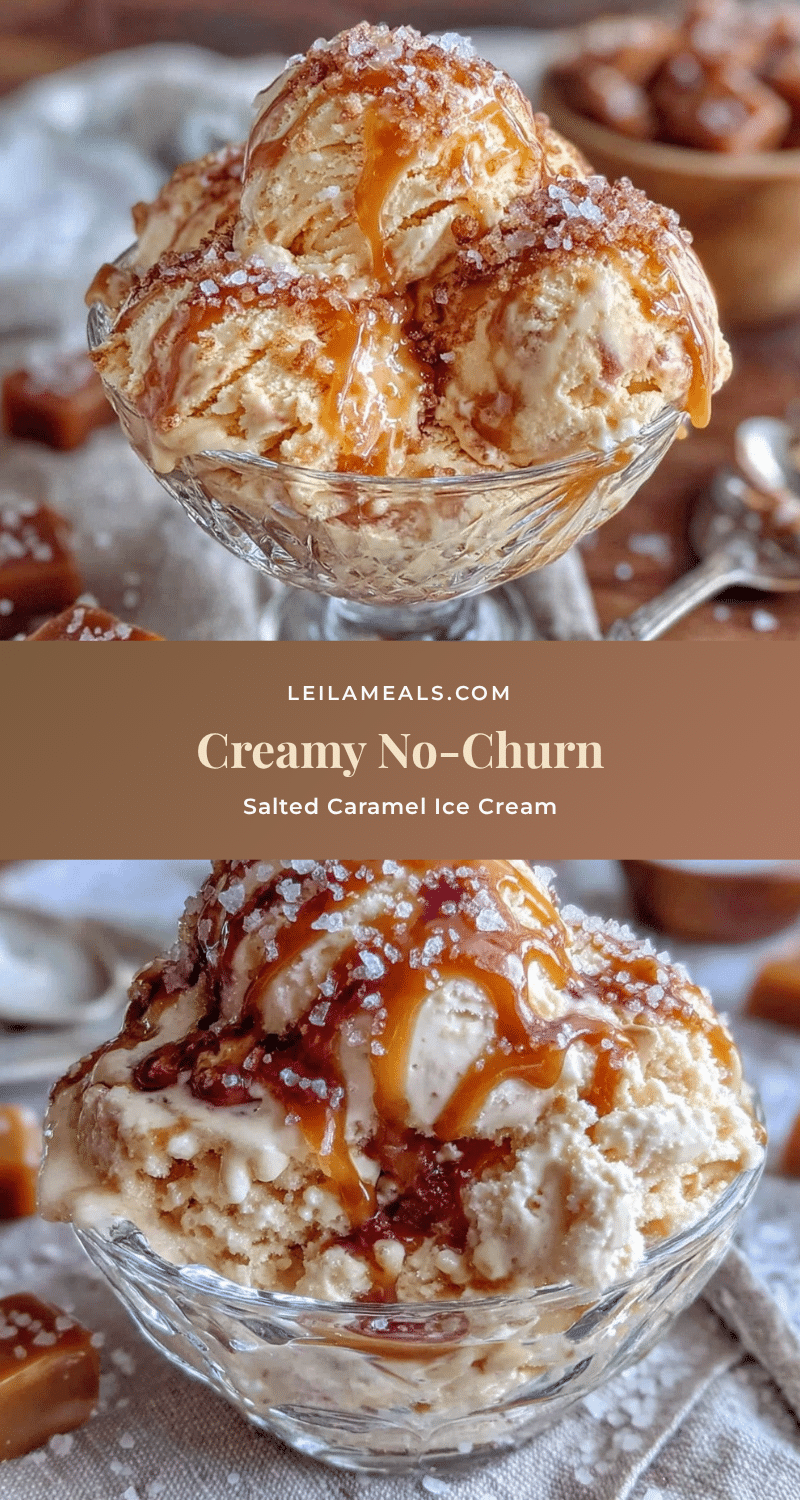
Creamy No-Churn Salted Caramel Ice Cream

An easy, no-churn recipe for rich and creamy salted caramel ice cream that requires no ice cream maker and minimal equipment. Perfect for indulgent homemade dessert with a luscious caramel swirl.
- Prep Time: 10 minutes
- Cook Time: 15 minutes
- Total Time: 6 hours 25 minutes
- Yield: 8 servings 1x
- Category: Dessert
- Cuisine: American
Ingredients
- 2 cups heavy whipping cream (480 ml)
- 1 can sweetened condensed milk (14 oz / 396 g)
- 1 teaspoon pure vanilla extract
- 1 cup granulated sugar (200 g)
- 6 tablespoons unsalted butter (85 g), softened and cut into pieces
- 1/2 cup heavy cream (120 ml), warmed slightly
- 1 teaspoon sea salt flakes
Instructions
- Make the Salted Caramel Sauce: In a medium saucepan over medium heat, add the granulated sugar and stir constantly with a wooden spoon or heatproof spatula until it melts into a smooth amber liquid (about 7-10 minutes).
- Remove from heat and immediately add the softened butter pieces. Stir until melted and combined.
- Slowly pour in the warm heavy cream while stirring continuously. Return to low heat and stir for 1-2 minutes until smooth and slightly thickened.
- Remove from heat and stir in the sea salt flakes. Set aside to cool to room temperature.
- Prepare the Ice Cream Base: In a large chilled mixing bowl, beat the heavy whipping cream with an electric mixer on medium-high speed until stiff peaks form (3-5 minutes).
- Gently fold in the sweetened condensed milk and vanilla extract using a spatula, being careful not to deflate the whipped cream.
- Combine and Freeze: Reserve a few tablespoons of the salted caramel sauce for drizzling after freezing.
- Gently fold the remaining caramel sauce into the ice cream base to create swirls without mixing completely.
- Transfer the mixture to a freezer-safe container and smooth the top slightly.
- Drizzle the reserved caramel on top in a swirl pattern.
- Cover and freeze for at least 6 hours or overnight for best texture.
- Serving: Allow the ice cream to sit at room temperature for 5-10 minutes before scooping to soften slightly.
Notes
Chill your mixing bowl and beaters before whipping cream for better volume. Stir sugar slowly and carefully to avoid burning caramel. Fold caramel gently into whipped cream to keep airiness. Freeze at least 6 hours or overnight for best texture. Let ice cream soften 5-10 minutes before scooping. Use flaky sea salt like Maldon for best flavor and texture. For dairy-free version, substitute heavy cream with coconut cream and sweetened condensed milk with dairy-free alternative.
Nutrition
- Serving Size: 1/2 cup (125 g)
- Calories: 290
- Sugar: 25
- Fat: 18
- Protein: 3
Keywords: no-churn ice cream, salted caramel, easy homemade ice cream, no ice cream maker, creamy dessert, caramel swirl, quick dessert