“You really think this will work with just a handful of cherries?” my partner asked, eyebrows raised as I pulled out a tiny pot from the cabinet. Honestly, I wasn’t sure either. Most jam recipes call for a mountain of fruit and hours of simmering to get that perfect set. But I was in one of those “small kitchen, small appetite, no waste” moods and wanted a quick, fresh jam without ending up with a giant jar I’d never finish.
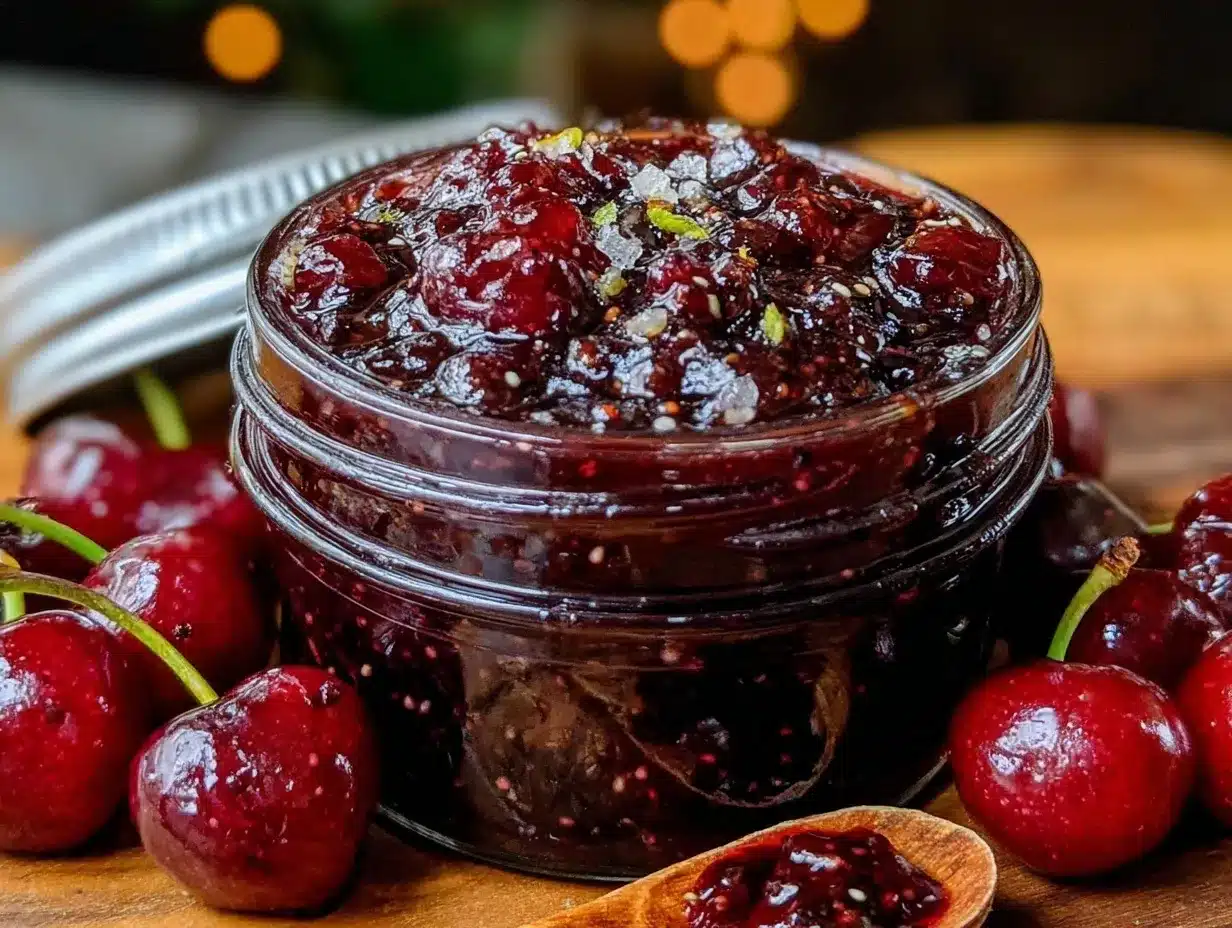
So, armed with just a cup of pitted cherries and a splash of real vanilla extract, I threw together this easy small batch cherry vanilla jam recipe. The scent of cherries simmering with warm vanilla filled the kitchen in under half an hour, and I swear—it tasted like a surprise treat that deserved way more time and fuss. Turns out, making jam doesn’t have to be a weekend commitment, and you don’t need a massive fruit haul.
Even better, this jam has become my go-to for topping morning toast or stirring into plain yogurt, and it always gets a nod of approval from the picky ones in the family. The little jar disappears faster than you’d think. It’s funny how a simple recipe like this reminds me that some of the best things start small—like those first few cherries bursting with flavor and a hint of vanilla that just sticks in your memory.
There’s something quietly satisfying about having homemade jam in the fridge that you made yourself in just 30 minutes. No complicated canning, no weird ingredients, just straightforward, honest flavor that feels like a little gift to yourself. It’s become my calm moment in the kitchen, a small win I didn’t expect but now can’t live without.
Why You’ll Love This Easy Small Batch Cherry Vanilla Jam Recipe
This cherry vanilla jam recipe isn’t just another jam. After testing it multiple times (yes, multiple jars went into my belly), here’s why it’s become a kitchen favorite:
- Quick & Easy: You can have this jam ready in 30 minutes flat—perfect for when you crave fresh jam but don’t want the hours of boiling and waiting.
- Simple Ingredients: No need for fancy pectin powders or preservatives. Just cherries, sugar, lemon juice, and real vanilla extract. I like using Madagascar vanilla for that deep, aromatic flavor.
- Perfect for Small Batches: This recipe is ideal if you don’t want to make a giant jar that sits in your fridge forever. Great for singles, couples, or anyone who loves fresh but hates waste.
- Versatile Use: From breakfast toast to a swirl in oatmeal or even dolloped on top of a sweet potato casserole, this jam adds a bright, fruity note that’s hard to beat.
- Unbelievably Delicious: The subtle vanilla elevates the natural tartness of the cherries, giving you a jam that’s both sweet and nuanced—not too sugary, just right.
This isn’t just another sweet spread; it’s a jam that’s approachable and rewarding. The technique is straightforward but thoughtful—breaking down the cherries gently to keep some texture while thickening just enough for that perfect spoonful consistency. If you’ve tried jams that turned out too runny or overly gelatinous, this one strikes the perfect balance.
What Ingredients You Will Need
This recipe uses simple, wholesome ingredients to deliver bold flavor and satisfying texture without the fuss. Most of these are pantry staples or easy to find fresh at your local market.
- Fresh Cherries – 1 cup (about 150 grams), pitted and halved (I prefer Bing cherries for their deep flavor; in summer, swapping in fresh tart cherries works wonderfully)
- Granulated Sugar – ½ cup (100 grams), adjust slightly if you like it less sweet
- Lemon Juice – 1 tablespoon (freshly squeezed if possible, it brightens the jam and helps with setting)
- Vanilla Extract – 1 teaspoon (pure vanilla extract is best; I recommend using a quality brand like Nielsen-Massey for that rich aroma)
- Water – ¼ cup (60 ml), just enough to get the cherries soft and juicy as they cook
Optional additions:
- A pinch of cinnamon or a star anise for a warm twist
- A teaspoon of chia seeds to naturally thicken if you want a jam-like gel without pectin
For substitution, if you want a refined sugar-free version, you can swap granulated sugar with coconut sugar or honey, but expect a slight flavor change and a softer set. Also, if fresh cherries aren’t available, frozen cherries work fine—just thaw and drain excess juice before cooking.
Equipment Needed
- Small Saucepan – A 2-quart (2 liters) pan works perfectly for this small batch jam. I like using a heavy-bottomed pan to prevent burning.
- Wooden Spoon or Silicone Spatula – For stirring gently and breaking down cherries without mashing them completely.
- Measuring Cups and Spoons – For precise ingredient amounts; this really helps the jam set well.
- Fine-Mesh Strainer (optional) – If you prefer a smoother jam, you can press the cooked jam through to remove skins.
- Clean Jar or Small Container – For storing your freshly made jam. Mason jars with screw lids are great and easy to sterilize.
Don’t worry if you don’t have fancy equipment. I’ve made this jam countless times with just a regular saucepan and a wooden spoon in my tiny kitchen. If you ever invest in a small immersion blender, it can help with texture adjustments but isn’t necessary here.
Preparation Method
- Prepare the Cherries: Pit and halve about 1 cup (150 grams) of fresh cherries. This takes about 5 minutes. If using frozen, thaw and drain any extra liquid.
- Combine Ingredients: In a small saucepan, add the cherries, ½ cup (100 grams) of granulated sugar, ¼ cup (60 ml) water, and 1 tablespoon freshly squeezed lemon juice. Stir gently to mix. This sets the stage for that jam magic.
- Cook the Jam: Place the saucepan over medium heat. Let the mixture come to a gentle boil, stirring occasionally to prevent sticking. Once boiling, reduce heat to medium-low and simmer for 20-25 minutes. You’ll notice the cherries soften and start to break down, releasing their juices.
- Check Consistency: To test, spoon a bit of jam onto a cold plate and let it sit for a minute. If it wrinkles when pushed with your finger, it’s ready. If too runny, continue simmering a few more minutes.
- Add Vanilla: Once the jam has thickened, remove from heat and stir in 1 teaspoon of pure vanilla extract. This is where the jam gets its signature warm, aromatic note.
- Cool and Store: Let the jam cool slightly before transferring to a clean jar. The jam will thicken further as it cools. Store in the refrigerator and use within 2 weeks for the best flavor.
Remember, the key is gentle simmering and patience. I learned the hard way that rushing with high heat scorches the jam and ruins the delicate vanilla aroma. Stirring gently keeps the cherries intact enough for a lovely texture, but if you want it smoother, a quick mash with a fork near the end does the trick.
Cooking Tips & Techniques
Making jam may sound intimidating, but here’s what I’ve picked up after several batches of this small batch cherry vanilla jam recipe:
- Don’t rush the simmer: Low and slow keeps the cherries tender and allows natural pectin to thicken the jam without extra additives.
- Keep stirring: Especially as the jam thickens, to avoid burning on the bottom. A silicone spatula works best to scrape gently.
- Use fresh lemon juice: Bottled lemon juice can be too harsh or lack acidity, which affects the jam’s ability to set.
- Test the set early: Using the cold plate trick saves you from overcooking and ending up with a jam that’s too stiff or caramelized.
- Vanilla goes in last: Adding vanilla too early diminishes its aroma because of the heat.
- Watch your sugar amounts: I’ve found ½ cup sugar balances tartness perfectly without overwhelming the cherry flavor.
Confession: I once tried this with an overly ripe batch of cherries and ended up with a jam that wasn’t quite thick enough. Lesson learned—fresh, firm cherries make all the difference. If you want to thicken without extra pectin, stirring in a teaspoon of chia seeds after cooking is a neat trick that I also tried with success.
Variations & Adaptations
This jam recipe is flexible and easy to tweak to suit your preferences or dietary needs:
- Spiced Cherry Jam: Add a cinnamon stick or a star anise pod to the pot while simmering and remove before storing for a warm, cozy flavor.
- Lower Sugar Version: Reduce the sugar to ⅓ cup and add a teaspoon of lemon zest for brightness. The jam will be tarter but still delicious.
- Chia Seed Jam: After cooking, stir in 1 teaspoon of chia seeds and let the jam sit for 10 minutes to thicken naturally—great for a pectin-free version.
- Frozen Cherry Swap: Use frozen cherries if fresh aren’t available. Just thaw and drain excess juice before cooking.
- Vanilla Bean Upgrade: Split a vanilla bean pod and scrape the seeds into the pot for an extra luxurious vanilla flavor. I tried this once for a brunch and it stole the show.
For those avoiding sugar altogether, you could experiment with natural sweeteners like honey or maple syrup, but keep in mind these will alter the jam’s setting properties and flavor profile.
Serving & Storage Suggestions
This cherry vanilla jam is best enjoyed fresh and chilled, but here are some ideas to make the most of it:
- Serving Temperature: Serve at room temperature or slightly chilled for a spreadable texture perfect on toast, bagels, or fresh biscuits.
- Flavor Pairings: Try it layered in yogurt bowls or dolloped on creamy desserts. It also pairs beautifully with mild cheeses on a charcuterie board.
- Storage: Store in an airtight jar in the refrigerator for up to 2 weeks. The flavor develops and deepens after a day or two.
- Freezing: This jam freezes well. Just thaw in the fridge overnight and stir gently before serving.
- Reheating: Warm gently in a small pan or microwave if you want a syrupy topping for pancakes or waffles.
One of my favorite quick breakfasts is spreading this jam on warm toast alongside a creamy scrambled egg or even mixing it into the filling of homemade sweet potatoes stuffed with black beans for a sweet-savory surprise. It’s amazing how a little jar of jam can brighten so many meals.
Nutritional Information & Benefits
Here’s an approximate breakdown per 2-tablespoon (about 30 grams) serving:
| Nutrient | Amount |
|---|---|
| Calories | 60 kcal |
| Carbohydrates | 15 g |
| Sugars | 14 g (naturally from fruit and added sugar) |
| Fiber | 1 g |
| Protein | 0.2 g |
Cherries are rich in antioxidants and vitamin C, which support immune function and reduce inflammation. Using fresh lemon juice adds vitamin C and helps preserve the jam naturally. This jam is gluten-free and can be made vegan if you choose a plant-based sugar (some sugars are processed with bone char, so check labels if that matters to you). It’s a sweet treat with a wholesome fruit base, making it a better option than many store-bought jams loaded with preservatives.
Conclusion
If you’re looking for a quick, satisfying way to enjoy fresh cherry flavor with a hint of vanilla, this easy small batch cherry vanilla jam recipe is a fantastic pick. It’s straightforward, forgiving, and designed for small quantities so you never waste a drop. I love how it brings a little homemade goodness to my mornings and snacks without fuss or long cooking times.
Feel free to tweak the sweetness or add your own spices—you might even find it pairs wonderfully with some of the rich dishes I’ve shared, like the quick creamy coconut curry shrimp or a simple cheese plate. Homemade jam has a way of making everyday moments a bit more special.
Give it a try, and I’d love to hear how you make it your own. Drop a comment below sharing your favorite jam combos or any twists you’ve tried!
FAQs About This Easy Small Batch Cherry Vanilla Jam Recipe
How long does small batch cherry vanilla jam last in the fridge?
Stored in a clean, airtight jar, this jam lasts about 2 weeks in the refrigerator. Always use a clean spoon to avoid contamination.
Can I use frozen cherries instead of fresh?
Absolutely! Just thaw and drain excess liquid before cooking. The jam might be a bit more watery initially but will thicken with simmering.
Is it possible to make this jam without sugar?
You can try natural sweeteners like honey or maple syrup, but the texture and flavor will be different. The jam may not set as well without granulated sugar.
Can I double the recipe for a larger batch?
Yes, doubling works fine. Just use a larger pot and keep an eye on the simmering time—it might take a bit longer to thicken.
What is the best way to pit cherries quickly?
I like using a chopstick or a paperclip to push the pit out through the stem end. It’s quick and keeps the cherries mostly intact for this jam.
Pin This Recipe!
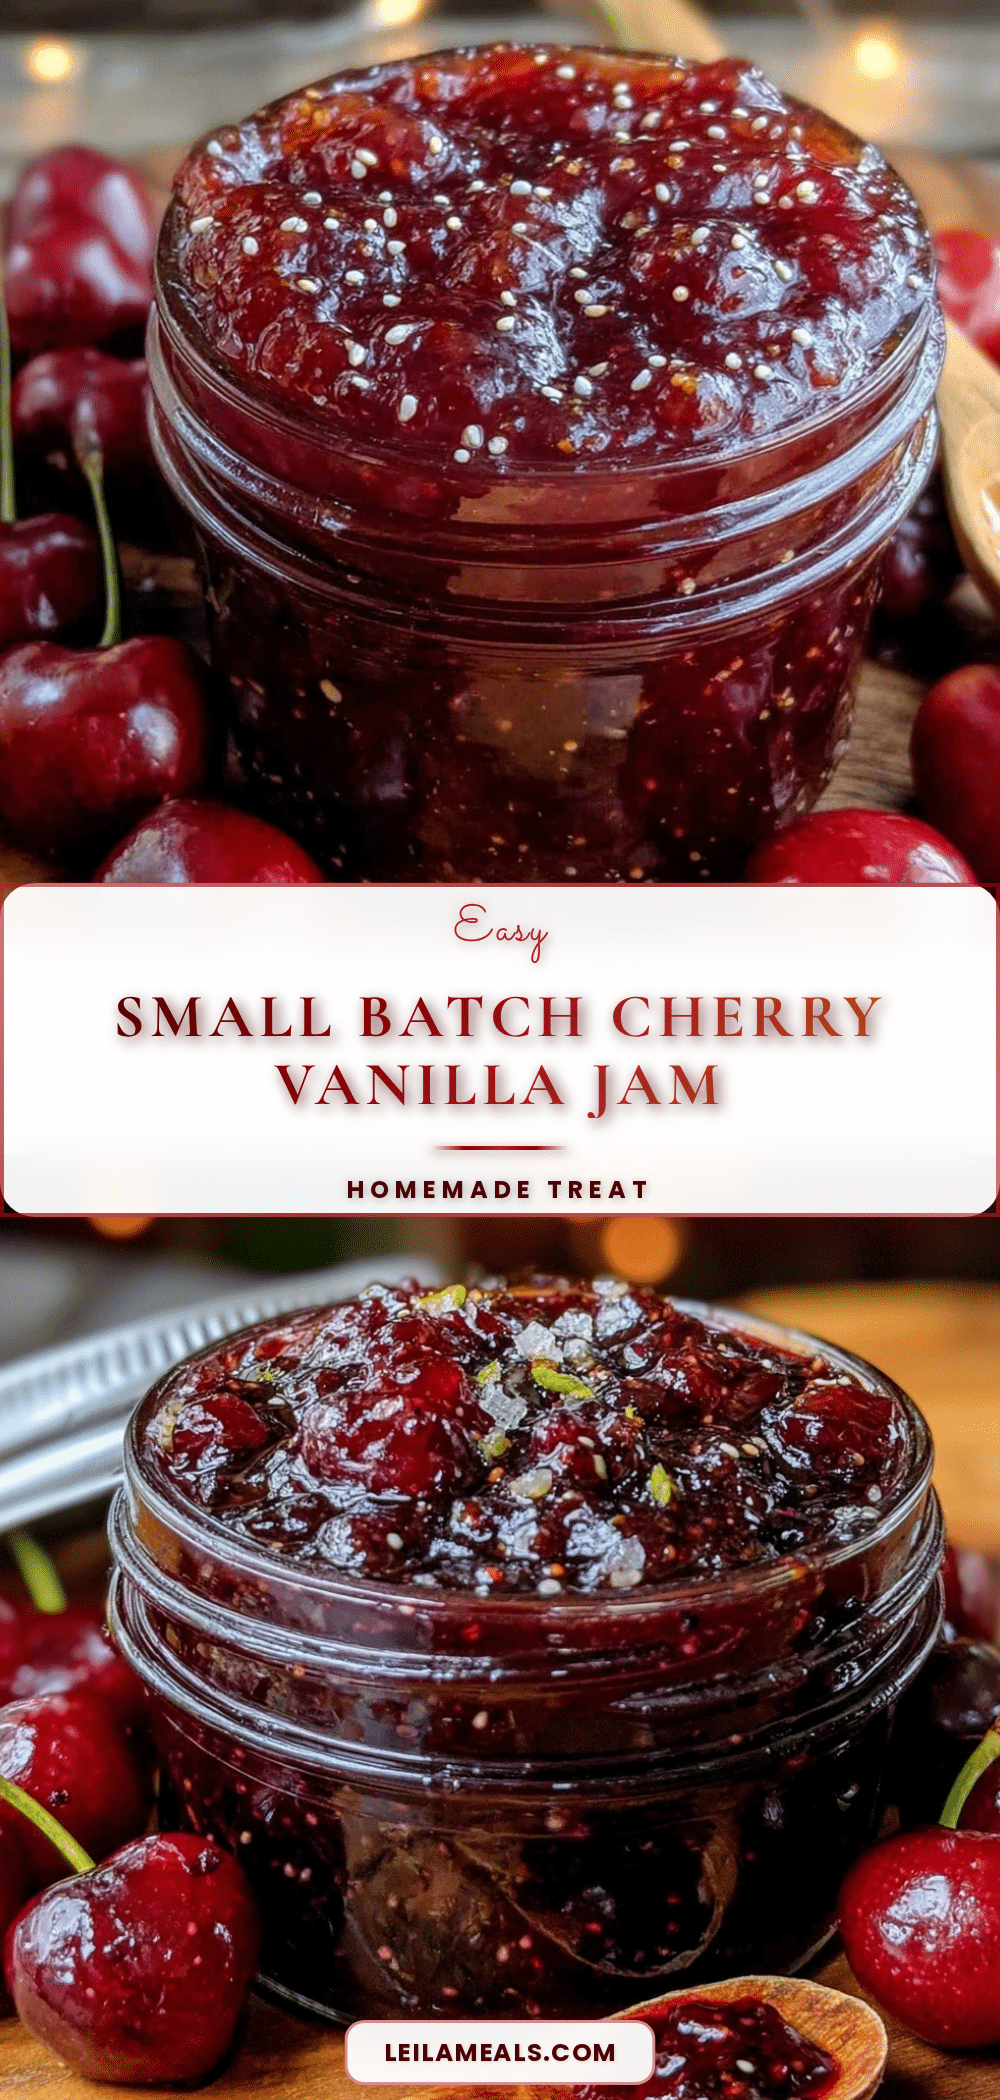
Easy Small Batch Cherry Vanilla Jam
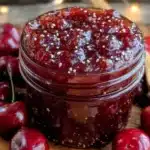
A quick and easy homemade cherry vanilla jam recipe that can be made in just 30 minutes using simple ingredients and perfect for small batches.
- Prep Time: 5 minutes
- Cook Time: 25 minutes
- Total Time: 30 minutes
- Yield: About 1 small jar (approximately 1 cup) 1x
- Category: Condiment
- Cuisine: American
Ingredients
- 1 cup (about 150 grams) fresh cherries, pitted and halved
- ½ cup (100 grams) granulated sugar
- 1 tablespoon freshly squeezed lemon juice
- 1 teaspoon pure vanilla extract
- ¼ cup (60 ml) water
- Optional: pinch of cinnamon or a star anise
- Optional: 1 teaspoon chia seeds
Instructions
- Pit and halve about 1 cup (150 grams) of fresh cherries. If using frozen, thaw and drain any extra liquid.
- In a small saucepan, add the cherries, ½ cup (100 grams) granulated sugar, ¼ cup (60 ml) water, and 1 tablespoon freshly squeezed lemon juice. Stir gently to mix.
- Place the saucepan over medium heat. Let the mixture come to a gentle boil, stirring occasionally to prevent sticking.
- Once boiling, reduce heat to medium-low and simmer for 20-25 minutes until cherries soften and break down.
- Test the jam consistency by spooning a bit onto a cold plate; if it wrinkles when pushed with a finger, it’s ready. If too runny, simmer a few more minutes.
- Remove from heat and stir in 1 teaspoon pure vanilla extract.
- Let the jam cool slightly before transferring to a clean jar. The jam will thicken further as it cools.
- Store in the refrigerator and use within 2 weeks.
Notes
Use fresh lemon juice for best setting. Stir gently to avoid burning. Add vanilla extract after cooking to preserve aroma. Optional chia seeds can be added after cooking to thicken naturally. Frozen cherries can be used if thawed and drained. Store jam in refrigerator up to 2 weeks. For smoother jam, press through a fine-mesh strainer or mash lightly with a fork.
Nutrition
- Serving Size: 2 tablespoons (about
- Calories: 60
- Sugar: 14
- Carbohydrates: 15
- Fiber: 1
- Protein: 0.2
Keywords: cherry jam, vanilla jam, small batch jam, homemade jam, quick jam recipe, easy jam, fruit spread