I was standing in my kitchen last Tuesday, staring at a half-empty block of sharp cheddar and a single Honeycrisp apple that had been sitting in the fruit bowl for maybe a week. The cheese was getting a little dry around the edges—you know that sad, crumbly look it gets when you’ve forgotten about it?—and the apple was still perfectly crisp, almost like it was mocking me for neglecting it. I had about fifteen minutes before I needed to pick up my kid from soccer practice, and I was hungry. Not just regular hungry, but that kind of tired, bone-deep hungry where you don’t have the energy for anything complicated.
And then it hit me. Not a memory exactly, but a feeling. The smell of butter hitting a hot pan, the way sharp cheddar gets all melty and slightly greasy, the snap of a cold apple against your teeth. I remembered being maybe eight years old at my neighbor Mrs. Kowalski’s house—she had this weird, wonderful habit of putting apple slices on our grilled cheese sandwiches when she babysat me. I hadn’t thought about her in years. She passed away when I was in high school, and honestly, I’d forgotten all about her apple trick until that moment. But there I was, standing in my kitchen, and I could almost hear her saying, “A little sweet with the salty, honey. That’s how you make something ordinary feel special.”
So I grabbed that Honeycrisp, sliced it thin, layered it with the cheddar on some sourdough bread, and threw it in the pan. Three minutes per side, and I had something that honestly made me close my eyes for a second after the first bite. It was like Mrs. Kowalski was right there with me, nodding approvingly. And I thought, why don’t I make this more often? It takes ten minutes. Maybe you’ve been there—standing in your kitchen, tired, hungry, with odds and ends that don’t seem like a meal until you put them together the right way. This is that meal. Quick Honeycrisp Apple Cheddar Grilled Cheese is the kind of thing you make when you need dinner on the table fast, but you also need it to taste like you actually tried.
Why You’ll Love This Recipe
Let me tell you why this Quick Honeycrisp Apple Cheddar Grilled Cheese has become my go-to weeknight dinner. I’ve tested this combination more times than I care to admit—some with different apples, different cheeses, different breads—and this version is the one that works every single time. It’s not just another grilled cheese recipe. It’s the one that makes you wonder why you haven’t been putting fruit in your sandwiches your whole life.
- Quick & Easy: This comes together in under 10 minutes. I mean it. From start to finish, including slicing the apple, you can have this on your plate faster than you can decide what to order for delivery. Perfect for those nights when you’re running on empty.
- Simple Ingredients: You probably already have everything you need. Bread, butter, cheddar cheese, and an apple. That’s it. No fancy grocery trips, no obscure ingredients you’ll never use again. Just real food.
- Perfect for Busy Weeknights: This is the dinner you make when you have exactly zero energy left but you still want something that feels like a real meal. It’s also great for a quick lunch or a late-night snack that doesn’t require much effort.
- Crowd-Pleaser: I’ve served this to kids, picky eaters, and adults who thought they were too sophisticated for grilled cheese. Every single person has asked for seconds. The sweet and salty combo is basically irresistible.
- Unbelievably Delicious: The texture is what gets me every time. The crispy, buttery bread gives way to gooey melted cheddar, and then you hit that thin slice of cold, crisp apple. It’s a party in your mouth, honestly.
What makes this recipe different from every other grilled cheese out there? It’s the balance. Most apple grilled cheese recipes use too much apple or the wrong kind of cheese. I’ve learned through trial and error—and a few soggy sandwiches—that the key is using a firm, tart-sweet apple like Honeycrisp and a sharp cheddar that can stand up to the fruit. The apple stays crisp because you slice it thin and don’t cook it too long. The cheese gets perfectly melty without turning into a greasy mess. It’s not just another version of grilled cheese. It’s the best version.
What Ingredients You Will Need
This recipe uses simple, wholesome ingredients to deliver bold flavor and satisfying texture without the fuss. Most of these are pantry staples or things you probably have in your fridge right now. Here’s what you need and why each ingredient matters.
- 2 slices of sourdough bread (or your preferred bread—I use sourdough for its sturdy texture and tangy flavor that holds up well against the sweet apple and sharp cheese)
- 2 tablespoons unsalted butter, softened (this is crucial—softened butter spreads more evenly and gives you that perfect golden-brown crust; I use Kerrygold because it has a higher fat content for better browning)
- 3-4 ounces sharp cheddar cheese, thinly sliced (go for a good quality sharp cheddar—I prefer Tillamook or Cabot; the sharper the cheese, the better it balances the sweetness of the apple)
- 1/2 medium Honeycrisp apple, cored and thinly sliced (Honeycrisp is ideal because it stays crisp even when heated and has the perfect sweet-tart balance; Granny Smith works in a pinch but is tarter)
- Pinch of flaky sea salt (optional but recommended—a tiny sprinkle on the finished sandwich elevates all the flavors)
Ingredient Selection Tips: When choosing your apple, look for one that’s firm with no soft spots. A slightly cold apple straight from the fridge works best because it stays crisp longer during cooking. For the cheese, I recommend buying a block and slicing it yourself rather than using pre-shredded cheese—it melts more evenly and doesn’t contain the anti-caking agents that can make cheese grainy.
Substitution Guidance: If you don’t have Honeycrisp, Fuji or Gala apples work well too—they’re slightly sweeter but still hold their texture. For a gluten-free option, use your favorite gluten-free bread. If you’re dairy-free, you can use vegan butter and a plant-based cheddar-style cheese, though the texture will be slightly different. I’ve also made this with brie instead of cheddar for a creamier, more decadent version—it’s fantastic if you have it on hand.
Equipment Needed
You don’t need much for this recipe, which is part of the beauty. Here’s what you’ll need:
- Non-stick skillet or cast iron pan (I prefer cast iron for the best crust, but non-stick works perfectly fine and is easier to clean)
- Spatula (a thin metal spatula works best for flipping, but a silicone one will do)
- Butter knife (for spreading softened butter evenly on the bread)
- Cutting board and sharp knife (for slicing the apple and cheese—a sharp knife makes all the difference for thin, even slices)
- Small bowl (optional, for holding the apple slices while you assemble the sandwich)
Budget-Friendly Options: If you don’t have a cast iron pan, any heavy-bottomed skillet will work. The key is even heat distribution, so avoid using a thin, cheap pan if you can help it. I’ve made this sandwich in a cheap non-stick pan more times than I can count, and it still turns out great—you just have to watch the heat more carefully. Also, you don’t need a fancy butter knife; a regular dinner knife works fine for spreading softened butter.
Preparation Method
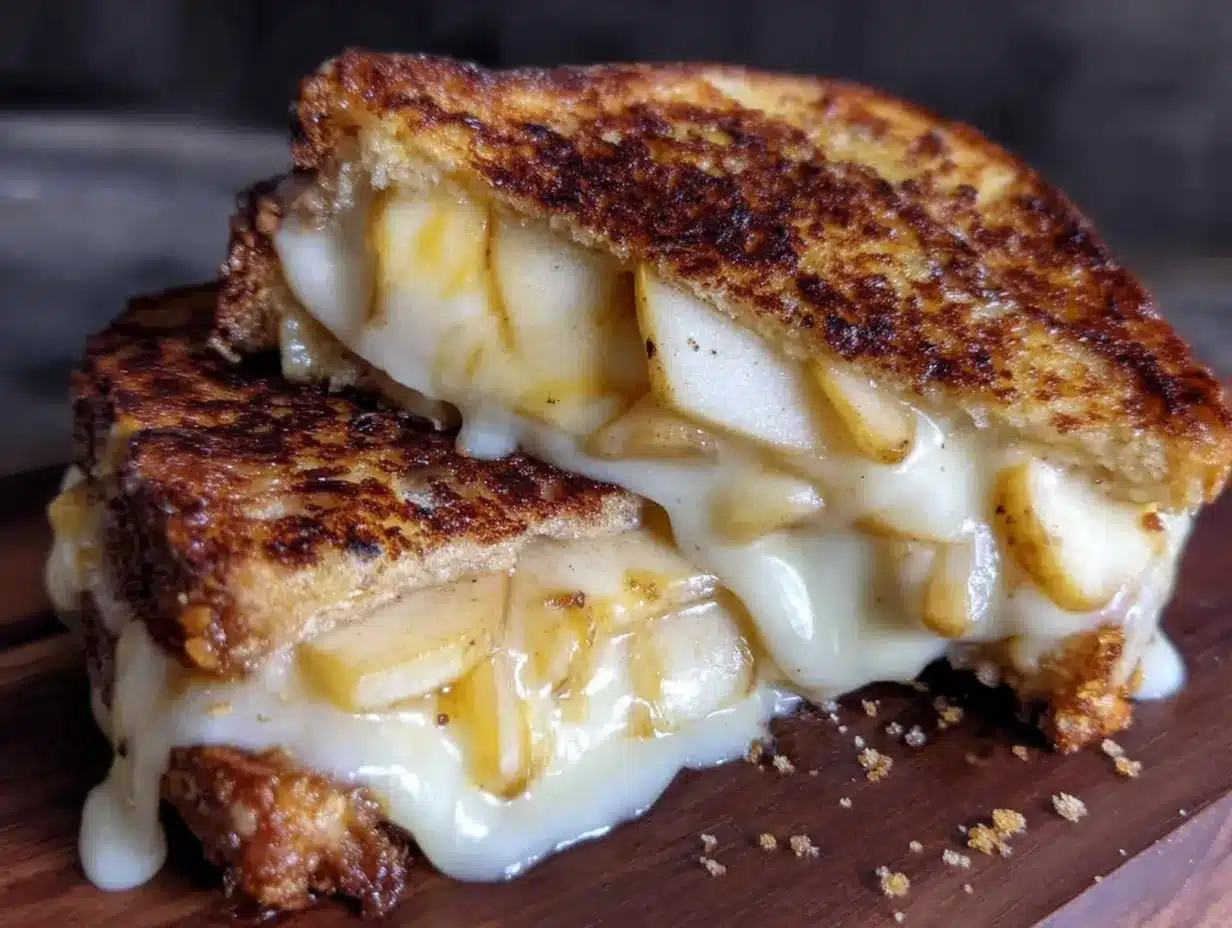
Here’s how to make the perfect Quick Honeycrisp Apple Cheddar Grilled Cheese. Follow these steps, and you’ll have a golden, melty, delicious sandwich in about 10 minutes flat.
- Prep your ingredients. Take the butter out of the fridge and let it soften for a few minutes while you slice the apple and cheese. Core the Honeycrisp apple and slice it into thin rounds—about 1/8 inch thick. You want them thin enough to lay flat but thick enough to still have some crunch after cooking. Slice the cheddar cheese into thin pieces as well, about the same thickness as the apple slices. (Pro tip: If you slice the cheese while it’s still cold, it’s easier to get clean, even slices.)
- Butter the bread. Spread 1 tablespoon of softened butter on one side of each bread slice. Make sure you go all the way to the edges—this is what gives you that beautiful golden crust. Don’t skimp on the butter, but don’t drown it either. You want a thin, even layer. (I learned this the hard way after making too many sandwiches with patchy, uneven browning.)
- Assemble the sandwich. Place one slice of bread, butter-side down, in the cold skillet. Layer half of the cheddar cheese slices on the bread. Arrange the apple slices evenly over the cheese—you want them in a single layer, slightly overlapping if needed. Top with the remaining cheese slices, then place the second slice of bread on top, butter-side up. The cheese on both sides of the apple helps everything stick together and melt evenly.
- Cook the first side. Turn the heat to medium-low. Let the sandwich cook undisturbed for 3-4 minutes. You’ll know it’s ready to flip when the bottom is golden brown and the cheese has started to melt. Peek under the bread with your spatula to check the color—you’re looking for a deep golden brown, not pale or burnt. If it’s browning too fast, turn the heat down. Patience is key here.
- Flip and cook the second side. Carefully flip the sandwich using your spatula. Press down gently with the spatula to ensure even contact with the pan. Cook for another 3-4 minutes, or until the second side is golden brown and the cheese is fully melted and gooey. You should see a little cheese oozing out the sides—that’s a good sign.
- Rest and serve. Transfer the sandwich to a cutting board and let it rest for 1 minute. This allows the cheese to set slightly so it doesn’t all ooze out when you cut it. Use a sharp knife to cut the sandwich diagonally—this isn’t just for looks; it creates more surface area for the melty cheese to shine. Sprinkle with a pinch of flaky sea salt if you’re using it. Serve immediately while the cheese is still warm and stretchy.
Sensory Cues: When the sandwich is cooking, you should hear a gentle sizzle—not a loud crackle, which means the heat is too high. The kitchen will smell like toasted butter and warm cheese, with a hint of apple sweetness. When you flip the sandwich, the cooked side should be an even golden brown with darker spots where the butter caramelized. The finished sandwich should feel firm but give slightly when you press it, and when you cut it, you’ll hear a slight crunch from the crust.
Cooking Tips & Techniques
After making this Quick Honeycrisp Apple Cheddar Grilled Cheese more times than I can count, I’ve picked up a few tricks that make all the difference. Here’s what I’ve learned—sometimes the hard way.
Use medium-low heat. This is the single most important tip I can give you. High heat will burn the bread before the cheese has a chance to melt. Low heat will give you a pale, soggy sandwich. Medium-low is the sweet spot—it gives the bread time to toast to a perfect golden brown while the cheese melts slowly and evenly. I ruined so many sandwiches in my early days by cranking up the heat because I was impatient. Don’t be like me.
Don’t overload the sandwich. It’s tempting to pile on the cheese and apple slices, but too much filling will make the sandwich hard to flip and cause everything to slide out. Stick to a single layer of apple slices and enough cheese to cover them. The cheese acts as glue, holding everything together. If you add too much apple, the sandwich falls apart when you flip it. Trust me on this—I’ve had to eat more than a few deconstructed grilled cheeses with a fork.
Let the butter soften properly. Cold butter tears the bread and doesn’t spread evenly. Microwaving butter for a few seconds works in a pinch, but letting it sit at room temperature for 10-15 minutes is better. I’ve started taking the butter out when I walk into the kitchen, and by the time I’ve sliced the apple and cheese, it’s perfect. The even layer of butter is what gives you that beautiful, consistent crust.
Press gently while cooking. After flipping the sandwich, press down lightly with your spatula. This ensures even contact with the pan and helps the cheese melt more uniformly. But don’t press too hard—you don’t want to squeeze out all the cheese. A gentle, firm press is all you need.
Use a lid for extra melty cheese. If you’re struggling to get the cheese fully melted without burning the bread, try covering the pan with a lid for the last minute of cooking. The trapped steam helps melt the cheese without overcooking the bread. I do this especially when I’m using thicker slices of cheese or when my kitchen is particularly cold.
Variations & Adaptations
One of the best things about this Quick Honeycrisp Apple Cheddar Grilled Cheese is how adaptable it is. Here are some variations I’ve tried and loved.
The Turkey Apple Melt: Add 2-3 slices of roasted turkey breast between the cheese and apple layers. This turns your simple grilled cheese into a heartier meal that’s perfect for lunch or a light dinner. The turkey adds protein and makes it feel more substantial. I make this version when I want something a little more filling but still quick.
The Brie and Honey Version: Swap the sharp cheddar for brie and drizzle a little honey over the apple slices before assembling. The creamy, mild brie pairs beautifully with the sweet-tart apple, and the honey adds an extra layer of sweetness. This version feels more elegant—great for when you want to impress someone without much effort. I’ve served this at casual get-togethers and it always gets rave reviews.
The Spicy Twist: Add a thin layer of spicy honey or a sprinkle of red pepper flakes to the cheese before adding the apple. The heat cuts through the richness of the cheese and complements the sweetness of the apple. It’s unexpected but absolutely delicious. I discovered this by accident when I was experimenting and accidentally dropped some chili flakes on my sandwich. Best mistake I ever made.
The Gluten-Free Option: Use your favorite gluten-free bread. I’ve found that gluten-free sourdough works particularly well because it’s sturdy enough to hold up to the filling. Just be careful not to over-toast it, as gluten-free bread can burn more quickly. Let the sandwich cook a little longer on lower heat to ensure the cheese melts without burning the bread.
The Dairy-Free Adaptation: Use vegan butter and a plant-based cheddar-style cheese. The texture will be slightly different—the cheese won’t get as stretchy—but the flavor combination still works beautifully. I recommend using a brand like Miyoko’s or Violife for the best melt. This version has saved me more than once when I had dairy-free guests over.
Serving & Storage Suggestions
This Quick Honeycrisp Apple Cheddar Grilled Cheese is best served immediately, while the cheese is still warm and melty and the bread is perfectly crisp. Here’s how to make the most of it.
Serving Temperature and Presentation: Serve the sandwich hot, right off the pan. Cut it diagonally for the classic look—it’s not just for aesthetics; the diagonal cut creates more surface area for the cheese to ooze out beautifully. I like to serve it on a wooden cutting board or a simple plate with a small side of apple slices or a handful of arugula for a touch of freshness. A light drizzle of honey or a sprinkle of flaky sea salt right before serving adds a professional touch.
Complementary Dishes: This sandwich pairs wonderfully with a simple tomato soup—the classic combination for a reason. A light side salad with a tangy vinaigrette also works well, cutting through the richness of the cheese. For a heartier meal, serve it alongside a cup of butternut squash soup or a simple vegetable broth. If you’re serving it for lunch, a handful of chips or a pickle spear on the side is perfectly acceptable and delicious.
Storage Instructions: This sandwich is best eaten fresh, but if you have leftovers, you can store them in an airtight container in the refrigerator for up to 2 days. The bread will lose its crispness, unfortunately, but the flavors will still be good. To reheat, I recommend using a skillet over medium-low heat for a few minutes per side to revive the crust. The microwave will make the bread soggy, so avoid it if possible. If you’re in a rush, an air fryer at 350°F for 3-4 minutes works surprisingly well.
Make-Ahead Notes: You can slice the apple and cheese up to a day in advance—just store the apple slices in a bowl of cold water with a squeeze of lemon juice to prevent browning. Assemble and cook the sandwich when you’re ready to eat. This is a great time-saver for busy weeknights when every minute counts.
Nutritional Information & Benefits
While this Quick Honeycrisp Apple Cheddar Grilled Cheese is comfort food at its finest, it also offers some nutritional benefits worth noting. Here’s a rough breakdown per sandwich (using the basic recipe):
- Calories: Approximately 450-500 calories
- Protein: 18-20 grams
- Fat: 28-30 grams
- Carbohydrates: 35-40 grams
- Fiber: 4-5 grams
- Sugar: 12-15 grams (mostly from the apple)
Health Benefits: The Honeycrisp apple provides a good source of fiber and vitamin C, while the sharp cheddar cheese offers calcium and protein. The sourdough bread is easier to digest than some other breads due to the fermentation process. This sandwich isn’t health food by any means, but it’s a balanced meal that provides energy, protein, and produce in one satisfying package. I like to think of it as a smarter comfort food choice—you get the indulgence you’re craving with a little nutritional bonus from the apple.
Dietary Considerations: This recipe contains gluten and dairy. For gluten-free or dairy-free adaptations, see the variations section above. The sandwich is naturally vegetarian and can be made vegan with appropriate substitutions. It’s not suitable for low-carb or keto diets due to the bread and apple.
Conclusion
This Quick Honeycrisp Apple Cheddar Grilled Cheese has become one of those recipes I turn to again and again, and I think you’ll understand why once you try it. It’s fast enough for the busiest weeknights, simple enough for beginner cooks, and delicious enough to feel like a real treat. The combination of sharp cheddar, sweet-tart apple, and buttery toasted bread is one of those perfect flavor marriages that just works.
I love that this recipe doesn’t require any special skills or fancy equipment. It’s the kind of meal that proves you don’t need complicated techniques or hard-to-find ingredients to make something genuinely satisfying. It’s comfort food in its purest form—simple, honest, and deeply rewarding.
I’d love to hear how yours turns out. Did you try any of the variations? Did you come up with your own twist? Drop a comment below and let me know—I read every single one, and I’m always looking for new ideas to try. And if you loved this recipe, share it with a friend who needs a quick dinner win. Happy cooking, friend. You’ve got this.
Frequently Asked Questions
Can I use a different type of apple?
Absolutely! While Honeycrisp is my top pick for its perfect balance of sweet and tart and its ability to stay crisp when heated, you can use Fuji, Gala, or Granny Smith apples. Just keep in mind that Granny Smith is much tarter, so your sandwich will have a more pronounced tang. If you use a softer apple like Red Delicious, it might get a bit mushy, so I’d stick with firmer varieties.
How do I prevent the sandwich from getting soggy?
The key to a non-soggy sandwich is using thin apple slices and not overloading the filling. Also, make sure your bread is well-buttered all the way to the edges—the butter creates a barrier that helps keep the bread crisp. Cooking on medium-low heat also helps, because it gives the bread time to toast properly without steaming.
Can I make this in a panini press?
Yes, you can! A panini press works great for this recipe. Assemble the sandwich as directed, then cook it in the preheated press for about 4-5 minutes, or until the bread is golden and the cheese is melted. The press will give you those nice grill marks and an evenly toasted sandwich. Just be careful not to press too hard, or you’ll squeeze out the filling.
What’s the best bread to use?
Sourdough is my top recommendation because it’s sturdy enough to hold the filling and has a tangy flavor that complements the sweet apple and sharp cheddar. But any sturdy bread will work—try ciabatta, a good quality white bread, or even whole wheat. Avoid very soft, airy breads like brioche or Wonder bread, as they can get soggy and fall apart.
Can I add meat to this sandwich?
Definitely! Adding thinly sliced turkey, ham, or even prosciutto turns this into a heartier meal. I especially love it with roasted turkey—the combination of turkey, apple, and cheddar is classic for a reason. Just add the meat between the cheese layers, and you’re good to go. It adds protein and makes the sandwich more filling without complicating the recipe.
Pin This Recipe!
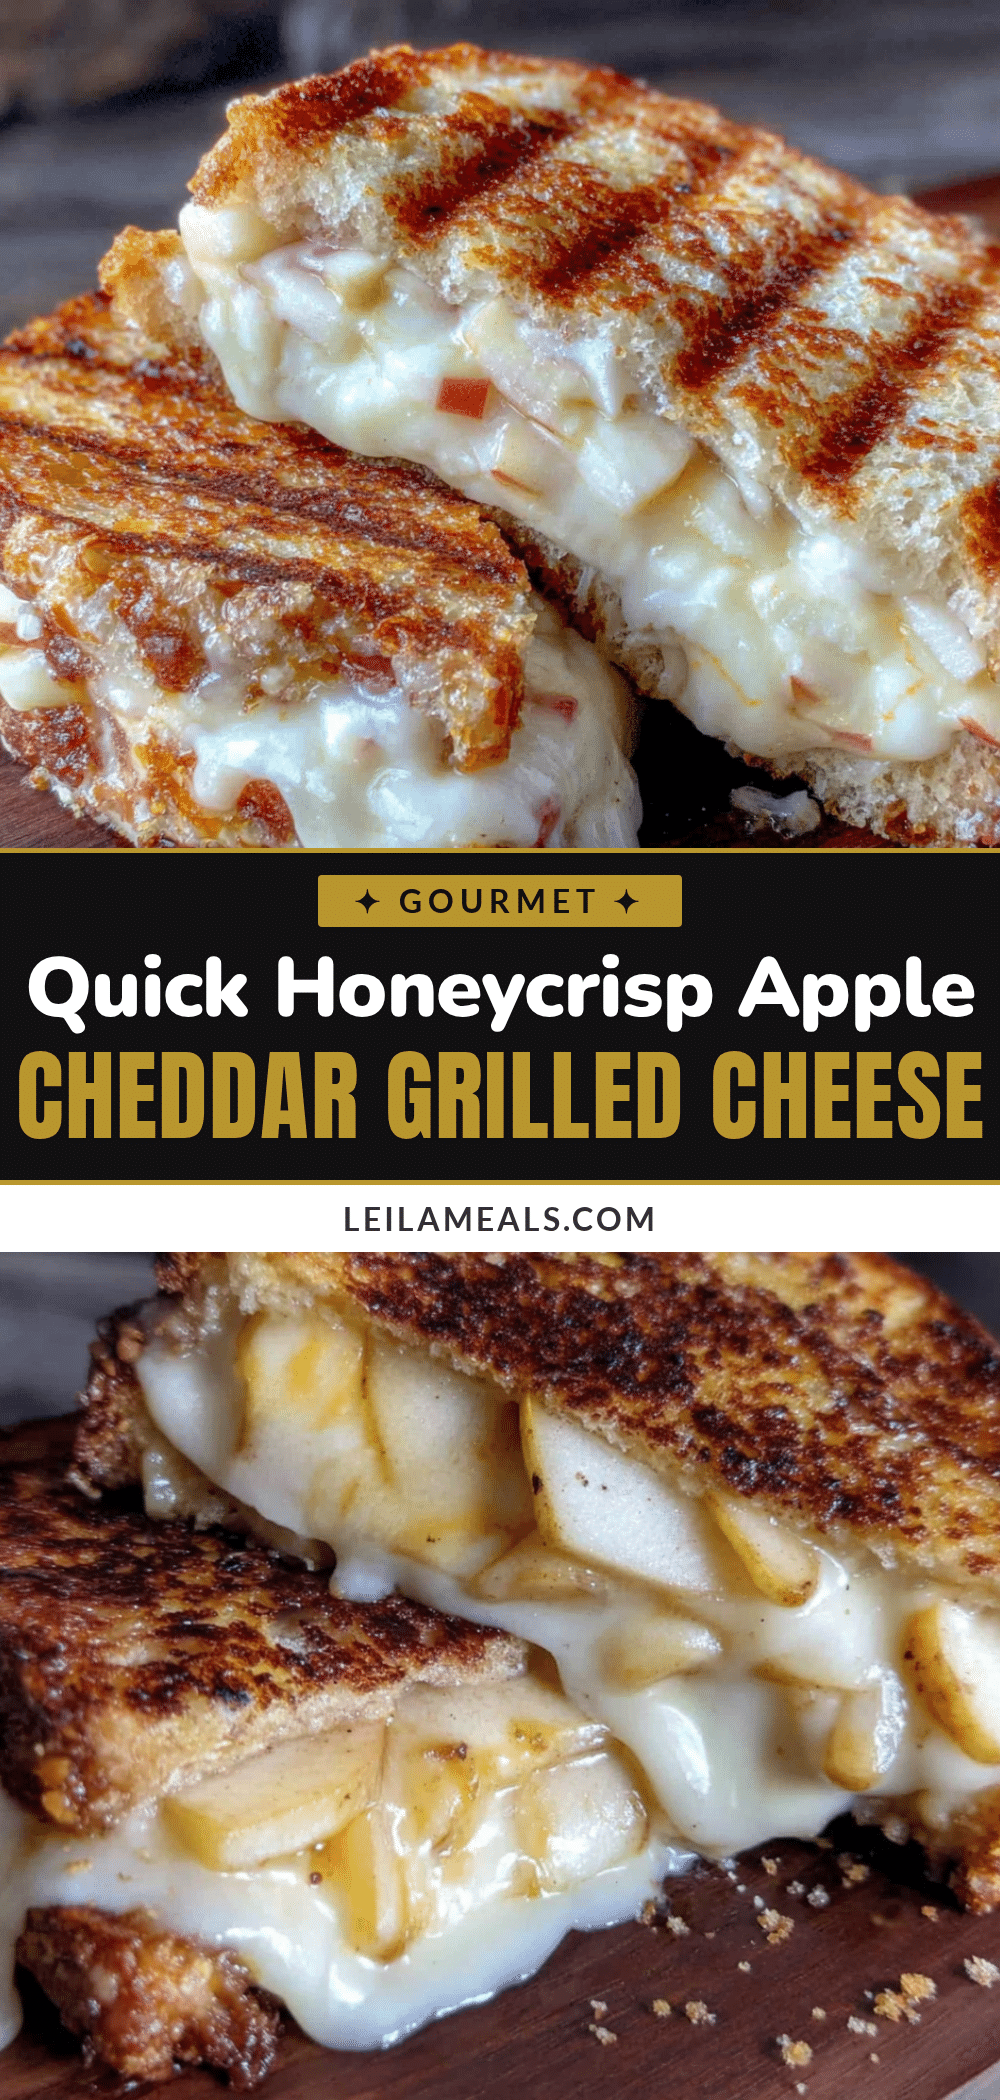
Quick Honeycrisp Apple Cheddar Grilled Cheese: Best 10-Minute Meal

A quick and easy grilled cheese sandwich featuring sharp cheddar and crisp Honeycrisp apple slices on buttery sourdough bread. Perfect for busy weeknights when you need a delicious meal in under 10 minutes.
- Prep Time: 5 minutes
- Cook Time: 8 minutes
- Total Time: 13 minutes
- Yield: 1 serving 1x
- Category: Main Course
- Cuisine: American
Ingredients
- 2 slices sourdough bread
- 2 tablespoons unsalted butter, softened
- 3–4 ounces sharp cheddar cheese, thinly sliced
- 1/2 medium Honeycrisp apple, cored and thinly sliced
- Pinch of flaky sea salt (optional)
Instructions
- Prep your ingredients. Take the butter out of the fridge and let it soften for a few minutes while you slice the apple and cheese. Core the Honeycrisp apple and slice it into thin rounds—about 1/8 inch thick. Slice the cheddar cheese into thin pieces as well, about the same thickness as the apple slices.
- Butter the bread. Spread 1 tablespoon of softened butter on one side of each bread slice. Make sure you go all the way to the edges.
- Assemble the sandwich. Place one slice of bread, butter-side down, in the cold skillet. Layer half of the cheddar cheese slices on the bread. Arrange the apple slices evenly over the cheese. Top with the remaining cheese slices, then place the second slice of bread on top, butter-side up.
- Cook the first side. Turn the heat to medium-low. Let the sandwich cook undisturbed for 3-4 minutes, until the bottom is golden brown and the cheese has started to melt.
- Flip and cook the second side. Carefully flip the sandwich using your spatula. Press down gently with the spatula. Cook for another 3-4 minutes, until the second side is golden brown and the cheese is fully melted.
- Rest and serve. Transfer the sandwich to a cutting board and let it rest for 1 minute. Cut diagonally, sprinkle with flaky sea salt if desired, and serve immediately.
Notes
Use medium-low heat to prevent burning. Don’t overload the sandwich. Let butter soften properly for even spreading. Press gently while cooking. Use a lid for extra melty cheese if needed.
Nutrition
- Serving Size: 1 sandwich
- Calories: 475
- Sugar: 14
- Sodium: 680
- Fat: 29
- Saturated Fat: 17
- Carbohydrates: 38
- Fiber: 5
- Protein: 19
Keywords: grilled cheese, apple cheddar, quick meal, weeknight dinner, honeycrisp apple, comfort food