There were three cans of pumpkin in my pantry and no idea what had possessed me to buy them. It was mid-October, the kind of afternoon where the light goes gold and dusty around four, and I had promised to bring dessert to a dinner that was happening in roughly three hours. Not enough time for a full cheesecake—those things take forever, and honestly, I didn’t trust my water bath technique on a Tuesday. The cream cheese was already softened on the counter because I’d vaguely planned something else, something that never happened. So there I was, staring at pumpkin and cream cheese like they were strangers at a party who needed an introduction. And then it clicked—why not merge them? Why not take the velvety richness of cheesecake and the warm, spiced comfort of pumpkin pie, and press them into a buttery graham cracker crust that doesn’t require any rolling or fussing? That’s how these Perfect Pumpkin Cheesecake Bars were born—out of a pantry inventory and a ticking clock. They came together so fast I actually had time to shower before dinner. And when I set that pan down on the table, everyone got quiet for a second, and then someone said “Wait, you made these?” with that tone that makes you feel like you’ve pulled off a magic trick. Honestly, I had.
Why You’ll Love This Recipe
Let me tell you why these bars have become my fall baking secret weapon. First off, they are ridiculously easy. No water bath, no cracking worries, no fussing with springform pans. You mix, you press, you pour, you bake. That’s it.
- Quick & Easy: From start to finish, these bars take about an hour, with most of that being hands-off baking time. Perfect for last-minute fall gatherings or when you need a dessert that looks way more complicated than it actually is.
- Simple Ingredients: You probably have most of this in your kitchen right now. Canned pumpkin, cream cheese, eggs, sugar, and graham crackers. No fancy extracts or hard-to-find spices.
- Perfect for Fall Gatherings: Whether it’s Thanksgiving, a Friendsgiving potluck, or just a cozy Sunday dinner, these bars fit right in. They travel well, slice cleanly, and disappear fast.
- Crowd-Pleaser: I’ve served these to kids, adults, and that one friend who says they don’t like pumpkin desserts. Every single person went back for seconds. The cheesecake layer is so creamy and the pumpkin layer is perfectly spiced—it’s a combination that just works.
- Unbelievably Delicious: The texture is what gets me every time. That buttery, slightly crunchy graham cracker crust, then a smooth cream cheese layer, then a silky pumpkin custard on top. It’s like a pumpkin cheesecake and a pie had a beautiful baby.
What makes this recipe different from all the others? It’s the balance. So many pumpkin cheesecake bars end up too dense or too sweet. I spent three batches getting the ratios right—enough pumpkin flavor to taste like fall, enough cream cheese to keep it tangy and light, and just the right amount of spice so it doesn’t taste like a candle. This is the version I make for my family, and now I’m sharing it with you.
What Ingredients You Will Need
This recipe uses straightforward ingredients that work together to create something truly special. Here’s what you’ll need and why each one matters.
For the Graham Cracker Crust
- 2 cups graham cracker crumbs (about 16 full sheets)—You can buy pre-crushed or pulse whole crackers in a food processor. I actually prefer pulsing my own because you get a more consistent texture.
- ½ cup unsalted butter, melted—This binds the crust and gives it that rich, buttery flavor. Use real butter here, not margarine. It makes a difference.
- ¼ cup granulated sugar—Just enough sweetness to balance the salty butter and the tangy cheesecake.
- ¼ teaspoon salt—Trust me on this. A little salt in the crust makes everything else taste more vibrant.
For the Cream Cheese Layer
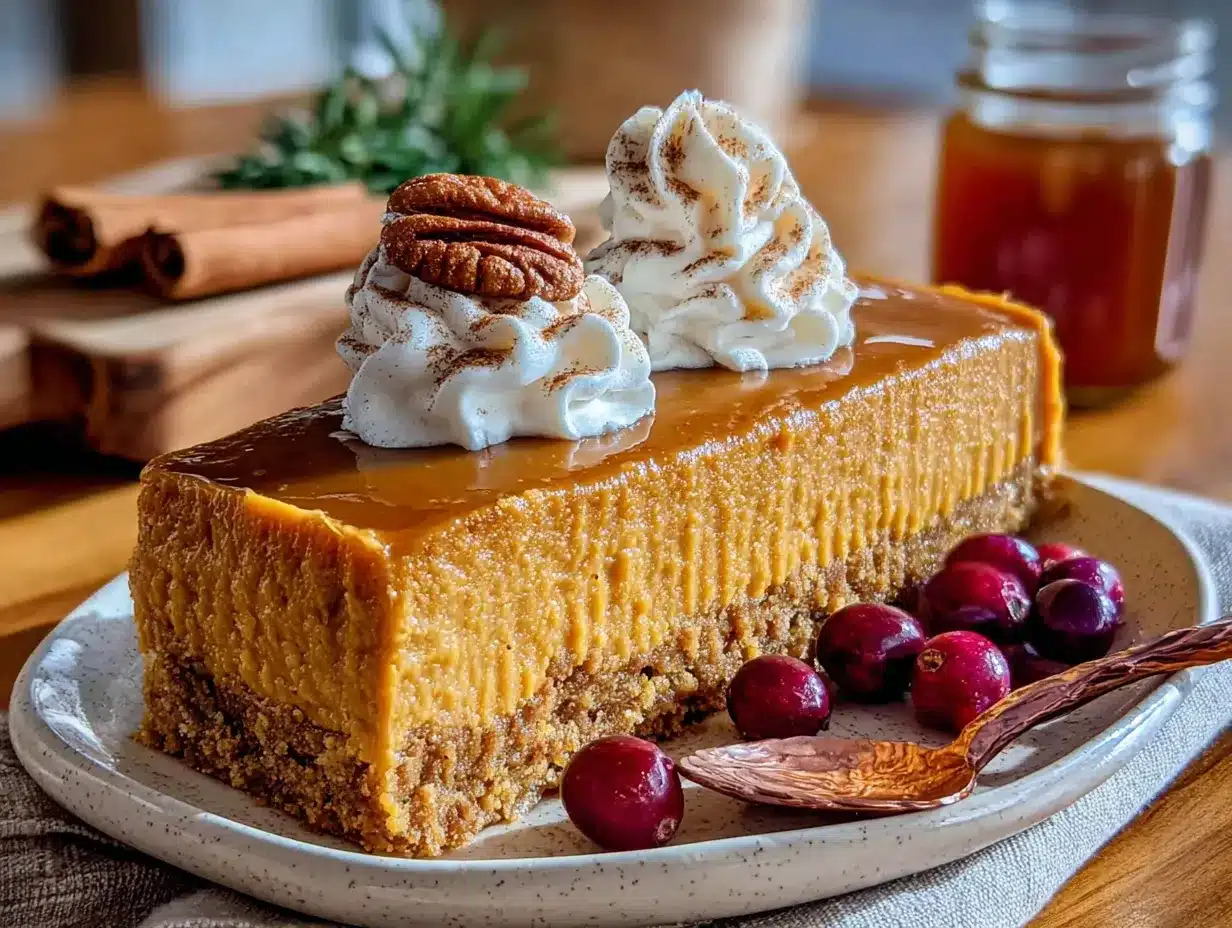
- 16 ounces cream cheese, softened—Full-fat is best for that creamy, luxurious texture. Let it sit out for at least an hour before you start.
- ½ cup granulated sugar—Sweetens the cheesecake without making it cloying.
- 2 large eggs, room temperature—Room temperature eggs blend more smoothly into the batter, preventing lumps.
- 1 teaspoon vanilla extract—Pure vanilla, not imitation. It adds warmth and depth.
For the Pumpkin Layer
- 1 can (15 oz) pumpkin puree—Not pumpkin pie filling. Make sure you grab pure pumpkin puree. I like Libby’s for consistency.
- ½ cup granulated sugar
- ¼ cup brown sugar, packed—Adds a subtle molasses note that pairs beautifully with pumpkin.
- 2 large eggs, room temperature
- 1 teaspoon vanilla extract
- 1 teaspoon pumpkin pie spice—You can use store-bought or make your own with cinnamon, nutmeg, ginger, and cloves.
- ½ teaspoon cinnamon—Because you can never have too much cinnamon in a pumpkin dessert.
- ¼ teaspoon salt—Balances the sweetness and brings out the pumpkin’s natural flavor.
Equipment Needed
You don’t need a professional bakery setup for these bars. Here’s what you’ll need:
- 9×13 inch baking pan—This is the perfect size for getting thick, satisfying bars. A metal pan works best for even baking.
- Parchment paper—Line your pan with it, leaving some overhang on the sides. This makes lifting the bars out so much easier.
- Mixing bowls—You’ll need at least two medium bowls and one large one.
- Electric hand mixer or stand mixer—You can mix by hand, but a mixer makes the cream cheese layer silky smooth without overworking it.
- Food processor or zip-top bag and rolling pin—For crushing graham crackers. I’ve done both methods, and honestly, the bag method works fine if you don’t mind a little arm workout.
- Rubber spatula—For scraping every last bit of batter into the pan.
Preparation Method
- Preheat and Prep: Preheat your oven to 350°F (175°C). Line your 9×13 pan with parchment paper, leaving about 2 inches of overhang on the long sides. This will be your handle later.
- Make the Crust: In a medium bowl, combine the graham cracker crumbs, sugar, and salt. Pour in the melted butter and stir with a fork until every crumb is moistened. It should look like wet sand. Press this mixture firmly into the bottom of your prepared pan. I use the bottom of a measuring cup to really pack it down—this prevents a crumbly crust later. Bake for 10 minutes, then set aside to cool slightly while you make the fillings.
- Make the Cream Cheese Layer: In a large bowl, beat the softened cream cheese with an electric mixer until smooth and fluffy—about 2 minutes. Add the sugar and beat until combined. Add the eggs one at a time, beating on low after each addition until just incorporated. Stir in the vanilla. Be careful not to overmix; you don’t want to incorporate too much air, which can cause cracking. Spread this mixture evenly over the pre-baked crust.
- Make the Pumpkin Layer: In a separate bowl, whisk together the pumpkin puree, both sugars, eggs, vanilla, pumpkin pie spice, cinnamon, and salt. Whisk until smooth and well combined. The mixture should be thick but pourable.
- Layer and Swirl: Gently pour the pumpkin mixture over the cream cheese layer. Use a spatula to spread it evenly. Here’s the fun part: take a butter knife or a skewer and gently swirl the two layers together. Just a few figure-eight motions—you want streaks of pumpkin and cream cheese, not a fully combined mixture. Don’t over-swirl or you’ll lose the distinct layers.
- Bake: Place the pan in the preheated oven and bake for 35-40 minutes. The edges should be set and slightly puffed, but the center should still have a slight jiggle when you gently shake the pan. This is the sweet spot—overbaking will make the cheesecake dry.
- Cool and Chill: Let the bars cool completely on a wire rack—about an hour. Then transfer to the refrigerator and chill for at least 4 hours, but overnight is even better. This is crucial for clean slices and the best texture. Trust me, don’t rush this step.
- Slice and Serve: Once fully chilled, use the parchment paper overhang to lift the entire block out of the pan. Place on a cutting board and slice into squares with a sharp knife. Wipe the knife clean between cuts for neat edges.
Cooking Tips & Techniques
I’ve made these bars more times than I can count, and I’ve learned a few things along the way. Here are my best tips:
- Room temperature ingredients are non-negotiable. Cold cream cheese will give you lumpy batter, and cold eggs can cause the mixture to curdle. Set everything out an hour before you start.
- Don’t overbake. I know it’s tempting to leave it in until it looks fully set, but carryover cooking will continue to firm up the bars as they cool. A slight jiggle in the center is exactly what you want.
- Use a hot knife for clean slices. Run your knife under hot water, dry it off, and then slice. Wipe and repeat between each cut. This gives you those beautiful, bakery-style edges.
- Chill overnight if you can. The bars are good after 4 hours, but they’re transcendent after a full night in the fridge. The flavors meld, the texture becomes ultra-creamy, and the crust stays perfectly crisp.
- Line your pan properly. This is my number one tip. If you don’t use parchment overhang, you’ll be digging these bars out with a spatula and they’ll look like a crime scene. Two strips of parchment crisscrossed works even better.
Variations & Adaptations
One of the best things about this recipe is how adaptable it is. Here are some ways to make it your own:
- Gluten-Free Version: Swap the graham crackers for gluten-free graham crackers or use crushed gluten-free shortbread cookies. The rest of the recipe is naturally gluten-free.
- Dairy-Free Adaptation: Use dairy-free cream cheese and a plant-based butter alternative. I’ve tried this with Kite Hill cream cheese and it worked surprisingly well, though the texture is slightly less firm.
- Add a Topping: After the bars are chilled, spread a thin layer of caramel sauce or dulce de leche on top and sprinkle with flaky sea salt. Or add a dollop of whipped cream and a dusting of cinnamon before serving.
- Spice It Up: Add a pinch of cayenne pepper or black pepper to the pumpkin layer for a subtle heat that plays beautifully with the sweetness. It sounds weird, but it’s amazing.
- Nutty Crust: Replace half a cup of graham cracker crumbs with finely chopped pecans or walnuts. Toast them first for extra flavor. This pairs perfectly with the pumpkin and cream cheese.
- Chocolate Swirl: Melt ¼ cup of semi-sweet chocolate chips and drizzle it over the top before baking. Use a knife to swirl it into the pumpkin layer for a chocolate-pumpkin marbled effect.
If you’re in the mood for more fall desserts, you might also enjoy these brown butter pumpkin snickerdoodles or this cozy pumpkin banana bread with chocolate swirl.
Serving & Storage Suggestions
These bars are incredibly versatile when it comes to serving. Here’s how I like to do it:
- Serving Temperature: They’re best served cold, straight from the fridge. The texture is firm and creamy, and the crust stays perfectly crisp. If you prefer a softer texture, let them sit at room temperature for 10-15 minutes before serving.
- Presentation: Arrange the bars on a platter and garnish with a light dusting of cinnamon or pumpkin pie spice. A drizzle of caramel sauce and a few toasted pecans on top makes them look extra special for company.
- Pairings: These bars are wonderful with a cup of hot coffee or a creamy homemade pumpkin chai latte. For a boozy pairing, try them with a glass of bourbon or a dark rum cocktail.
- Storage: Store the bars in an airtight container in the refrigerator for up to 5 days. Place a layer of parchment paper between stacked bars to prevent sticking.
- Freezing: These freeze beautifully. Wrap individual bars tightly in plastic wrap, then place them in a freezer-safe bag or container. They’ll keep for up to 3 months. Thaw in the refrigerator overnight before serving.
- Flavor Development: The bars actually taste better on day two or three. The spices mellow and meld with the cream cheese, and the crust softens slightly into a more cohesive texture. Don’t be afraid to make them ahead of time.
Nutritional Information & Benefits
While these bars are definitely a treat, they do offer some nutritional perks. Here’s a rough estimate per bar (based on 16 servings):
- Calories: Approximately 280-320 per bar
- Protein: 5-6 grams
- Carbohydrates: 30-35 grams
- Fat: 16-18 grams
- Fiber: 1-2 grams
- Sugar: 22-26 grams
Pumpkin is a nutritional powerhouse—it’s packed with vitamin A (beta-carotene), which supports eye health and immune function. It’s also a good source of fiber and potassium. The cream cheese provides calcium and protein, though it’s also where most of the fat and calories come from. I look at these bars as a way to enjoy a seasonal favorite without completely throwing nutrition out the window. One bar is satisfying enough that you don’t need a second, which is more than I can say for most desserts.
Conclusion
These Perfect Pumpkin Cheesecake Bars are everything I want in a fall dessert—they’re easy enough for a Tuesday night, impressive enough for a holiday table, and delicious enough that people will ask for the recipe. The combination of buttery graham cracker crust, tangy cream cheese, and spiced pumpkin is just unbeatable. I love that I can make them ahead of time, slice them cleanly, and watch them disappear at parties. If you’re looking for a dessert that captures the spirit of autumn without hours of work, this is it.
I’d love to hear how these turn out for you. Did you try any variations? Did you add a swirl or a topping? Drop a comment below and let me know—I read every single one. And if you share a photo on social media, tag me so I can see your beautiful bars. Happy baking, friends!
Frequently Asked Questions
Can I use fresh pumpkin instead of canned?
Yes, you can use fresh pumpkin puree, but you’ll need to roast and puree it first. Make sure to drain any excess liquid by pressing the puree through a cheesecloth or fine-mesh strainer. Canned pumpkin is more consistent and convenient, which is why I recommend it for this recipe.
Why did my cheesecake layer crack?
Cracking usually happens from overbaking or overmixing. Make sure you don’t overbeat the cream cheese mixture—mix just until smooth. Also, remove the bars from the oven while the center still has a slight jiggle. The carryover cooking will finish setting it without cracking.
Can I make these bars ahead of time?
Absolutely! In fact, they’re better when made a day in advance. Prepare and bake the bars, let them cool completely, then refrigerate overnight. The flavors meld and the texture becomes even creamier. They’ll keep in the fridge for up to 5 days.
Can I use a different crust?
Definitely. Shortbread cookies, vanilla wafers, or even crushed gingersnaps work wonderfully. If you use gingersnaps, you’ll get an extra layer of spice that pairs beautifully with the pumpkin. Just adjust the butter slightly—if your cookies are more buttery, use a little less melted butter.
How do I know when the bars are done baking?
The edges should be set and slightly puffed, but the center should still jiggle when you gently shake the pan. It will look slightly underdone, but that’s exactly what you want. Overbaking leads to dry, cracked bars. When in doubt, take them out a few minutes early.
Pin This Recipe!
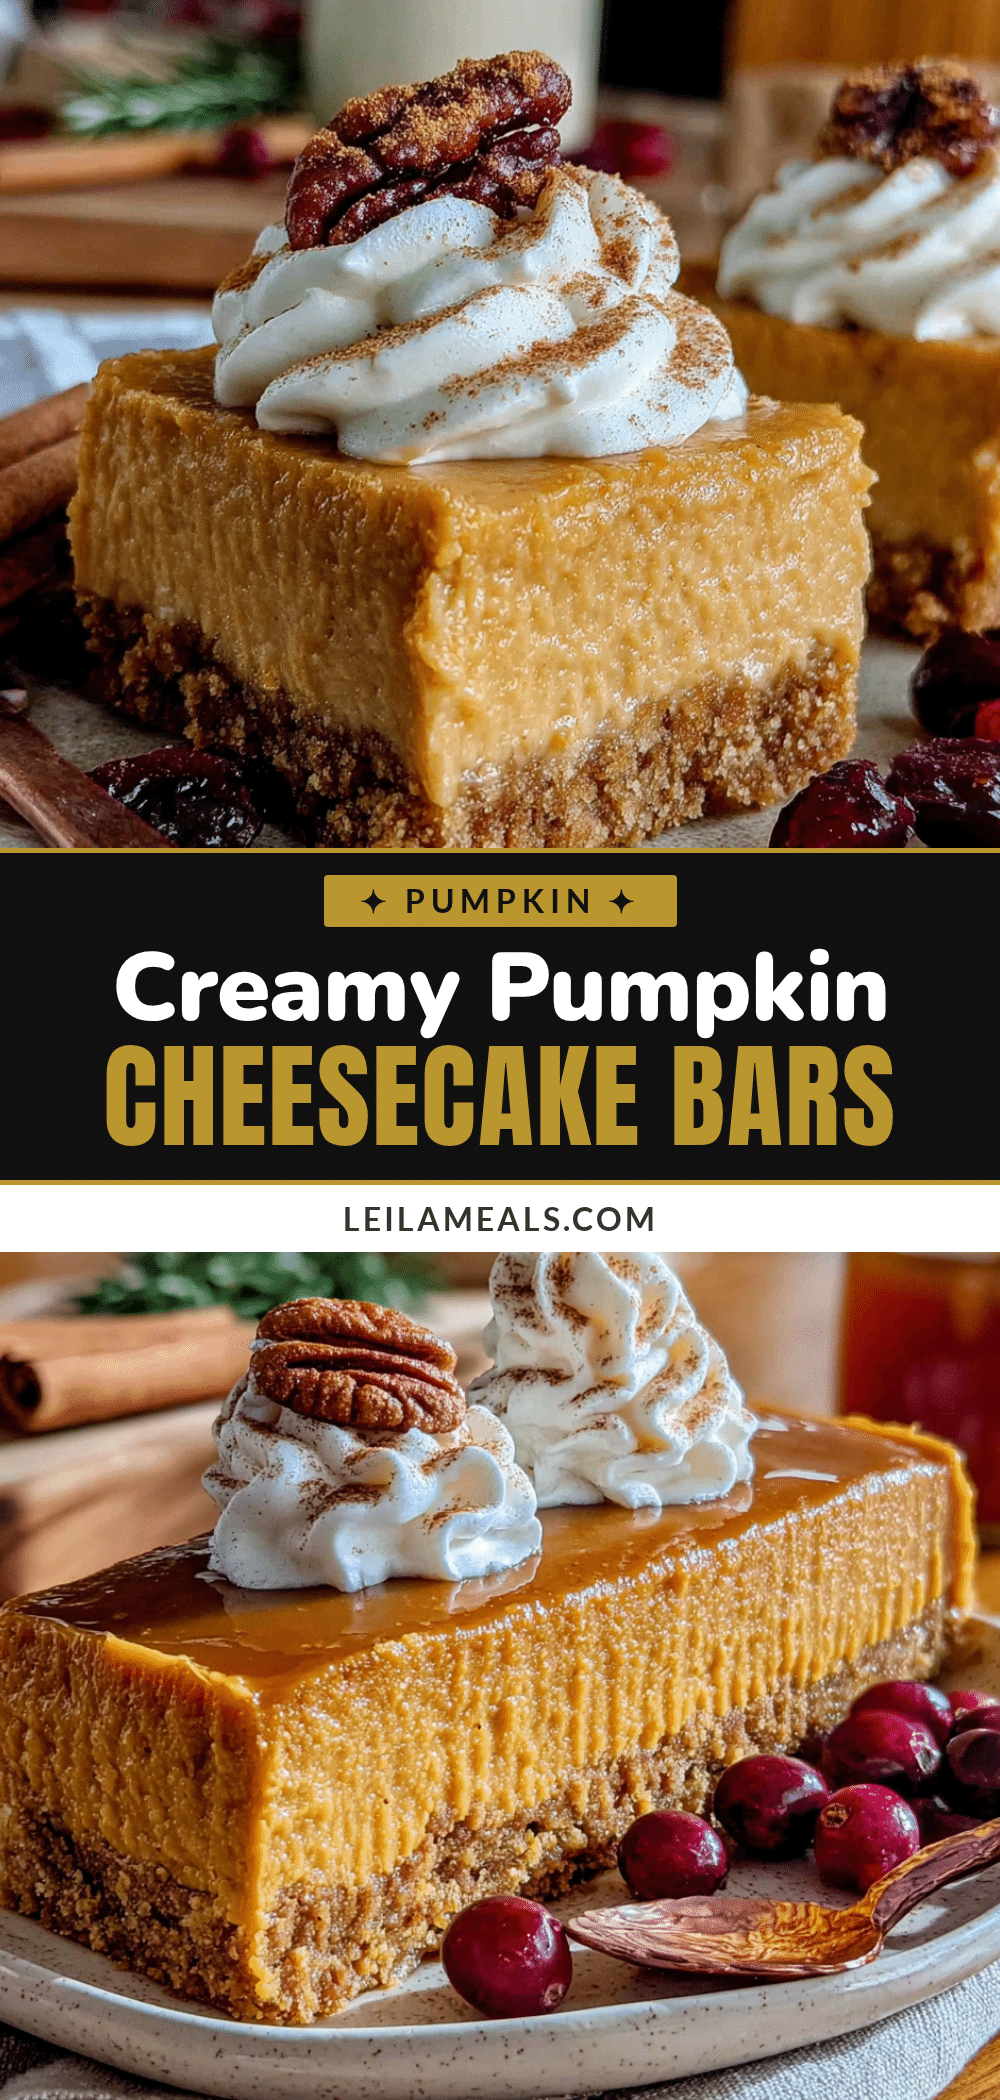
Perfect Pumpkin Cheesecake Bars: Easy Fall Dessert
These Perfect Pumpkin Cheesecake Bars combine the velvety richness of cheesecake with the warm, spiced comfort of pumpkin pie, all pressed into a buttery graham cracker crust. They’re ridiculously easy to make, require no water bath, and are perfect for fall gatherings.
- Prep Time: 20 minutes
- Cook Time: 35-40 minutes
- Total Time: 1 hour (plus 4 hours chilling)
- Yield: 16 servings 1x
- Category: Dessert
- Cuisine: American
Ingredients
- 2 cups graham cracker crumbs (about 16 full sheets)
- ½ cup unsalted butter, melted
- ¼ cup granulated sugar
- ¼ teaspoon salt
- 16 ounces cream cheese, softened
- ½ cup granulated sugar
- 2 large eggs, room temperature
- 1 teaspoon vanilla extract
- 1 can (15 oz) pumpkin puree
- ½ cup granulated sugar
- ¼ cup brown sugar, packed
- 2 large eggs, room temperature
- 1 teaspoon vanilla extract
- 1 teaspoon pumpkin pie spice
- ½ teaspoon cinnamon
- ¼ teaspoon salt
Instructions
- Preheat your oven to 350°F (175°C). Line your 9×13 pan with parchment paper, leaving about 2 inches of overhang on the long sides.
- In a medium bowl, combine the graham cracker crumbs, sugar, and salt. Pour in the melted butter and stir with a fork until every crumb is moistened. Press this mixture firmly into the bottom of your prepared pan. Bake for 10 minutes, then set aside to cool slightly.
- In a large bowl, beat the softened cream cheese with an electric mixer until smooth and fluffy—about 2 minutes. Add the sugar and beat until combined. Add the eggs one at a time, beating on low after each addition until just incorporated. Stir in the vanilla. Spread this mixture evenly over the pre-baked crust.
- In a separate bowl, whisk together the pumpkin puree, both sugars, eggs, vanilla, pumpkin pie spice, cinnamon, and salt until smooth and well combined.
- Gently pour the pumpkin mixture over the cream cheese layer. Use a spatula to spread it evenly. Take a butter knife or a skewer and gently swirl the two layers together with a few figure-eight motions.
- Place the pan in the preheated oven and bake for 35-40 minutes. The edges should be set and slightly puffed, but the center should still have a slight jiggle when you gently shake the pan.
- Let the bars cool completely on a wire rack—about an hour. Then transfer to the refrigerator and chill for at least 4 hours, but overnight is even better.
- Once fully chilled, use the parchment paper overhang to lift the entire block out of the pan. Place on a cutting board and slice into squares with a sharp knife. Wipe the knife clean between cuts for neat edges.
Notes
Room temperature ingredients are non-negotiable. Don’t overbake—a slight jiggle in the center is exactly what you want. Use a hot knife for clean slices. Chill overnight if possible for best texture. Line your pan properly with parchment overhang for easy removal.
Nutrition
- Serving Size: 1 bar
- Calories: 300
- Sugar: 24
- Sodium: 220
- Fat: 17
- Saturated Fat: 10
- Carbohydrates: 33
- Fiber: 1.5
- Protein: 5.5
Keywords: pumpkin cheesecake bars, fall dessert, easy pumpkin dessert, cheesecake bars, pumpkin bars, Thanksgiving dessert, graham cracker crust


