Early Saturday morning, and the only thing I want is a quiet kitchen and a simple snack that doesn’t demand too much fuss. The sun barely peeks through the curtains, and the familiar hum of the fridge is the soundtrack to my slow ritual of preparing these easy no-bake chocolate peanut butter granola bars. It’s not about impressing anyone or rushing through a recipe; it’s about the comfort of mixing peanut butter and chocolate in a way that feels like a small, sweet secret just for me.
The smell of toasted oats and peanut butter mingling, the gentle stirring as the chocolate melts softly over the stove – it all feels like a pause from the day ahead. These bars are the kind of snack I reach for when I want something wholesome yet indulgent, something that doesn’t need baking or complicated timing. Honestly, they’ve become my go-to whenever I need a quick energy boost without the mess or wait.
What sticks with me about this recipe is how forgiving it is—no fancy equipment, no exact science, just a few straightforward ingredients coming together to create something surprisingly satisfying. It’s been my quiet companion during lazy afternoons and busy mornings alike. I trust these granola bars to deliver that perfect balance of chocolate and peanut butter every time without fail. It’s less about the recipe and more about the small moment it creates, a little break in the noise.
So, if you’re searching for a snack that feels like a personal treat but comes together in a snap, these easy no-bake chocolate peanut butter granola bars might just be what you didn’t know you needed. They’re simple, reliable, and quietly satisfying in a way that lingers beyond the first bite.
Why You’ll Love This Recipe
If you ask me, these easy no-bake chocolate peanut butter granola bars have a charm all their own. I’ve made plenty of granola bars over the years, but this version has a special something that keeps me coming back. Here’s why I think you’ll love it too:
- Quick & Easy: Ready in about 15 minutes, perfect for when you want homemade snacks without spending hours in the kitchen.
- Simple Ingredients: No hunting for fancy health food store staples—just pantry basics like peanut butter, oats, and chocolate chips.
- Perfect for On-the-Go: These bars travel well, making them ideal for busy mornings, afternoon pick-me-ups, or even a quick hiking snack.
- Crowd-Pleaser: Whether it’s kids clamoring after school or friends dropping by unexpectedly, these bars always get a thumbs up.
- Unbelievably Delicious: The peanut butter’s nuttiness paired with the chocolate’s richness creates a texture and flavor combo that feels like a treat, but honestly, it’s good enough to eat any time.
- Unique Touch: I blend the peanut butter with a bit of honey and a pinch of salt before mixing it with the oats and chocolate. This little twist gives the bars a smooth, balanced sweetness that’s not too cloying.
This recipe isn’t just another granola bar. It’s the kind of snack that makes you pause and actually enjoy the moment. I’ve found it perfect to pair with a cozy cup of tea or even as a quick dessert substitute after dinner. It’s comfort food in a bar—simple, honest, and satisfying.
Ingredients You Will Need
This easy no-bake chocolate peanut butter granola bars recipe uses straightforward ingredients that come together to create a snack that’s both wholesome and indulgent. Most of these are pantry staples, and substitutions are pretty forgiving if you need them.
- Old-fashioned rolled oats (2 cups / 180g) – The hearty base that gives the bars their chew and texture. I prefer Bob’s Red Mill for consistent quality.
- Natural creamy peanut butter (1 cup / 250g) – Look for one with no added sugar for a clean peanut flavor. Skippy Natural or Smucker’s Natural are reliable choices.
- Honey (1/2 cup / 170g) – Acts as a natural sweetener and binder. You can swap with maple syrup if you want a vegan option.
- Mini chocolate chips (3/4 cup / 135g) – For pockets of melty chocolate goodness. I like Ghirardelli’s semi-sweet mini chips for that perfect balance of sweet and rich.
- Vanilla extract (1 tsp) – Adds depth and warmth to the flavor.
- Sea salt (a pinch) – Enhances the peanut butter and chocolate flavors, making the bars more interesting.
- Chopped nuts or seeds (optional, 1/4 cup / 30g) – For extra crunch, try toasted almonds, walnuts, or pumpkin seeds.
If you want to switch things up, you can substitute almond butter for peanut butter or use gluten-free rolled oats to make these bars gluten-free. For a dairy-free twist, choose vegan chocolate chips. These bars are forgiving, so feel free to experiment with what you have on hand.
Equipment Needed
- Mixing bowl: A large bowl to combine your oats, peanut butter, honey, and other ingredients. I use a sturdy glass or stainless steel bowl for easy mixing and cleanup.
- Microwave-safe bowl or small saucepan: For gently heating the peanut butter and honey to help them blend smoothly.
- Wooden spoon or silicone spatula: Essential for stirring the mixture without scratching your bowl.
- 8×8 inch baking pan or square dish: To press and set the bars. If you don’t have one, a loaf pan works just as well.
- Parchment paper: To line the pan for easy removal and clean-up.
- Measuring cups and spoons: Accurate measurements help keep the texture just right, but with this recipe, a little wiggle room is okay.
Not everyone has a microwave, so warming the peanut butter and honey gently on the stovetop works just fine. I’ve found that pressing the mixture firmly into the pan with a spatula or your hands (lined with parchment paper) helps the bars hold together better. Budget-friendly tip: If you don’t have parchment, greasing the pan lightly will do the trick.
Preparation Method
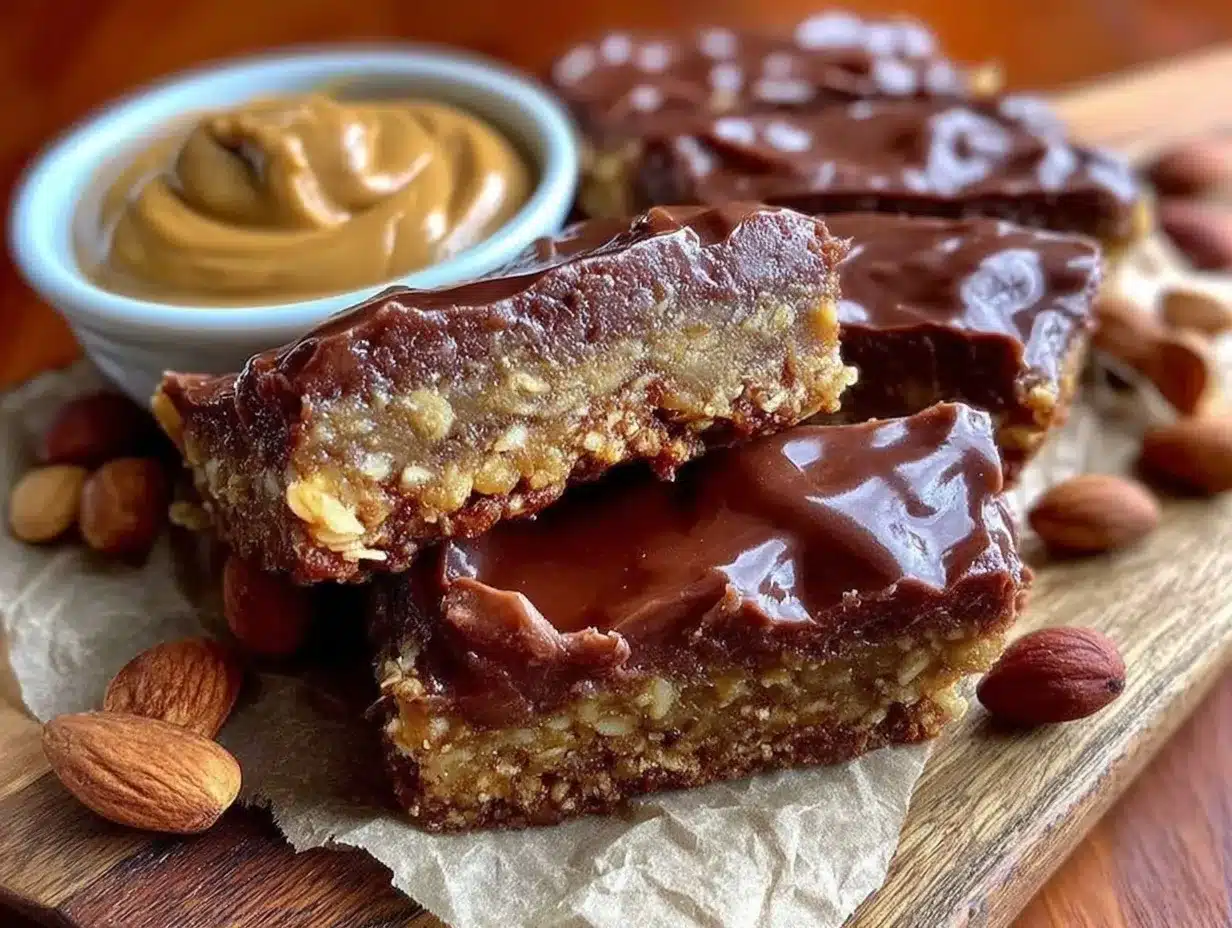
- Line your pan: Start by lining an 8×8 inch (20×20 cm) baking pan with parchment paper, leaving some overhang for easy removal. This step makes cleanup a breeze and helps the bars come out in one piece. (5 minutes)
- Toast the oats (optional): For a nuttier flavor, toast the oats in a dry skillet over medium heat for 3-4 minutes, stirring frequently until they turn lightly golden and smell toasty. Let them cool slightly. This step adds depth but you can skip it if you’re in a hurry. (5 minutes)
- Warm peanut butter and honey: In a microwave-safe bowl, combine 1 cup (250g) peanut butter and 1/2 cup (170g) honey. Microwave in 20-second bursts, stirring between, until smooth and easy to mix—about 1 minute total. Alternatively, warm gently over low heat on the stove. (3-4 minutes)
- Add vanilla and salt: Stir in 1 teaspoon vanilla extract and a pinch of sea salt into the warm peanut butter mixture. This brightens the flavor and balances the sweetness. (1 minute)
- Mix dry ingredients: In your large bowl, combine the 2 cups (180g) oats, and if using, 1/4 cup (30g) chopped nuts or seeds. Then pour the peanut butter mixture over the oats. (2 minutes)
- Combine thoroughly: Stir everything together with a wooden spoon or spatula until the oats are evenly coated and the mixture looks sticky and thick. (2-3 minutes)
- Fold in chocolate chips: Add 3/4 cup (135g) mini chocolate chips last, folding gently to distribute without melting them. (1 minute)
- Press mixture into pan: Transfer the mixture to your prepared pan. Press firmly and evenly with a spatula or your hands (use parchment paper or wet hands to avoid sticking). This step helps the bars hold their shape once set. (3-4 minutes)
- Chill: Refrigerate the pan for at least 2 hours, or until the bars are firm enough to cut. (2 hours minimum)
- Slice and store: Using the parchment overhang, lift the set mixture from the pan. Cut into 10-12 bars with a sharp knife. Store in an airtight container in the fridge. (5 minutes)
One thing I learned the hard way: don’t rush the chilling step if you want clean bars. I once tried to cut them too soon and ended up with crumbly messes. Also, pressing firmly when you put the mixture in the pan helps avoid that crumbly outcome.
Cooking Tips & Techniques
When it comes to making these easy no-bake chocolate peanut butter granola bars, a few tricks can make your life easier and the results better.
- Don’t skip warming the peanut butter and honey: This step helps them blend smoothly, which means your bars stick together better without being too dry or crumbly. I’ve tried stirring cold peanut butter in once, and it just doesn’t mix well.
- Toast your oats if you have time: It’s a subtle step, but it brings out a richer, nuttier flavor that makes these bars taste less like a quick fix and more like a treat.
- Use mini chocolate chips: These stay intact better when mixing and chilling, so you get little bites of chocolate instead of melted pools.
- Press firmly and evenly: This seals the bars together. I like using the flat bottom of a glass or a spatula to really compact the mixture.
- Chill long enough: This one’s important. If you’re impatient like me, just remember that cutting too soon means crumbs everywhere. Two hours in the fridge does the trick.
From personal experience, I’d say avoid adding too many mix-ins at first—nuts or seeds can change the texture, so start small and adjust as you go. Also, if you want a little extra sweetness, a drizzle of melted chocolate on top after chilling is a nice touch (though that’s optional). For a silky finish, try pairing these bars with a cup of tea or coffee, which balances the richness.
Variations & Adaptations
One of the things I appreciate about this recipe is how flexible it is. You can tweak it to suit your tastes, dietary needs, or whatever you have on hand. Here are some ideas I’ve tried or thought about:
- Nut-free version: Swap peanut butter for sunflower seed butter to keep it allergy-friendly without losing that creamy texture.
- Vegan adaptation: Use maple syrup instead of honey and dairy-free chocolate chips to make these bars completely plant-based.
- Extra protein boost: Add a scoop of your favorite protein powder to the mix, but reduce the oats slightly to keep the texture balanced.
- Seasonal twist: Swap the chocolate chips for dried cranberries or chopped dried apricots for a fruity touch in fall or winter.
- Crunchy texture: Toasted shredded coconut or puffed quinoa folded into the mixture adds a fun crunch and a hint of tropical flavor.
Personally, I once made a batch with almond butter and a sprinkle of cinnamon, and it was surprisingly good—felt like a cozy fall snack. If you want to take it a step further, you might like trying out the easy no-bake peanut butter chocolate chip energy balls recipe on this site for a bite-sized alternative that’s just as satisfying.
Serving & Storage Suggestions
These easy no-bake chocolate peanut butter granola bars are best served chilled but not too cold—you want them firm but soft enough to bite easily. Letting them sit at room temperature for 5-10 minutes before eating helps soften the chocolate and peanut butter slightly.
They’re great as a snack on their own or paired with something refreshing like a glass of cold milk or a cup of herbal tea. If you’re packing them for school lunches or a picnic, wrap individual bars in parchment or wax paper to keep them intact.
Store the bars in an airtight container in the refrigerator for up to a week. For longer storage, freeze them wrapped tightly, separated by parchment paper, for up to 3 months. To thaw, simply transfer to the fridge overnight or leave them on the counter for about 30 minutes.
Flavors tend to meld and deepen a bit after a day or two, so if you’re not in a big hurry, letting the bars rest overnight in the fridge can make them taste even better. Just remember to press them firmly when assembling, so they hold up well during storage.
Nutritional Information & Benefits
Each bar roughly contains (per serving based on 12 bars):
| Calories | Protein | Fat | Carbohydrates | Fiber |
|---|---|---|---|---|
| 180 kcal | 5g | 10g | 18g | 3g |
These bars are a good source of protein and healthy fats thanks to the peanut butter and nuts (if added). The oats provide complex carbohydrates and fiber to keep you feeling full. Using natural peanut butter and honey avoids refined sugars, making this a cleaner snack option compared to many store-bought bars.
If you’re watching allergens, note that peanuts and chocolate are common allergens, but switching to seed butters and dairy-free chips can help. For those following gluten-free diets, be sure to use certified gluten-free oats.
From my perspective, these bars strike a nice balance—they’re indulgent enough to satisfy sweet cravings but still packed with enough wholesome ingredients to feel like a smart choice. They fit well into a busy, balanced lifestyle without sacrificing flavor.
Conclusion
These easy no-bake chocolate peanut butter granola bars are a little bit of everyday magic. They come together quickly, require minimal equipment, and bring that satisfying mix of sweet and salty in every bite. Whether you’re packing snacks for the kids, need a quick energy boost, or just want a reliable treat to stash in the fridge, they fit the bill.
I love how this recipe invites customization and how forgiving it is when life gets a little hectic. It’s become a quiet staple in my kitchen, much like the comforting recipes you might find alongside it here, like the creamy whipped feta dip or the easy sheet pan fajitas. There’s something about snacks like these that make the day feel a little more manageable.
If you try making these bars, I’d love to hear how you customize them or what moments you find them perfect for. Sharing your twists and tips keeps this little ritual alive and well. Here’s to simple, honest snacks that make life a bit sweeter.
FAQs About Easy No-Bake Chocolate Peanut Butter Granola Bars
Can I use crunchy peanut butter instead of creamy?
Yes, you can! Using crunchy peanut butter will add extra texture to the bars, which some people really enjoy. Just be sure to press the mixture firmly into the pan to keep the bars together.
How long do these granola bars stay fresh?
Stored in an airtight container in the fridge, they stay fresh for up to one week. You can freeze them for up to three months if you want to keep them longer.
Can I make these bars nut-free?
Absolutely. Swap the peanut butter for sunflower seed butter or another seed butter to keep them nut-free. Just check that your other ingredients, like chocolate chips, are safe for allergies.
Do I have to chill these bars in the fridge?
Chilling is key for the bars to set properly and hold their shape. If you skip this step, the bars will be too soft and crumbly to cut.
What’s the best way to cut the bars without them crumbling?
Use a sharp knife and wait until the bars are fully chilled. You can warm the knife slightly by running it under hot water and drying it before slicing to get cleaner cuts.
Pin This Recipe!
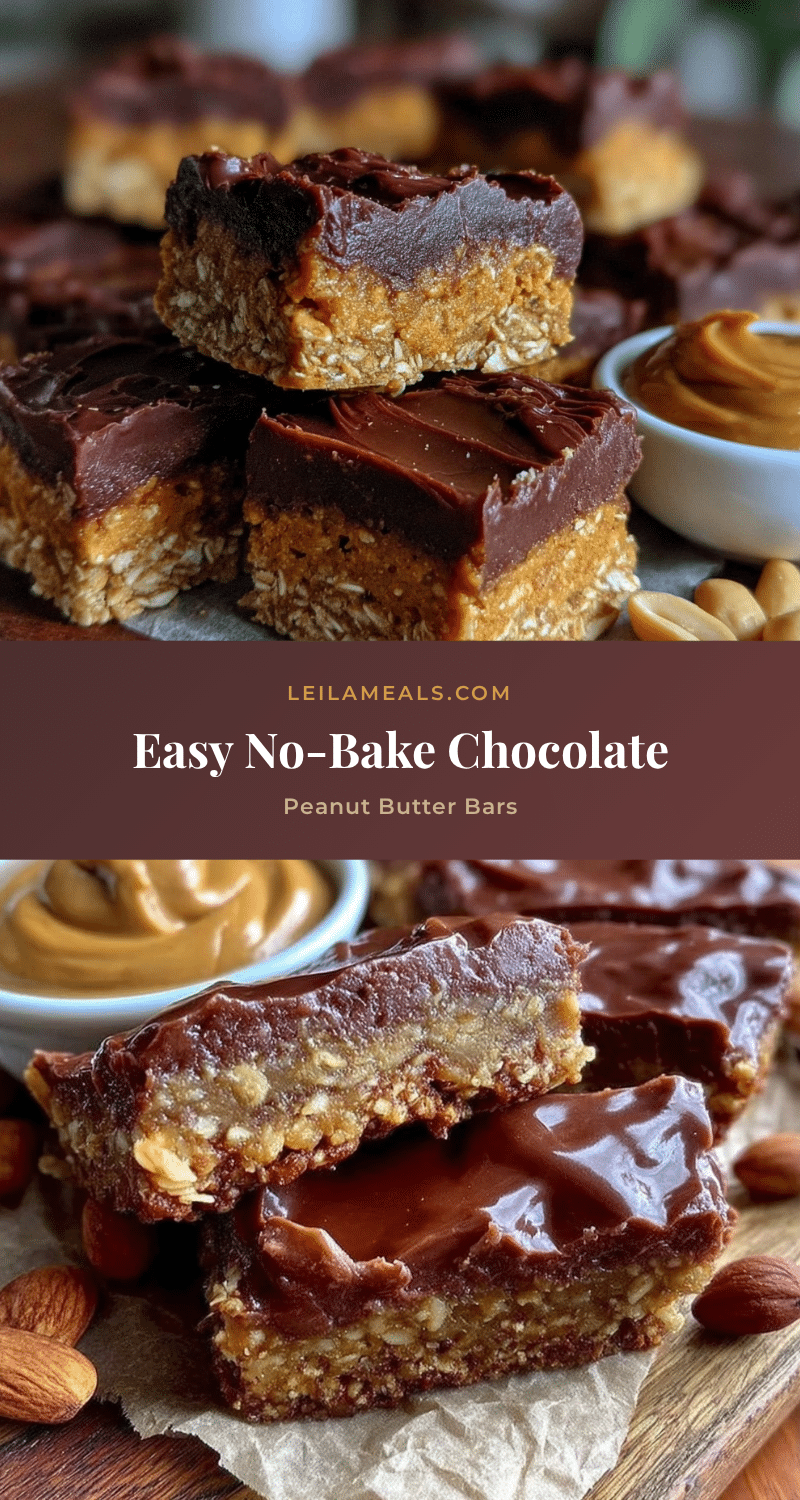
Easy No-Bake Chocolate Peanut Butter Granola Bars
These easy no-bake chocolate peanut butter granola bars are a quick, wholesome snack combining the rich flavors of peanut butter and chocolate without any baking required. Perfect for on-the-go energy boosts or a simple homemade treat.
- Prep Time: 10 minutes
- Cook Time: 5 minutes
- Total Time: 2 hours 15 minutes
- Yield: 10-12 bars 1x
- Category: Snack
- Cuisine: American
Ingredients
- 2 cups (180g) old-fashioned rolled oats
- 1 cup (250g) natural creamy peanut butter (no added sugar)
- 1/2 cup (170g) honey (or maple syrup for vegan option)
- 3/4 cup (135g) mini chocolate chips
- 1 teaspoon vanilla extract
- Pinch of sea salt
- 1/4 cup (30g) chopped nuts or seeds (optional, e.g., toasted almonds, walnuts, pumpkin seeds)
Instructions
- Line an 8×8 inch (20×20 cm) baking pan with parchment paper, leaving some overhang for easy removal.
- Optional: Toast the oats in a dry skillet over medium heat for 3-4 minutes until lightly golden and fragrant. Let cool.
- In a microwave-safe bowl, combine peanut butter and honey. Microwave in 20-second bursts, stirring between, until smooth and easy to mix (about 1 minute total). Alternatively, warm gently over low heat on the stove.
- Stir in vanilla extract and a pinch of sea salt into the warm peanut butter mixture.
- In a large bowl, combine oats and optional chopped nuts or seeds. Pour the peanut butter mixture over the oats.
- Stir thoroughly with a wooden spoon or spatula until oats are evenly coated and mixture is sticky and thick.
- Fold in mini chocolate chips gently to distribute without melting them.
- Transfer the mixture to the prepared pan and press firmly and evenly with a spatula or hands (use parchment paper or wet hands to avoid sticking).
- Refrigerate the pan for at least 2 hours or until bars are firm enough to cut.
- Lift the set mixture from the pan using the parchment overhang. Cut into 10-12 bars with a sharp knife.
- Store bars in an airtight container in the refrigerator.
Notes
Warming the peanut butter and honey helps the mixture blend smoothly and hold together better. Toasting oats is optional but adds a nuttier flavor. Press the mixture firmly into the pan to avoid crumbly bars. Chill for at least 2 hours before cutting for clean slices. Use mini chocolate chips to prevent melting during mixing. Bars can be stored in the fridge for up to one week or frozen for up to three months.
Nutrition
- Serving Size: 1 bar (if cut into 1
- Calories: 180
- Fat: 10
- Carbohydrates: 18
- Fiber: 3
- Protein: 5
Keywords: no-bake granola bars, peanut butter granola bars, chocolate peanut butter bars, quick snacks, homemade granola bars, easy snack recipe


