I burned the edges of my first homemade uncrustables peanut butter & jelly sandwiches more times than I care to admit before I figured out the right way. Honestly, I wasn’t even sure if making these at home was worth the fuss — after all, the store-bought ones are convenient, right? But there’s something about the way the peanut butter and jelly meld inside that plastic-sealed crustless pocket that made me want a fresher, tastier version. I tried slapping together sandwiches and pressing them with a cookie cutter in a rush, only to have jelly squish out and turn my kitchen into a sticky mess.
That sticky mess eventually taught me the importance of the right bread choice, the perfect amount of filling, and the sealing method that doesn’t turn your snack into a sad, leaky disaster. The smell of fresh bread toasting gently while that sweet and nutty filling warms just enough? Now, that’s a quiet little pleasure. It’s the kind of snack that reminds me of simpler times but with a homemade touch that feels way better than anything from a plastic wrapper.
So, this recipe for easy homemade uncrustables peanut butter & jelly sandwiches stuck with me because it’s foolproof, quick, and honestly, a little comforting when days get hectic. No more burned edges or jelly explosions. Just a neat little pocket of nostalgia you can make your own way.
Why You’ll Love This Recipe
After many kitchen trials, I can say this easy homemade uncrustables peanut butter & jelly sandwiches recipe is a real game-changer for quick snacks and lunchbox staples. Here’s why:
- Quick & Easy: You can assemble these sandwiches in under 15 minutes, making them perfect for busy mornings or last-minute snack attacks.
- Simple Ingredients: No need for fancy or hard-to-find items—just basic pantry staples like bread, peanut butter, and jelly.
- Perfect for On-The-Go: These sandwiches are great for school lunches, picnics, or even a quick bite during a hectic workday.
- Crowd-Pleaser: Kids and adults alike love these! They’re mess-free, portable, and the classic flavor combo never disappoints.
- Customizable: Whether you prefer crunchy or creamy peanut butter, grape or strawberry jelly, you can tailor the sandwich to your exact craving.
What sets this recipe apart is the sealing technique that keeps everything inside without squishing out, plus the choice of bread that toasts up just right without turning hard or soggy. I’ve tested different brands and textures, and this method delivers a soft yet sturdy sandwich that holds its shape — no more jelly oozing everywhere or bread that falls apart. It’s comfort food, but smarter and fresher. Honestly, it’s the kind of snack that makes you pause for a second to appreciate the simple things, especially when paired with a cold glass of milk or a fresh fruit side, like the vibrant flavors in the fresh caprese sandwich with creamy pesto mayo I recently tried.
What Ingredients You Will Need
This recipe uses simple, wholesome ingredients that come together to deliver that classic peanut butter and jelly combo without fuss or mess. Most of these are pantry staples, but I’ll share tips on choosing the best versions for great texture and flavor.
- White sandwich bread: Choose soft, thick slices without crusts. I recommend an enriched bread like Sara Lee or a similar bakery-style loaf for best results. Avoid ultra-thin or overly dense bread.
- Peanut butter: Creamy or crunchy depending on your preference. Natural peanut butter works great here but can be a little runnier, so adjust the amount accordingly. For a smoother spread, brands like Skippy or Jif are reliable.
- Jelly or jam: Strawberry, grape, or raspberry all work well. Use your favorite brand or homemade jam if you’re feeling fancy. I prefer a slightly thicker jelly to prevent it from leaking out.
- Butter or margarine (optional): A thin spread on the outside of the sandwich before sealing can help with browning if you plan to lightly toast or pan-fry them.
- Honey or powdered sugar (optional): For a touch of extra sweetness or a dusting on top after sealing for presentation.
Substitution tips: For a gluten-free option, try gluten-free sandwich bread, though sealing might be trickier due to texture. If you’re nut-allergic, sunflower seed butter can stand in for peanut butter wonderfully. Also, swapping jelly for sliced fresh fruit like strawberries or bananas adds a fresh twist, similar to the fresh fruit elements I love in the watermelon feta mint salad.
Equipment Needed
- Round or square sandwich cutter: A cookie cutter or a specialized Uncrustables press works perfectly to seal the edges and shape the sandwiches. If you don’t have one, a sharp knife and a fork can do the trick.
- Baking sheet or tray: To place the sandwiches on before freezing or toasting.
- Wax paper or parchment paper: For easy cleanup and to prevent sticking during freezing.
- Butter knife or small spatula: To spread peanut butter and jelly evenly without tearing the bread.
- Optional: A panini press or skillet if you want to toast the sandwiches lightly before serving.
Personally, I found that a round cookie cutter about 4 inches in diameter works best to mimic those classic store-bought shapes. If you’re on a budget, just use a sharp knife to cut crusts neatly and a fork to press the edges firmly. I keep my sandwich cutter clean by running it under hot water right after use and drying it promptly to avoid sticky buildup.
Preparation Method
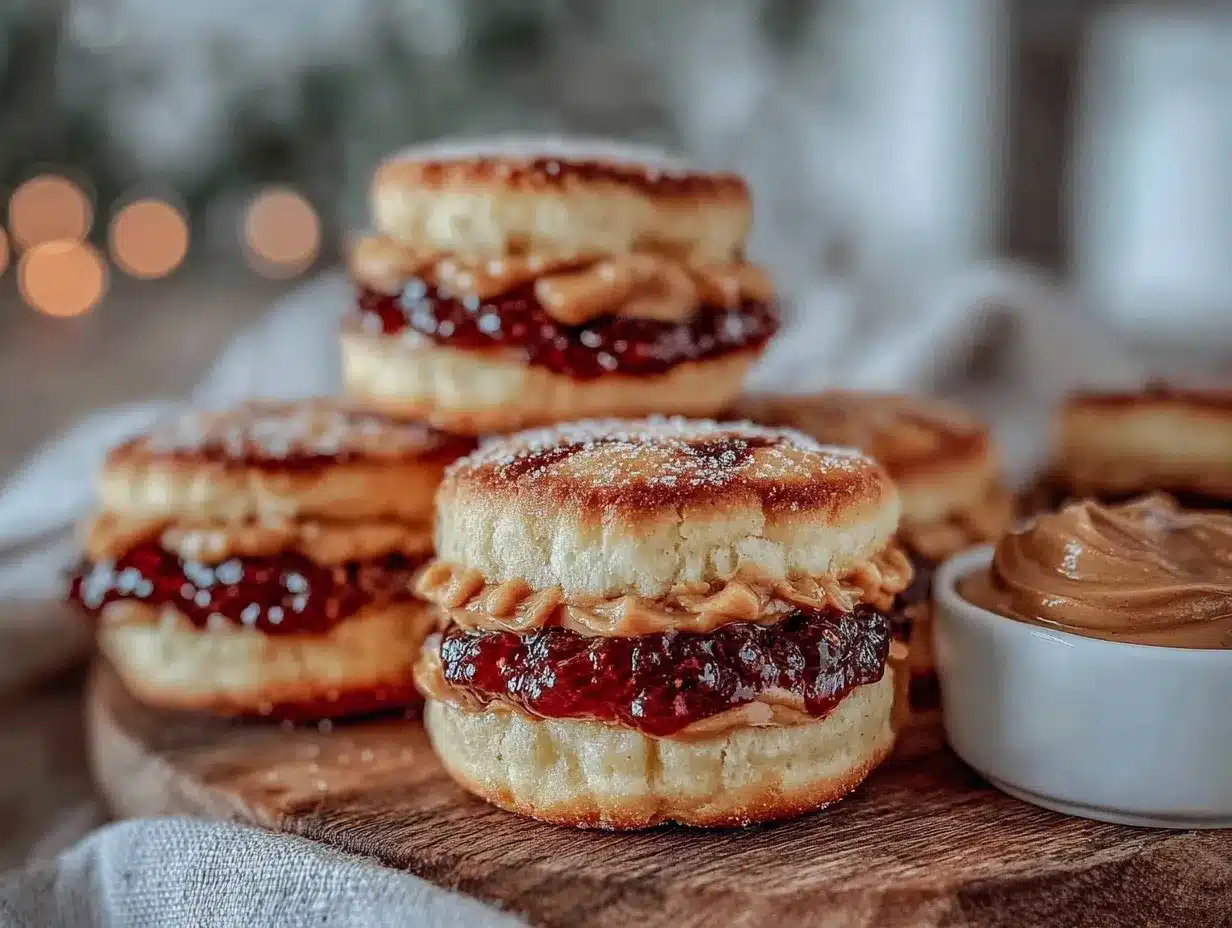
- Prepare your workspace: Lay out a clean surface and gather all ingredients and equipment. Have parchment paper ready on a baking sheet for the sandwiches.
- Trim crusts: Using a sharp knife, carefully cut off the crusts from each slice of bread to get that classic uncrustable look. You want clean edges but avoid squishing the bread too much.
- Spread peanut butter: On one slice of bread, spread about 1½ tablespoons (22g) of peanut butter evenly, leaving a small border around the edges (about ¼ inch or 6mm) so the filling doesn’t squeeze out.
- Add jelly: On a second slice, spread about 1 tablespoon (15g) of jelly or jam evenly, also leaving the same border. Too much jelly can cause leaks, so don’t overload.
- Assemble sandwich: Carefully place the jelly-covered slice on top of the peanut butter slice so the fillings are inside.
- Seal edges: Using your sandwich cutter or a fork, press firmly around the edges to seal the two slices together. If you’re using a cookie cutter, press down through both slices to cut and seal simultaneously.
- Check seal: Run your finger gently around the edges to confirm there are no gaps or holes where jelly can escape. If needed, press again with the fork.
- Optional buttering: Lightly brush or spread softened butter on the outside of each sandwich if you plan to toast them—this adds a golden color and a slight crisp.
- Freeze or serve: Place the sandwiches on the prepared baking sheet lined with parchment paper. Freeze for at least 1 hour if making ahead or store immediately in an airtight container if serving fresh.
- Presentation: When ready to eat, thaw if frozen or toast lightly in a pan or panini press for about 2 minutes per side until golden and warm.
One trick I learned the hard way is to not overfill; too much jelly or peanut butter leads to a messy sandwich. Also, letting the bread sit out for a few minutes before cutting makes it less likely to tear. If the bread feels too fresh and soft, a quick chill in the fridge helps firm it up for easier handling.
Cooking Tips & Techniques
Making homemade uncrustables peanut butter & jelly sandwiches sound simple, but a few tricks make all the difference between a soggy mess and a neat, tasty snack.
- Use slightly stale bread: Bread that’s a day or two old works better because it’s less likely to tear when spreading fillings.
- Seal firmly: Pressing edges with a fork or sandwich cutter multiple times helps keep fillings inside during freezing or toasting.
- Avoid watery jelly: Jelly with too much liquid can make bread soggy quickly. Thicker jams or preserves hold up better.
- Chill before toasting: If toasting frozen sandwiches, let them thaw slightly so the bread crisps evenly without burning.
- Experiment with bread types: I once tried wheat sandwich bread but found it didn’t seal as well. White bread’s softness and pliability wins here.
- Keep spreading tools clean: Wiping your knife between peanut butter and jelly stops the flavors from mixing prematurely and keeps the sandwich neat.
One fail I had was rushing the sealing step and ending up with jelly squeezed out the sides — a sticky nightmare. After that, I always double-check the edges and sometimes press extra with a rolling pin for a perfect seal. Timing-wise, making a batch of these sandwiches while prepping dinner, like the easy sheet pan honey mustard salmon with asparagus, keeps the kitchen efficient and snack-ready.
Variations & Adaptations
This easy homemade uncrustables peanut butter & jelly sandwiches recipe is super flexible for different tastes and dietary needs. Here are some ideas I’ve tried or considered:
- Different nut butters: Almond butter, cashew butter, or sunflower seed butter work great for variations or nut allergies.
- Flavor swaps: Try swapping jelly for honey, Nutella, or fresh fruit slices like banana or strawberries for a fresher twist.
- Gluten-free option: Use gluten-free sandwich bread and adjust sealing carefully since gluten-free bread is often more crumbly.
- Toasty version: Lightly grill sealed sandwiches in a pan or panini press with butter for a warm, melty snack.
- Mini bites: Use smaller sandwich cutters to make bite-sized versions perfect for parties or kids’ snacks.
- Vegan adaptation: Choose dairy-free bread, vegan butter, and plant-based peanut butter alternatives.
One of my favorite twists was adding a sprinkle of chia seeds inside the peanut butter layer for a little crunch and nutrition boost. If you’re in the mood for a fresh lunch option, the buffalo chicken salad lettuce wraps might be a great savory contrast on a busy day.
Serving & Storage Suggestions
These homemade uncrustables peanut butter & jelly sandwiches are perfect to serve chilled, at room temperature, or lightly toasted. Here’s how I like to enjoy and store them:
- Serving temperature: Room temperature for a quick snack, or toast lightly for a warm, gooey treat.
- Presentation tips: Dust with a little powdered sugar or drizzle honey on top for an extra touch if serving at a casual brunch or picnic.
- Complementary sides: Fresh fruit, carrot sticks, or even a glass of cold milk make perfect companions.
- Storage: Store sandwiches wrapped tightly in plastic wrap or airtight containers. Freeze for up to 2 months.
- Reheating: Thaw frozen sandwiches in the fridge overnight or for 1 hour at room temperature. Toast in a skillet or panini press for 2–3 minutes per side until golden.
- Flavor development: Flavors meld nicely overnight if refrigerated, making them a great make-ahead snack.
Nutritional Information & Benefits
Each sandwich roughly contains:
| Calories | 320–350 kcal |
|---|---|
| Protein | 8–10g (from peanut butter and bread) |
| Carbohydrates | 35–40g (mostly from bread and jelly) |
| Fat | 14–16g (healthy fats from peanut butter) |
| Fiber | 2–4g |
The peanut butter provides heart-healthy monounsaturated fats and protein, while jelly adds a bit of natural sweetness (choose no-sugar-added jelly for lower sugar). Using fresh bread and natural peanut butter improves overall nutrition. This recipe is naturally gluten-free if you swap the bread, and free from dairy unless you add butter for toasting.
From a wellness perspective, it’s a balanced snack with protein and carbs that can keep hunger at bay without crashing energy. I think of it as a nostalgic treat that’s also smart enough to fit into a real-food lifestyle.
Conclusion
This easy homemade uncrustables peanut butter & jelly sandwiches recipe is one of those simple kitchen wins that sticks with you. It’s reliable, quick, and comforting in a way that store-bought versions just can’t match. The ability to customize fillings, control sweetness, and avoid preservatives feels like a small victory on busy days.
Whether you’re packing lunchboxes, prepping snacks for a picnic, or just craving a little nostalgic treat, these sandwiches deliver every time. Plus, you can tweak them to suit your taste or dietary needs, which makes them endlessly satisfying for me.
I’d love to hear how you make yours or any twists you come up with — sharing those little kitchen stories keeps the magic alive! So go ahead, give this recipe a try and make snack time a bit more special.
Frequently Asked Questions
Can I use whole wheat or multigrain bread for homemade uncrustables?
Yes, you can. Just make sure the bread is soft and slice it thick enough to hold the fillings without tearing. Whole wheat adds a nuttier flavor and more fiber.
How long can I freeze these sandwiches?
They keep well for up to 2 months in the freezer when wrapped tightly. Just thaw before eating for best texture.
Can I make these with other nut butters?
Absolutely! Almond, cashew, and sunflower seed butters all work well. Adjust the quantity if the consistency differs.
What’s the best way to prevent jelly from leaking out?
Use thicker jelly or jam, leave a small border around the edges when spreading, and press the edges firmly to seal.
Can I toast these sandwiches without them falling apart?
Yes, lightly butter the outside and toast in a skillet or panini press over medium heat for 2–3 minutes per side for a crispy, warm snack.
Pin This Recipe!
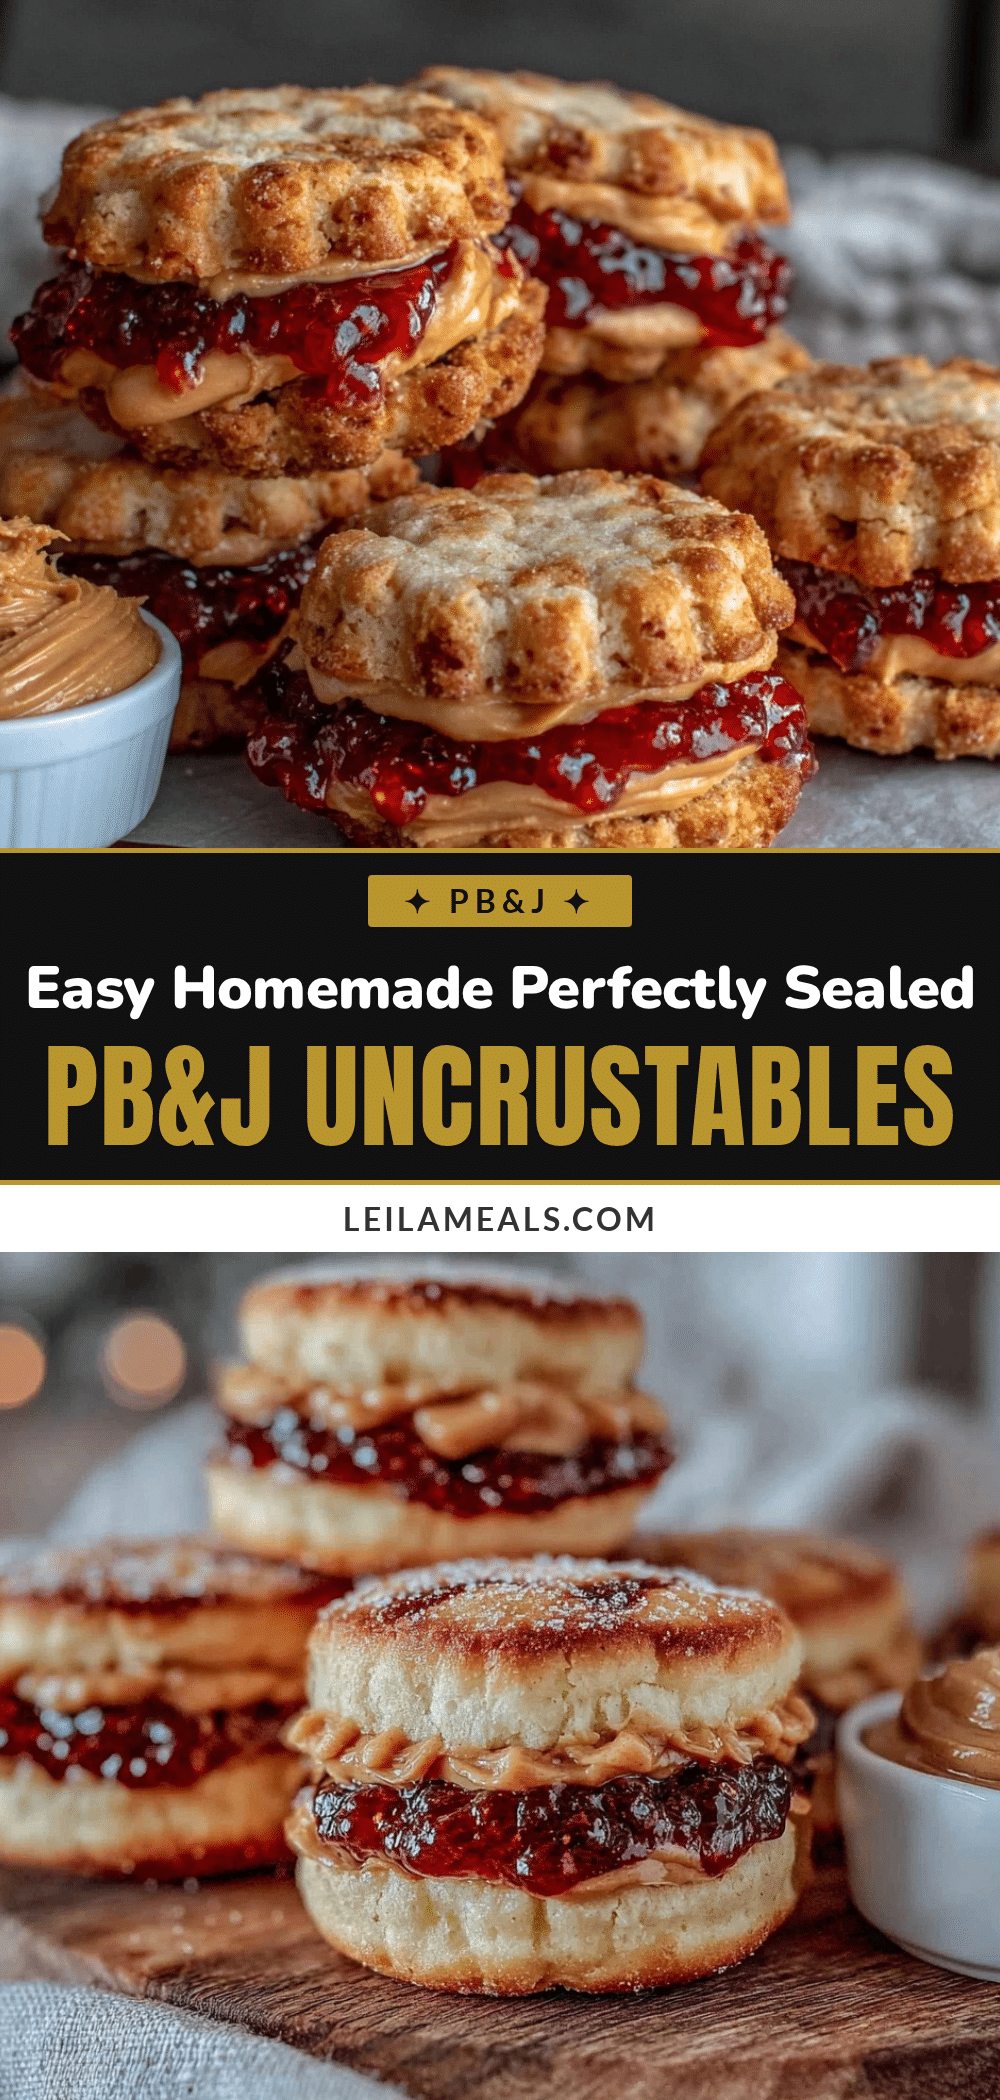
Easy Homemade Uncrustables Peanut Butter & Jelly Sandwiches Recipe for Quick Snacks
A foolproof, quick recipe for homemade uncrustables peanut butter & jelly sandwiches that are mess-free, portable, and customizable. Perfect for busy mornings, lunchboxes, or snacks.
- Prep Time: 10 minutes
- Cook Time: 4 minutes
- Total Time: 14 minutes
- Yield: 4 sandwiches
- Category: Snack
- Cuisine: American
Ingredients
- White sandwich bread, soft thick slices without crusts
- Peanut butter (creamy or crunchy)
- Jelly or jam (strawberry, grape, or raspberry)
- Butter or margarine (optional, for browning/toasting)
- Honey or powdered sugar (optional, for sweetness or dusting)
Instructions
- Prepare your workspace: Lay out a clean surface and gather all ingredients and equipment. Have parchment paper ready on a baking sheet for the sandwiches.
- Trim crusts: Using a sharp knife, carefully cut off the crusts from each slice of bread to get that classic uncrustable look.
- Spread peanut butter: On one slice of bread, spread about 1½ tablespoons (22g) of peanut butter evenly, leaving a small border around the edges (about ¼ inch or 6mm).
- Add jelly: On a second slice, spread about 1 tablespoon (15g) of jelly or jam evenly, also leaving the same border.
- Assemble sandwich: Carefully place the jelly-covered slice on top of the peanut butter slice so the fillings are inside.
- Seal edges: Using your sandwich cutter or a fork, press firmly around the edges to seal the two slices together. If using a cookie cutter, press down through both slices to cut and seal simultaneously.
- Check seal: Run your finger gently around the edges to confirm there are no gaps or holes where jelly can escape. Press again if needed.
- Optional buttering: Lightly brush or spread softened butter on the outside of each sandwich if you plan to toast them.
- Freeze or serve: Place the sandwiches on the prepared baking sheet lined with parchment paper. Freeze for at least 1 hour if making ahead or store immediately in an airtight container if serving fresh.
- Presentation: When ready to eat, thaw if frozen or toast lightly in a pan or panini press for about 2 minutes per side until golden and warm.
Notes
Use slightly stale bread for easier spreading and less tearing. Press edges firmly multiple times to prevent leaks. Use thicker jelly or jam to avoid sogginess. Chill bread if too soft before cutting. Optional buttering before toasting adds crispness and color. Store wrapped tightly and freeze up to 2 months. Thaw before toasting.
Nutrition
- Serving Size: 1 sandwich
- Calories: 335
- Sugar: 12
- Sodium: 250
- Fat: 15
- Saturated Fat: 2
- Carbohydrates: 38
- Fiber: 3
- Protein: 9
Keywords: uncrustables, peanut butter and jelly, homemade sandwich, quick snack, lunchbox, easy recipe, no crust sandwich


